


 Loading...
GE JKP20, JKP25, JTP20, JKP28, JKP48 User Manual
...Wall Oven
Built-In Electric
www.GEAppliances.com
Safety Instructions . . . . . . .2–4
Operating Instructions
Clock and Timer . . . . . . . . . . .13
Control Lockout . . . . . . . . . . .13
Controls . . . . . . . . . . . . . . . . . . .5
Oven . . . . . . . . . . . . . . . . .11, 12
Sabbath Feature . . . . . . . . . .9, 10
Self-Cleaning Oven . . . . . .16, 17
Special Features . . . . . . . . . . .6–8
Thermostat . . . . . . . . . . . . . . .15
Timed Baking and Roasting . .14
Care and Cleaning
Broiler Pan and Grid . . . . . . . .19
Control Panel . . . . . . . . . . . . .18
Glass Surfaces . . . . . . . . . . . . .21
Heating Element . . . . . . . . . . .21
Knob . . . . . . . . . . . . . . . . . . . .18
Lift-Off Oven Door . . . . . .18, 19
Light Bulb . . . . . . . . . . . . . . . .20
Oven Interior . . . . . . . . . . . . . .21
Packaging Tape . . . . . . . . . . . .18
Painted Surfaces . . . . . . . . . . .21
Shelves . . . . . . . . . . . . . . . . . . .19
Stainless Steel Surfaces . . . . . .21
Troubleshooting Tips . . . .22–24
Consumer Support
Consumer Support . . Back Cover
Product Registration . . . . .25, 26
Warranty . . . . . . . . . . . . . . . . .27
Write the model and serial numbers here:
Model # __________________
Serial #____________________
You can find them on a label on the side trim or on the front of the (lower) oven behind the oven door.
Owner’s Manual
JKP20–27 ″ Single Wall Oven
JTP20–30 ″ Single Wall Oven
JKP25–27″ Single Wall Oven
JTP25–30″ Single Wall Oven
JKP28–27 ″ Double Wall Oven
JTP28–30 ″ Double Wall Oven
JKP48–27 ″ Double Wall Oven
JTP48–30 ″ Double Wall Oven
JKP50–27 ″ Double Wall Oven
JTP50–30 ″ Double Wall Oven
164D4290P381 49-80229 08-03 JR
Consumer Support Troubleshooting Tips Care and Cleaning Operating Instructions Safety Instructions
IMPORTANT SAFETY INFORMATION.
READ ALL INSTRUCTIONS BEFORE USING.
 WARNING!
For your safety, the information in this manual must be followed to minimize the risk of fire or explosion, electric shock, or to prevent property damage, personal injury, or loss of life.
IMPORTANT SAFETY NOTICE
The California Safe Drinking Water and Toxic Enforcement Act requires the Governor of California to publish a list of substances known to the state to cause cancer, birth defects or other reproductive harm, and requires businesses to warn customers of potential exposure to such substances.
The fiberglass insulation in self-clean ovens gives off a very small amount of carbon monoxide during the cleaning cycle. Exposure can be minimized by venting with an open window or using a ventilation fan or hood.
 SAFETY PRECAUTIONS
When using electrical appliances, basic safety precautions should be followed, including the following:
■Use this appliance only for its intended purpose as described in this Owner’s Manual.
■Be sure your appliance is properly installed and grounded by a qualified technician in accordance with the provided installation instructions.
■Do not attempt to repair or replace any part of your oven unless it is specifically recommended in this manual. All other servicing should be referred to a qualified technician.
■Have the installer show you the location of the circuit breaker or fuse. Mark it for easy reference.
■Before performing any service, disconnect the oven power supply at the household distribution panel by removing the fuse or switching off the circuit breaker.
■Do not leave children alone—children should not be left alone or unattended in an area where an appliance is in use. They should never be allowed to sit or stand on any part of the appliance.
■Do not allow anyone to climb, stand or hang on the door. They could damage the oven, or cause severe personal injury.
■Be sure the oven is securely installed in a cabinet that is firmly attached to the house structure. Never allow anyone to climb, sit, stand or hang on the oven door.
■Never leave the oven door open when you are not watching the oven.
■Always keep combustible wall coverings, curtains or drapes a safe distance from your oven.
■Always keep dish towels, dish cloths, pot holders and other linens a safe distance from your oven.
■Always keep wooden and plastic utensils and canned food a safe distance away from your oven.
■Teach children not to play with the controls or any other part of the oven.
■Large scratches or impacts to glass doors can lead to broken or shattered glass.
2

www.GEAppliances.com
 WARNING!
SAFETY PRECAUTIONS
■Do not store flammable materials in an oven.
■CAUTION: Items of interest to children should not be stored in cabinets above an oven; children climbing on the oven to reach items could be seriously injured.
■Never wear loose-fitting or hanging garments while using the appliance. Be careful when reaching for items stored in cabinets over the oven. Flammable material could be ignited if brought in contact with hot surfaces or heating elements and may cause severe burns.
■Use only dry pot holders—moist or damp pot holders on hot surfaces may result in burns from steam. Do not let pot holders touch hot heating elements. Do not use a towel or other bulky cloth.
■For your safety, never use your appliance for warming or heating the room.
■Do not let cooking grease or other flammable materials accumulate in or near the oven.
■Do not use water on grease fires. Never pick up a flaming pan. Turn the controls off.
■Flame in the oven can be smothered completely by closing the oven door and turning the oven off or by using a multipurpose dry chemical or foam-type fire extinguisher.
■Never leave jars or cans of fat drippings in or near your oven.
■Do not store or use combustible materials, gasoline or other flammable vapors and liquids in the vicinity of this or any other appliance.
■Stand away from the oven when opening the oven door. Hot air or steam which escapes can cause burns to hands, face and/or eyes.
■Do not heat unopened food containers. Pressure could build up and the container could burst, causing an injury.
■Keep the oven vent unobstructed.
■Keep the oven free from grease buildup.
■Place the oven shelf in the desired position while the oven is cool. If shelves must be handled when hot, do not let pot holder contact the heating elements.
■When using cooking or roasting bags in the oven, follow the manufacturer’s directions.
■Do not touch the heating elements or the interior surface of the oven. These surfaces may be hot enough to burn even though they are dark in color. During and after use, do not touch, or let clothing or other flammable materials contact any interior area of the oven; allow sufficient time for cooling first.
■Potentially hot surfaces include oven vent openings, surfaces near the openings, crevices around the oven door, the edges of the window and metal trim parts above the door.
■REMEMBER: The inside surface of the oven may be hot when the door is opened.
3
Support Consumer Tips Troubleshooting Cleaning and Care Instructions Operating Instructions Safety
Consumer Support Troubleshooting Tips Care and Cleaning Operating Instructions Safety Instructions
IMPORTANT SAFETY INFORMATION. READ ALL INSTRUCTIONS BEFORE USING.
 WARNING!
SAFETY PRECAUTIONS
■Pulling out the shelf to the stop-lock is a convenience in lifting heavy foods. It is also a precaution against burns from touching hot surfaces of the door or oven walls.
■Do not use the oven to dry newspapers. If overheated, they can catch on fire.
■Do not use the oven for a storage area. Items stored in an oven can ignite.
■Do not leave paper products, cooking utensils or food in the oven when not in use.
■After broiling, always take the broiler pan out of the oven and clean it. Leftover grease in the broiler pan can catch fire next time you use the pan.
■Clean only parts listed in this Owner’s Manual.
■Do not use aluminum foil to line oven bottoms, except as suggested in this manual. Improper installation of aluminum foil may result in a risk
of electric shock or fire.
COOK MEAT AND POULTRY THOROUGHLY…
Cook meat and poultry thoroughly—meat to at least an INTERNAL temperature of 160°F and poultry to at least an INTERNAL temperature of 180°F. Cooking to these temperatures usually protects against foodborne illness.
SELF-CLEANING OVEN
■Do not clean the door gasket. The door gasket is essential for a good seal. Care should be taken not to rub, damage or move the gasket.
■Do not use oven cleaners. No commercial oven cleaner or oven liner protective coating of any kind should be used in or around any part of the oven. Residue from oven cleaners will damage the inside of the oven when the self-clean cycle is used.
■Before self-cleaning the oven, remove the broiler pan, grid and other cookware.
■Be sure to wipe up excess spillage before starting the self-cleaning operation.
■If the self-cleaning mode malfunctions, turn the oven off and disconnect the power supply. Have it serviced by a qualified technician.
READ AND FOLLOW THIS SAFETY INFORMATION CAREFULLY.
SAVE THESE INSTRUCTIONS
4

Using the oven controls. |
www.GEAppliances.com |
Throughout this manual, features and appearance may vary from your model.
Double oven control shown
Oven Control, Clock and Timer Features and Settings
BAKE Pad
Press this pad to select the bake function.
BROIL HI/LO Pad
Press this pad to select the broil function.
SELF CLEAN STD/LOW Pad
Press this pad to select the self-cleaning function. See the Using the self-cleaning oven section.
START Pad
Must be pressed to start any cooking or cleaning function.
Display
Shows the time of day, oven temperature, whether the oven is in the bake, broil or selfcleaning mode and the times set for the timer or automatic oven operations.
If “F — and a number or letter” flash in the display and the oven control signals, this indicates a function error code. Press the CLEAR/OFF pad. Allow the oven to cool for one hour. Put the oven back into operation. If the function error code repeats, disconnect the power to the oven and call for service.
If your oven was set for a timed oven operation and a power outage occurred, the clock and all programmed functions must be reset.
The time of day will flash in the display when there has been a power outage.
OVEN LIGHT ON/OFF Pad
Press this pad to turn the oven light on or off.
DELAY START Pad
Use along with COOKING TIME or SELF CLEAN pads to set the oven to start and stop automatically at a time you set.
COOKING TIME Pad
Press this pad and then press the HOUR and MIN + and – pads to set the amount of time you want your food to cook. The oven will shut off automatically when the cooking time has run out unless the Cook and Hold feature was set.
CLEAR/OFF Pad
Press this pad to cancel ALL oven operations except the clock and timer.
TEMP + and – Pads
Press these pads to set the cooking temperature you want to use.
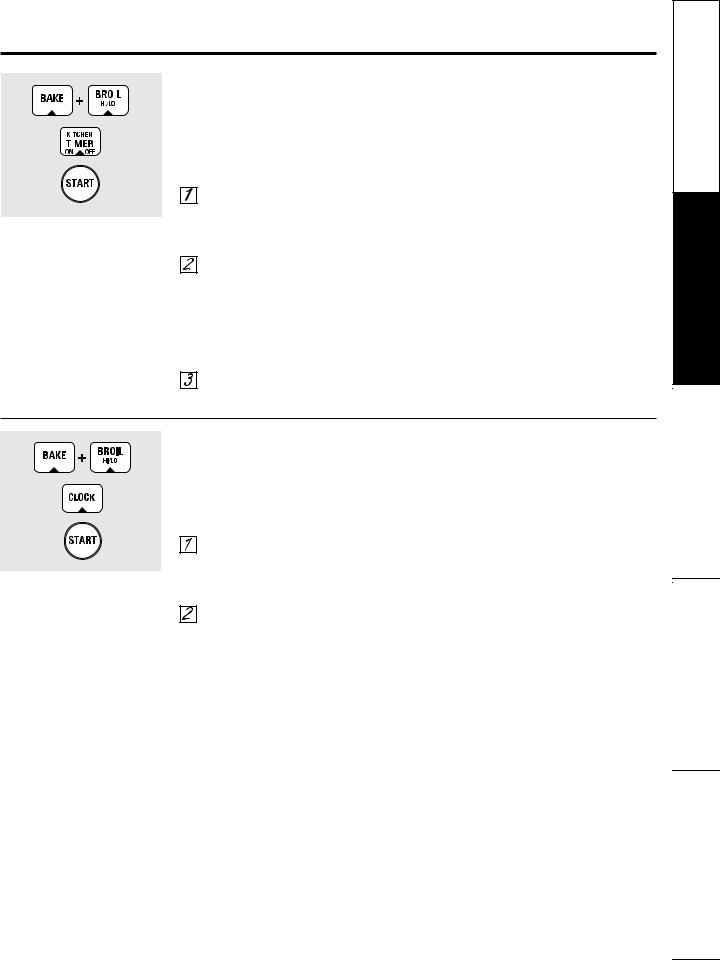
CLOCK Pad
Press this pad before setting the clock.
HOUR and MIN + and – Pads
Press these pads to set times up to 9 hours and 59 minutes—for example, the time of day on the clock, the timer, the starting and length of cooking time for timed bake and the starting and length of cleaning time for self-clean.
KITCHEN TIMER ON/OFF Pad
Press this pad to select the timer feature.
Lower Oven Control Settings on models with a knob
OVEN Knob |
The OVEN CYCLE light glows until the oven reaches your |
Turn this knob to |
selected temperature, then goes off and on with the oven |
the temperature |
element(s) during cooking. |
|
|
setting you want. |
|
5
Support Consumer Tips Troubleshooting Cleaning and Care Instructions Operating Instructions Safety
Consumer Support Troubleshooting Tips Care and Cleaning Operating Instructions Safety Instructions
Special features of your oven control.
Your new touch pad control has additional features that you may choose to use. The following are the features and how you may activate them.
The special feature modes can only be activated while the display is showing the time of day. They remain in the control’s memory until the steps are repeated.
When the display shows your choice, press the START pad. The special features will remain in memory after a power failure, except for the Sabbath feature, which will have to be reset.
12-Hour Shut-Off
With this feature, should you forget and leave the oven on, the control will automatically turn off the oven after 12 hours during baking functions or after 3 hours during a broil function.
If you wish to turn OFF this feature, follow the steps below.
Press the upper oven BAKE and BROIL HI/LO pads at the same time for 3 seconds until the display shows SF.
Press the DELAY START pad until no shdn (no shut-off) appears in the display.
Press the START pad to lock in the no shdn (no shut-off) feature and leave the control set in this special features mode.
NOTE:
■On models with touch pad controls for both ovens, this activates this special feature for both ovens.
■On models with oven knob(s), this feature is not available for the lower oven.
Fahrenheit or Celsius Temperature Selection
Your oven control is set to use the Fahrenheit temperature selections but you may change this to use the Celsius selections.
Press the upper oven BAKE and BROIL HI/LO pads at the same time for 3 seconds until the display shows SF.
Press the BROIL HI/LO and COOKING TIME pads at the same time. The display will show F (Fahrenheit).
Press the BROIL HI/LO and COOKING TIME pads again at the same time. The display will show C (Celsius).
Press the START pad.
NOTE:
■On models with touch pad controls for both ovens, the new setting will be displayed for both ovens.
■On models with oven knob(s), this feature is not available for the lower oven.
6
www.GEAppliances.com
Tones at the End of a Timed Cycle
|
|
At the end of a timed cycle, 3 short beeps will |
NOTE: |
|
|
||
|
|
||
|
|
||
|
|
sound followed by one beep every 6 seconds until |
■ On models with touch pad controls for both |
|
|
the CLEAR/OFF pad is pressed. This continuous |
|
|
|
ovens, this cancels the end of cycle tone for |
|
|
|
6-second beep may be canceled. |
|
|
|
both ovens. |
|
|
|
||
|
|
|
To cancel the 6-second beep:
Press the upper oven BAKE and BROIL HI/LO pads at the same time for 3 seconds until the display shows SF.
Press the KITCHEN TIMER ON/OFF pad. The display shows CON BEEP (continuous beep). Press the
KITCHEN TIMER ON/OFF pad again. The display shows BEEP. (This cancels the one beep every 6 seconds.)
■On models with oven knob(s), this feature is not available for the lower oven.
Press the START pad.
12-Hour, 24-Hour or Clock Black-Out
Your control is set to use a 12-hour clock.
If you would prefer to have a 24-hour military time clock or black out the clock display, follow the steps below.
Press the upper oven BAKE and BROIL HI/LO pads at the same time for 3 seconds, until the display shows SF.
Press the CLOCK pad once. The display will show 12 hr. If this is the choice you want, press the
START pad.
Press the CLOCK pad again to change to the 24-hour military time clock. The display will show 24 hr. If this is the choice you want, press the
START pad.
Press the CLOCK pad again to black out the clock display. The display will show OFF. If this is the choice you want, press the START pad.
NOTE: If the clock is in the black-out mode, you will not be able to use the Delay Start function.
7
Support Consumer Tips Troubleshooting Cleaning and Care Instructions Operating Instructions Safety
Consumer Support Troubleshooting Tips Care and Cleaning Operating Instructions Safety Instructions
Special features of your oven control.
Cook and Hold
Your new control has a cook and hold feature that keeps cooked foods warm for up to 3 hours after Timed Baking or Roasting is finished.
NOTE: This feature can only be programmed to work with Timed Baking or Roasting. (See the Using the timed baking and roasting features section.) After Timed Baking or Roasting has automatically stopped, the programmed Cook and Hold will automatically start.
To activate this feature for use after Timed Baking or Roasting, follow the steps below.
Both touch pad ovens follow the same step 1. First press the upper oven BAKE and BROIL HI/LO pads at the same time for 3 seconds until the display shows SF. Then proceed with steps 2 through 3, using the pads for the upper or lower oven.
Press the COOKING TIME pad. The display will show Hld OFF.
Press the COOKING TIME pad again to activate the feature. The display will show Hld ON.
Press the START pad to activate the cook and hold feature and leave the control set in this special features mode.
NOTE: On models with oven knob(s), this feature is not available for the lower oven.
Changing the Speed of the + or – Pads
As you use the + or – pads when setting a time or temperature, you may notice the display changes slowly. This special feature allows you to change the speed. To set the speed you prefer, follow the steps below.
Press the upper oven BAKE and BROIL HI/LO pads at the same time for 3 seconds, until the display shows SF.
Press any + pad. The display will show you a set speed between 1 and 5.
Press any + pad to increase the speed up to the number 5.
Press any – pad to decrease the speed down to the number 1.
Press START to activate the setting and leave the control set in this special features mode.
8
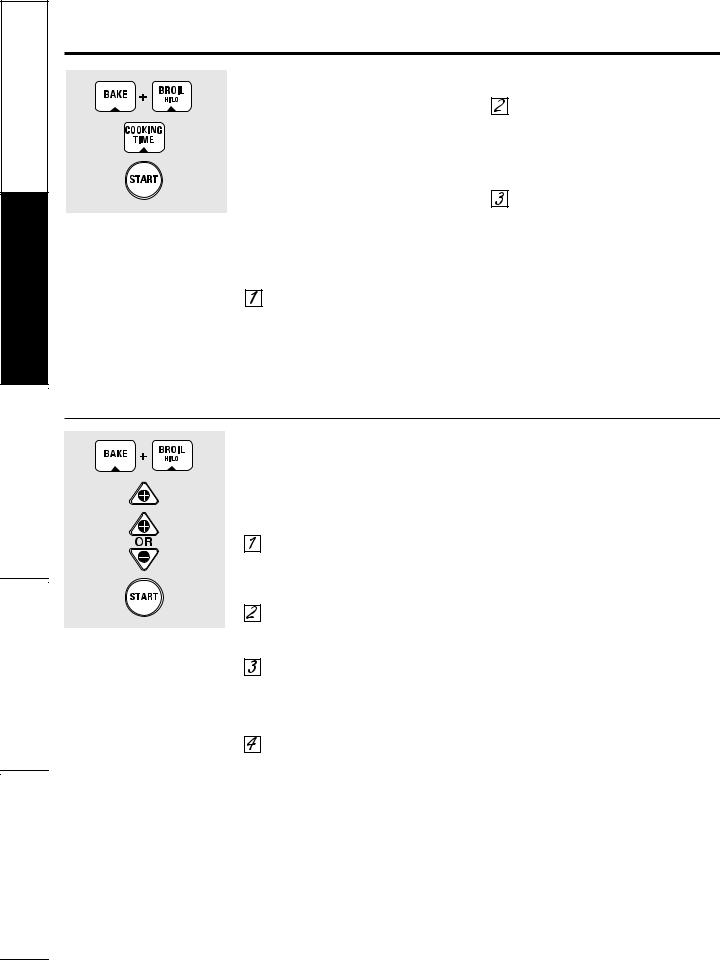
Using the Sabbath Feature.
(Designed for use on the Jewish Sabbath and Holidays.) www.GEAppliances.com
The Sabbath feature can be used for baking/roasting only. It cannot be used for broiling, self-cleaning or Delay Start cooking.
NOTE: The oven light comes on automatically (on some models) when the door is opened and goes off when the door is closed. The bulb may be removed. See the Oven Light Replacement section. On models with a light switch on the control panel, the oven light may be turned on and left on.
When the display shows the oven is set in Sabbath. When the display shows the oven is baking/roasting.
How to Set Sabbath Feature for Regular Baking/Roasting
NOTE: To understand how the oven control works, practice using regular baking (non-Sabbath) before entering Sabbath mode.
Make sure the clock shows the correct time of day.
Press and hold both the BAKE and BROIL HI/LO pads, at the same time, until the display shows SF.
Tap the DELAY START pad until SAb bAtH appears in the display.
Press the START pad and will appear in the display.
Press the BAKE pad. No signal will be given.
The preset starting temperature will automatically be set to 350°. Tap the TEMP + or – pads to increase or decrease the temperature in 5° increments. (The TEMP + or – pad should be tapped for each temperature change; pressing and holding these pads will not allow
accurate temperature setting.) The temperature can be set between 170° and 550°. No signal or temperature will be given.
Press the START pad.
After a random delay period of approximately 30 seconds to 1 minute,will appear in the display indicating that the oven is baking/roasting. If does not appear in the display, start again at step 4.
To adjust the oven temperature, press the BAKE pad and tap the TEMP + or – pads to increase or decrease the temperature in 5° increments. (The TEMP + or – pad should be tapped for each temperature change; pressing and holding these pads will not allow accurate temperature setting.) Press the START pad.
NOTE: The CLEAR/OFF and COOKING TIME pads are active during the Sabbath feature.
When the display shows the oven is set in Sabbath. When the display shows the oven is baking/roasting.
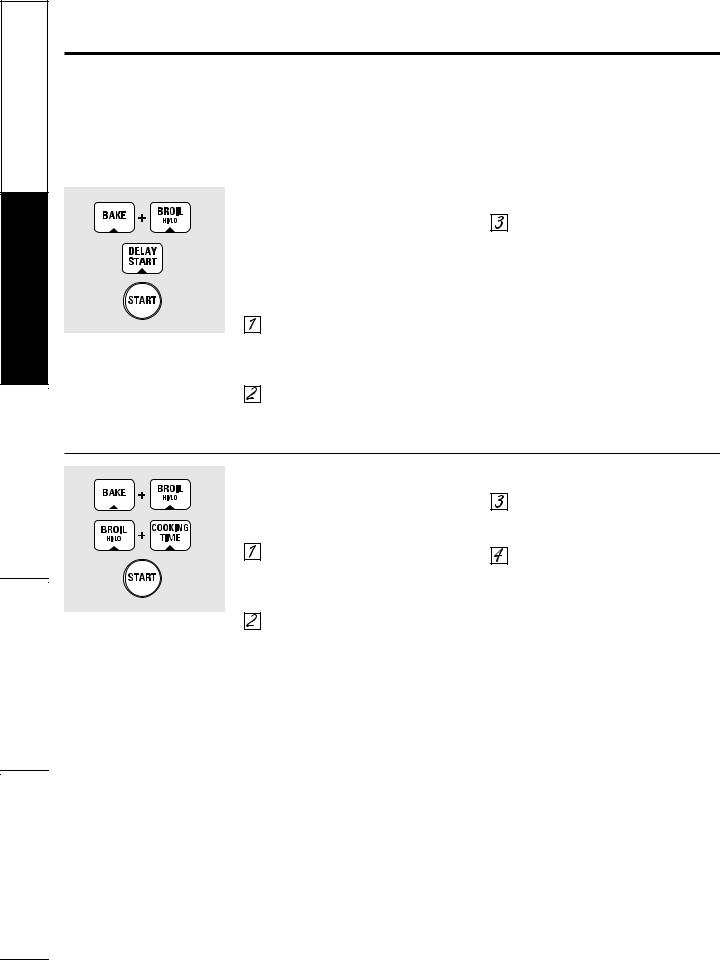
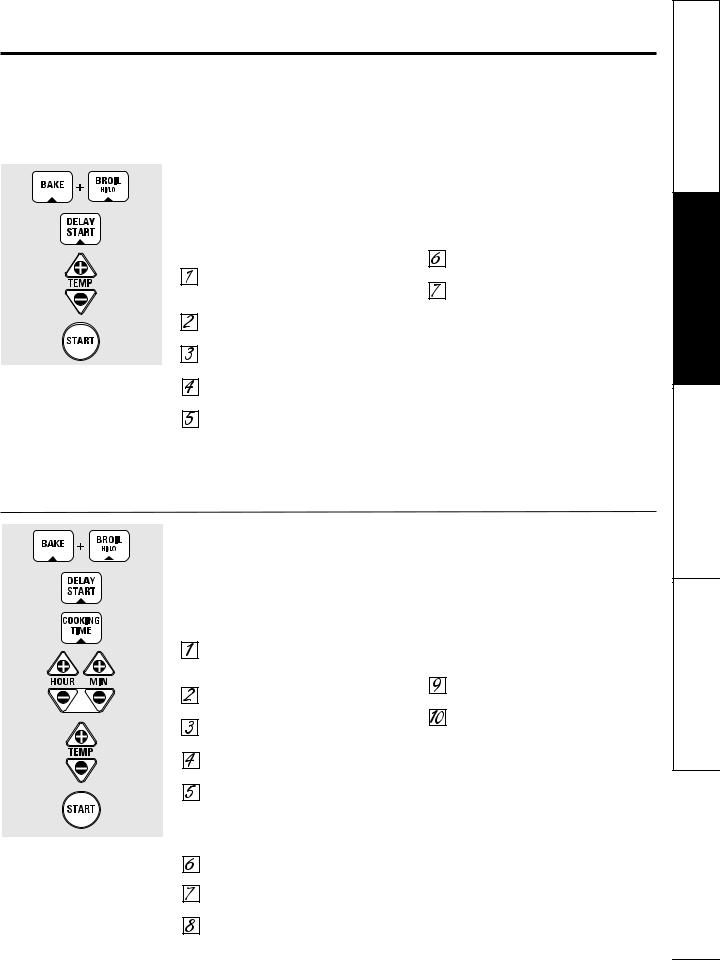
How to Set Sabbath Feature for Timed Baking/Roasting
– Immediate Start and Automatic Stop
NOTE: To understand how the oven control works, practice using regular (non-Sabbath) Immediate Start and Automatic Stop before entering the Sabbath mode.
Make sure the clock shows the correct time of day.
Press and hold both the BAKE and BROIL HI/LO pads, at the same time, until the display shows SF.
Tap the DELAY START pad until SAb bAtH appears in the display.
Press the START pad and will appear in the display.
Press the COOKING TIME pad.
Press the HOUR and MIN + or – pads to set the desired length of cooking time between 1 minute and 9 hours and 59 minutes. The cooking time that you entered will be displayed.
Press the START pad.
Press the BAKE pad. No signal will be given.
The preset starting temperature will automatically be set to 350°. Tap the TEMP + or – pads to increase or decrease
the temperature in 5° increments. (The TEMP + or – pad should be tapped for each temperature change; pressing and holding these pads will not allow accurate temperature setting.) The temperature can be set between 170° and 550°. No signal or temperature will be given.
Press the START pad.
After a random delay period of approximately 30 seconds to 1 minute,will appear in the display indicating that the oven is baking/roasting.
If does not appear in the display, start again at step 7.
To adjust the oven temperature, press the BAKE pad and tap the TEMP + or – pads to increase or decrease the temperature in 5° increments. (The TEMP + or – pad should be tapped for each temperature change; pressing and holding these pads will not allow accurate temperature setting.) Press the START pad.
When cooking is finished, the display will
change from |
to and 0:00 will appear, |
indicating that the oven has turned OFF |
|
but is still set in Sabbath. Remove the |
|
cooked food. |
9 |
Support Consumer Tips Troubleshooting Cleaning and Care Instructions Operating Instructions Safety
Loading...