

Garmin 03164 User Manual
Quick Start Manual
Introduction
WARNING
See the Important Safety and Product
Information guide in the product box for
product warnings and other important
information.
Always consult your physician before you
begin or modify any exercise program.
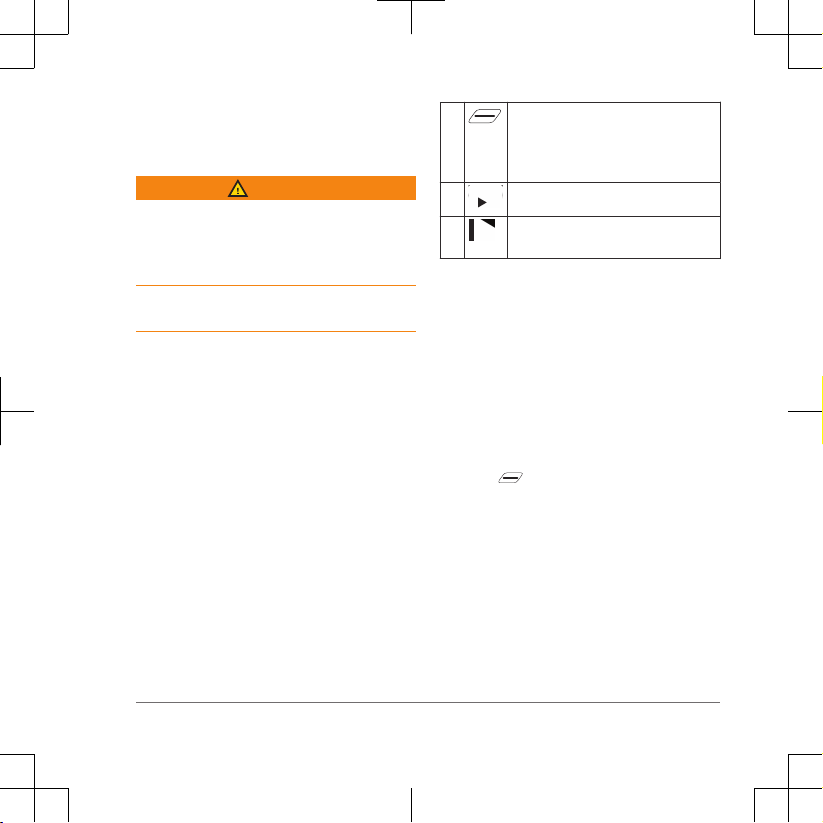
Keys
À
Á
Â
Select to enter sleep mode and
wake the device.
Hold to turn the device on and off
and lock the touchscreen.
Select to mark a new lap.
Select to start and stop the activity
timer.
Pairing Your Smartphone
To use the connected features of the
®
device, it must be paired
directly through the Garmin Connect
Mobile app, instead of from the
settings on your smartphone.
From the app store on your
1
smartphone, install and open the
Garmin Connect Mobile app.
Hold to turn on the device.
2
The first time you turn on the device,
you will select the device language.
The next screen prompts you to pair
with your smartphone.
Follow the instructions in the app to
3
complete the pairing and setup
process.
™
®
Quick Start Manual 3

After you pair successfully, a message
appears, and your device syncs
automatically with your smartphone.
Installing the Standard Mount
For the best GPS reception, position the
mount so the front of the device is
oriented toward the sky. You can install
the mount on the stem or the
bars.
Select a secure location to mount the
1
device where it does not interfere with
safe operation.
Place the rubber disk À on the back of
2
the mount.
Two rubber disks are included, and
you can select the disk that best fits.
The rubber tabs align with
the back of the mount so it stays
in place.
Place the mount on the tem.
3
Attach the mount securely using
4
the two bands Á.
Align the tabs on the back of the
5
device with the mount notches Â.
Press down slightly and turn the
6
device clockwise until it locks into
place.
Installing the Out-Front Mount
Select a secure location to mount the
1
device where it does not
interfere with safe operation.
.
Use the hex key to remove the screw
2
from the connector Á.
À
4 Quick Start Manual
Place the rubber pad around the
3
bar:
• If the bar diameter is
25.4 mm, use the thicker pad.
• If the bar diameter is
31.8 mm, use the thinner pad.
Place the bar connector around
4
the rubber pad.
Replace and tighten the screw.
5
NOTE: Garmin® recommends a torque
specification of 7 lbf-in. (0.8 N-m). You
should check the tightness of the
screw periodically.
Align the tabs on the back of the
6
device with the mount notches Â.
Quick Start Manual 5
Press down slightly and turn the
7
device clockwise until it locks into
place.
8VLQJ WKH GHYLFH
If your device was packaged with an
ANT+® sensor, they are already paired and
can be activated during initial setup.
Hold to turn on the device.
1
Go outside, and wait while the device
2
locates satellites.
The satellite bars turn green when the
device is ready.
From the home screen, select .
3
Select to start the activity timer.
4
 Loading...