Page 1

CEMB S.p.A. - 23826 MANDELLO DEL LARIO (LC) I - Via Risorgimento 9
Tel. (+39)0341/706.111 - Telefax (+39)0341/735.678
www.cemb.com e-mail: stm@cemb.com
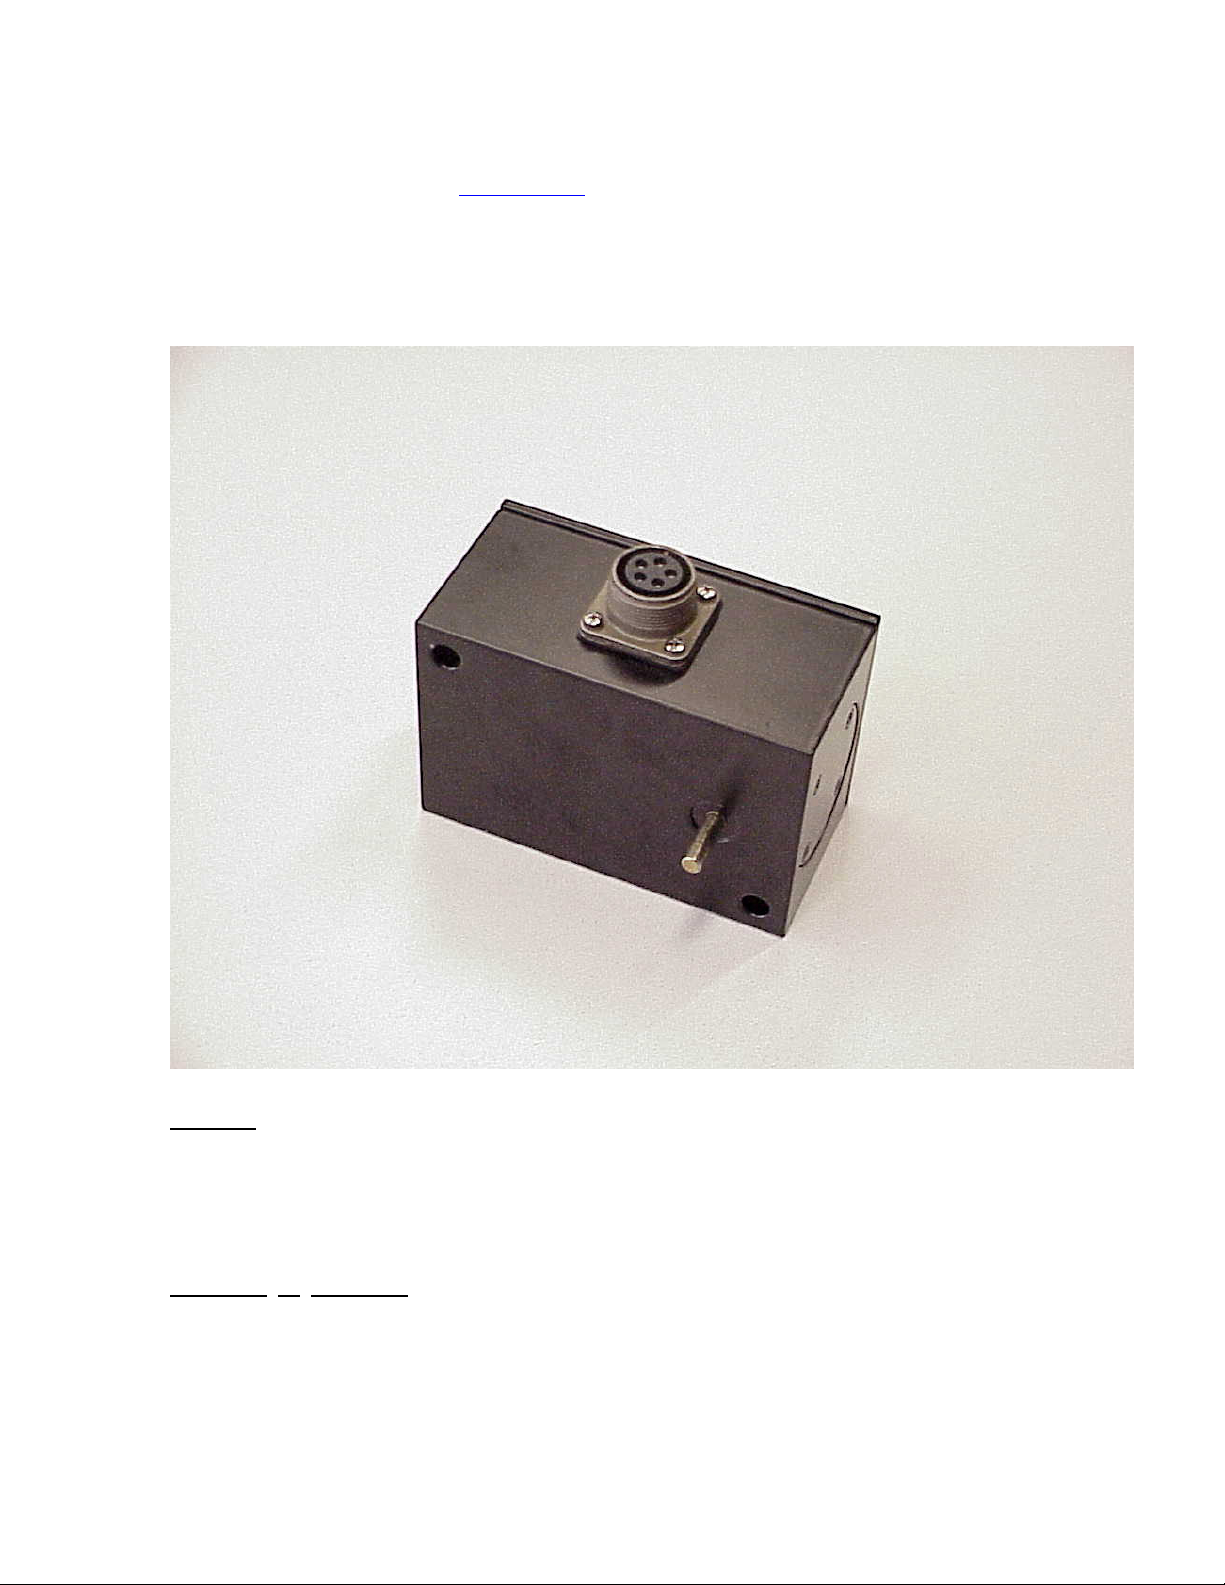
TRANSDUCER T7-LVDT/120/24
FUNCTION
Transducer T7-LVDT/120/24 is used for measuring, through the position transducer system
with linear variable differential transformer (LVDT), the OPENING POSITION of steam
VALVES in a turbine; the measurement is performed by keying the transducer shaft
integrally with the valve opening control device in order to measure the rotation of
such device. The signal picked up should be sent to a measuring channel CEMB /T7 units
for processing.
PRINCIPLE OF OPERATION
Transformer T7-LVDT/120 allows transforming the rotational movement of the valve
control device into a linear movement measured by a magnetic core which is displaced
within a fixed coil in the transducer body. The coil has one primary winding and two
secondary windings connected in opposing phase; the output signal (secondary winding)
is proportional to the mechanical displacement of the core and, therefore, to the angle
of rotation performed by the valve control device.
1
Page 2

TECHNICAL CHARACTERISTICS
Range of measurement : 0 to 120°
Sensitivity : 5 mV/°
Transformer LVDT : . Range = ±5.08 mm
: . Max linearity error = ± 0.5% f.s.
Range of application : . Temperature = -55°C to +95°C
: . Ambient = IP55 EN60529/10.90 standards
Composition : . Transducer T5-LVDT/25
Power supply : . Transducer = ± 15 Vdc, GND
Connection : . Transducer = connector 7-pin MIL C-5015
series 3106/16, standard kit
. Converter = connector 5-pin MIL C-5015
series 3106/16, standard kit
Conn. shaft diameter : Dia.6.0 h6 x L.18.0 mm
Outer casing material : Aluminium
Weight : Kg 8 approx.
Maintenance : none
: . Impedance, primary winding = 970 ohm/2500 Hz
: . Impedance, secondary windings = 1010 ohm/2500 Hz
: . Nominal sensitivity = 63 mV/mm
: . Frequency range = 50 Hz to 10 kHz
: . Supply voltage = 3 V rms (rated)
: . Humidity = max 95% not condensing
: . Vibrations = max 20 g / 2 KHz
. Converter AD1
. Converter AD1 = +15 to 24 Vdc, GND
Drawings enclosed : 61033 = Overall dimensions, mounting, connections
2
Page 3

TRANSDUCER POSITIONING
Refer to drawing Nr. 61033
1) Separate transducer T7 from converter AD1 (necessary for converting the LVDT signal
into a signal which can be analyzed by the instrument)
2) Fasten transducer T7 at the anchoring point without locking the shaft diameter 6.0
mm to the valve opening control mechanism; bear in mind that the shaft is provided
with preloading which sends the linear transducer to end of stroke in one of the
two directions; to return the stroke to mid position, turn the shaft clockwise.
3) Fasten converter AD1 (the access holes can be located by removing the cover from the
box)
4) Reconnect transducer T7 to converter AD1 and connect the latter to the measuring
instrument using the flying plug connector provided as standard.
5) Connect a voltmeter in parallel to the signal input in the measuring instrument,
downstream to adapter module AD1 (voltmeter connected across pins A and D of the
converter connector (or else across the corresponding terminals of the transducer
signal input of the measuring instrument)
6) With the measuring instrument operating, search for exact coincidence between the
mid measurement of the transducer and the mid measurement of the valve control
mechanism to which the shaft should be connected by proceeding as follows:
- Set the valve opening control mechanism in position corresponding to 50% of its
opening angle (max. possible for the transducer = 120°) noting its direction of
opening
- turn the shaft until reading 0 Vdc on the voltmeter checking that the reading is
decreased when rotating in direction opposite to the direction of opening of the
valve control mechanism, while it is increased when the wheel rotates in the
opening direction
- rigidly fasten the transducer shaft to the valve control mechanism being careful not
to knock the transducer and making sure that the rotation of the shaft is only
stressed by the torsion imposed by the rotational motion.
7) If possible, check whether the minimum and maximum mechanical opening of the valve
control mechanism corresponds with the scale start and full scale readings of the
measuring channel of the instrument in question
8) If this is not possible, carry out operation 6 and proceed to re-calibration of
measuring channel by following the instructions given in the instruction manual
regarding the instrument supplied.
3
Page 4

ASTD38120
UTS 080609
4
 Loading...