

Page 1
D7053
Installation Instructions
EN
Multiplex Input/Output
Module
Page 2
D7053 | Installation Instructions |
Notices
Notices
These instructions cover the installation of the D7053
Multiplex Input/Output Module in a fire system
supervised by a D7024 or DS9400M Fire Alarm
Control Panel (FACP) with firmware revision 2.0 or
greater and a D7039 of DS9431 Multiplex Expansion
Module.
Install, test, and maintain the D7053 according to these
instructions, NFPA 72, local codes, and the Authority
Having Jurisdiction (AHJ).
Follow the procedures in these instructions
to avoid personal injury and damage to the
equipment. Failure to follow these
instructions can result in the D7053 not
operating properly. Bosch is not responsible
for improperly installed, tested, or maintained
devices.
Test the FACP according to NFPA 72.
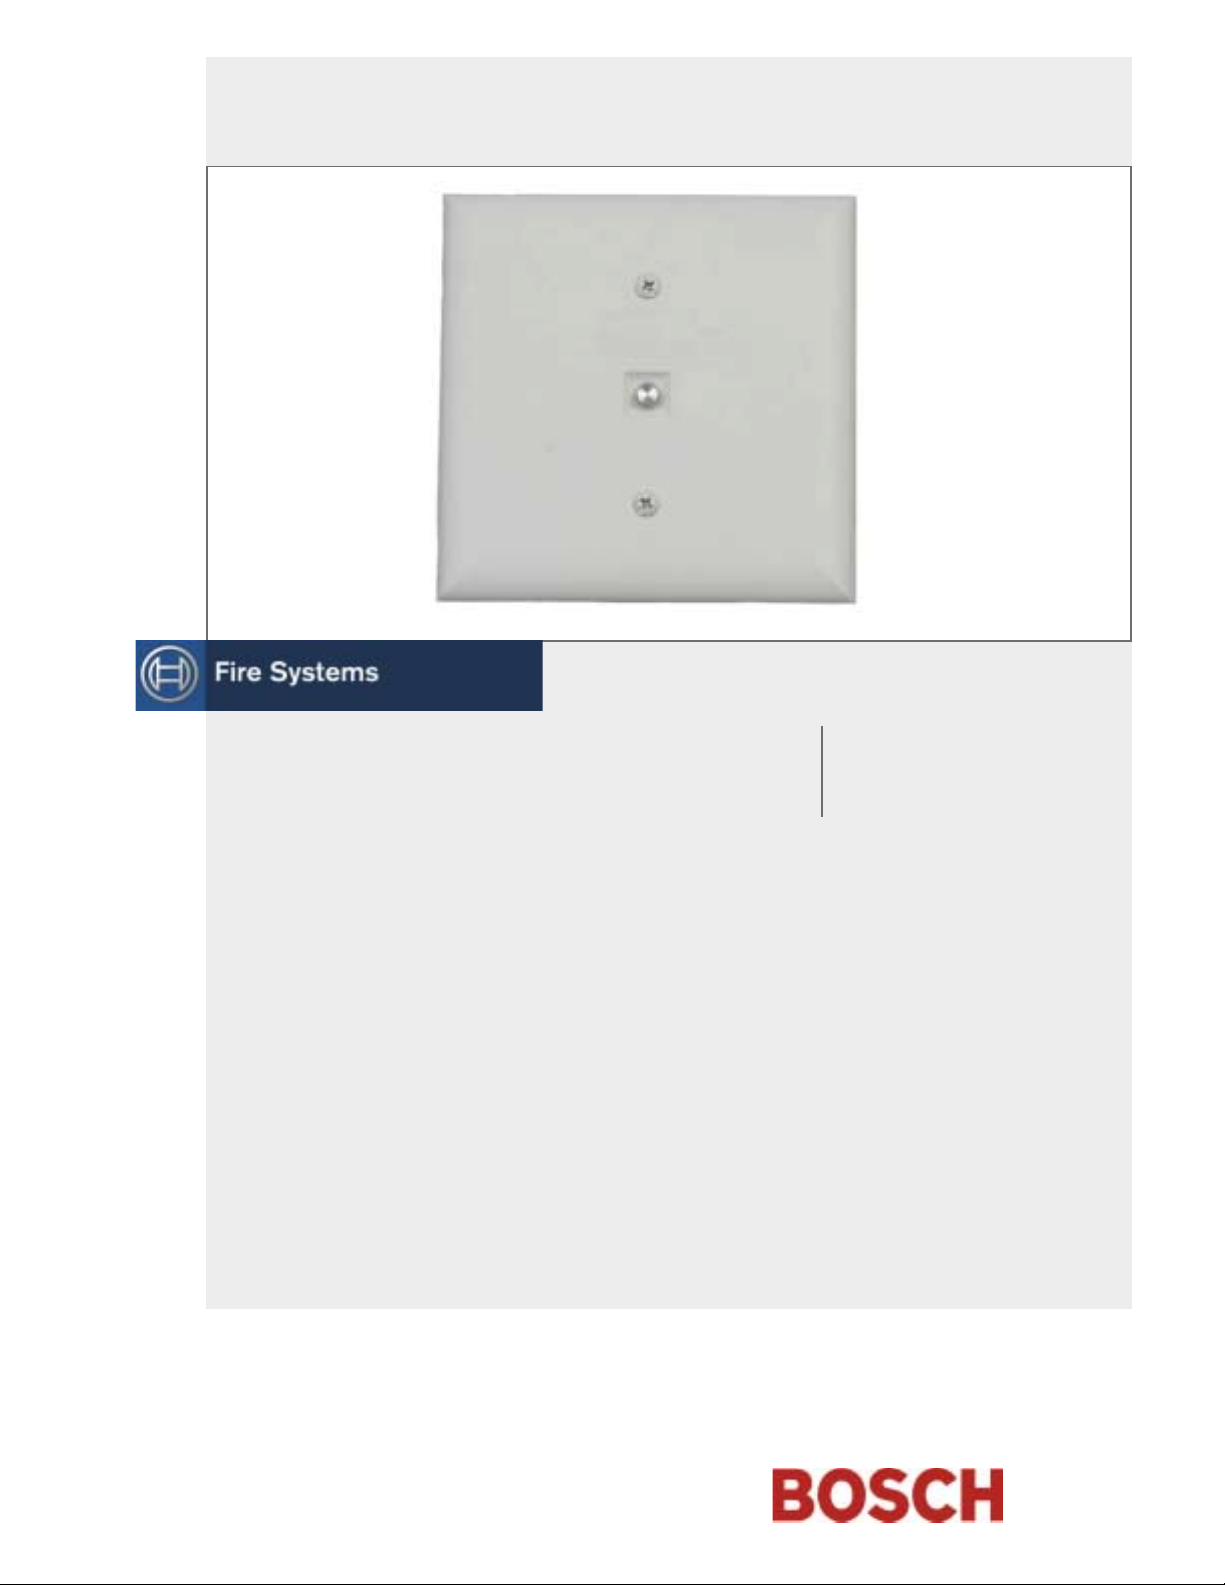
1.0 Description
The D7053 (Figure 1) is a general purpose module that
connects to the control panel’s multiplex bus and
provides a supervised input loop and a Form “C” Relay
output.
All operating power for the D7053 is drawn from the
control panel.
Rotary switches provide convenient address setting.
An on-board Status LED, visible through the low-profile
faceplate, indicates normal operation and
communication with the control panel. The LED flash
rates are:
• Fast: Approximately 4 sec indicating an alarm
condition.
• Medium: Approximately 8 sec indicating a normal
operation.
• Slow: Approximately 16 sec indicating a trouble
condition.
The D7053 can be mounted in a standard double gang
box or a 4 in. x 4 in. electrical box.
Figure 1: D7053 Features
1
2
0
2
0
A
1
9
2
8
0
7
1
6
5
B
0
1
4
1
9
2
3
2
8
7
3
6
4
5
3
4
1 - Status LED
2 - Zone input/output terminals
3 - MUX bus loop terminals
4 - Rotary address switches
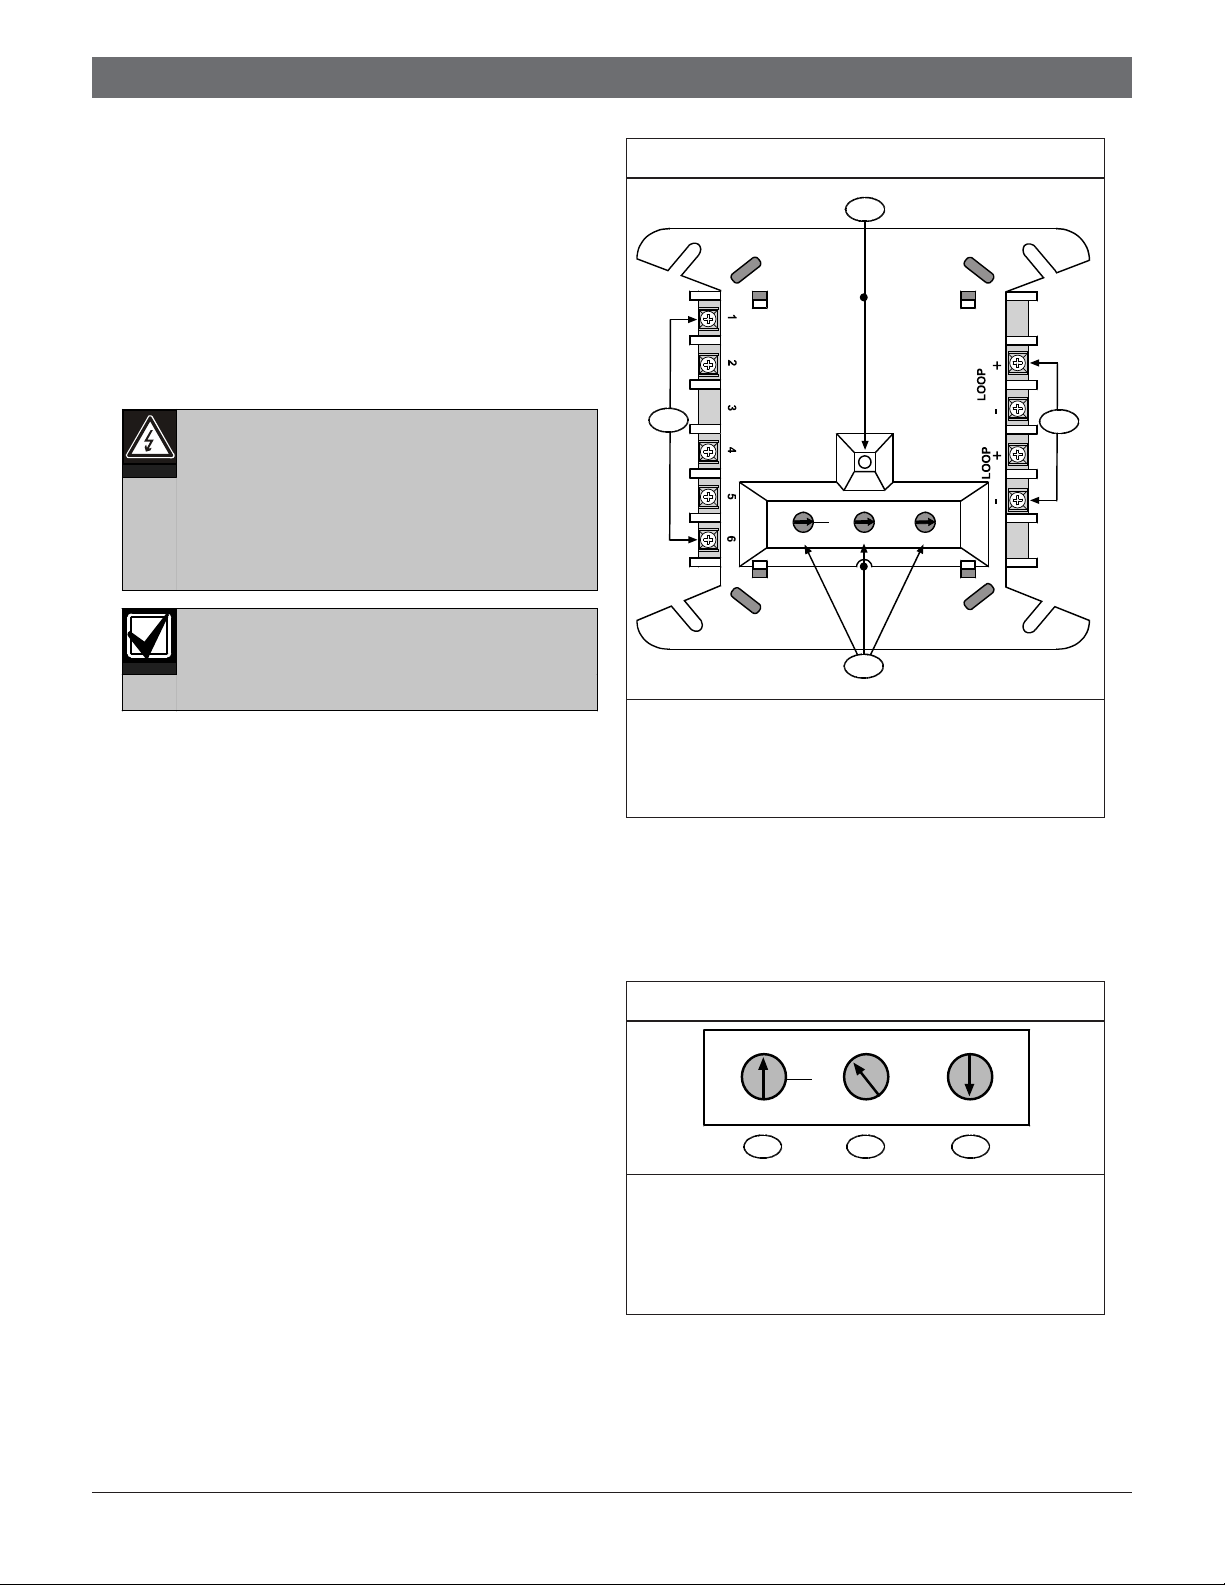
2.0 Setting the Address
Set the D7053 address using a flat-blade screwdriver to
position each rotary switch located on the front of the
module (Figure 2). Note that the switches click when
turned.
Figure 2: Setting the Address
A
0
1
2
0
1
B
2
1 2 3
1 - Hundreds 2 - Tens 3 - Ones
A = D7024 FACP, B = DS9400M FACP
For example:
0 hundreds, 9 tens, 5 ones = Address 095 on the
The valid D7053 address is 9 to 255. For additional
address limitations refer to the D7024 Operation and
Installation Guide (P/N: 31499) or the DS9400M
Reference Guide (P/N: 29428).
0
1
9
2
8
3
7
4
6
5
D7024 FACP
0
1
9
2
8
3
7
4
6
5
Bosch | 11/04 | 48342E2
Page 3
D7053 | Installation Instructions | 3.0 Wiring
The D7053 requires two program addresses. The address
cannot be 8 or any multiple of 8 such as 16, 24, 32, and
so on.
The A address range works on the D7039
Multiplex Expansion Module with the D7024
FACP. The B address range works on the
DS9431 Multiplex Expansion Module with
the DS9400M FACP.
Figure 2 on page 2 shows the input address set at 095.
The output address is set to the next consecutive address,
096. Because the hundreds address is within the input
address range, it works on the D7039 with the D7024
FACP.
3.0 Wiring
Remove all power before making electrical
connections. Failure to do so can result in
personal injury or damage to the equipment.
The wiring connections are made using the zone wiring
and MUX bus loop terminals located on either side of
the D7053 (Items 2 and 3 in Figure 1 on page 2).
All terminals can accommodate up to and including
12 AWG (2.3 mm) wire. Follow the wiring guidelines
specified by NFPA 70 and the local AHJ.
The loop and zone wiring is power limited and
supervised. The relay contacts are not power limited or
supervised. Refer to Figures 3 and 4 for wiring
connections.
Figure 3: Field Wiring Connections
1
2
3
4
4
5
5
6
6
0
2
1 - 2.21 kΩ end-of-line (EOL) resistor, UL Listed
(P/N: 25899)
2 - Zone in (+)
3 - Zone in (-)
4 - Normally-open (NO)
5 - Common (COM)
6 - Normally-closed (NC)
Note: The maximum zone wire resistance is 100 Ω.
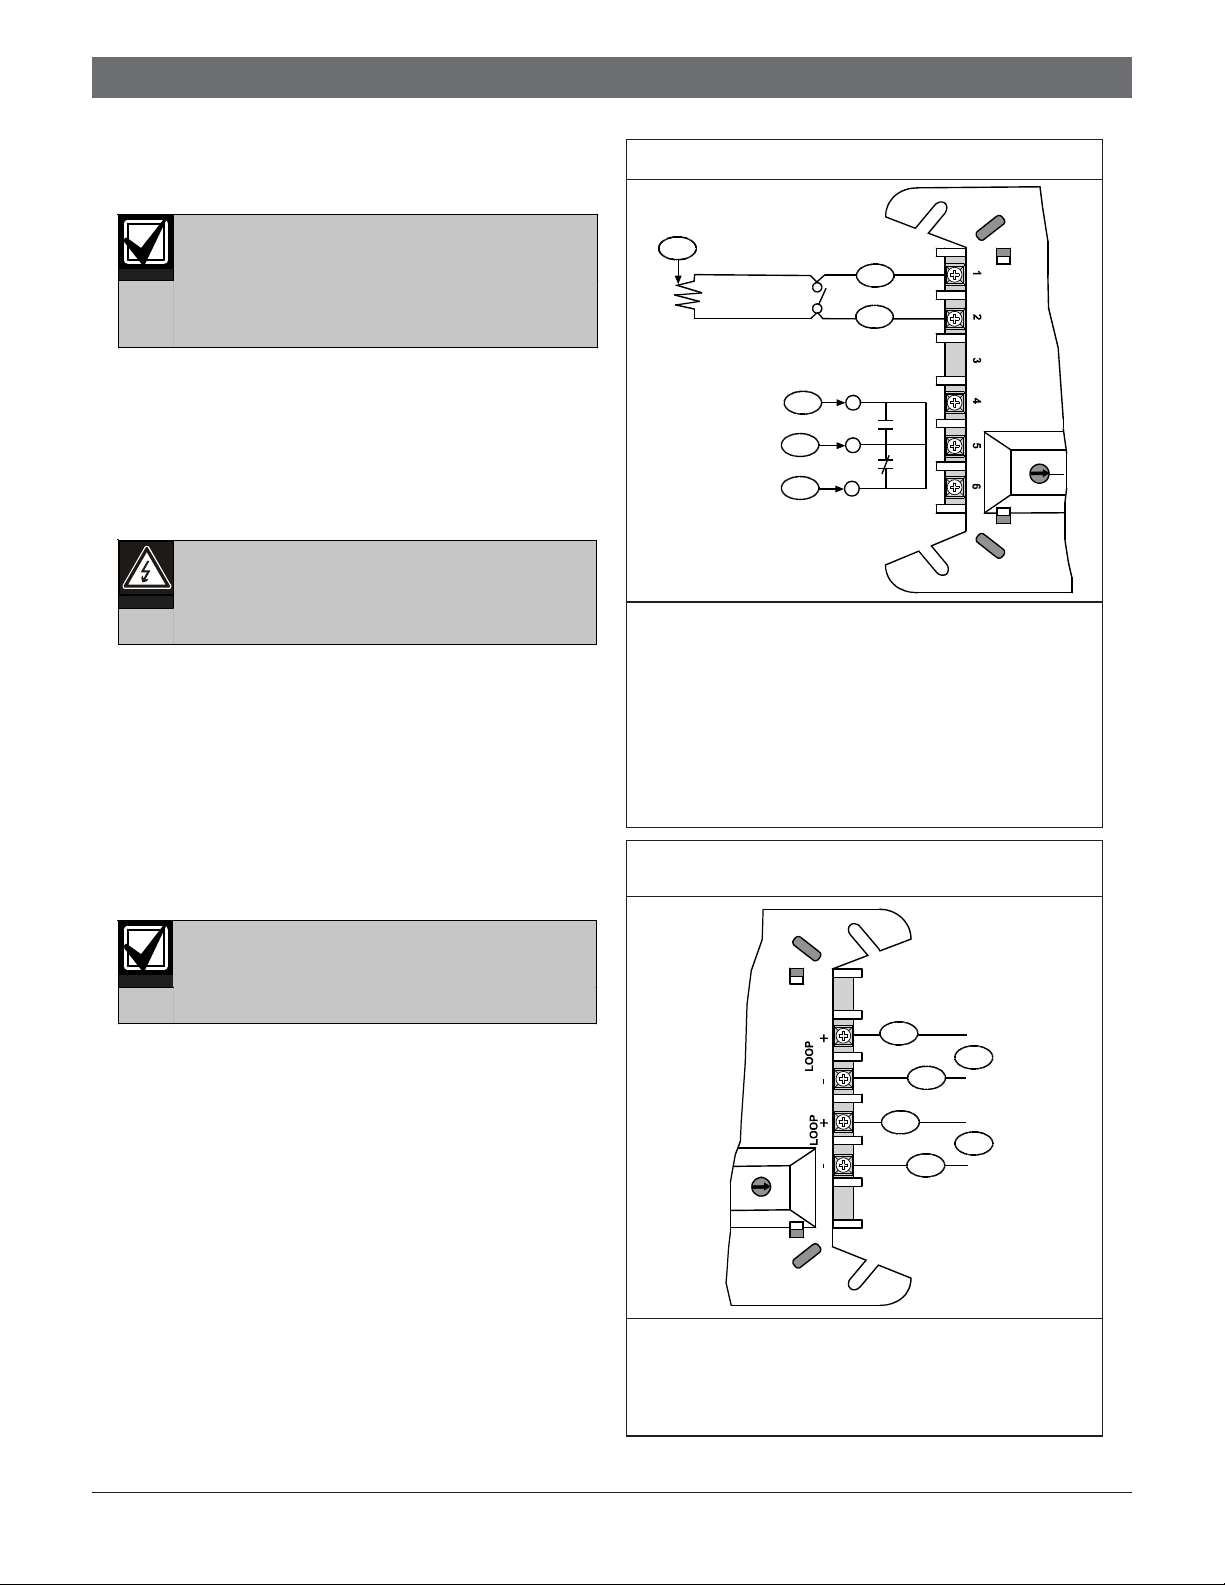
Figure 4: Loop and Control Panel Wiring
Connections
A
1
2
0
1
B
Use normally-open (NO) contacts for
Underwriters Laboratories, Inc. (UL) Listed
fire installations.
1
3
2
1
4
0
1
9
8
2
7
3
6
4
5
2
1 - MUX bus loop (+)
2 - MUX bus loop (-)
3 - To the next device
4 - From previous device, the D7039, or the DS9431
3Bosch | 11/04 | 48342E
Page 4

D7053 | Installation Instructions |
4.0 Installation
4.0 Installation
Complete all wiring before installing the D7053 and faceplate.
1. Wire the D7053 according to Figures 3 and Figure 4 on page 3.
2. Mount the D7053 on a standard double-gang box (Figure 5) or 4 in. x 4 in. electrical box (Figure 6).
Figure 5: Mounting the D7053 on a Standard Double-Gang Box
1
2
3
1
0
0
A
1
2
0
1
B
2
0
1
9
1
9
8
2
8
2
7
3
7
3
6
6
4
4
5
5
1 - Screws (4), not supplied 2 - D7053 Module 3 - Double-gang box
Figure 6: Mounting the D7053 on an Electrical Box
1
2
3
1
A
0
0
1
2
0
1
2
B
0
1
9
1
9
8
2
8
2
7
3
7
3
6
4
6
4
5
5
1 - Screws (2), not supplied 2 - D7053 Module 3 - 4 in. x 4 in. electrical box
Bosch | 11/04 | 48342E4
Page 5

3. Secure the faceplate to the front of the D7053 (Figure 7).
Figure 7: Mounting the Faceplate
2
1
D7053
D7053 | Installation Instructions | 4.0 Installation
3
0
0
1
2
0
1
2
0
A
1
9
1
9
8
2
2
8
7
3
7
B
3
6
4
6
4
5
5
1 - Screws (2), not supplied 2 - Faceplate 3 - D7053 Module on electrical box
5Bosch | 11/04 | 48342E
Page 6

D7053 | Installation Instructions |
5.0 Specifications
Table 1: Specifications
Control Panel
Programming Type
Control Panel
Requirements
Multiplex Bus Average
Current Draw
Output Rating
Fuse Rating
Operating Temperature
Relative Humidity
Listings and Approvals
Input or output
D7024 or DS9400 Series FACP with ROM version 2.0 or greater and a D7039 or DS9431
Multiplex Expansion Module installed. Refer to the D7024 Operation and Installation Guide
(P/N: 31499) or the DS9400M Reference Guide (P/N: 44578) for specific programming
information. Refer to the D7039 Installation Guide (P/N: 38685) or the DS9431 Installation
Guide (P/N: 41381) for multiplex wiring information.
Alarm: 700 µA
Standby: 700 µA
Nominal: 12 V
120 VAC at 0.5 A; 1.0 A resistive loads only
0.2 in. x 0.8 in. (5 mm x 20 mm) 1.6 A fast acting
0°C to +49°C (+32°F to +120°F)
93% non-condensing
UL864
California State Fire Marshall (CSFM)
5.0 Specifications
Bosch | 11/04 | 48342E6
Page 7

Notes
D7053 | Installation Instructions | Notes
7Bosch | 11/04 | 48342E
Page 8

Bosch
130 Perinton Parkway
Fairport, NY 14450-9199 USA
Customer Service: (800) 289-0096
Technical Support: (888) 886-6189
© 2004 Bosch
48342E
 Loading...