


1002B
ENGLISH
User Manual
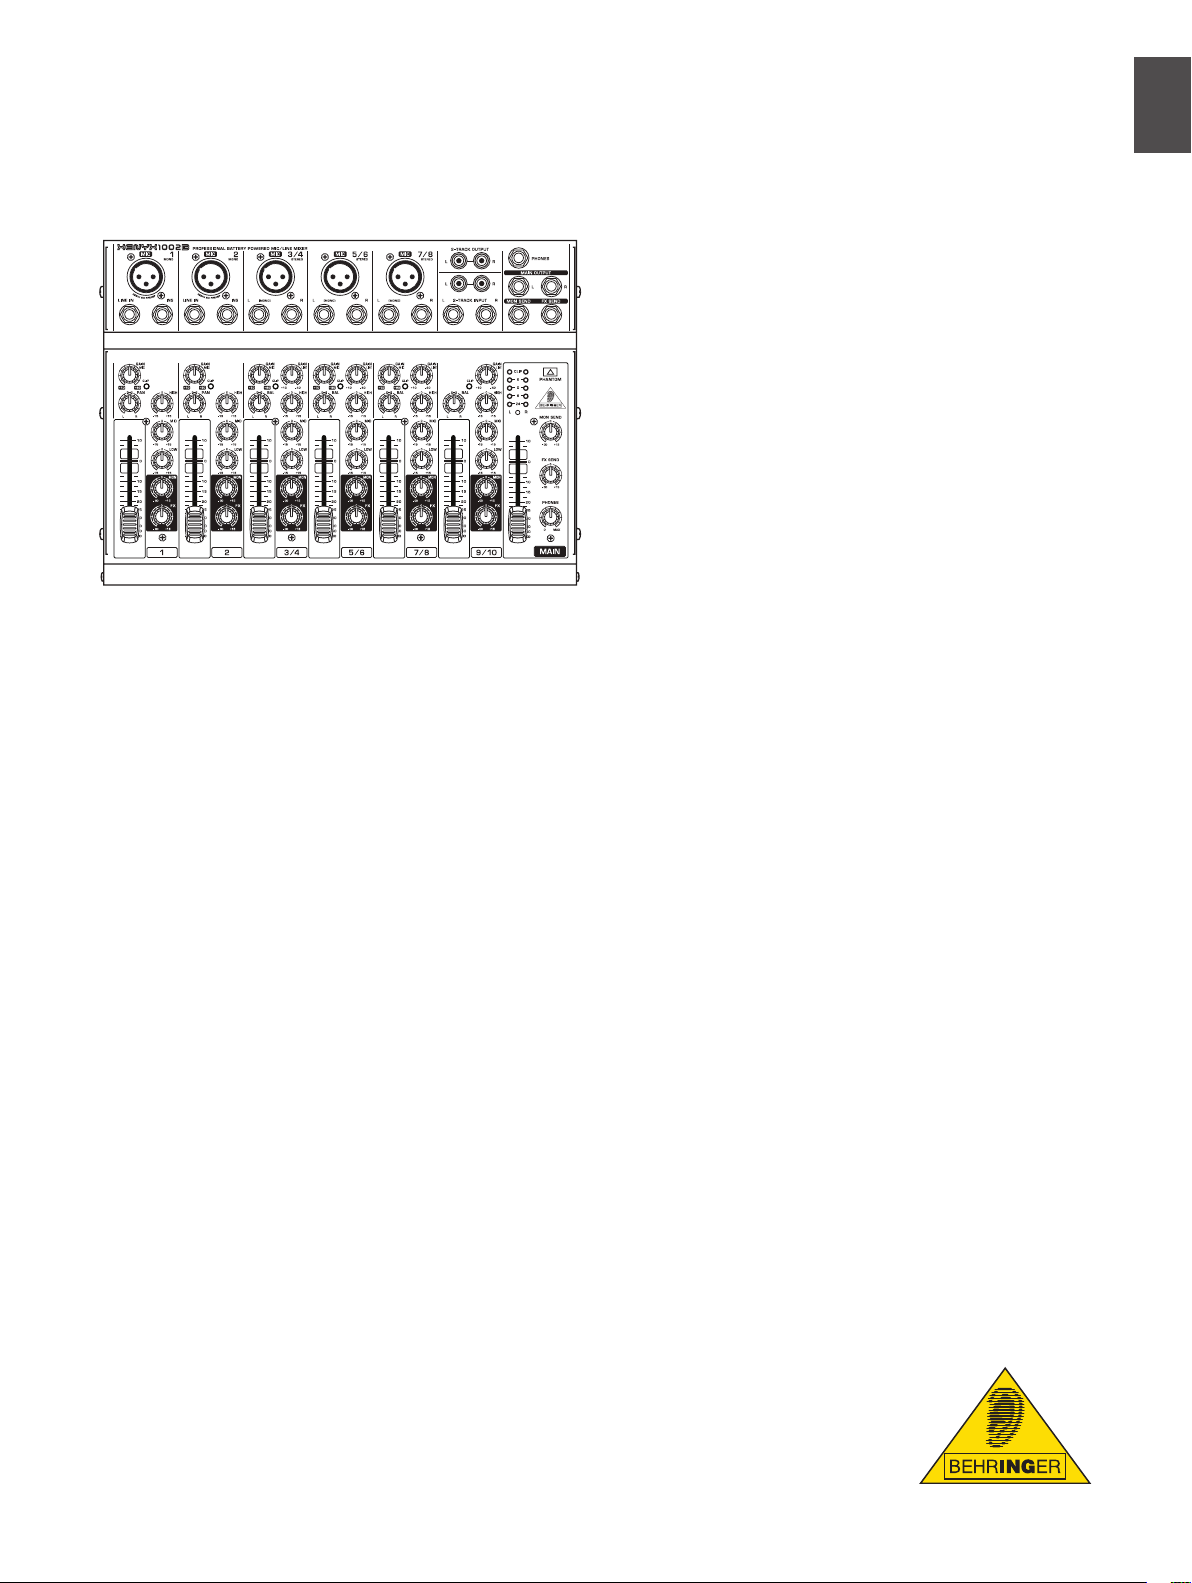
XENYX 1002B
Ultra low-noise design,
10-input, 2-bus mic/line mixer
with optional battery
operation
Thank you
Thank you for choosing the XENYX 1002B 10 input mixer. This mixer
is packed with features like ultra low-noise XENYX mic preamps,
neo-classic “British” 3-band EQs, and stereo channels that allow
simultaneous mic and line input use, as well as both monitor and
FX sends on each channel. The 1002B can also operate on battery
power, a unique feature that allows you to record or perform on
the go or outdoors. The 1002B delivers everything you expect
from a powerful, small-format mixer. From broadcasting and video
dubbing to full band performance and recording, this versatile
piece of gear works wonders in a variety of applications.
Table of Contents
Thank you ..................................................................... 1
Important Safety Instructions ................................... 2
1. Before You Get Started ........................................... 3
2. Audio Connections ................................................. 4
3. Controls and Connectors ...................................... 5
4. Gain Setting ............................................................. 6
5. Applications ............................................................ 8
6. Specifications .......................................................... 9
Limited waranty ......................................................... 11
Legal Disclaimer ........................................................ 12
This manual is available in English, German, Spanish and
Chinese. Download them by going to the appropriate product
page at:
www.behringer.com

ENGLISH
XENYX 1002B User Manual
2
*
Terminals marked with this symbol carry electrical current of
suffi cient magnitude to constitute risk of electric shock. Use
only high-quality commercially-available speaker cables with ¼" TS
plugs pre-installed. All other installation or modifi cation should be
performed only by qualifi ed personnel.
*
This symbol, wherever it appears, alerts you to the presence of
uninsulated dangerous voltage inside the enclosure - voltage that
may be suffi cient to constitute a risk of shock.
!
This symbol, wherever it appears, alerts you to important operating
and maintenance instructions in the accompanying literature.
Please read the manual.
Caution !
To reduce the risk of electric shock, do not remove the top cover
(or the rear section). No user serviceable parts inside. Refer servicing
to qualifi ed personnel.
Caution !
To reduce the risk of fi re or electric shock, do not expose this
appliance to rain and moisture. The apparatus shall not be exposed
to dripping or splashing liquids and no objects fi lled with liquids,
such as vases, shall be placed on the apparatus.
Caution !
These service instructions are for use by qualifi ed service personnel
only. To reduce the risk of electric shock do not perform any
servicing other than that contained in the operation instructions.
Repairs have to be performed by qualifi ed service personnel.
Read these instructions.
[1]�
Keep these instructions.[2]�
Heed all warnings.[3]�
Follow all instructions.[4]�
Do not use this apparatus near water.[5]�
Clean only with dry cloth.[6]�
Do not block any ventilation openings. Install in accordance [7]�
with the manufacturer’s instructions.
Do not install near any heat sources such as radiators, heat
[8]�
registers, stoves, or other apparatus (including amplifi ers) that
produce heat.
Do not defeat the safety purpose of the polarized or
[9]�
grounding- type plug. A polarized plug has two blades with one
wider than the other. A grounding-type plug has two blades
and a third grounding prong. The wide blade or the third prong
are provided for your safety. If the provided plug does not fi t
into your outlet, consult an electrician for replacement of the
obsolete outlet.
Place the power cord so that it is protected from being walked
{10}�
on and sharp edges. Be sure that the power cord is protected
particularly at plugs, convenience receptacles and the point
where it exits from the apparatus.
The apparatus shall be connected to a MAINS socket outlet
{11}�
with a protective earthing connection.
Where the MAINS plug or an appliance coupler is used as
{12}�
the disconnect device, the disconnect device shall remain
readily operable.
Only use attachments/accessories specifi ed by the
{13}�
manufacturer.
Use only with the cart, stand, tripod, bracket,
{14}�
or table specifi ed by the manufacturer, or
sold with the apparatus. When a cart is used,
use caution when moving the cart/apparatus
combination to avoid injury from tip-over.
Unplug this apparatus during lightning
{15}�
storms or when unused for long periods of time.
Refer all servicing to qualifi ed service personnel. Servicing is
{16}�
required when the apparatus has been damaged in any way,
such as power supply cord or plug is damaged, liquid has been
spilled or objects have fallen into the apparatus, the apparatus
has been exposed to rain or moisture, does not operate
normally, or has been dropped.
EN
Important Safety Instructions

ENGLISH
XENYX 1002B User Manual
3
Before You Get Started1.
Shipment1.1
Your XENYX 1002B was carefully packed at the factory and the
packaging is designed to protect the unit from rough handling.
Nevertheless, we recommend that you carefully examine the
packaging and its contents for any signs of physical damage
which may have occurred during transit.
If the unit is damaged, please do NOT return it to
◊
BEHRINGER, but notify your dealer and the shipping
◊
company immediately. Otherwise, claims for damage or
replacement may not be granted.
We recommend that you use a ight case, so as to give your
◊
power mixer optimum protection during use or transport.
Always use the original packing carton to prevent damage
◊
during storage or transport.
Make sure that children cannot play unsupervised with the
◊
device or its packaging.
Please ensure proper disposal of all packing materials.
◊
Online registration1.2
Please do remember to register your new BEHRINGER equipment right after your purchase by visiting www.behringer.com
(alternatively www.behringer.de) and kindly read the terms and
conditions of our warranty carefully.
Should your BEHRINGER product malfunction, our goal is to
have it repaired as quickly as possible. To arrange for warranty
service, please contact the retailer from whom the equipment
was purchased. Should your BEHRINGER dealer not be located
in your vicinity, you may directly contact one of our subsidiaries.
Corresponding contact information is included in the original
equipment packaging (Global Contact Information/European
Contact Information). Should your country not be listed, please
contact the distributor nearest you. A list of distributors can be
found in the support area of our website (www.behringer.com).
Registering your purchase and equipment with us helps us
process your repair claims quicker and more efciently.
Thank you for your cooperation!
Basic Operation 1.3
The XENYX 1002B is easy to use. Simply follow these steps to
achieve the best possible sound:
Plug the included power cable into the back of the mixer. 1.
Plug the other end of the cable into a mains outlet. DO NOT
turn the mixer on yet.
Make all appropriate audio connections:2.
Connect microphones to the MIC jacks using XLR cables.•
Connect line-level sources to the LINE IN jacks using ¼" •
TS cables.
Connect stereo sources (keyboard, drum machine) to one •
of the stereo LINE IN jacks using a pair of ¼" TS cables.
Connect a CD player to the 2 TRACK INPUT using ¼" or •
RCA cables.
See Applications chapter for more details and options. •
Connect a monitoring source or speaker system. You may 3.
connect powered studio monitors, powered loudspeakers or
a power amp to the MAIN OUTPUT jacks. You may also
connect a pair of headphones to the PHONES jack. Leave
powered speakers and/or power amps turned off until the
mixer has been powered on.
Turn all PAN/BAL and EQ knobs to their center (12 o’clock) 4.
position. Set all other knobs and faders all the way down/off.
Once all connections have been made, you may turn the 5.
mixer on.
After the mixer is turned on, you may also turn the speakers 6.
or power amp on.
Set the input gain level for each channel using the GAIN 7.
knob. While testing the audio source, turn the GAIN knob as
high as possible without allowing the CLIP LED to light. See
the Gain Setting section for details.
Raise the MAIN fader to 0. You may adjust it further as you 8.
begin to set levels.
Adjust all channel volume faders until you achieve a bal-9.
anced mix.
Make sure that the channel CLIP LEDs and MAIN CLIP 10.
LEDs do not light frequently. If this happens, adjust the
respective GAIN or MAIN fader accordingly.
Congratulations! You have now set up a basic mix! The 11.
1002B offers many other cool features as well, so continue
through the manual to make the most out of this powerful
little mixer.
ENGLISH
XENYX 1002B User Manual
4
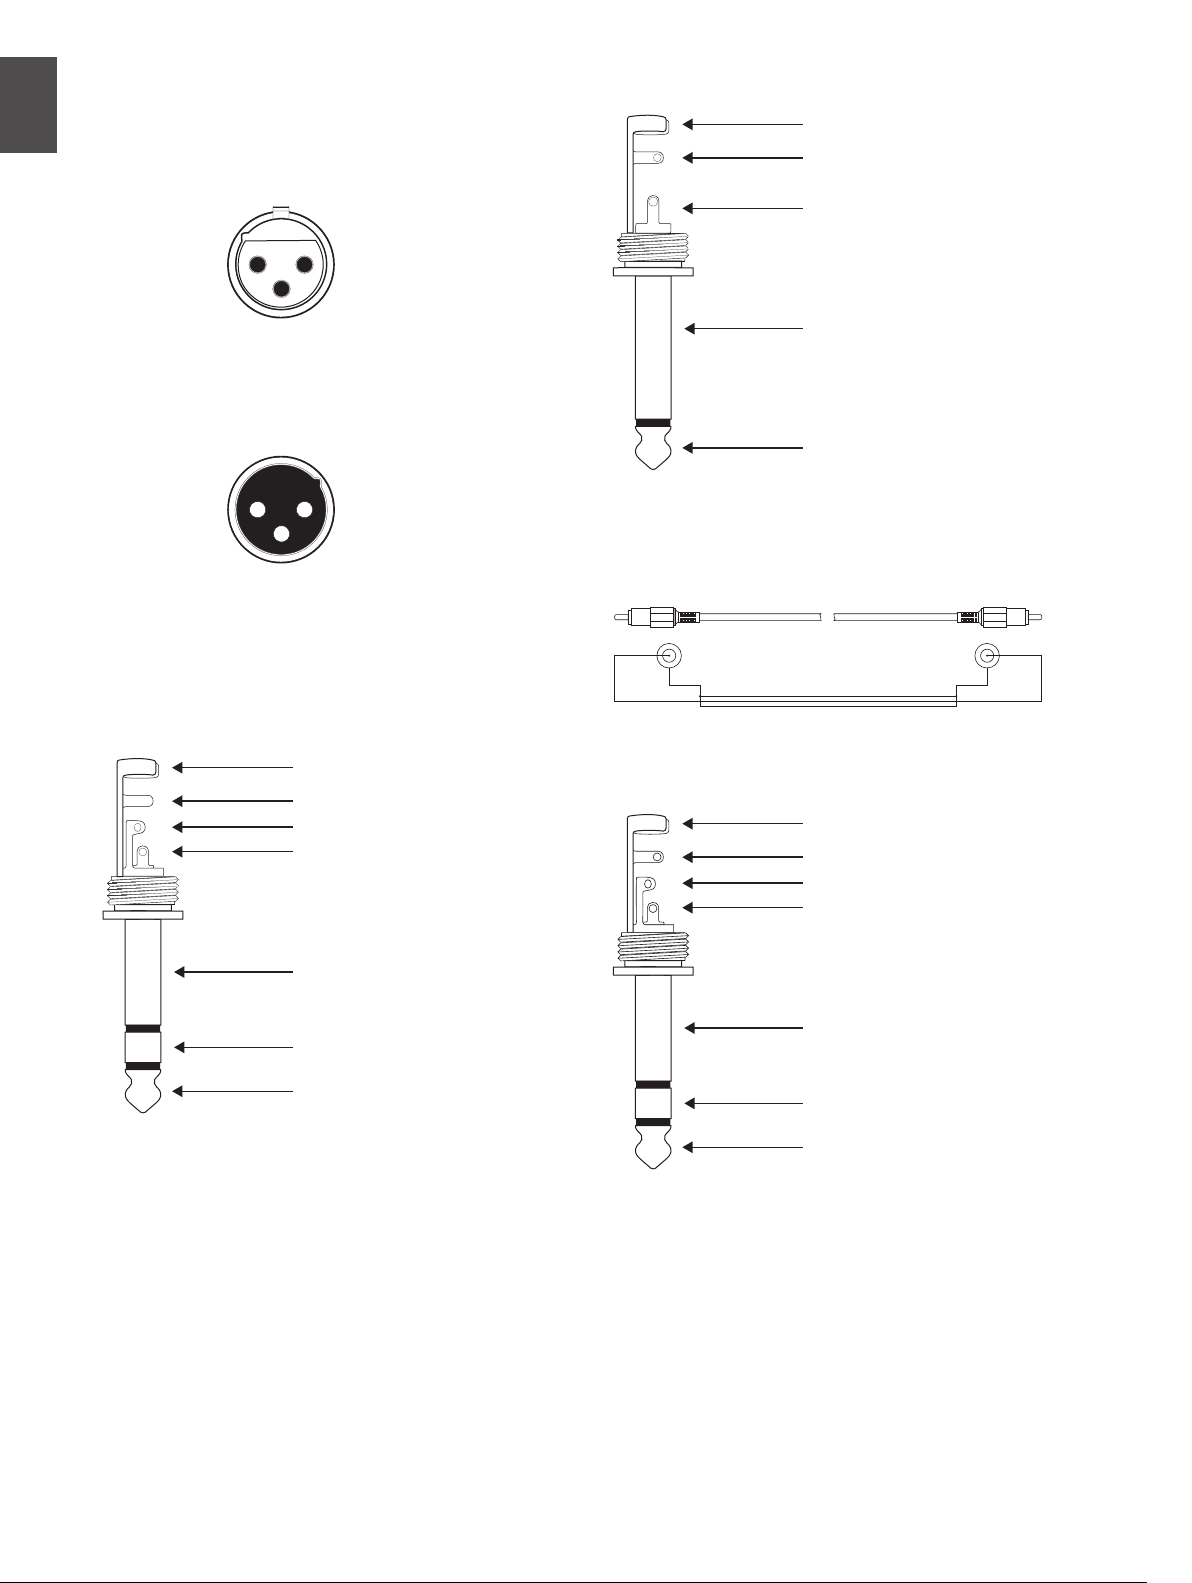
input
output
For unbalanced use, pin 1 and pin 3 have to be bridged
1 = ground/shield
2 = hot (+ve)
3 = cold (-ve)
12
3
1
2
3
Balanced use with XLR connectors
strain relief clamp
sleeve
ring
tip
sleeve
ground/shield
For connection of balanced and unbalanced plugs,
ring and sleeve have to be bridged at the stereo plug.
Balanced 1/4" TRS connector
ring
cold (-ve)
tip
hot (+ve)
Strain relief clamp
Sleeve
Tip
Sleeve
(ground/shield)
Unbalanced ¼" TS connector
Tip
(signal)
strain relief clamp
sleeve
ring
tip
sleeve
ground/shield
Connect the insert send with the input and the
insert return with the output of the effects device.
Insert send return 1/4" TRS connector
ring
return (in)
tip
send (out)
shield
sleevesleeve
tip tip
Audio Connections2.
Fig. 2.3: ¼" Unbalanced
Fig. 2.1: XLR Balanced
Fig. 2.2: ¼" Balanced
Fig. 2.4: RCA
Fig. 2.5: Insert cable

ENGLISH
XENYX 1002B User Manual
5
Controls and Connectors 3.
Front Panel3.1
MIC
[1]
[2]
[3]
[4]
[5]
[6]
[7]
[8]
– Plug a microphone into this input using an XLR cable.
LINE IN
TS or TRS cable.
INS(ERT)
jack using a TRS to dual TS cable. You may also use the
INSERT jack as a pre-EQ/pre-fader send by plugging in a
¼" TS cable part way to the rst click.
STEREO LINE IN
TS cables, or a single line-level source using the left input
jack only.
GAIN LINE
known as “gain setting.”
GAIN MIC
“gain setting.”
CLIP
PAN/BAL
– Plug a line-level source into this jack using a ¼"
– Plug an external dynamic processor into this
– Plug in a stereo source using two ¼"
– Adjusts STEREO LINE IN sensitivity, also
– Adjusts MIC input sensitivity, also known as
– Lights when preamp begins to overload.
– Adjusts the left-to-right positioning of the
channel in the stereo eld.
HIGH
[9]
[10]
[11]
[12]
[13]
[14]
[15]
[16]
[17]
– Adjusts frequencies above 10 kHz by +- 15 dB.
MID
– Adjusts frequencies peaking at 700 Hz by +- 15 dB.
LOW
– Adjusts frequencies below 50 Hz by +- 15 dB.
MON
– Adjusts the amount of signal sent to the MON
SEND jack. This signal is sent pre-fader.
FX
– Adjusts the amount of signal sent to the FX SEND
jack. This signal is sent post-fader.
CHANNEL FADER
main mix.
2-TRACK OUTPUT
device using RCA cables.
2-TRACK INPUT
player using RCA or ¼" cables.
PHONES
plug.
– Connect a pair of headphones with a ¼" TRS
– Adjusts the channel volume in the
– Connect to the inputs of recording
– Connect to outputs of CD, tape or MP3
 Loading...