

Page 1
at&t
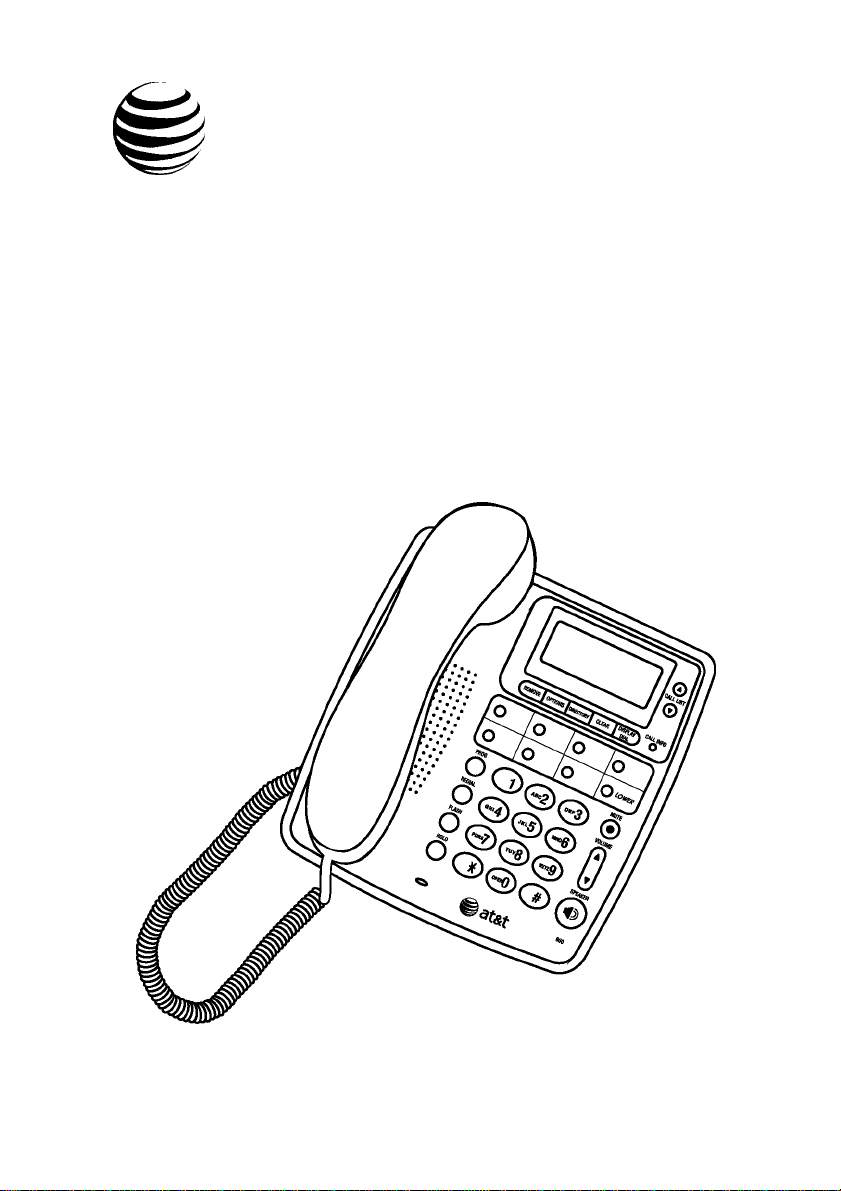
Quick start guide
950 Speakerphone
with caller ID/call
waiting
Page 2
This quick start guide provides basic instructions. For additional
installation options and complete instructions which allow you
to use all features of this phone, refer to your speakerphone with
caller ID with call waiting 950 user's manual, part 2.
Installation
Battery installation
Before using the telephone, you should install four AA batteries (purchased
separately). You can use the phone without the batteries to dial and receive
calls using the handset, but four AA batteries are required to power the
display screen, speakerphone. Features Setup, Program, Flash, Fiold, Mute
and caller ID features.
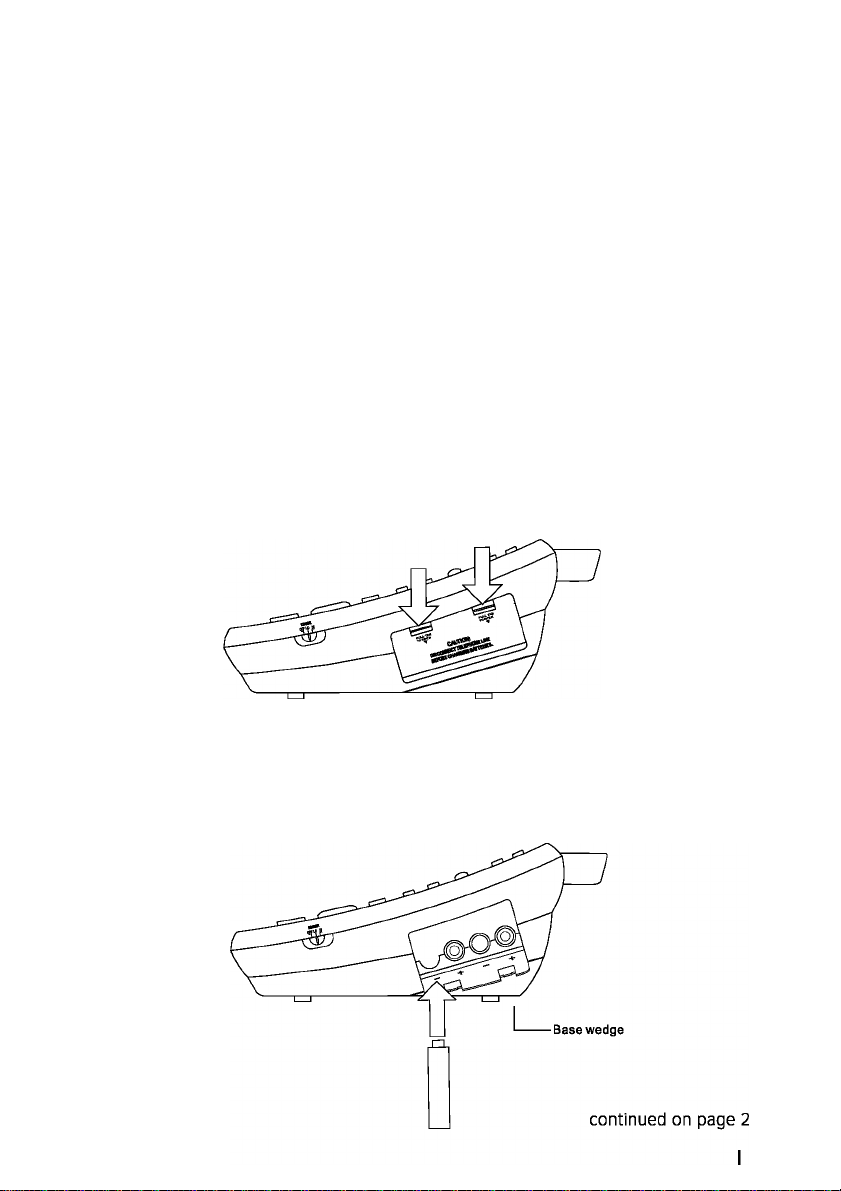
CAUTION: Always unplug the line cord before installing
A
new batteries.
I. Press down on the battery compartment tabs as shown
and pull to open the battery cover.
2 . Insert four new AA batteries (purchased separately) following
the polarity markings (+ and -) in the battery compartment.
Page 3
Battery installation
continued from page 1
3 . Close the battery compartment cover, making sure
the cover snaps into place.
Tabletop/desktop installation
For wall mount installation, see page 7 of user's manual part 2.
I . Check the base wedge.
The set arrived with the base wedge positioned for desk use.
Make sure it is secure by pressing the two feet.
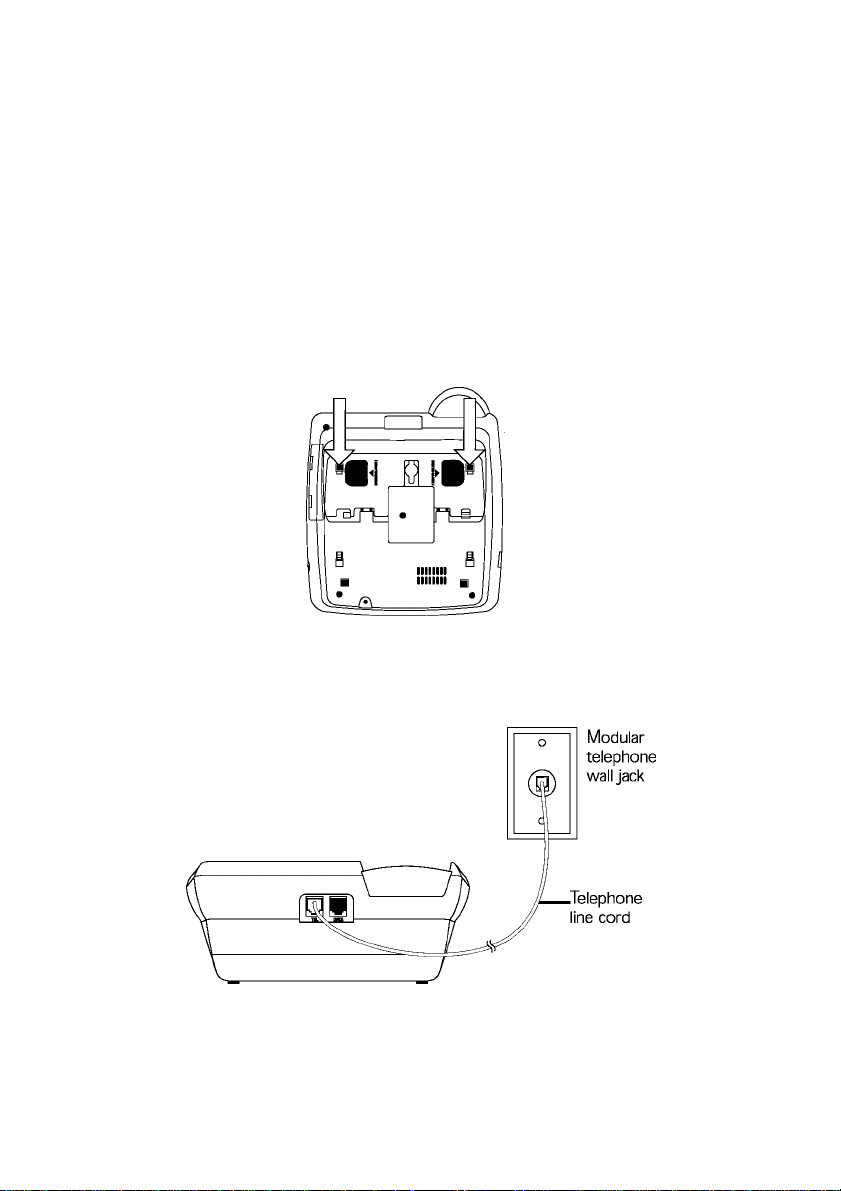
2 . Connect the long telephone line cord to the jack labeled TEL
on the back of the phone.
3 . Connect the other end of the line cord to a modular wall jack.
Page 4

4 . Connect the handset to the telephone.
Plug the coiled handset cord into the handset jack on the left
side of the phone. Plug the other end of the coiled cord into
the handset, then hang up.
o o o o
0 0 o
O Q)(3)@ ®
o @)@(3) n
handsetjack
O @(3)(g)
1
5 . Check for dial tone.
Lift the handset and listen for a dial tone, if you cannot hear a dial
tone, press B/VOLUME, if you still do not hear a dial tone, see
the In case of difficulty section on pages 34-36 of your user's
manual, part 2.
Your phone will work immediately after installation using the default feature
settings (See Default settings on page 31 of your user's manual, part 2).
O NOTE: If you subscribe to caller ID services from your local telephone
service provider, you must follow the instructions in Set home area
code for your phone to properly recognize and dial calls (see page 5).
You may also need to Set local area code (see page 6).
Page 5

Feature setup
Q NOTE: You can exit feature setup at any time by
pressing \clear] or by lifting the handset when there
is no incoming call. The order features appear in the
menu changes after initial setup. For complete feature
setup, see Set remaining features on page 14 of
your user's manual, part 2.
Language selection
You can select ENGLISH, ESPflNOL (Spanish) orFRflHCflis
(French) as the language that your screen displays. When
you first install batteries, the screen displays:
1.
Press CALL LIST ®of CALL LIST ® until the
screen displays your language selection.
In case it is not your first time installing batteries
(which language? is not displayed on screen), press
I OPTIONS I button repeatedly until which language? is
displayed on screen, then press CALL LIST ® or CALL
LIST ® until screen displays your language selection.
2.
Press \OPTIONS] to save the setting, and move to the
next option.
Set contrast
Adjust screen lighting to a comfortable level, from 1 (light) to
4 (dark).
I. Press and release I options I until the screen displays
SET CONTRAST.
Press CALL LIST ® or CALL LIST H until the
2.
screen displays the contrast level you prefer.
Press I opnows I to save the setting, and move to the
3.
next option.
Page 6

Set home area code
You must program your area code, so your phone can properly recognize
and dial calls.
For calls within your area code
You dial: Enter in step 2:
7 digits Your area code
(phone number, no area code)
10 digits (x| |x) (X)
(area code + phone number)
—OR—
11 digits ([T| + area code +
phone number)
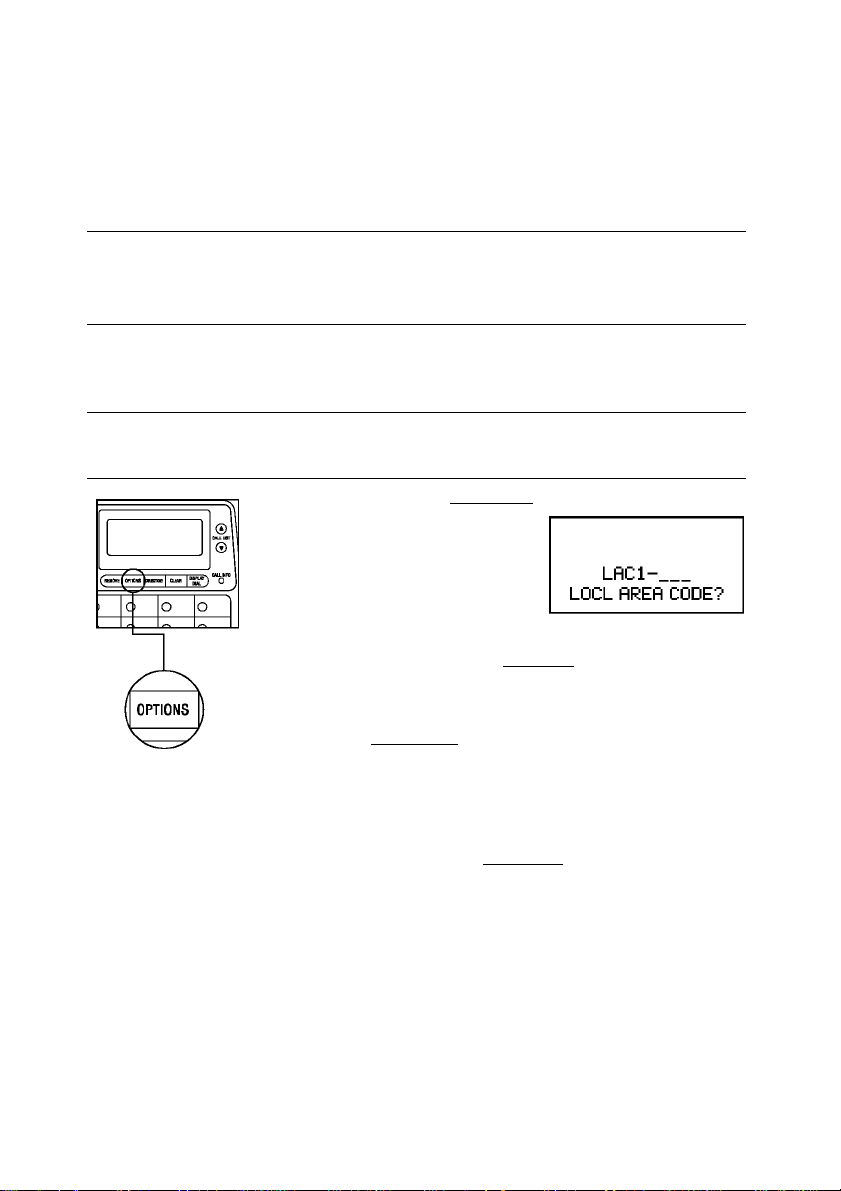
I. Press \OPTIONS] until the screen displays:
2. Use the keypad to enter the three digits of your
home area code.
3. Press I opr/ows I to save the setting. You will see the
local area code setup screen.
Page 7
Set local area code
You can program up to four local area codes.
Calls outside your area
For: You dial: Enter in step 2:
All calls outside
your area code
Some calls 10 digits Area codes
outside your (area code +
area code
if you dial 10 digits (area code + phone number) for calls within your own
area code, include your area code as a local area code.
11 digits
(1 + area code +
phon e number)
phone number)
I. Press and release I opnows I until the screen displays:
Use the keypad to enter the three digits of the first
local area code. Press \options] to advance
to set the next local area code (LRC2-, LFIC3-,
LRC4-).
Press ¡OPTIONS] to save the settings when you have
finished entering local area codes.
No local
area code
that do not
require a 1
O NOTE: if you do not need to program a local area
code, continue pressing i options l until the SET CLOCK
screen appears.
Page 8

Set time and date
I. Press and release \ options \ until the screen displays:
12:00FlM 1-01
SET CLOCK
2.
Use the keypad to change the blinking digit.
To enter a number that is less than 10, you must
enter a 0 before the number.
For example: To enter 1 o'clock, you must enter 01
and to enter the month of March, you must enter 03.
Use CALL LIST ® of CALL LIST ID to move to the
next digit. Use S) to toggle between AM and PM.
3.
When the correct time and date (month first) are
shown, press \options] to save the new setting and
move to the next option.
Page 9

o o o o
O Q)(3)@ ®
O&®<3>
o @ ® ®
6 Q)@Ci(®
Telephone operation
Make a call
1. Lift the handset, then dial the number.
— OR —
Press \ SPEAKER \. then dial the number.
2. To end the call, hang up.
— OR —
Press \SPEAKER] again.
Answer a call
Lift the handset.
— OR —
Press \SPEAKER].
Page 10

at&t
www.teLephones.att.com
AT&T and the AT&T logo are trademarks of AT&T intellectual Property ii, L.P. d/b/a
©2008 Advanced American Telephones. All rights resen/ed.
AT&T intellectual Property licensed to Advanced American Telephones.
Printed in China, issue 8 AT&T 07/08.
 Loading...