

Page 1

New Features in Aperture 1.5
Aperture 1.5 provides performance, reliability,
and compatibility enhancements.
This document covers the following:
Â
Working with the Aperture 1.5 Library (p. 2)
Â
Working with Image Previews (p. 4)
Â
Drag-and-Drop JPEG Export (p. 4)
Â
Exporting Digital Master Files with Metadata (p. 4)
Â
Exporting Metadata Listed in a Separate File (p. 4)
Â
Exporting Using Plug-ins (p. 5)
Â
Enhanced Loupe Options (p. 5)
Â
Working with Adjustment Presets (p. 5)
Â
Saving RAW Fine Tuning Presets (p. 5)
Â
Working with the Color Controls (p. 6)
Â
Working with the Edge Sharpen Controls (p. 6)
Â
Working with the Adjustments and Metadata Inspectors (p. 6)
Â
Automatic Updating of the Keywords HUD (p. 6)
Â
Improved Searching by IPTC Information (p. 7)
Â
Using the Lift & Stamp HUD (p. 7)
Â
Working with the AutoFill List Editor (p. 7)
Â
Working with Metadata Views and Metadata Presets (p. 7)
Â
Enhanced Resolution Controls in the Print Dialog (p. 8)
Â
Enhanced AppleScript Support (p. 8)
Â
About Backing Up Your Images (p. 8)
Â
Updated Keyboard Shortcuts (p. 9)
Â
Support for Additional RAW File Formats (p. 9)
Â
Enhanced Support for Macintosh Computers (p. 9)
Â
Previous Release Information About Aperture 1.1 (p. 9)
1
Page 2

Working with the Aperture 1.5 Library
Aperture 1.5 has a new, open Library structure that lets you store photos wherever you
choose. You can now copy image files into the Aperture Library in order to work with
them, or you can choose to have Aperture simply link to image files in their current
locations. You can also have Aperture link to your iPhoto Library, without copying the
image files into the Aperture Library. Aperture can work with photos stored on any
number of hard disk drives and other storage media. You can catalog and search for image
files that are stored on multiple volumes, including offline hard disks, CDs, and DVDs.
What Are Managed Images and Referenced Images?
Aperture lets you choose how you organize your photos on disk. You can store your
photos in the Aperture Library, or you can import images by simply linking to the
image files in their current locations, without placing them in the Library.
Images whose digital master files are stored in the Aperture Library are called
images
. These master files are stored in the Library exactly as they were in previous
versions of Aperture. Aperture manages master files stored in the Library, keeping
them always accessible, and provides benefits such as one-click backup of digital
master files to vaults.
Imported images whose digital master files haven’t been placed in the Library are
called
referenced images
a number of substantial benefits to your photography workflow. You can incorporate
your existing portfolio of images into Aperture without changing the current location
of the files. Importing images by reference does not result in a duplication of your
image files in the Aperture Library, thus saving hard disk space. You can also connect
and disconnect hard disks holding your referenced images’ master files as you need
them, allowing you to keep master files for less-used images offline, or make specific
types of images available for editing or adjustments as needed. Using referenced
images in your Aperture system provides a means of building a flexible image
management system customized to your work style.
You specify that an image will be a managed image or a referenced image when you
import it. When importing images, you can:
Â
Specify that master files be stored in the Aperture Library.
Â
Import images as referenced images, so that their master files remain in their
current locations.
Â
Move or copy image files to a new location. For example, you might decide that a
certain group of referenced image files, such as wedding photos, will always be
placed in one hard disk location, while other groups, such as sports photos, will
reside in a different hard disk location.
. Using referenced images in your Aperture system can provide
managed
2
Page 3

You can work with referenced images—creating versions, making adjustments, cropping,
and adding metadata—just as you can with images whose master files are stored in the
Library. Versions that you create from a referenced image are stored in the Library. In
order for you to make adjustments to a version from a referenced image, the referenced
image’s master file must be available on your hard disk or other storage device. For
example, if you delete a referenced image’s master file in the Finder, permanently
removing it from your computer system, Aperture no longer has access to the master file
and so no longer allows you to change your versions or create new ones.
To help you identify referenced images, Aperture marks referenced images with a
badge overlay that you can display or hide. When a referenced image’s master file is not
found, its badge changes to show that the image is not accessible. For example, if you
disconnect a hard disk that holds master files for many referenced images, Aperture
automatically marks the referenced images in the Browser and Viewer as
reconnect the hard disk later, Aperture accesses the master files automatically, bringing
them
online,
and you can work with and change their versions again.
You can search for images based on whether they are managed images, referenced
images, or online or offline images. Aperture also provides robust file-management
tools that let you quickly determine which images are offline and easily reconnect
images whose master files have been moved to different volumes.
offline
. If you
The Advantages of Using Managed and Referenced Images
The advantages of using managed and referenced images are as follows:
Â
Managed images:
system because Aperture stores and maintains the managed images’ master files in
the Aperture Library. Managed images are always available and never offline. You can
back up your managed images’ master files to vaults whenever the volumes
containing the vaults are mounted.
Â
Referenced images:
anywhere on your computer or connected volumes. Even when you unmount a
volume where a referenced master file is located, Aperture remembers its location.
When you mount the volume again, Aperture automatically reconnects the master
file. Although you cannot back up referenced master files to a vault, all metadata,
versions, and previews associated with the master files are stored in the Aperture
Library and are therefore backed up to the vault. Provided you’ve chosen to work
with image previews, you can still view a high-resolution preview of the image in
Aperture, even when a referenced image’s master file is offline. For more information
about working with previews, see “Working with Image Previews” on page 4.
Using managed images provides a simple file-management
Using referenced images gives you the flexibility to store files
3
Page 4

Working with Image Previews
Aperture can now create high-resolution preview images that appear when you select
an image in the Browser. These preview images allow you to quickly see and work with
your images when you select them, even if images are offline referenced images. The
previews allow you to display full-size, detailed views of images in quick succession in
the Viewer and when playing slideshows. You can also specify preview options in the
Preferences window to control the creation, quality, and size of the previews.
You can have Aperture create full-size previews of your images automatically, or you
can control the creation of previews manually. You can also have Aperture create
previews for all your projects or for only specific projects. For example, you can select a
project and specify that Aperture create previews for its images. You can control the
creation of previews on a project-by-project basis. Aperture creates previews for
projects as a background task that you can monitor with the Task list.
You can also control the creation of previews manually. You can select versions and
have Aperture create previews for them whenever you wish. Thus, when Aperture is
not set to create previews for a project automatically, you can still create previews for
specific versions as needed.
You can also change the quality of preview images to match your working preferences.
For example, if you don’t require high-resolution previews, and prefer to work with
smaller image files, you can reduce the size and quality of preview images. This is
particularly useful when working on a MacBook or MacBook Pro computer.
Drag-and-Drop JPEG Export
You can now easily drag high-resolution JPEG previews of images from Aperture 1.5
into other applications. Without a lengthy export process, you can drag Aperture
images into Keynote presentations, iWeb pages, iDVD projects, the Finder, and more.
The images’ size and quality will match settings for preview creation. For other
resolutions, sizes, and formats, choose File > Export > Export Versions.
Exporting Digital Master Files with Metadata
Using Aperture 1.5, you can now export digital master files with IPTC data stored in
XMP sidecar files that can be used in other applications, such as Adobe Photoshop.
Exporting Metadata Listed in a Separate File
Using Aperture 1.5, you can select images and export the metadata assigned to them
in a tab-delimited Unicode text file. The text file lists the version name, ratings,
keywords, and other metadata assigned to the image.
4
Page 5

Exporting Using Plug-ins
Third-party applications or photography services can now supply plug-ins that allow
Aperture to export files with the format and settings the application or service requires.
For example, a stock photography service or print lab may require that images be
transferred to them at a specific size, a specific file format, or with particular types of
metadata. Such a service can create its own plug-in that automatically sets up Aperture
to export files with precisely the characteristics the service needs.
To use an export plug-in, you must first obtain the plug-in software from the service or
application vendor and install it. Third-party plug-ins for Aperture are stored in one of
the following locations:
Â
/Library/Application Support/Aperture/Plug-Ins/Export/
or
Â
/Users/
username
/Library/Application Support/Aperture/Plug-Ins/Export/
Enhanced Loupe Options
Aperture 1.5 provides enhancements to the Loupe. For more information, see the
Late-Breaking News
document, available from the Aperture Help menu.
Working with Adjustment Presets
If you frequently use the same adjustment parameter settings, you can now take
advantage of the ability of Aperture 1.5 to save these settings as adjustment presets.
You can create new adjustment presets, rename and rearrange adjustment presets, and
delete adjustment presets you no longer use. When you delete an adjustment preset,
adjustments already applied to your images are unaffected. Each individual adjustment
has its own set of presets accessible via its Preset Action pop-up menu. (Adjustment
presets do not appear in the Preset Action pop-up menu until you create them.)
Saving RAW Fine Tuning Presets
In Aperture 1.5, you can now save RAW Fine Tuning parameter settings in the same
manner as adjustment presets. This means you can now specify settings for multiple
cameras. As in Aperture 1.1, you can still save a single group of settings for each
camera model as the Camera Default. For more information about using adjustment
presets, see “Working with Adjustment Presets” on page 5. For more information
about using the RAW Fine Tuning controls, see “Previous Release Information About
Aperture 1.1” on page 9.
5
Page 6

Working with the Color Controls
In Aperture 1.5, you can now selectively adjust the red, green, blue, cyan, magenta, and
yellow colors in an image using the Color controls in the Adjustments Inspector or
Adjustments HUD. Each color has individual hue, saturation, and luminance controls. In
addition, Aperture provides a Range control used to set the extent of color affected by
the hue, saturation, and luminance adjustments, also known as
use the Range control to fine-tune your color adjustments.
chromatic spread.
You
Working with the Edge Sharpen Controls
Aperture 1.5 provides a new Edge Sharpen adjustment that gives you greater control
over the sharpening of images. The Edge Sharpen controls adjust the luminance values
in the image, increasing the contrast between light and dark pixels that touch, creating
an “edge.” Increasing the contrast between these neighboring light and dark pixels
gives the image a crisper, or sharper, appearance. Images shot with digital image
sensors are often a bit soft in focus because of the demosaic filter applied by the
camera’s processor. You also use the Edge Sharpen controls when you make noisereduction adjustments, so that the image retains detail and crisp edges that might
otherwise be obscured by the effect of the noise-reduction adjustment.
Working with the Adjustments and Metadata Inspectors
In Aperture 1.5, you can now work with the Adjustments and Metadata Inspectors one at
a time in the Inspectors panel. For example, when applying adjustments to images, you
can keep the Metadata Inspector hidden and use the entire Inspectors panel to view and
work with the adjustment controls. You can also continue to split the Inspectors panel,
viewing both the Adjustments and Metadata Inspectors at the same time.
Automatic Updating of the Keywords HUD
The Keywords HUD provides a versatile way to apply keywords to images. The Keywords
HUD is now updated automatically with any keywords you add. For example, when you
enter a new keyword in the Metadata Inspector, that keyword also appears in the
Keywords HUD. When you change a keyword, for example, by changing its spelling or
capitalization, the keyword is updated on all images that have that keyword assigned. In
addition, the Keywords HUD can be locked to prevent unintended changes.
6
Page 7

Improved Searching by IPTC Information
Aperture 1.5 provides additional search qualifiers to help you search for and locate
images based on the absence of information in any IPTC field. For example, to search
for images that do not have any IPTC keywords assigned to them, specify an IPTC
search that uses the Keywords item (from the IPTC pop-up menu) and an “is empty”
search qualifier.
Using the Lift & Stamp HUD
The Lift and Stamp tools can now be used to apply Crop and Straighten adjustments to
images. For more information about using the Lift and Stamp tools to apply adjustments,
see the
Performing Image Adjustments
document in the Aperture Help menu.
Working with the AutoFill List Editor
You can now set up and change the list of metadata that Aperture automatically enters
using the AutoFill List Editor. As you enter metadata in the Metadata Inspector’s fields,
Aperture checks for previous entries, and if it locates a match, it completes the entry for
you. For example, if you used the keyword
few letters of
You can enter up to 20 entries for a field type. If you’ve made a spelling mistake when
typing an entry, you can also use the AutoFill List Editor to correct the mistake so that
Aperture always suggests the correct spelling.
Landscape
again, Aperture automatically enters
Landscape
previously, and you type the first
Landscape
in the field.
Working with Metadata Views and Metadata Presets
In Aperture 1.5, you can create your own metadata views and metadata presets.
Working with Metadata Views
You can create your own combinations of metadata to display with your images, called
metadata views
metadata sets.
Using the Metadata Inspector, you can:
Â
Create new metadata views
Â
Modify existing metadata views
Â
Arrange the order of metadata views in pop-up menus
Â
Rename metadata views
Â
Duplicate metadata views
Â
Delete metadata views
7
. (In previous versions of Aperture, metadata views were called
) You can modify the metadata views that come with Aperture.
Page 8

You can also apply combinations of metadata to your images by recording metadata in
a view and saving it as a metadata preset. For more information about creating and
using metadata presets, see the next section, “Working with Metadata Presets.”
Working with Metadata Presets
In Aperture 1.5, you can create your own preset combinations of metadata that you
want applied to images. You create a preset by first choosing a metadata view that
displays the types of metadata you want to apply. You can also create a custom view
if you want. You then enter the metadata you want to apply in the view’s metadata
fields, and save the information as a metadata preset. Your metadata preset is then
available to be chosen when you import images, batch change images, or modify an
image’s metadata in the Metadata Inspector. Aperture also provides easy methods of
managing your presets.
Enhanced Resolution Controls in the Print Dialog
When printing high-resolution images, you can now specify the dot-per-inch (dpi)
resolution at which you want to print your image in the DPI field. You can also select
the Use Best DPI checkbox to allow Aperture to calculate the best print resolution for
the images for the selected printer. For more information about printing, see the
Aperture User Manual
in the Aperture Help menu.
Enhanced AppleScript Support
Aperture 1.5 now enables you to use powerful new scripting commands to perform
actions on selected images, in addition to working on projects and albums. You might use
a script to export RAW master files with XMP sidecar files, use scripting routines to operate
only on stack “picks”, or use a script to import referenced images from any location.
About Backing Up Your Images
It’s important to back up the Library to a vault. When you back up your images,
Aperture makes a complete copy of the Library in its current state. If you remove items
from the Library, those items are removed from the backup when it is next updated.
You can make and store as many complete backups of the Library as you wish in multiple
vaults. The backup includes the versions, metadata, previews, and adjustment
information associated with all your images, as well as digital master files for managed
images. Master files for referenced images are not backed up to the vault with the Library.
Important:
the Library, you must manage the backup and archiving of them yourself.
8
Because the digital master files for referenced images are stored outside of
Page 9

Updated Keyboard Shortcuts
Aperture 1.5 has been enhanced to make keyboard shortcuts easier to use. For
example, you can now rate images by pressing the number keys 1 to 5 to assign the
selected image a rating from one to five stars. For a list of some of the keyboard
shortcuts, see the
items also appear in the Aperture menus.
Aperture Quick Reference
document. Keyboard shortcuts for menu
Support for Additional RAW File Formats
Aperture 1.5 now supports RAW file formats for Fuji S2, Fuji S3 Pro, and Sony A100
cameras. For a complete list of supported RAW file formats, go to:
http://www.apple.com/aperture/raw
Enhanced Support for Macintosh Computers
Aperture 1.5 is compatible with the Intel-based Mac mini and MacBook computers. For
a complete list of system requirements, go to:
http://www.apple.com/aperture/specs.html
Previous Release Information About Aperture 1.1
The following information is included with Aperture 1.1, a Universal release of Aperture
designed to run natively on both PowerPC-based and Intel-based Macintosh
computers. Aperture 1.1 resolves performance and other issues with RAW file decoding.
Improved RAW File Decoding
Aperture 1.1 provides new RAW decoding algorithms that deliver improved RAW image
quality. With improved default rendering of RAW images from supported cameras,
Aperture 1.1 provides significantly enhanced image quality with improvements in noise
reduction, sharpening, and highlights recovery.
To maintain the image integrity of the existing photos in your Aperture Library,
Aperture 1.1 enables you to retain the original Aperture 1.0 RAW decoding of your
images, selectively migrate images using the new Aperture 1.1 RAW decoding process,
or create duplicate versions of each original RAW image file with Aperture 1.1 RAW
decoding applied.
Strategies for Migrating Images
When you start using Aperture 1.1, all of your existing images continue to use the
original Aperture 1.0 RAW decoding process, in order to preserve their appearance. Any
of these images can be individually migrated using the new Aperture 1.1 RAW decoding
process. You can also use the Migrate Images command in the File menu to migrate
selected images, projects, books, web galleries and journals, Light Table albums,
albums, and Smart Albums.
9
Page 10

Migrating a large number of images can be a time-consuming process. Therefore, you
may find it easier to migrate images on an as-needed basis. For example, if you have
five-star selects, you may wish to initially migrate only those images. It does not affect
an image to migrate it more than once; if an image already uses Aperture 1.1 RAW
decoding, migrating it again has no effect.
Migrating a RAW Image Selection
You can choose to migrate all images, migrate only images with adjustments, or
migrate only images without adjustments. You can also migrate images one at a time
using the RAW Fine Tuning controls in the Adjustments Inspector or Adjustments HUD.
For more information about migrating individual images, see “Migrating Images
Individually with the RAW Fine Tuning Controls” on page 11.
Important:
The Migrate Images command cannot be undone. However, you can
return an individual image to Aperture 1.0 RAW decoding using the Version pop-up
menu in the RAW Fine Tuning area of the Adjustments Inspector or Adjustments
HUD. For more information, see “Migrating Images Individually with the RAW Fine
Tuning Controls” on page 11.
To migrate a selection of RAW images:
1
Select an image or group of images.
2
Choose File > Migrate Images.
3
In the dialog that appears, select the appropriate migration criteria, then click the
Migrate Images button.
The RAW image files are migrated from the Aperture 1.0 RAW decoding process to the
Aperture 1.1 RAW decoding process according to the criteria you specified.
10
You can also migrate all the images in a selected project, book, web gallery or journal,
Light Table album, album, or Smart Album.
Page 11
To migrate a project or album:
1
In the Projects panel, select a project or album.
2 Choose File > Migrate Images.
3 In the dialog that appears, select the appropriate migration criteria, then click the
Migrate Images button.
All RAW images in the selected project or album are migrated to the Aperture 1.1 RAW
decoding process.
You can also migrate all the RAW images in the Library at once. However, this migration
process may take a long time for large Libraries.
To migrate every RAW image in the Library:
1 In the Projects panel, click the Library disclosure triangle to reveal the Smart Albums
beneath it.
2 Select the Smart Album named All Images.
3 Choose File > Migrate Images.
4 In the dialog that appears, select the appropriate migration criteria, then click the
Migrate Images button.
Every RAW image in the Library is migrated to the Aperture 1.1 RAW decoding process.
Migrating Images Individually with the RAW Fine Tuning Controls
You can migrate RAW images one at a time using the Version pop-up menu.
To migrate a RAW image using the Version pop-up menu:
1 Select a RAW image.
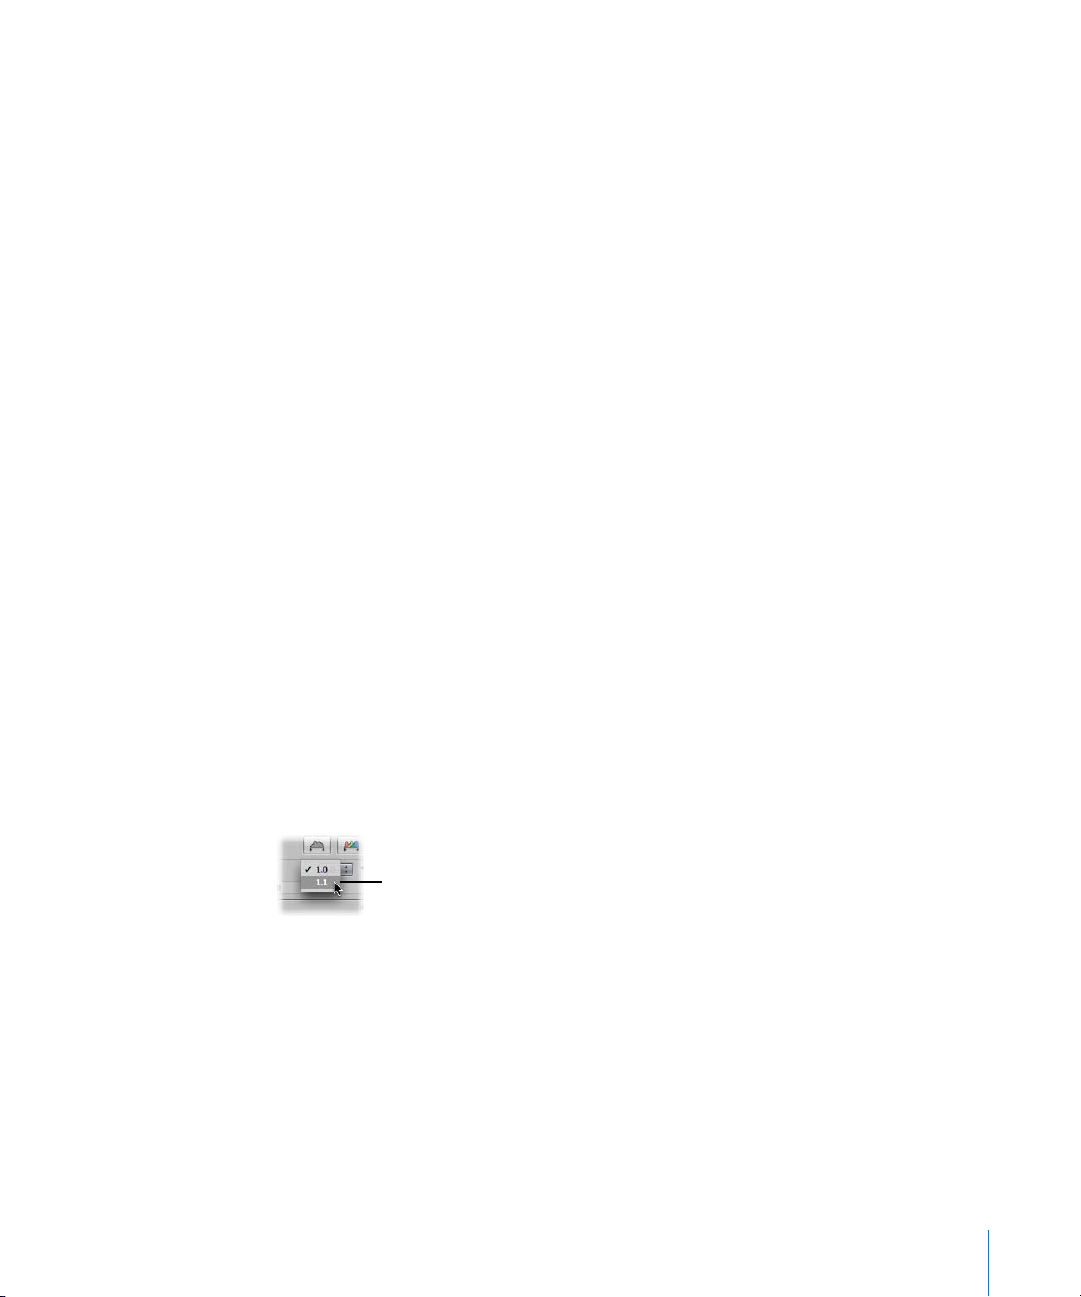
2 In the Adjustments Inspector or Adjustments HUD, select the RAW Fine Tuning
checkbox, then choose 1.1 from the Version pop-up menu.
Choose 1.1 from the Version
pop-up menu.
The image is redecoded using the Aperture 1.1 RAW decoding process, the image
version is updated, and the RAW Fine Tuning controls become available. For more
information about the new RAW Fine Tuning controls, see the next section.
11
Page 12

New RAW Fine Tuning Controls
Along with an improved RAW file decoding process, Aperture 1.1 provides new RAW
Fine Tuning adjustment controls. You can now modify how Aperture 1.1 decodes RAW
files using the adjustment controls in the RAW Fine Tuning area of the Adjustments
Inspector or Adjustments HUD. However, because the RAW decoding process for each
camera model is unique, some of the RAW Fine Tuning controls may be dimmed
(unavailable) for your specific camera model.
The new RAW Fine Tuning controls include the following parameters:
 Boost: Use this slider and value slider to increase image contrast.
 Sharpening: Use the Intensity and Edges sliders and value sliders to fine-tune the
amount of sharpening you want applied to images during the RAW decoding process.
 Chroma Blur: Use the Radius slider and value slider to soften chroma noise by
blurring color artifacts caused by digital image sensor noise when images are shot at
high ISO speeds or long exposures.
 Auto Noise Compensation: Select this checkbox to turn on additional adjustments, such
as noise reduction and stuck pixel removal, that are automatically applied to the image.
12
Note: Some controls in the RAW Fine Tuning area of the Adjustments Inspector and
Adjustments HUD appear dimmed if these settings are not available for use with
this camera.
Using these controls, you can fine-tune your RAW decoding settings on an image-by-image
basis. Aperture 1.1 also enables you to save your customized RAW decoding settings as
defaults always used with a specific camera, so they are easily applied to newly imported
images. For more information about saving your custom RAW Fine Tuning settings as the
default for a specific camera, see “Setting the Camera Default” on page 17.
Page 13

Using the Boost Controls
The Mac OS characterizes each digital camera’s RAW file format to determine an optimal
contrast setting. The Boost controls allow you to set the strength of the contrast when the
RAW file is decoded. A value of 0 (zero) applies no contrast adjustment, and a value of 1
applies the full Apple-recommended contrast adjustment.
To adjust the Boost parameter:
1 Select a RAW image imported with or migrated to Aperture 1.1.
2 In the Adjustments Inspector or Adjustments HUD, do one of the following:
Use the Boost slider and value slider to
adjust the amount of contrast applied
during the RAW decoding process.
 By default, the Boost slider is set to 1.00. Drag the Boost slider to the left to decrease
the amount of contrast applied to the image during the RAW decoding process, and
drag the Boost slider back to the right to increase it.
 Click the left or right arrow in the Boost value slider to adjust the contrast by 5 percent
increments, or drag in the value field.
 Double-click the number in the Boost value slider, then enter a value from 0.00 to 1.00
and press Return.
A value of 0.00 applies no contrast adjustment to the image during the RAW
decoding process. A value greater than 0.00 increases the contrast adjustment to the
image. A value of 1.00 applies the full Apple-recommended contrast adjustment for
the specific camera model.
Using the Sharpening Controls
You can turn on sharpening during the RAW decoding process by selecting the
Sharpening checkbox in the Adjustments Inspector or Adjustments HUD.
Note: When the Sharpening controls in the RAW Fine Tuning area of the Adjustments
Inspector or Adjustments HUD are turned off, Aperture applies no sharpening
adjustments during the RAW decoding process.
13
Page 14

To adjust the Sharpening parameter:
1 Select a RAW image imported with or migrated to Aperture 1.1.
2 In the Adjustments Inspector or Adjustments HUD, select the Sharpening checkbox.
Select the Sharpening checkbox
to apply sharpening during the
RAW decoding process.
Selecting the checkbox turns on the Sharpening controls for the specific camera model,
allowing you to apply a custom sharpening value during the RAW decoding process.
Dragging the Intensity and Edges sliders automatically selects the Sharpening checkbox.
3 Adjust the strength of the sharpening effect by doing one of the following:
Use the Intensity slider and value slider to
adjust the strength of the sharpening effect
applied during the RAW decoding process.
 The default value for the Intensity slider and value slider is determined by the camera
used to create the RAW image file. Drag the Intensity slider to the right to increase
the strength of the sharpening effect applied during the RAW decoding process, and
drag the Intensity slider back to the left to reduce it.
 Click the left or right arrow in the Intensity value slider to adjust the strength of the
sharpening effect by 5 percent increments, or drag in the value field.
 Double-click the number in the Intensity value slider, then enter a value from 0.00 to
1.00 and press Return.
A value of 0.00 applies no sharpening effect to the image during the RAW decoding
process. A value greater than 0.00 increases the sharpening effect to the image.
14
Page 15
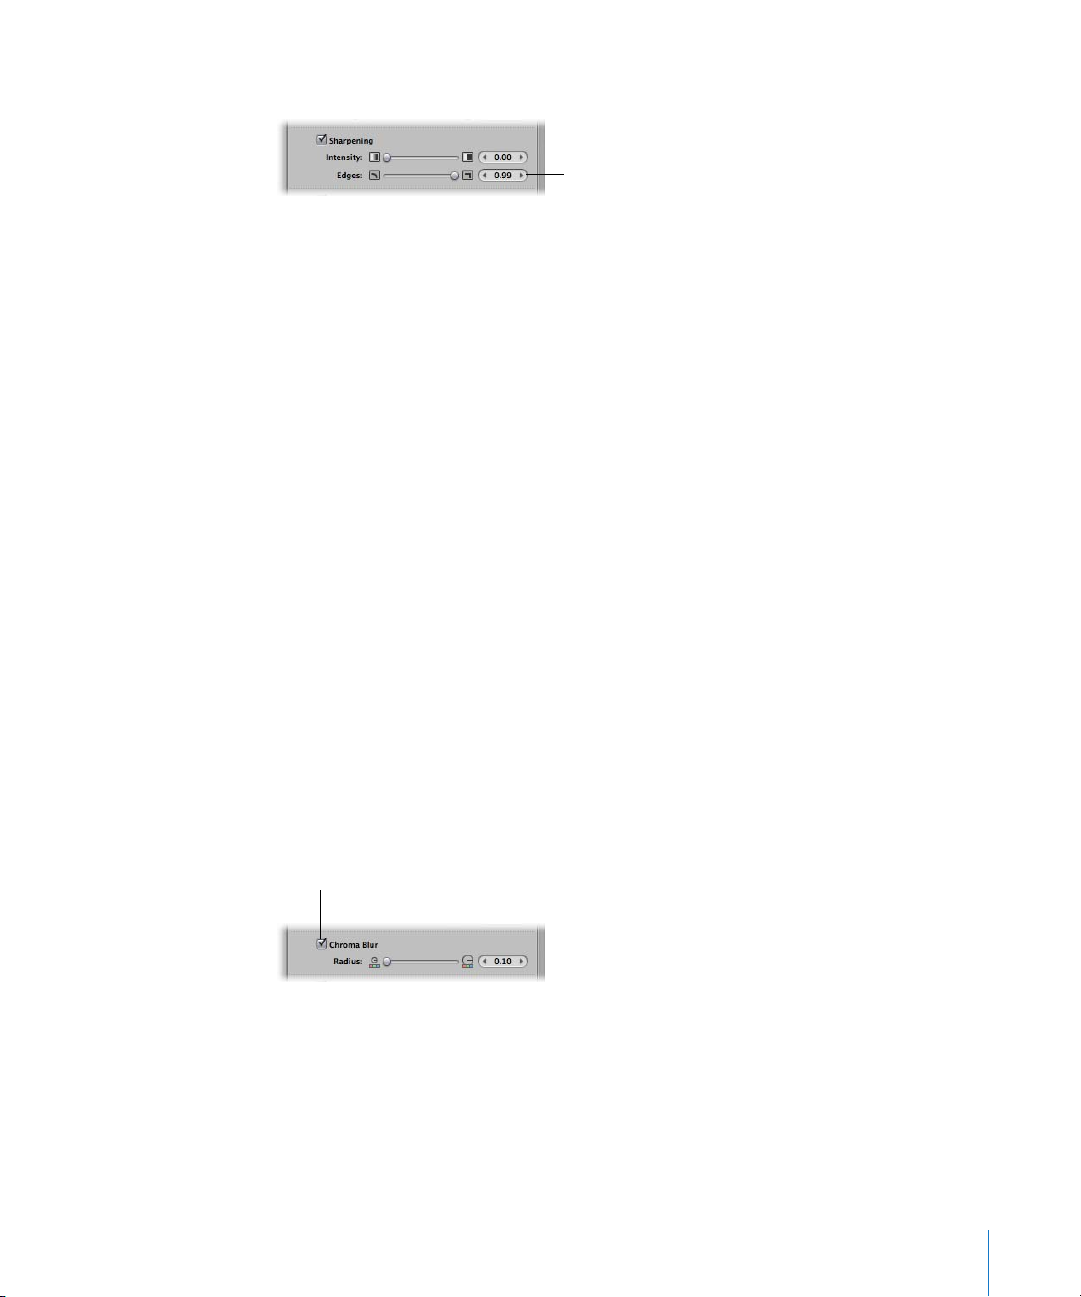
4 Adjust how the sharpening effect is applied to edges by doing one of the following:
Use the Edges slider and value slider to adjust
how the sharpening effect is applied to edges
during the RAW decoding process.
 The default value for the Edges slider and value slider is determined by the camera
used to create the RAW image file. Drag the Edges slider to the right to intensify the
sharpening effect that occurs at “hard” edges (areas where significant color changes
occur) during the RAW decoding process, and drag the Intensity slider back to the
left to limit it.
 Click the left or right arrow in the Edges value slider to adjust the strength of the
sharpening effect that occurs at hard edges by 5 percent increments, or drag in the
value field.
 Double-click the number in the Edges value slider, then enter a value from 0.00 to
1.00 and press Return.
A value greater than 0.00 intensifies the sharpening effect on hard edges.
Using the Chroma Blur Controls
Digital images have color artifacts that appear because of noise created by digital
image sensors. The Chroma Blur adjustment controls slightly smear the color to correct
these artifacts. The Mac OS characterizes each digital camera’s RAW file format to
determine the appropriate chroma blur value. When you select the Chroma Blur
checkbox in the Adjustments Inspector or Adjustments HUD, this default chroma blur
adjustment is turned off, allowing you to set your own chroma blur value.
To adjust the Chroma Blur parameter:
1 Select a RAW image imported with or migrated to Aperture 1.1.
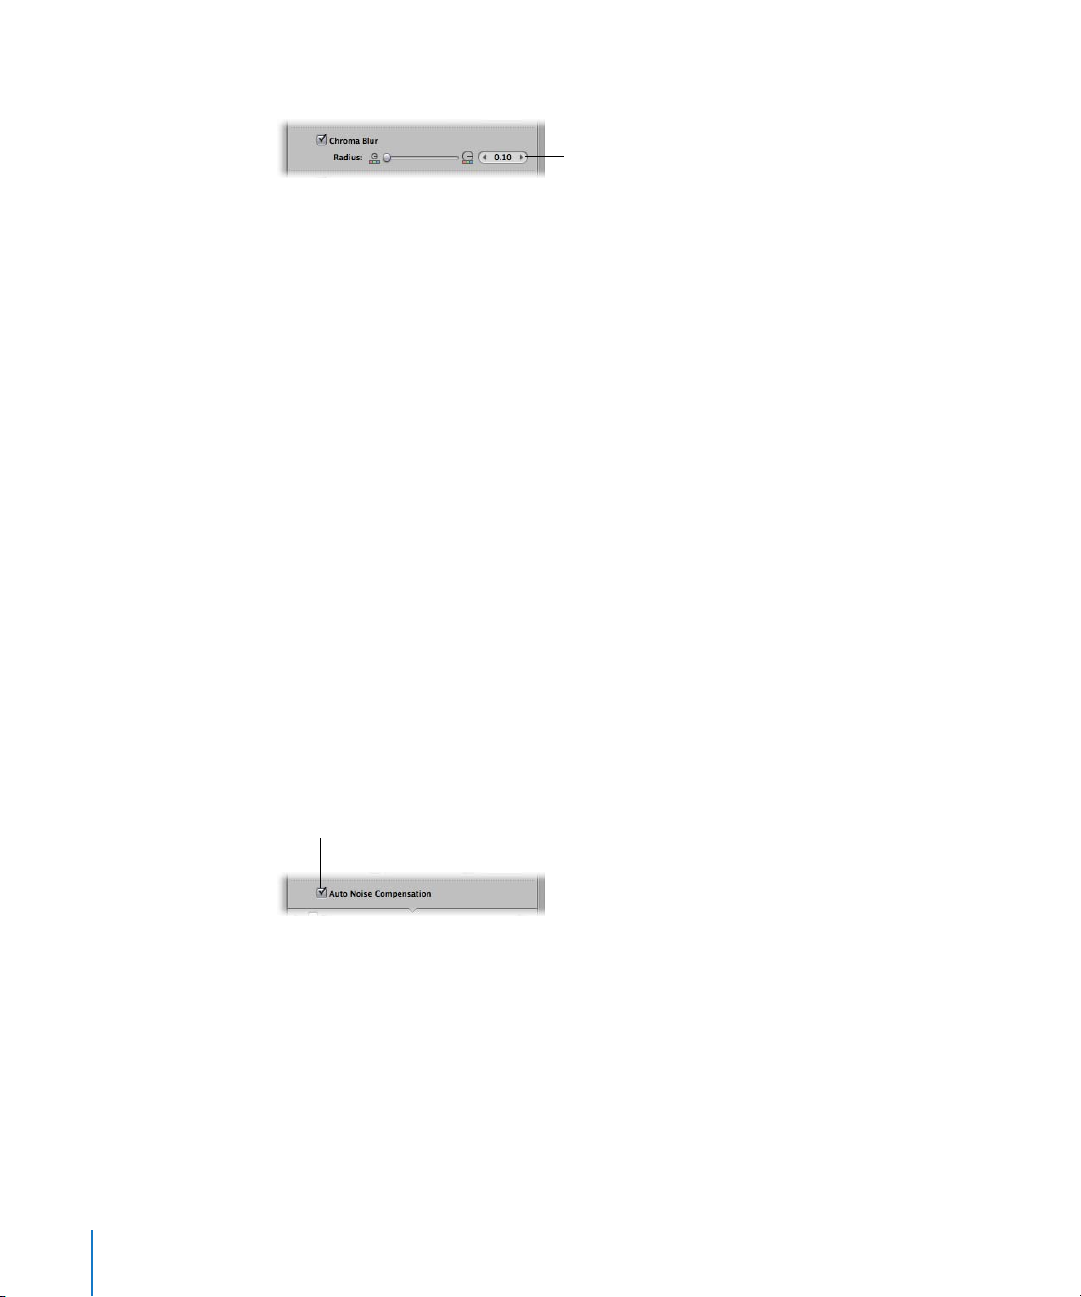
2 In the Adjustments Inspector or Adjustments HUD, select the Chroma Blur checkbox.
Select the Chroma Blur checkbox
to modify the Chroma Blur RAW
decoding parameters.
15
Page 16
3 Adjust the area over which the chroma blur effect is applied by doing one of the following:
Use the Radius slider and value slider to adjust
the area over which the chroma blur effect is
applied during the RAW decoding process.
 The default value for the Radius slider and value slider is determined by the camera
used to create the RAW image file. Drag the Radius slider to the right to increase the
radius of the area over which the chroma blur effect is applied during the RAW
decoding process, and drag the Radius slider back to the left to reduce it.
 Click the left or right arrow in the Radius value slider to adjust the radius by
increments of one-tenth of a pixel, or drag in the value field.
 Double-click the number in the Radius value slider, then enter a value from 0.10 to
10.00 and press Return.
A value of 0.10 applies the least amount of chroma blur during the RAW decoding
process. A value greater than 0.10 increases the chroma blur effect during the RAW
decoding process.
Turning On Automatic Noise-Compensation Adjustments
Digital image sensors produce noisy images at certain settings (generally high ISO
settings and long exposures). The Mac OS analyzes the noise characteristics of each
camera and uses them to control parameters such as sharpness. You can turn on the
automatic adjustment by selecting the Auto Noise Compensation checkbox.
1 Select a RAW image imported with or migrated to Aperture 1.1.
2 In the Adjustments Inspector or Adjustments HUD, select the Auto Noise
16
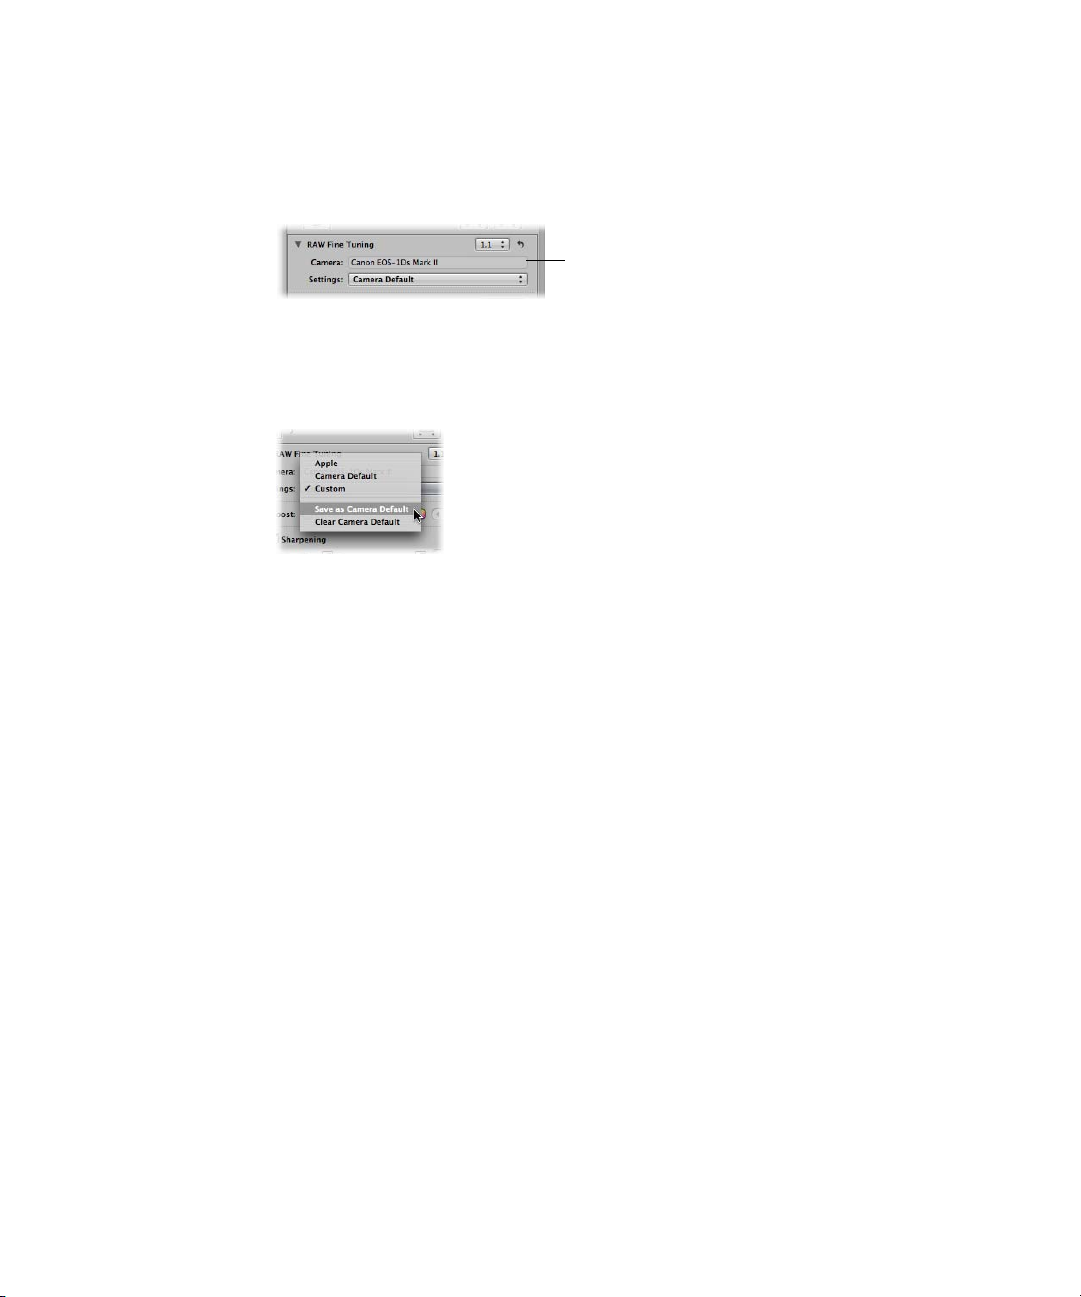
To turn on the automatic noise-compensation adjustment:
Compensation checkbox.
Select this checkbox to turn on the
automatic noise adjustment.
Aperture applies the automatic noise-compensation adjustment.
Page 17
Setting the Camera Default
When you’ve modified the RAW decoding settings using the controls in the RAW Fine
Tuning area of the Adjustments Inspector or Adjustments HUD, you can save these
settings as the default parameter values for the camera model. All RAW image files from
this camera model imported into Aperture are decoded using these saved settings.
The camera model is displayed
in the Camera field.
To set the camera default:
m
In the RAW Fine Tuning area of the Adjustments Inspector or Adjustments HUD, choose
Save as Camera Default from the Settings pop-up menu.
The Settings pop-up menu displays Camera Default.
You can always clear the saved camera default settings.
To clear the camera default settings:
m
In the RAW Fine Tuning area of the Adjustments Inspector or Adjustments HUD, choose
Clear Camera Default from the Settings pop-up menu.
The Settings pop-up menu displays Custom.
You can also set the RAW Fine Tuning controls to use the Apple-recommended RAW
decoding settings.
To use the Apple-recommended camera default settings:
m
In the RAW Fine Tuning area of the Adjustments Inspector or Adjustments HUD, choose
Apple from the Settings pop-up menu.
The Settings pop-up menu displays Apple.
© 2006 Apple Computer, Inc. All rights reserved.
Apple, the Apple logo, AppleScript, FireWire, iDVD, iPhoto, Mac, Macintosh, and Mac OS are trademarks of
Apple Computer, Inc., registered in the U.S. and other countries. Aperture, Finder, iWeb, Keynote, MacBook, and Safari
are trademarks of Apple Computer, Inc. Adobe and Photoshop are trademarks or registered trademarks of Adobe Systems
Incorporated in the U.S. and/or other countries. Intel and Intel Core are trademarks of Intel Corp. in the U.S. and other
countries. PowerPC and the PowerPC logo are trademarks of International Business Machines Corporation, used under
license therefrom. Other company and product names mentioned herein are trademarks of their respective companies.
September 18, 2006 019-0798
 Loading...