


SMPK4083
Note:
Electrical and electronic equipment ( EEE ) contains materials, parts and substances which can be dangerous to the enviroment and harmful to human health if waste of electrical and electronic equipment ( WEEE ) is not disposed of correctly.
Equipments which are marked with the WEEE logo (as shown on the left ), should not be thrown away with your household waste. Contact your Local Authority Waste Disposal Department as they will be able to provide details of the recycling options available in your area.
Portable Media Player
Your Pocket Guide
Install Software
Get Connected
Transfer Media
Plug Your Ears & Enjoy

What’s in the blister? |
2 |
|
|
System Requirement |
3 |
|
|
Software installation |
4 |
|
|
Connect & Charge |
5 |
|
|
Transfer |
6-7 |
|
|
Software Operation |
8-11 |
|
|
Language Selection |
12 |
|
|
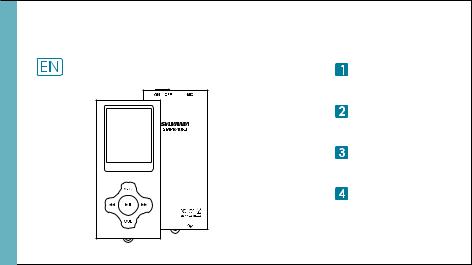
Know your player well |
13 |
|
|
Music Playback |
14 |
|
|
Edit Lyrics |
15 |
|
|
Repeat Mode |
16 |
|
|
EQ Mode |
17 |
|
|
Video Playback |
18 |
|
|
Photo Browse |
19 |
|
|
E-Book |
20 |
|
|
Records |
21 |
|
|
Game |
22 |
|
|
Technical Data |
23 |
1 |
|
Trouble Shooting |
24 |
||
|

What’s in the blister?
What’s in the blister?
Digital Earphone
Portable Media Player
Battery Charger
USB Cable
Your Pocket Guide |
Install Software |
Get Connected |
Transfer Media |
Plug Your Ears & Enjoy |
Your Pocket Guide
CD-ROM containing:
 Media player driver for Windows® 98/98SE
 Software for converting
.act files into .wav files.  Software for formatting
internal memory.
2
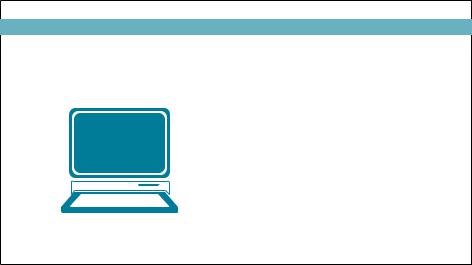
System Requirement
You’ll need a computer with:
Windows® 98/98SE/ME/2000/XP/Vista Pentium Class or faster Processor CD-ROM Drive
64MB RAM
30MB free hard disk space USB Port
3
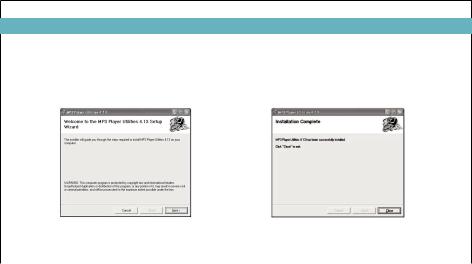
Software Installation
Software Utilities Installation
Insert the CD into the CD ROM drive of your PC. Click Setup.exe to start driver installation.
Follow the on-screen-menu to complete the installation.
Click Close once you reach the Installation Complete screen.
For Windows® 98/98SE users, please install the driver in the CD-ROM before downloading any files to your player.
4
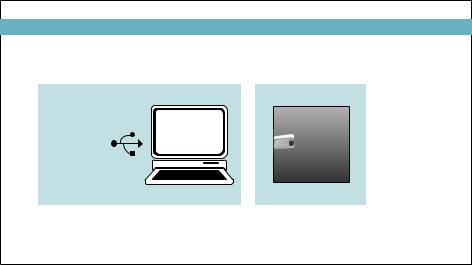
Connect & Charge
Connect
Z
Z
Z
Z
Z
Z
Z
Z
Your player will be charged while being connected to PC through the USB cable.
! You will see the charging animation in the bottom right hand corner of the display. The player is fully charged when the charging animation stops.
5
Transfer
Get Your Player Connected
Z
Z
Z
Z
Z
Z
Z
Z
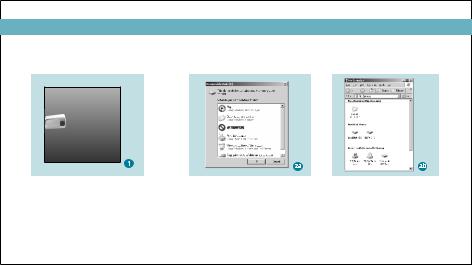
Step 1:
Set the Online Device of the player as USB Disk (Refer to Page 6), then connect it to your PC
by USB cable. Once the connection is successfully made, the above screen display (1) would be shown. Try re-connecting the player if the above screen doesn't appear.
Step 2:
The above screen (2a) would appear. (Apply only to Windows® XP) Choose Take no action and click OK to close the window.
Double click My Computer on your desktop and the above window (2b) would appear. Look for the
Removable Disk icon.
6
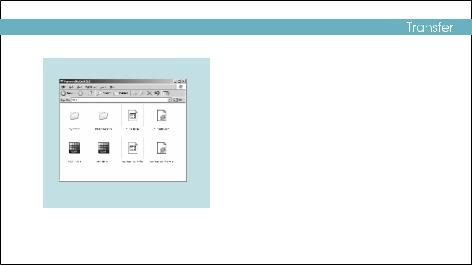
Step 3:
Double click the Removable Disk icon. Note: Do not disconnect the USB cable once you click into the removable disk window. Such action may cause data loss or problems to the player.
Drag and drop your media files into the removable disk.
You can create any folder or directory in the removable disk.
3Close the removable disk window and disconnect the player from your PC after the data transfer.
Transfer Music, lmage & Movie
7
 Loading...