

Yamaha RX-A810BL, RX-A810 Easy Setup Manual
1 Preparations
Accessories
AV Receiver
Easy Setup Guide
English for U.S.A.
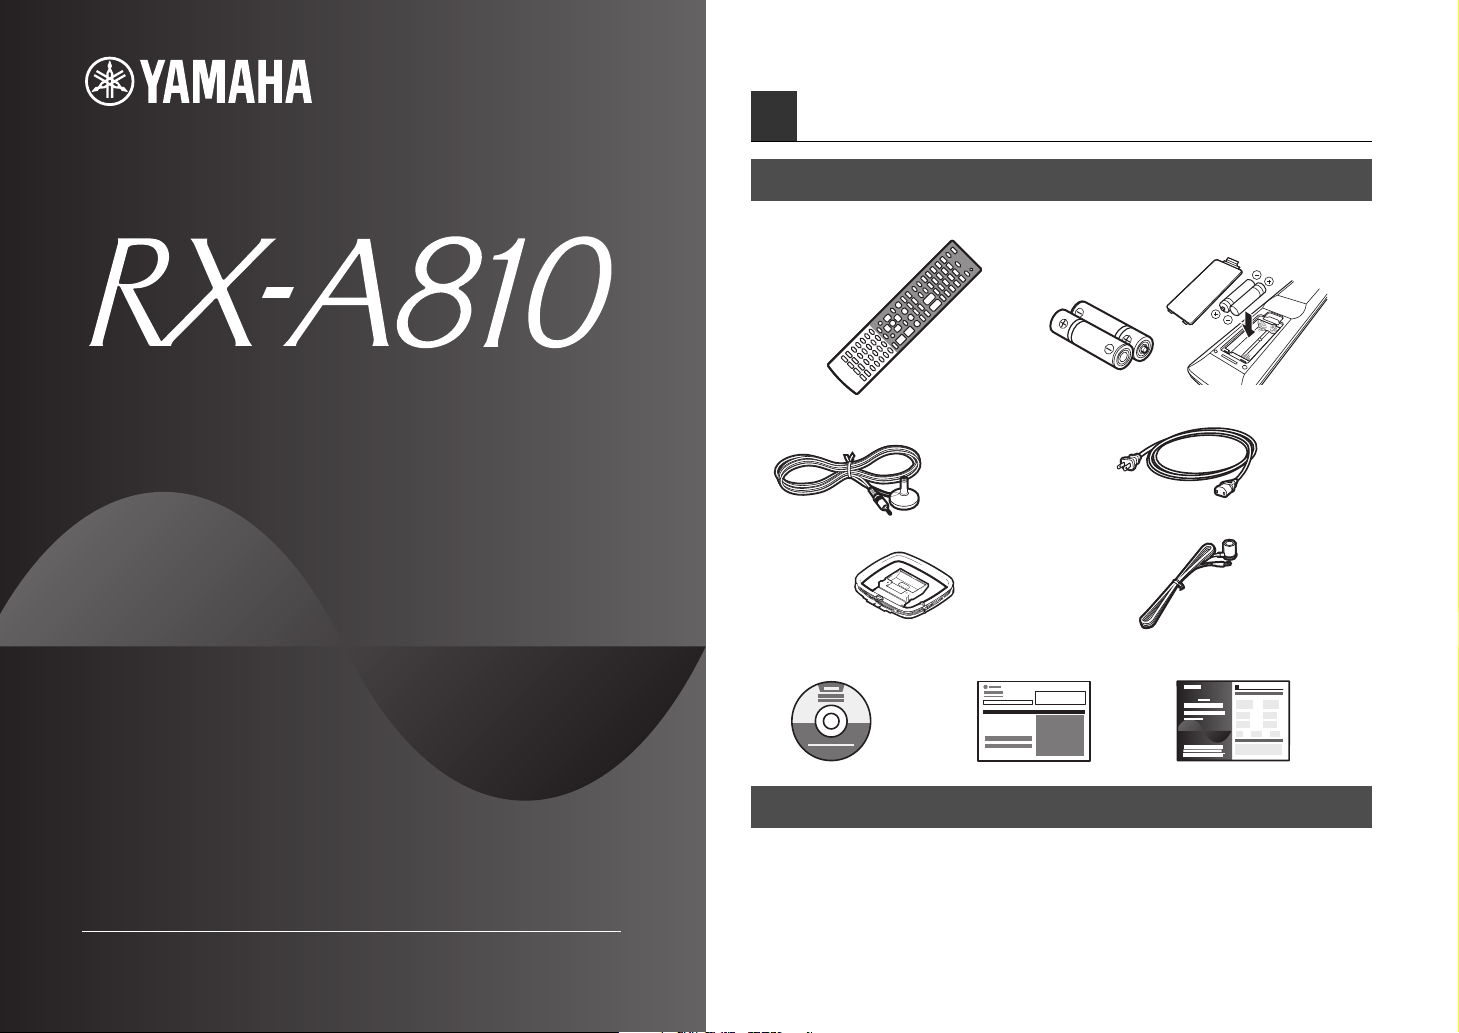
Check that the following accessories are supplied with this product.
■ Remote control ■ Batteries (AAA, R03, UM-4) (x 2)
Insert into the remote control in the correct polarity (+/-).
■ YPAO microphone ■ Power cable
* The figure of the supplied power cable differs
depending on regions.
■ AM antenna ■ FM antenna
*The figure of the supplied FM
antenna differs depending on
regions.
■ CD-ROM
(Owner’s Manual)
■ Safety Brochure ■ Easy Setup Guide
(this document)
This document explains how to set up a 5.1- or 7.1-channel
system and play back surround sound of a BD/DVD on this unit.
For more information, refer to “Owner’s Manual” on the supplied
CD-ROM.
A PDF format of this guide and “Owner’s Manual” can be downloaded
from the following website.
http://download.yamaha.com/
Cables necessary for connections
You need to separately prepare the following cables to build the system based on this
document.
■ Speaker cables (depending on the number of speakers)
■ HDMI cable (x 2)
■ Audio pin cable (x 1)
■ Digital optical cable (x 1) (unnecessary if your TV supports ARC)
2 Placing the speakers
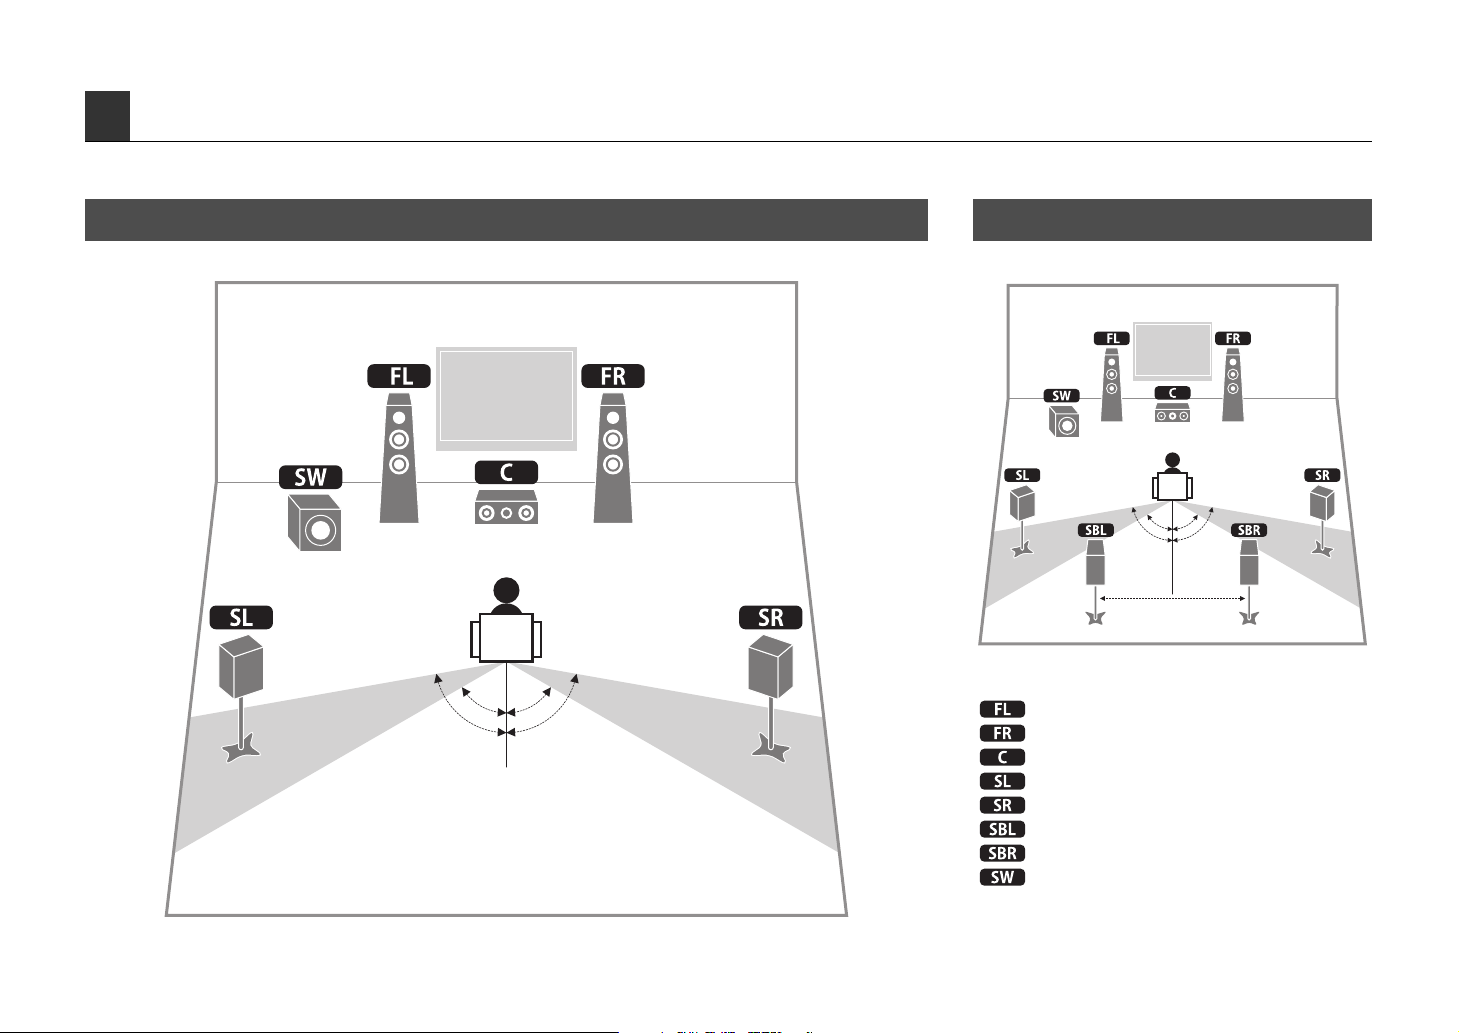
Set up the speakers in the room by using the following diagram as a reference.
For information on other speaker systems, refer to “Owner’s Manual”.
5.1-channel system
60° 60°
80° 80°
7.1-channel system
60° 60°
80° 80°
30 cm (1 ft) or more
Front speaker (L)
Front speaker (R)
Center speaker
Surround speaker (L)
Surround speaker (R)
Surround back speaker (L)
Surround back speaker (R)
Subwoofer
2 En
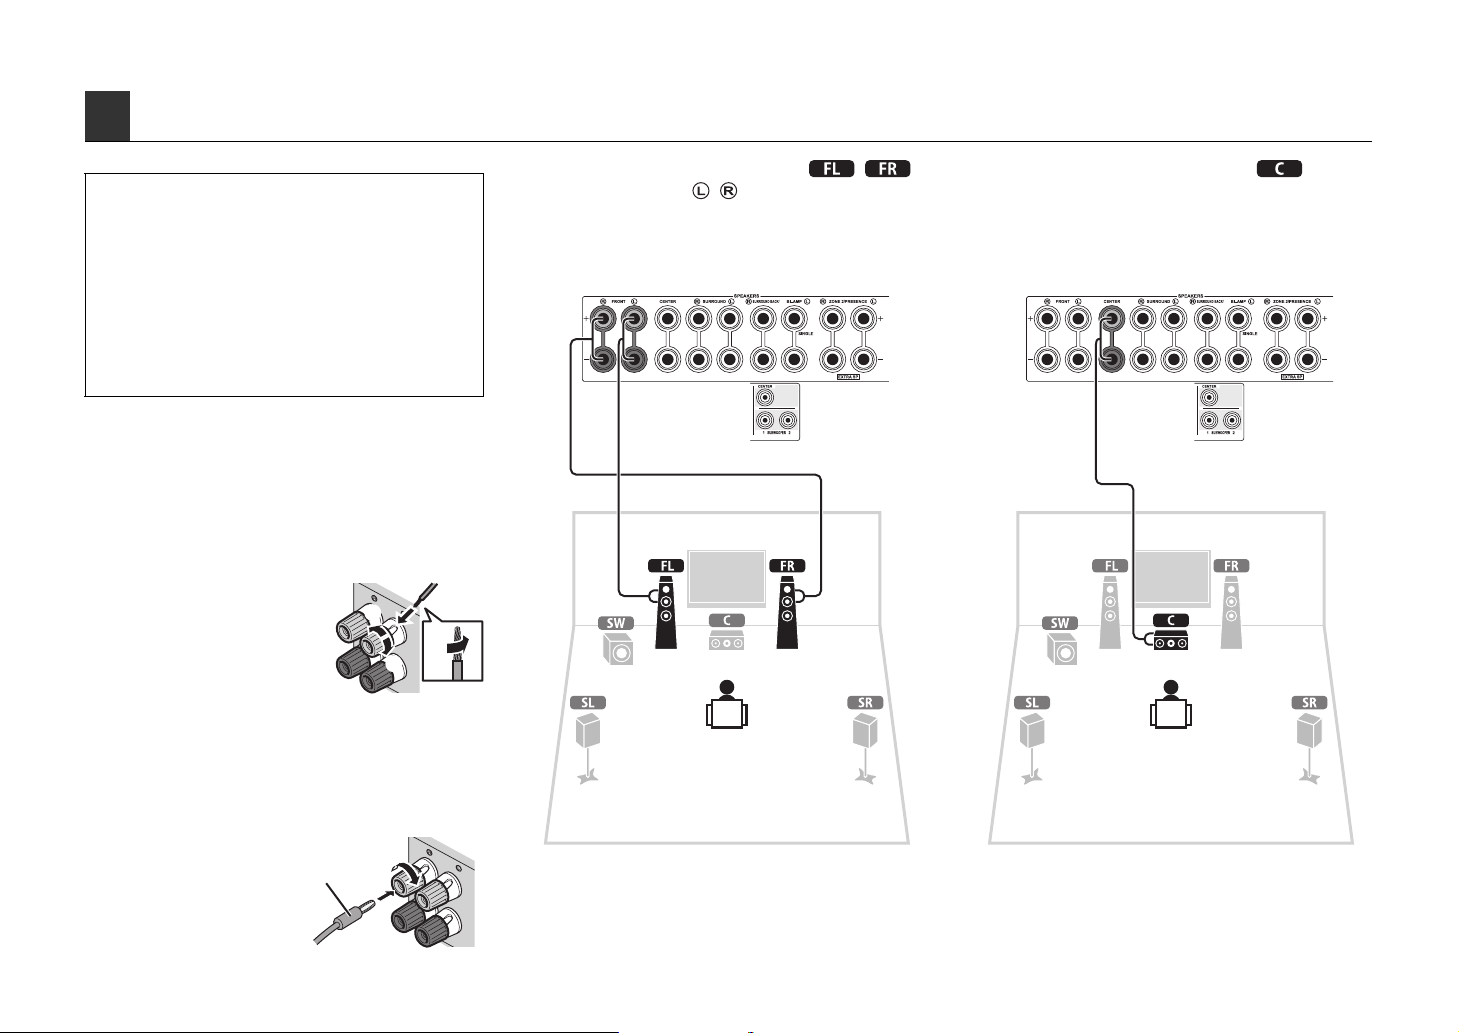
3 Connecting the speakers/subwoofer
FRONT
FRONT
• This unit is configured for 8-ohm speakers at the factory. When
connecting 6-ohm speakers, set the speaker impedance of this
unit to “6 Ω MIN”. For details, see “Setting the speaker
impedance” (p.16) in “Owner’s Manual”.
• Use a subwoofer equipped with built-in amplifier.
• Remove the power cable of this unit from an AC wall outlet and
turn off the subwoofer before connecting the speakers.
• Be careful that the core of the speaker cable does not touch
anything or come into contact with the metal areas of this unit.
This may damage this unit or the speakers. If the speaker
cables short circuit, “CHECK SP WIRES” will appear on the
front display when this unit is turned on.
Connecting speaker cables
Speaker cables have two wires. One is for connecting
the negative (-) terminal of the unit and the speaker, and
the other is for the positive (+) terminal. If the wires are
colored to prevent confusion, connect the black wire to
the negative and the other wire to the positive.
Remove approximately
a
10 mm (3/8”) of
insulation from the ends
of the speaker cable,
and twist the bare wires
of the cable together
firmly.
b Loosen the speaker terminal.
c Insert the bare wires of the cable into the gap on the
side (upper right or bottom left) of the terminal.
d Tighten the terminal.
Using a banana plug
a Tighten the speaker
terminal.
b Insert a banana plug into
the end of the terminal.
+ (red)
– (black)
Banana plug
b
b
b
b
aa
d
d
c
c
aa
Connect the front speakers ( / )
1
2
to the FRONT ( / ) terminals.
This unit (rear) This unit (rear)
Connect the center speaker ( ) to the
CENTER terminal.
En 3
 Loading...