

Page 1
Pediatric Axillary
Temperatures with
®
SureTemp
Models 692/690
Plus
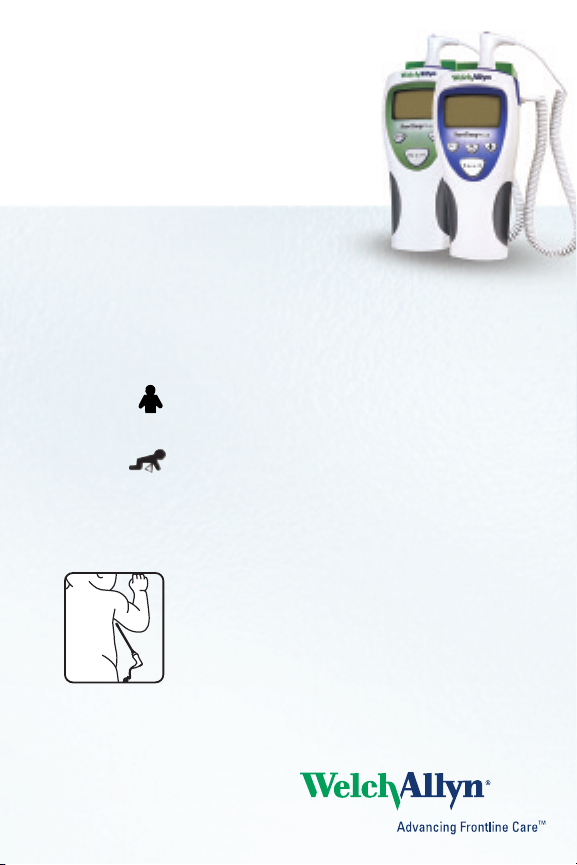
1. Ensure that the probe with the blue ejection
button and blue probe well are installed.
2. Remove the probe from the probe well.
3. Press Mode Selection button to select the
Pediatric Axillary Mode.
4. Observe the Pediatric Axillary Mode indicator on
the display (flashing Pediatric axillary icon)
5. Load a Welch Allyn probe cover.
6. Adjust clothing to visualize the axilla.
7. Avoid folds in the axilla and place the probe tip
vertically as high as you can as shown.
8. Place the arm snugly at the child’s side. Hold in
this position without movement of the arm or
probe during the measurement cycle.
.
Page 2
Tips for Taking Pediatric Axillary Temperatures
with SureTemp®Plus
1. Avoid contact with electrodes, wires, tape, clothing, etc.
2. Ensure the probe tip is completely surrounded by tissue
at all times. Prolonged exposure of the axilla to ambient air can
cause inaccurate readings.
3. Use of Welch Allyn disposable probe covers is recommended.
Use of any other probe cover may result in inaccurate
temperature readings.
4. If you question a reading, recheck the temperature using
the Monitor Mode on your thermometer. Take an axillary
temperature as described.
> Continue to hold the probe in place after the temperature displays
>
Press the Mode Selection button until the Monitor Mode
indicator appears on the screen
> Continue taking the temperature for approximately five minutes
> Long-term continuous monitoring is not recommended in any mode
CUSTOMER SERVICE
For technical or clinical support,
please visit www.welchallyn.com
© 2006 Welch Allyn. All rights reserved
SM2554 Rev B
 Loading...