

Welch Allyn Spot Vital Signs 4200B User manual
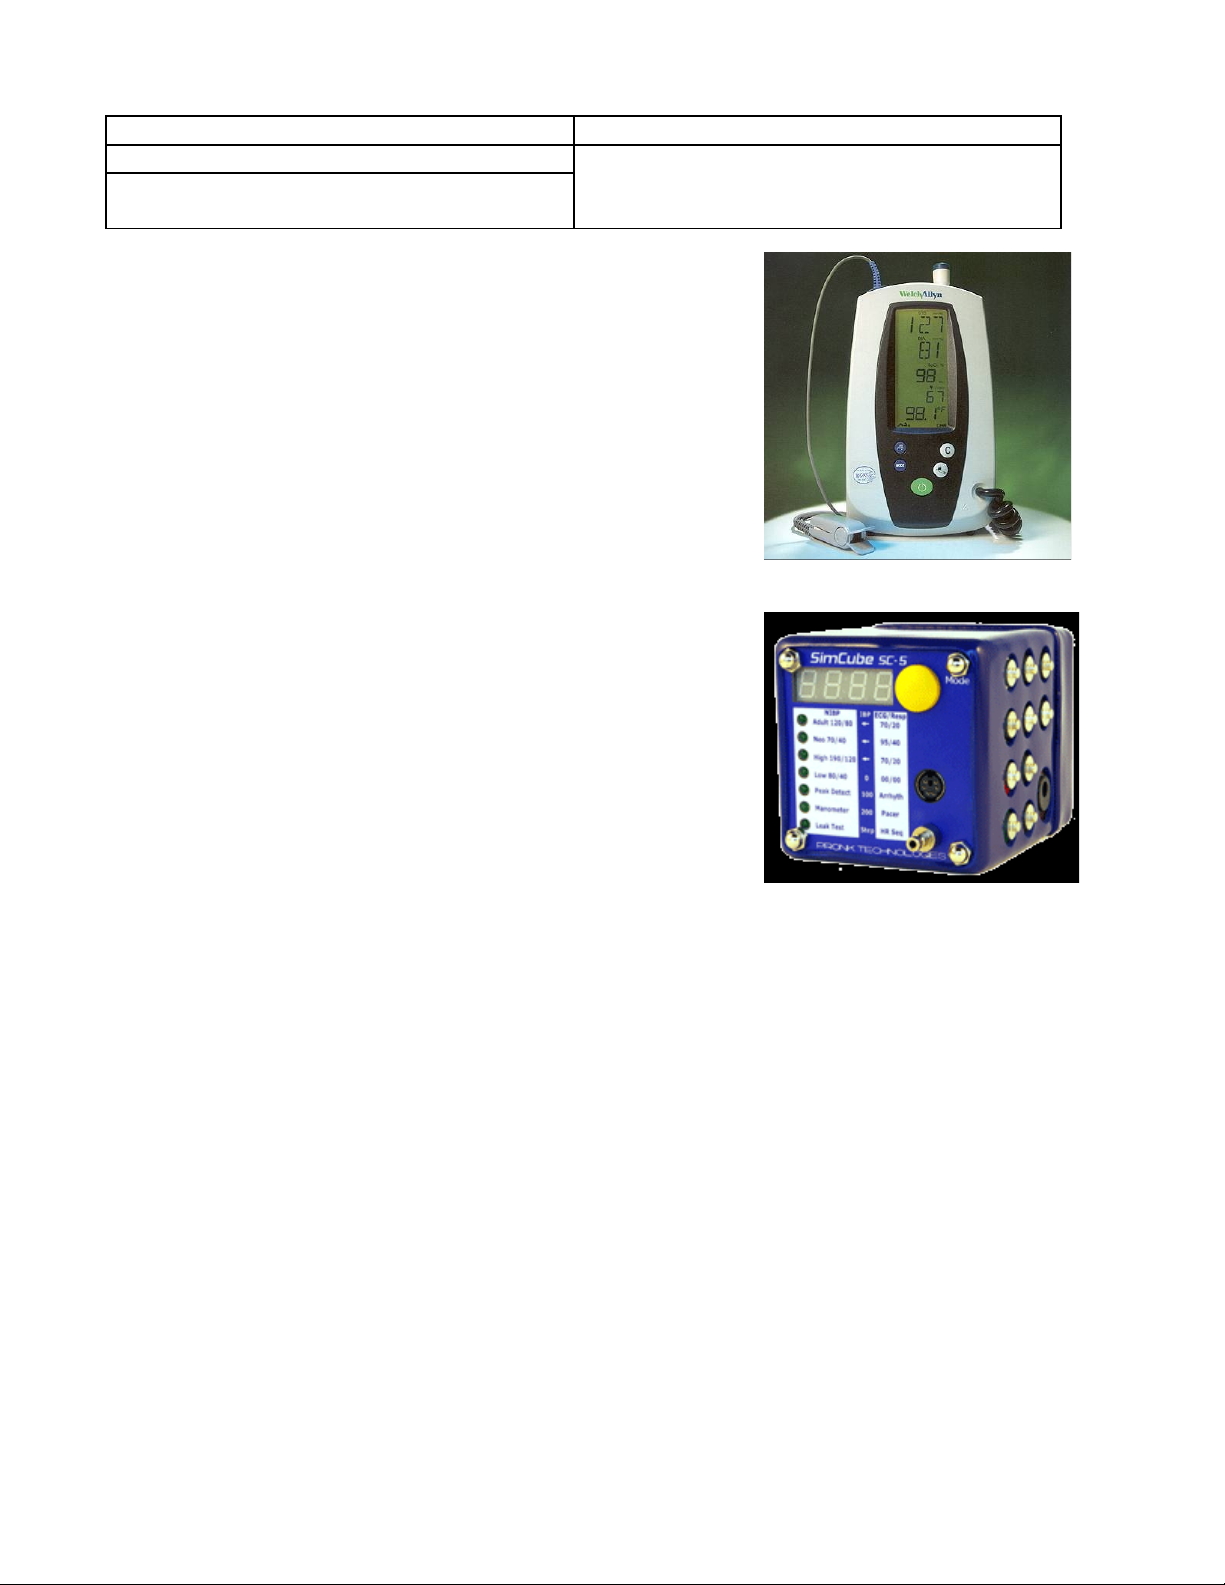
Title: Spot Vital Signs Monitor Date: November 17, 2010
By: Welch Allyn, Skaneateles Falls, NY
File = spot-vital-signs.doc
DISCLAIMER: THIS PROCEDURE PROVIDED "AS IS"
AND WITH POSSIBLE FAULTS. USER MUST VERIFY
BEFORE USE. NEITHER PROVIDER NOR WEBSITE
ASSUMES ANY RESPONSIBILITY FOR ITS USE.
1. General
Applies to Spot Vital Signs monitors, ex: models 4200B,
420TB, 420M0B, 420N0B, 42MTB, 420NTB
2. Reference Documents
Service Manual available at http://www.welchallyn.com –
Technical Library – Patient Monitors & Systems – Vital Signs
Devices -- Spot Vital Signs® LXi
See Appendix for control/button assignments.
3. Tools
Digital Manometer, Blood Pressure Simulator
4. Basic PM Procedure
4.1. Physical Inspection
If necessary, wipe down with a weak disinfectant or a 510% bleach solution.
Check case, power cord, accessory cords, and hoses for
integrity.
Battery is adequately charged when charging icon no
longer flashes.
4.2. Time and Date Check/Change
Initiate the Spot Vital Signs internal configuration settings menu by powering on the unit while
pressing and holding the Blood Pressure Start/Stop button. The first message displayed is the
revision level of the internal software. Press the Mode button to advance to the Date Set
screen.
4.3. SpO2 Functional Check.
Use SpO2 simulator to check the SpO2 functionality (including heart rate). Otherwise, the
average healthy person will normally measure in the high 90’s as a reference. Also, note that
the heart rate display section indicates the correct rate from the subject.
4.4. Temperature Calibration Check
Use the 9600 Plus Calibration Tester to check the SureTemp thermometer accuracy. If this
calibrator is not available, one may use a glass of lukewarm water with a known temperature as
a reference.
4.5. NIBP Check
Use a Simulator if available to check performance. If not available, verify the pressure
accuracy of the unit as detailed in step “Pressure Accuracy” below. Then perform a routine
automatic NIBP check on a human subject to verify pumping ability and to check for leaks.
Small leaks (usually in hose and cuff) can confuse program diagnostics.
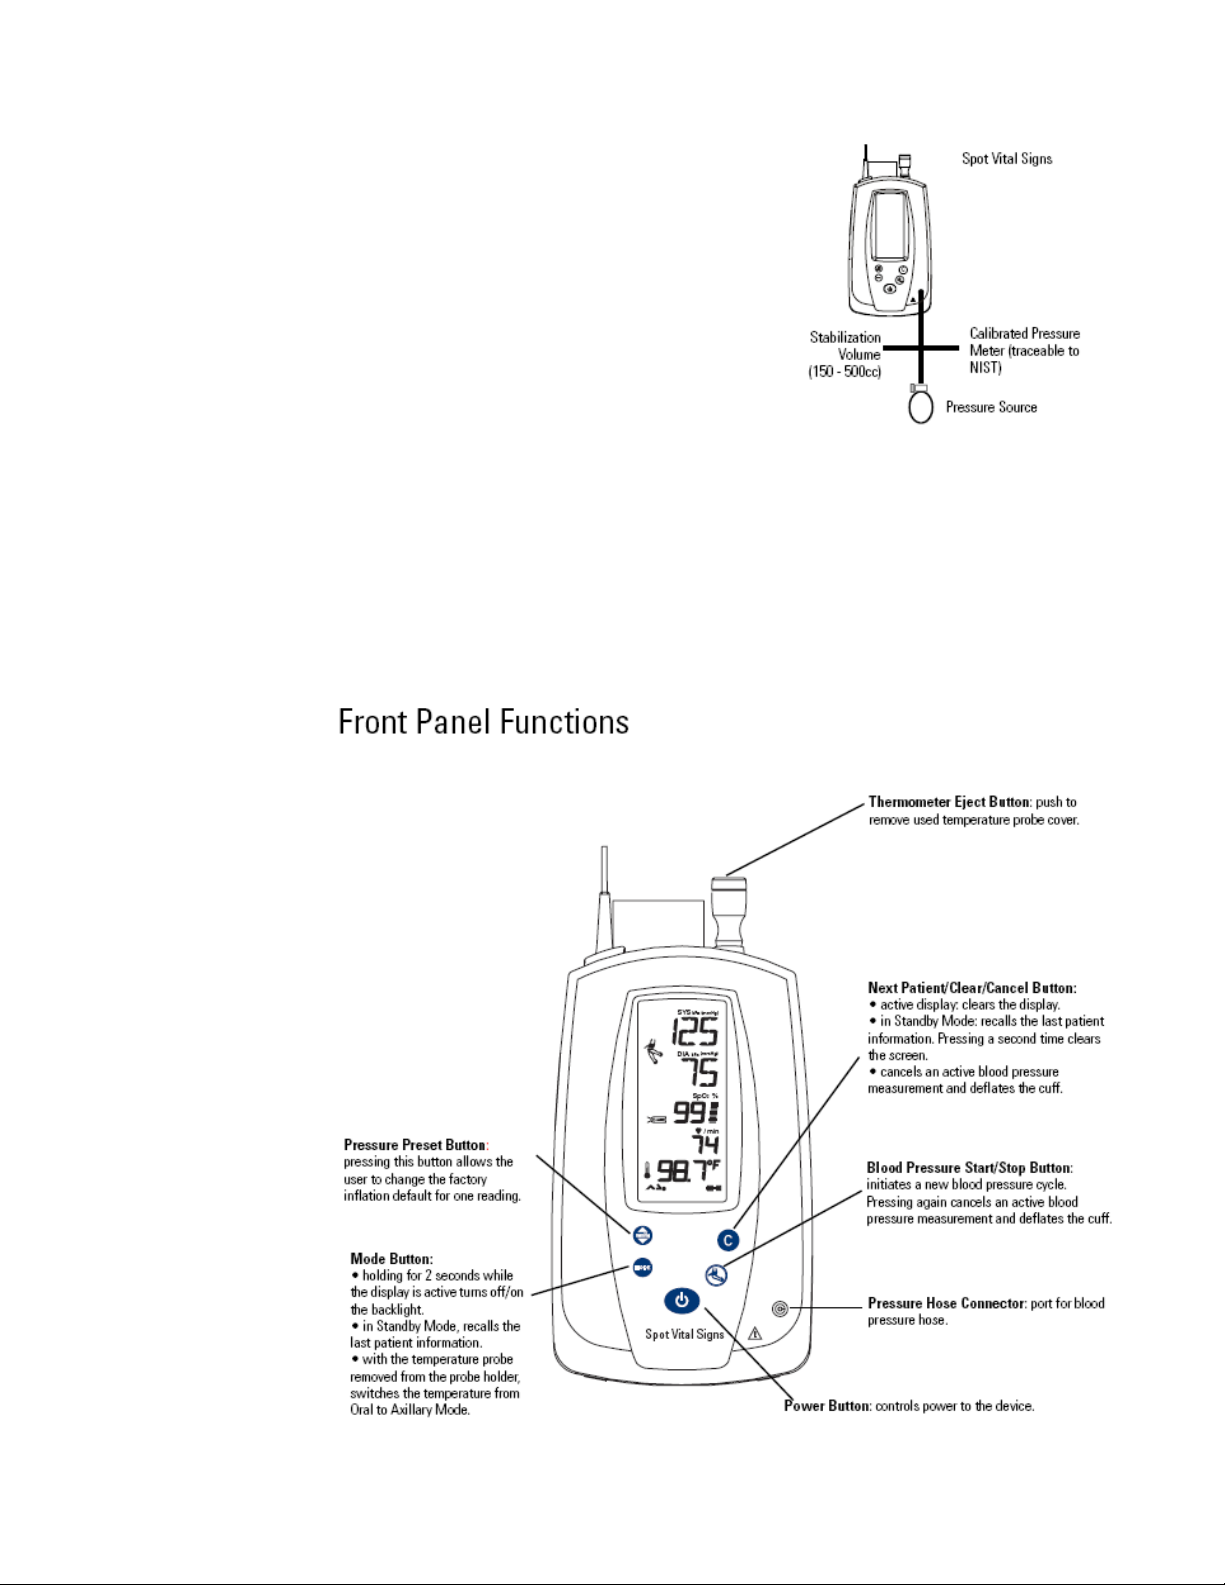
4.6. Pressure Accuracy
Enter the internal configuration mode by pressing and
holding the Power and Blood Pressure Start/Stop buttons
simultaneously. Then press the Blood Pressure Start/Stop
button to close the device’s internal valve to permit
application of an external pressure.
Connect the Spot Vital Signs as shown to a calibrated
pressure meter. Use a fixed volume or a C blood pressure
cuff wrapped around a cylinder for the stabilization
volume.
Pressurize the Spot Vital Signs to slightly above 250 mmHg. Slowly bleed the pressure to
approximately 250 mmHg, clamp, and record the pressure reading and the measurement
standard. Repeat this step for 150 and 50 mmHg (approximate).
If the differences between Spot Vital Signs and the pressure measurement standard are within
±3 mmHg at all specified pressures, then the device is within calibration. If the Spot Vital
Signs needs re-calibration, the procedures are included in the Spot Vital Signs Service Manual.
(The above accuracy information condensed from this manual.)
APPENDIX
 Loading...