

Page 1
MixPre II Series
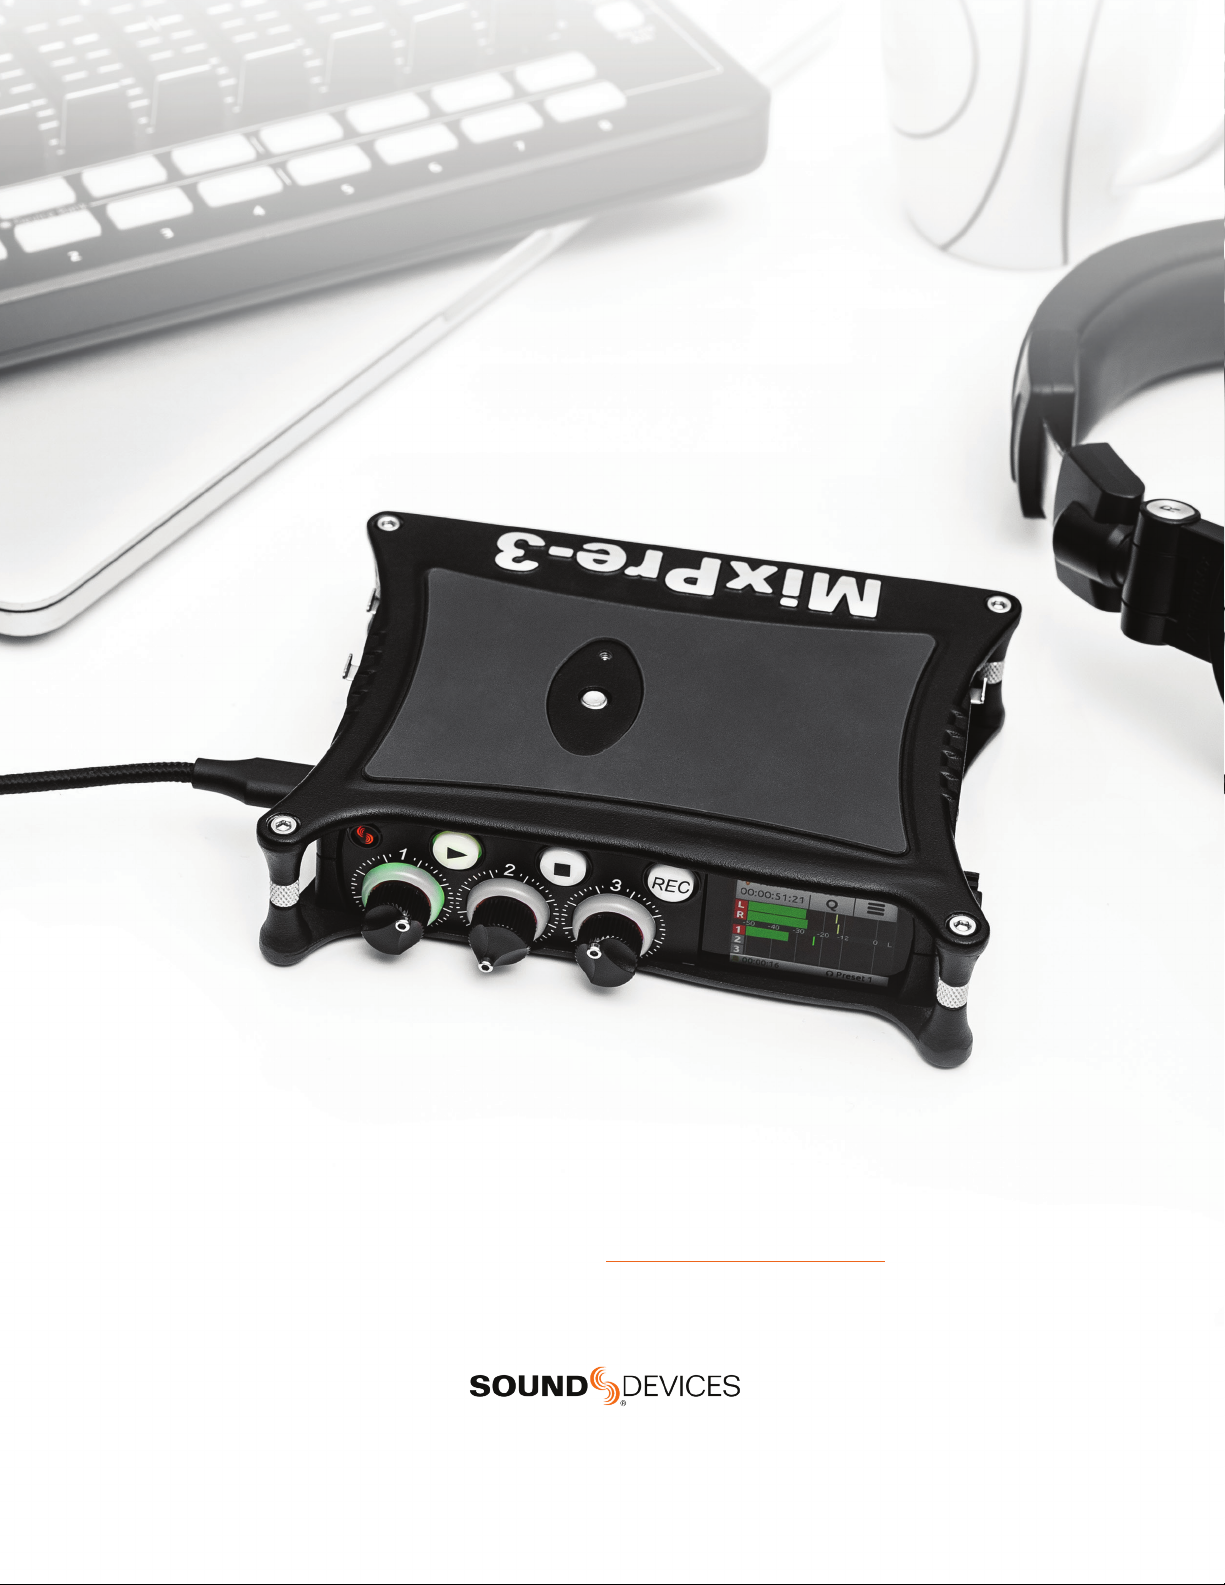
Multichannel Recorder | Mixer | USB Audio Interface
QUICK START GUIDE
Versatile. Durable. High-Performance.
If you record eld audio, sound effects, audio for lm, podcasts, voice-overs, music, or are just starting your audio journey,
the MixPre II Series is for you. Lightweight, durable, and small, this powerhouse audio recorder and USB interface will help
This Quick Start Guide will help you quickly set up your new MixPre II.
For further details and instructions, please download the full user guide.
E7556 State Rd. 23 and 33
Reedsburg, Wisconsin 53959 USA
you capture audio for any application.
We are honored to be part of your kit.
www.sounddevices.com
Post Ofce Box 576
support@sounddevices.com
+1 608.524.0625 main
800.505.0625 toll free
Page 2

Getting to Know Your MixPre II
MIXPRE-3 II
Power LED
Channel Knobs
Channel Ring LED
XLR Inputs
MIXPRE-6 II
Power LED
Channel Knobs
Channel Ring LED
Play Button
Star Button
Stop Button
FRONT
USB-A Port
LEFT
Play Button
FRONT
Record Button
USB-C Port
Stereo or Timecode Output
Stop Button
Touchscreen
Power Switch
Record Button
Touchscreen
Battery Contacts
Aux/Mic/Timecode Input
Headphone Output
Headphone Knob
Battery Contacts
SD Card Slot
REAR
RIGHT
SD Card Slot
REAR
Allen Wrench and
Anti-Rotational Pin
Storage
XLR Input
HDMI TC Input
Allen Wrench and
Anti-Rotational Pin
Storage
XLR / 1/4-inch TRS Inputs
MIXPRE-10 II
Power LED
Channel Knobs
XLR / 1/4-inch TRS Inputs
USB-A Port
LEFT
Channel LED Ring
FRONT
BNC Timecode/
Word Clock Output
Power Switch
USB-C Port
Stereo or Timecode
Output
Transport Controls
USB-A Port
Star Switch
USB-C Port
Touchscreen
Power Switch
Headphone Output
4-Pin Hirose DC Input
Aux/Mic/Timecode Input
Headphone Output
Aux/Mic/Timecode Input
Headphone Knob
HDMI TC Input
Battery Contacts
XLR / 1/4-inch TRS Inputs
RIGHT
SD Card Slot
REAR
Left and Right TA3 Outputs
Allen Wrench and
Anti-Rotational Pin
XLR / 1/4-inch TRS Inputs
MixPre II Quick Start Guide
LEFT
BNC Timecode/
Word Clock Input
X1 and X2 Output
Headphone Knob
HDMI TC Input
RIGHT
II
Page 3

Transport Controls
MIXPRE-3 II AND MIXPRE-6 II
The three Transport controls (illuminated buttons) on the front panel are used to perform recording and playback functions.
FUNCTION CONTROL ACTION
Press to begin recording a new le. The button illuminates red while recording is in
Record
Stop
Play / Pause
Scrub
MIXPRE-10 II
A joystick (with its illuminated LED ring) on the front panel is used to perform various transport control functions.
underway. In Stop mode the record button ashes red while auto-copying to a USB
thumbdrive.
While recording, press once to stop recording. While in playback, press once to stop
playback. While in standby, press and hold to display next name. While in Standby
and auto-copying is in progress, press Stop to optionally suspend auto-copying.
Press to begin playback of the last le recorded or le currently loaded. The button
illuminates green during playback. While in playback, press once to pause, and press
again to resume playback. Whenever playback is paused, the button and the current
le name will ash green.
While playing or paused, press and hold the headphone encoder to enter Scrub
mode. Then rotate clockwise for fast forward or counter-clockwise for rewind at
speeds of 0x, 1/8x, 1/4x, 1/2x, 1x, 2x, 4x, 8x and 16x. The audio is heard in Scrub
mode up to 2x speed.
FUNCTION CONTROL ACTION
Push up the Transport control to begin recording a new le. The LED ring illuminates
red while recording is underway.
Record
Press in the Transport control to stop recording or playback.While in standby, press
Stop
Play
Rewind / Load
previous take
Fast forward / Load
next take
Scrub
and hold to display next take name. The LED ashes red while auto-copying to a USB
thumbdrive.While in Standby and auto-copying is in progress, press Stop to bring up
a dialogue box which gives the option to suspend auto-copying.
Push down the Transport control to begin playback of the last le recorded or le
currently loaded. While in playback, push down again to pause playback. The LED
ring as well as the active le in the display will ash to indicate that Pause is active.
Push down again to continue playback.
While in standby, push left to load the previous take. While in playback, push and
hold left to rewind.
When the MixPre is playing back or paused, moving the joystick to the left (<<)
rewinds at 2x speed, then after holding for 5 seconds, it increases to 16x speed.
While in standby, push right to load the next take. While in playback, push and hold
right to fast forward.
When the MixPre is playing back or paused, moving the joystick to the right (>>) fastforwards at 2x speed, then after holding for 5 seconds, it increases to 16x speed.
While playing or paused, press and hold the headphone encoder to enter Scrub
mode. Then rotate clockwise for fast forward or counter-clockwise for rewind at
speeds of 0x, 1/8x, 1/4x, 1/2x, 1x, 2x, 4x, 8x and 16x. The audio may be heard in
Scrub mode up to 2x speed.
MixPre II Quick Start Guide
III
Page 4

Quick Setup in Basic Mode
(MixPre-3 II and MixPre-6 II)
INSERT SD CARD
Find the SD card slot on the back of the MixPre II and insert an SD
Card. Sound Devices highly recommends using an SD card currently
listed in the MixPre II approved media list.
CONNECT YOUR PREFERRED POWER SOURCE
To power the MixPre II, you may use:
• AA Batteries, using the MX4AA four AA battery sled or the MX-8AA
eight AA battery sled. Sound Devices recommends using NiMH
or Energizer Ultimate Lithium rechargeable AA batteries. Alkaline
batteries are not suitable and short run times are expected.
• L-Mount batteries, using the optional MX-LMount.
• USB-C: The MixPre-3 II and MixPre-6 II can be powered with a
USB-C cable connecting to a computer, USB-C power brick, or a
wall outlet with the included MX-PSU.
Use the power switch on the left panel to turn on the MixPre II.
The power status icon on the top right corner of the screen should be
green. If it is orange or red, nd an alternative power source.
FORMAT THE SD CARD
Formatting deletes all les on the SD Card and prepares it for use with
the MixPre II.
1. Tap the menu icon
2. Navigate to the second page by tapping the page icon
3. Tap SD Card > Edit > Format.
The status bar indicates remaining record time of the inserted SD
card. Your total recording time will depend on card size, sample rate,
bit depth, and track count.
HOME SCREEN LAYOUT
.
.
CONNECT HEADPHONES
Plug headphones into the headphone output located on the right
panel. Use the headphone encoder on the right side of the MixPre II
to adjust headphone volume.
The MixPre II can drive headphones to potentially dangerous levels.
Do not listen at high volume levels for long periods of time.
SET UP YOUR MICROPHONE
1. Plug one end of the XLR cable into your microphone and the
other into input 1 of your MixPre II.
2. Press in the channel 1 knob on the front panel to enter the
Channel Screen.
3. If your microphone requires phantom power, tap Phantom.
4. Adjust your levels using the front panel knob. Turn the knob
clockwise to increase the amount of signal sent to the LR mix.
Turn the knob counter-clockwise to decrease the amount of
signal sent to the LR mix.
The MixPre II User Guide covers other possible channel sources and
their setup.
UNDERSTANDING MIX LEVELS
The ring LED around each channel knob and the LR meter on the
home screen display the status of your signal.
• Solid Green - the louder the signal, the brighter the LED
• Red - when peaking
• Orange - when limiting, also appears as orange bars to the right of
the meters.
• Blinking Orange - when soloed
We recommend setting your level so the meters on the LCD show a
healthy green signal that only occasionally reaches the yellow. If a
signal is too loud, the limiter will engage. If the limiters are engaging
frequently, turn down the channel gain.
Current File
File List Icon
Time Counter
Status Bar
Name
MixPre II Quick Start Guide
Cue Marker
Icon
Power Status
Icon
Menu Icon
Meter View
IV
Page 5

Quick Setup in Advanced Mode
(MixPre-10 II)
INSERT SD CARD
Find the SD card slot on the back of the MixPre II and insert an SD
Card. Sound Devices highly recommends using an SD card currently
listed in the MixPre II approved media list.
CONNECT YOUR PREFERRED POWER SOURCE
To power the MixPre-10 II, you may use:
• AA Batteries, using the MX-8AA eight AA battery sled. Sound
Devices recommends using NiMH or Energizer Ultimate Lithium
rechargeable AA batteries. Alkaline batteries are not suitable and
short run times are expected.
• L-Mount batteries, using the optional MX-LMount or MX-LM1.
• Hirose, using the included XL-WPH3 from a wall outlet to the
Hirose input.
Use the power switch on the left panel to turn on the MixPre-10 II.
The power status icon on the top right corner of the screen should be
green. If it is orange or red, nd an alternative power source.
FORMAT THE SD CARD
CONNECT HEADPHONES
Plug headphones into the headphone output located on the right
panel. Use the headphone encoder on the right side of the MixPre-10 II to adjust headphone volume.
The MixPre II can drive headphones to potentially dangerous levels.
Do not listen at high volume levels for long periods of time.
SET UP YOUR MICROPHONE
1. Plug one end of the XLR cable into your microphone and the
other into input 1 of your MixPre-10 II.
2. Press in the channel 1 knob on the front panel to enter the
Channel Screen.
3. If your microphone requires phantom power, tap the page icon
, then tap Phantom.
4. Return to the rst screen by tapping the page icon
.
5. Tap gain and use the up and down arrows or the headphone
encoder to change the amount of gain applied to the microphone.
6. Adjust the level of channel 1 being sent to the LR mix using
the front panel knob. Turn the knob clockwise to increase the
amount of signal sent to the mix. Turn the knob counter-clockwise to decrease the amount of signal sent to the mix.
Formatting deletes all les on the SD Card and prepares it for use with
the MixPre-10 II.
1. Tap the menu icon
2. Navigate to the second page by tapping the page icon
.
.
3. Tap SD Card > Edit > Format.
The status bar indicates remaining record time of the inserted SD
card. Your total recording time will depend on card size, sample rate,
bit depth, and track count.
HOME SCREEN LAYOUT
File List Icon
Time Counter
Status Bar
Current File
Name
Cue Marker
Icon
Power Status
Icon
Menu Icon
Meter View
The MixPre II User Guide covers other possible channel sources and
their setup.
UNDERSTANDING MIX LEVELS
The ring LED around each channel knob and the LR meter on the
home screen display the status of your signal.
• Solid Green - the louder the signal, the brighter the LED
• Red - when peaking
• Orange - when limiting, also appears as orange bars to the right of
the meters.
• Blinking Orange - when soloed
We recommend setting your level so the meters on the LCD show a
healthy green signal that only occasionally reaches the yellow. If a
signal is too loud, the limiter will engage. If the limiters are engaging
frequently, turn down the channel gain.
MixPre II Quick Start Guide
V
 Loading...