

Page 1
Portable CD Player with Car Kit
42-179
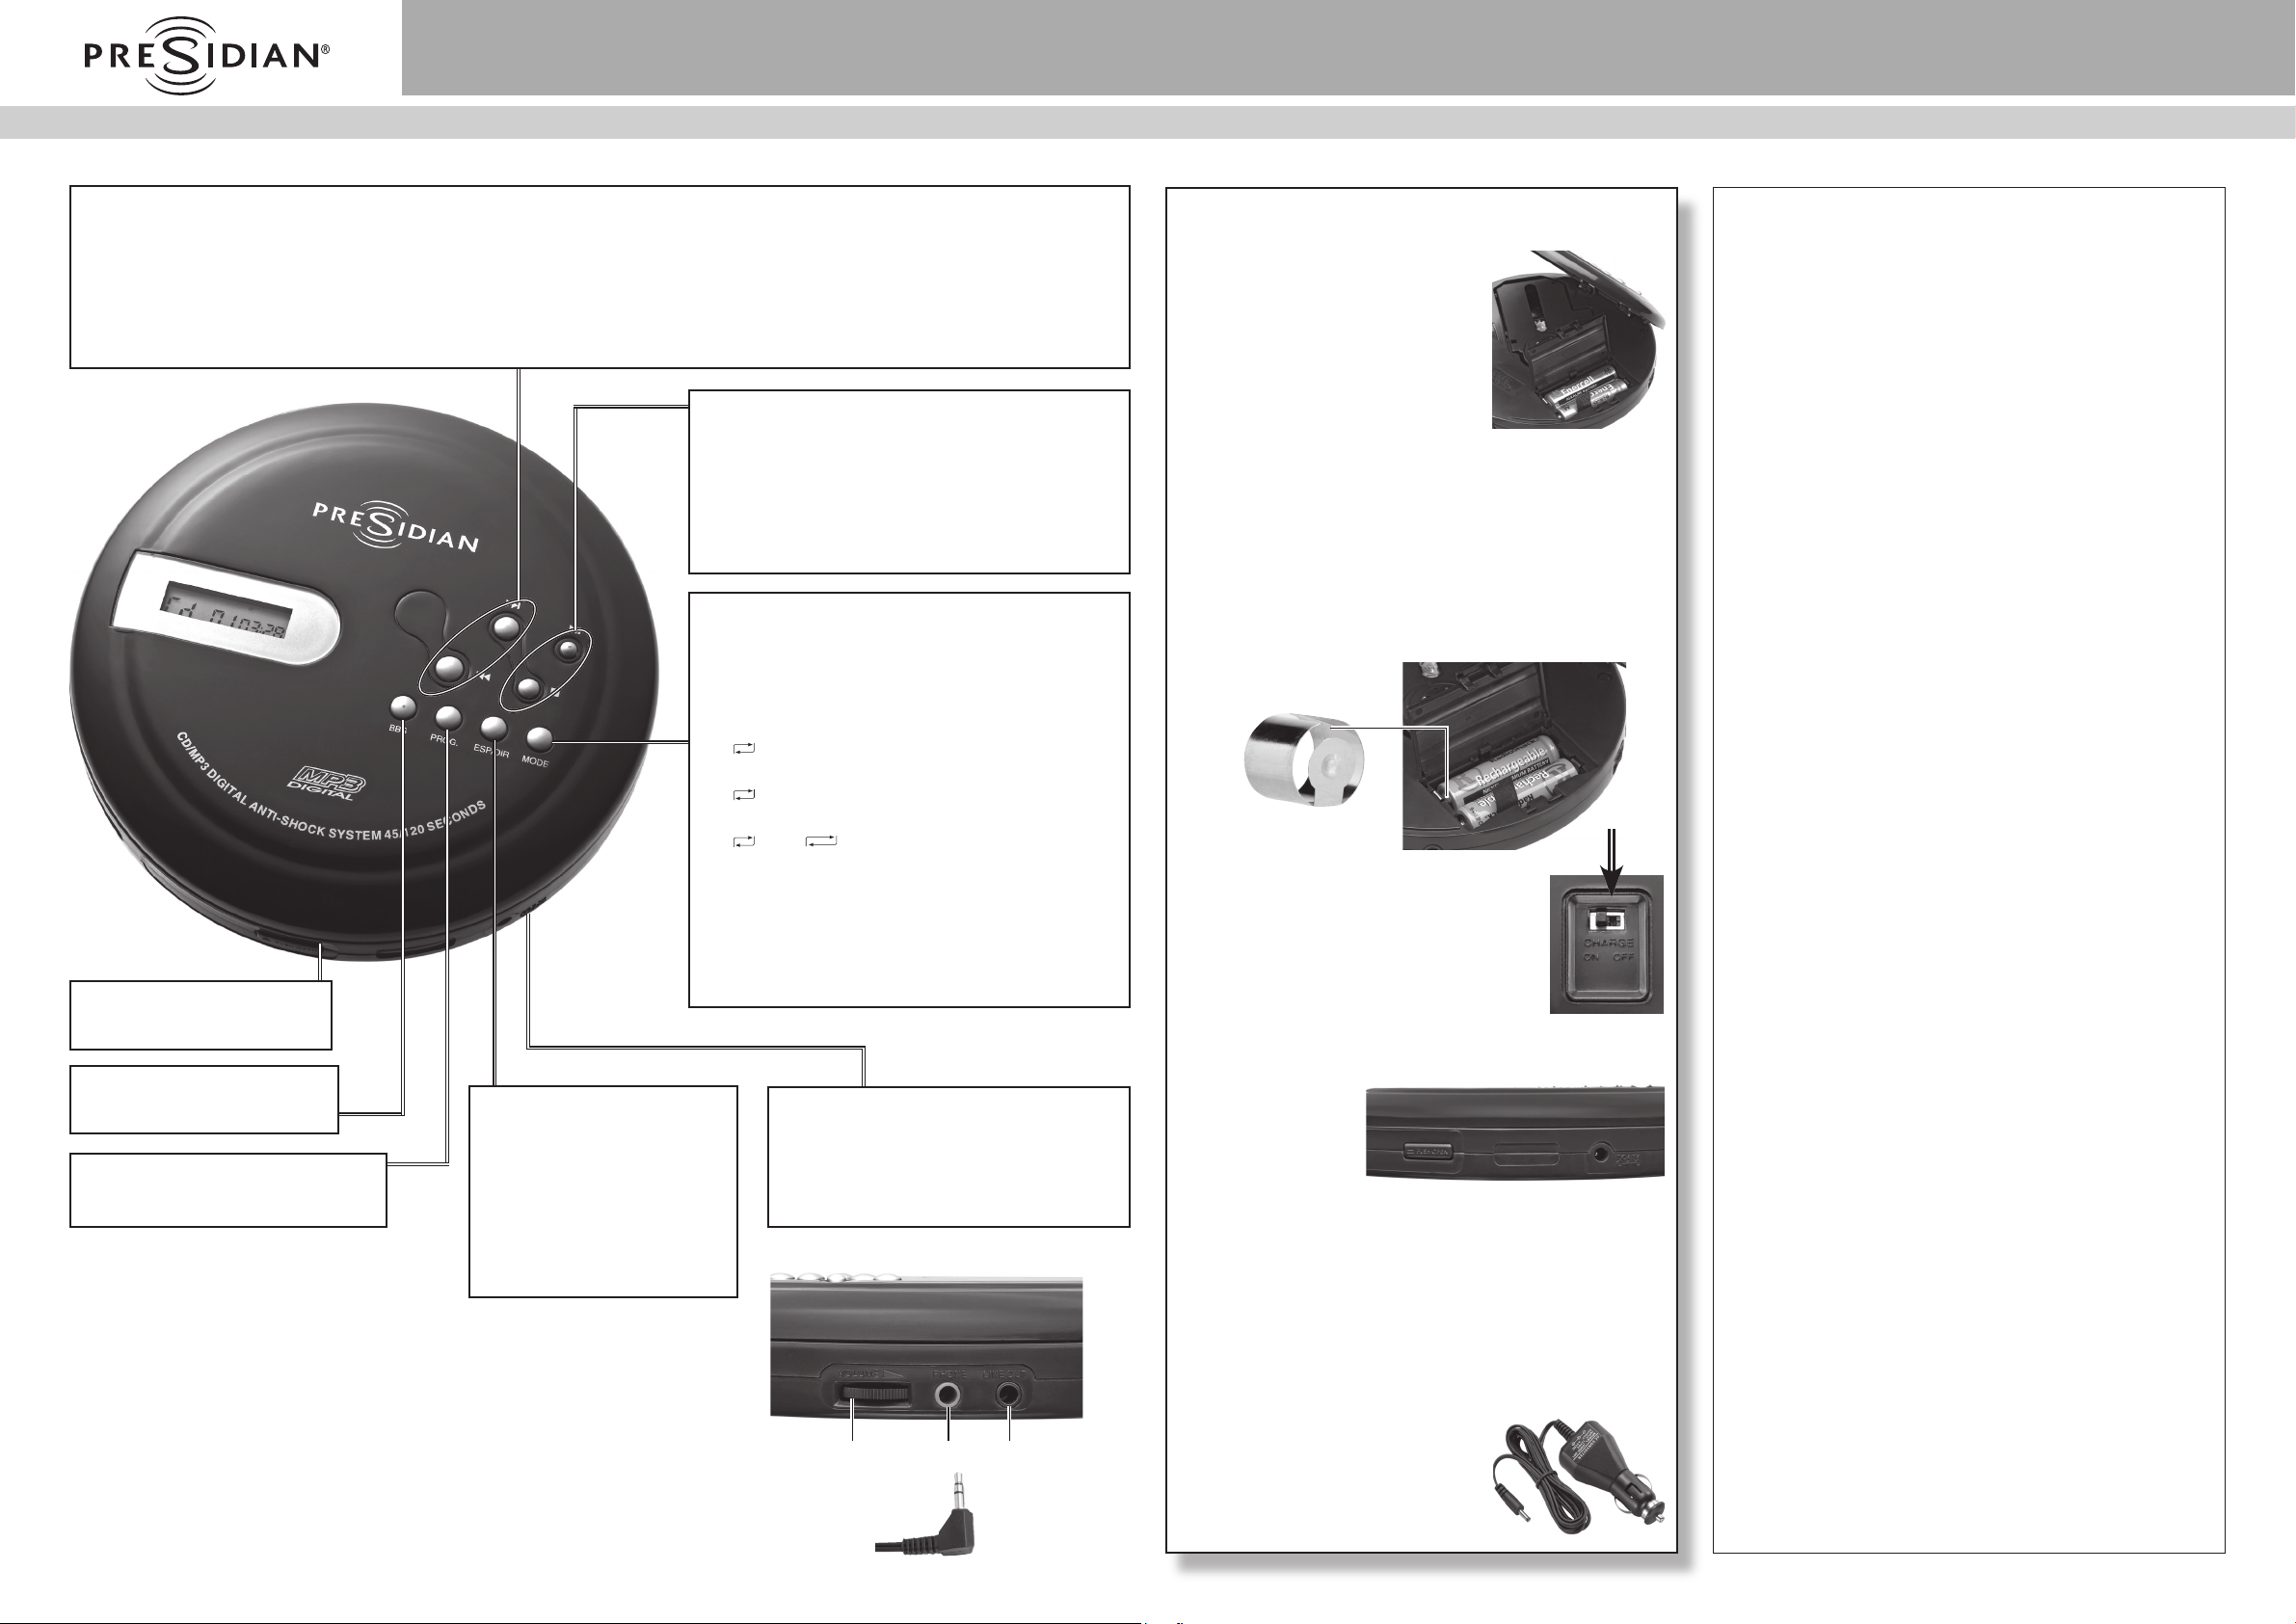
• Press repeatedly to locate a track. When the CD is playing, press once to return to the beginning of the current
track.
• To search for a particular section within a track, hold down or during play. The CD player rapidly plays the
CD either backward or forward at a high speed and low volume. When you hear the section you want, release to
resume normal play. This search stops at the end of the last track (or the beginning of track one.)
§
Press to turn on the player and start play. Press
again to pause playback.
Press to stop playback. Press again to turn off
the player.
MODE
Press repeatedly to select a playback mode:
• INTRO - The CD player will play the rst
ten seconds of each track. Press again until
INTRO disappears to cancel intro scan.
• RND – Plays tracks randomly.
• – Repeats playback of the current CD or
MP3 track.
ALBUM
PUSH OPEN
Press to open the CD door.
BBS
Press to enhance the bass.
ESP/DIR
- Activates 45 seconds of
PROG.
See Programming Tracks.
anti-shock for CDs (120
seconds for MP3 CDs). ESP
appears when active.
- MP3-CDs only: skips to
an album / rst track of an
Connecting Your CD Player
album.
For private listening, connect the supplied earphones or
optional headphones with a 1/8-inch (3.5mm) plug into
the PHONES jack on the CD player.
To listen through your home audio system, connect an
audio cable (not included) with a 1/8 -inch (3.5-mm) plug
to the CD player’s LINE OUT jack, and connect the cable
to your audio system’s audio input jacks. Then, use the
system’s volume control to adjust the volume.
•
tracks of current album.
•
or all tracks of all MP3 albums.
Note: When the CD player reaches the end
of the CD or the programmed sequence, it
returns to the rst track and replays all the
tracks.
– Repeats playback of all the MP3
or
ALL ALBUM
– Repeats all CD tracks
ALL
HOLD ON / OFF
Slide to ON to lock all controls (except
PUSH OPEN and volume control).
HOLD appears on the display. Slide to
OFF to unlock.
PHONEVOLUME
LINE
OUT
Powering Your CD Player
Installing Batteries
Open the CD compartment door
and the battery compartment
cover to insert two AA alkaline
batteries (not supplied) matching
the polarity
(+ and -) marked inside.
Rechargeable Batteries
Charge Ni-Cd (or Ni-Mh) rechargeable batteries (not
supplied) before using your CD player.
1. Use an AC adapter (not included) to connect your
CD player to a standard wall outlet.
2. Cover the negative end of one battery with the
supplied charging ring and place the batteries in
the compartment matching the polarity (+and-).
charging ring
3. Switch CHARGE ON/OFF
on the back of the CD player to ON.
When charging is complete, slide
the switch to OFF to avoid damaging
the CD player and disconnect the AC
adapter.
Using an AC Adapter
You can power
your CD player
using a 4.5V 500
mA AC adapter (not
supplied). Insert
the barrel plug into the CD player’s DC 4.5V jack and
plug the other end of the adapter into a standard AC
outlet.
Note: You must use a Class 2 power source that
supplies 4.5V DC and delivers at least 500 mA. Its
center tip must be set to positive and its plug must t
the CD player’s DC 4.5V jack. Using an adapter that
does not meet these specications could damage the
CD player or adapter.
Using the Vehicle Adapter
Insert one end of the DC
adapter into the DC IN jack
and plug the other end into the
cigarette lighter in your vehicle.
User’s Guide
Thank you for purchasing your Portable CD Player with Car Kit
from Presidian. Please read this user’s guide before installing,
setting up, or using your CD player.
In This Package
Portable CD Player Earphones
Car Kit Charging Ring
User’s Guide
Battery Notes:
• Dispose of old batteries promptly and properly.
Do not burn or bury batteries.
• Use only fresh batteries of the required size and
recommended type.
• Do not use batteries of different types,
capacities, or chemistries.
• If you do not plan to use your CD player for a
week or more, remove the batteries. Batteries
can leak chemicals that can damage electronic
parts.
• Replace or recharge batteries when the low
battery icon appears.
RF Emissions Information
This equipment has been tested and found to comply with the limits
for a Class B digital device, pursuant to Part 15 of the FCC Rules.
These limits are designed to provide reasonable protection against
harmful interference in a residential installation. This equipment
generates, uses, and can radiate radio frequency energy and, if not
installed and used in accordance with the instructions, may cause
harmful interference to radio communications. However, there is no
guarantee that interference will not occur in a particular installation. If
this equipment does cause harmful interference to radio or television
reception, which can be determined by turning the equipment o and
on, the user is encouraged to try to correct the interference by one or
more of the following measures:
• Reorient or relocate the receiving antenna.
• Increase the separation between the equipment and receiver.
• Connect the equipment into an outlet on a circuit dierent from that
to which the receiver is connected.
• Consult your local RadioShack store or an experienced radio/TV
technician for help.
If you cannot eliminate the interference, the FCC requires that you stop
using your CD player. Changes or modications not expressly approved
by RadioShack may cause interference and void the user’s authority to
operate the equipment.
This device complies with Part 15 of the FCC Rules. Operation is subject
to the following two conditions: (1) This device may not cause harmful
interference, and (2) This device must accept any interference received,
including interference that may cause undesired operation.
Limited 90-Day Warranty
This product is warranted by RadioShack against manufacturing defects in material
and workmanship under normal use for ninety (90) days from the date of purchase
from RadioShack company-owned stores and authorized RadioShack franchisees
and dealers. For complete warranty details and exclusions, check with your local
RadioShack store.
RadioShack Customer Relations
300 RadioShack Circle, Fort Worth, TX 76102 04/04
©2007. RadioShack Corporation. All rights reserved. Presidian is a registered trademark used by RadioShack Corporation.
Page 2
Using Your CD Player
Loading a CD
1. Power on your CD player and press PUSH OPEN to
open the CD door.
2. Carefully place a CD, label side up, over the CD
compartment center hub. Then, gently press the
CD down.
3. Close the CD door.
Playing a CD
Your CD player can play CD-RW, CD-R, CD and MP3
disc formats.
1. Press PLAY/PAUSE to turn on the CD player. ESP
appears, “MP3” ashes, and the total number of
tracks and total elapsed playing time appear briey.
Then, track 1 begins to play.
2. To pause the disc, press PLAY/PAUSE once. The
elapsed time ashes. To resume play, press PLAY/
PAUSE again.
3. To end play and turn off the unit, press STOP twice.
When the last track nishes playing, the CD stops
and displays the total number of tracks and total
playing time of the CD for about 30 seconds, and then
automatically turns off.
Playing MP3 Discs
To nd your desired MP3 track,
• Press ESP/DIR to skip to the beginning of the 1st
MP3 track of the next album during MP3 playback.
• Repeatedly press or to nd your desired MP3
tracks.
Standby Mode
To enter standby mode, press PLAY/PAUSE to start
playback, and then press STOP. The total number
of album and tracks for MP3 or total number of
track of CD will be displayed. The player will turn off
automatically after 30 seconds if you do not press any
other keys.
Programming Tracks
You can program up to 64 tracks.
1. In standby mode, press PROG. PGM appears on
the display.
2. Press ESP/DIR once or more to select the number
of the directory (for a MP3 disc only).
3. Repeatedly press or to locate the rst track.
4. Press PROG.
5. Repeat steps 2 - 4 for each track to be saved.
6. Repeatedly press PROG to review the programmed
track number .
7. Press PLAY/PAUSE to play the program.
8. To clear the program, press STOP once or open the
CD door.
Connecting to Your Car’s Audio
System
Choose one of the following:
• If your car’s sound system
has a cassette deck,
connect the supplied CDto-cassette adapter’s plug
to the CD player’s LINE
OUT jack. Then, insert the
cassette end of the adapter
into your cassette deck just like a standard cassette.
• If your vehicle’s sound system has LINE IN jacks,
connect an optional Y-cable’s 1/8” plug to the CD
player’s LINE OUT jack. Then, connect the Y-cable’s
phono plugs to your vehicle’s LINE IN input jacks.
• If your vehicle’s sound system has a CD input jack,
connect one end of a 1/8” stereo patch cable to
the CD player’s LINE OUT jack. Then, connect the
other end to your sound system’s CD INPUT jack.
To avoid sound distortion, set VOLUME to the
lowest comfortable listening level and adjust it as
necessary.
To Maintain Good Performance
Do not use the unit in places that are extremely hot,
cold, dusty, or humid, such as:
• In a high humidity area, such as a bathroom near a
heater.
• In an area exposed to direct sunlight (e.g., inside a
parked car, where it can become extremely hot).
• Near sources of strong magnetism, such as
televisions, speakers, or magnets.
• Where there is a lot of movement or vibration, such
as on a car dashboard or an unstable shelf.
CD Care Tips
• Do not write on either side of the CD, particularly the
non-label side (signals are read from the non-label
side).
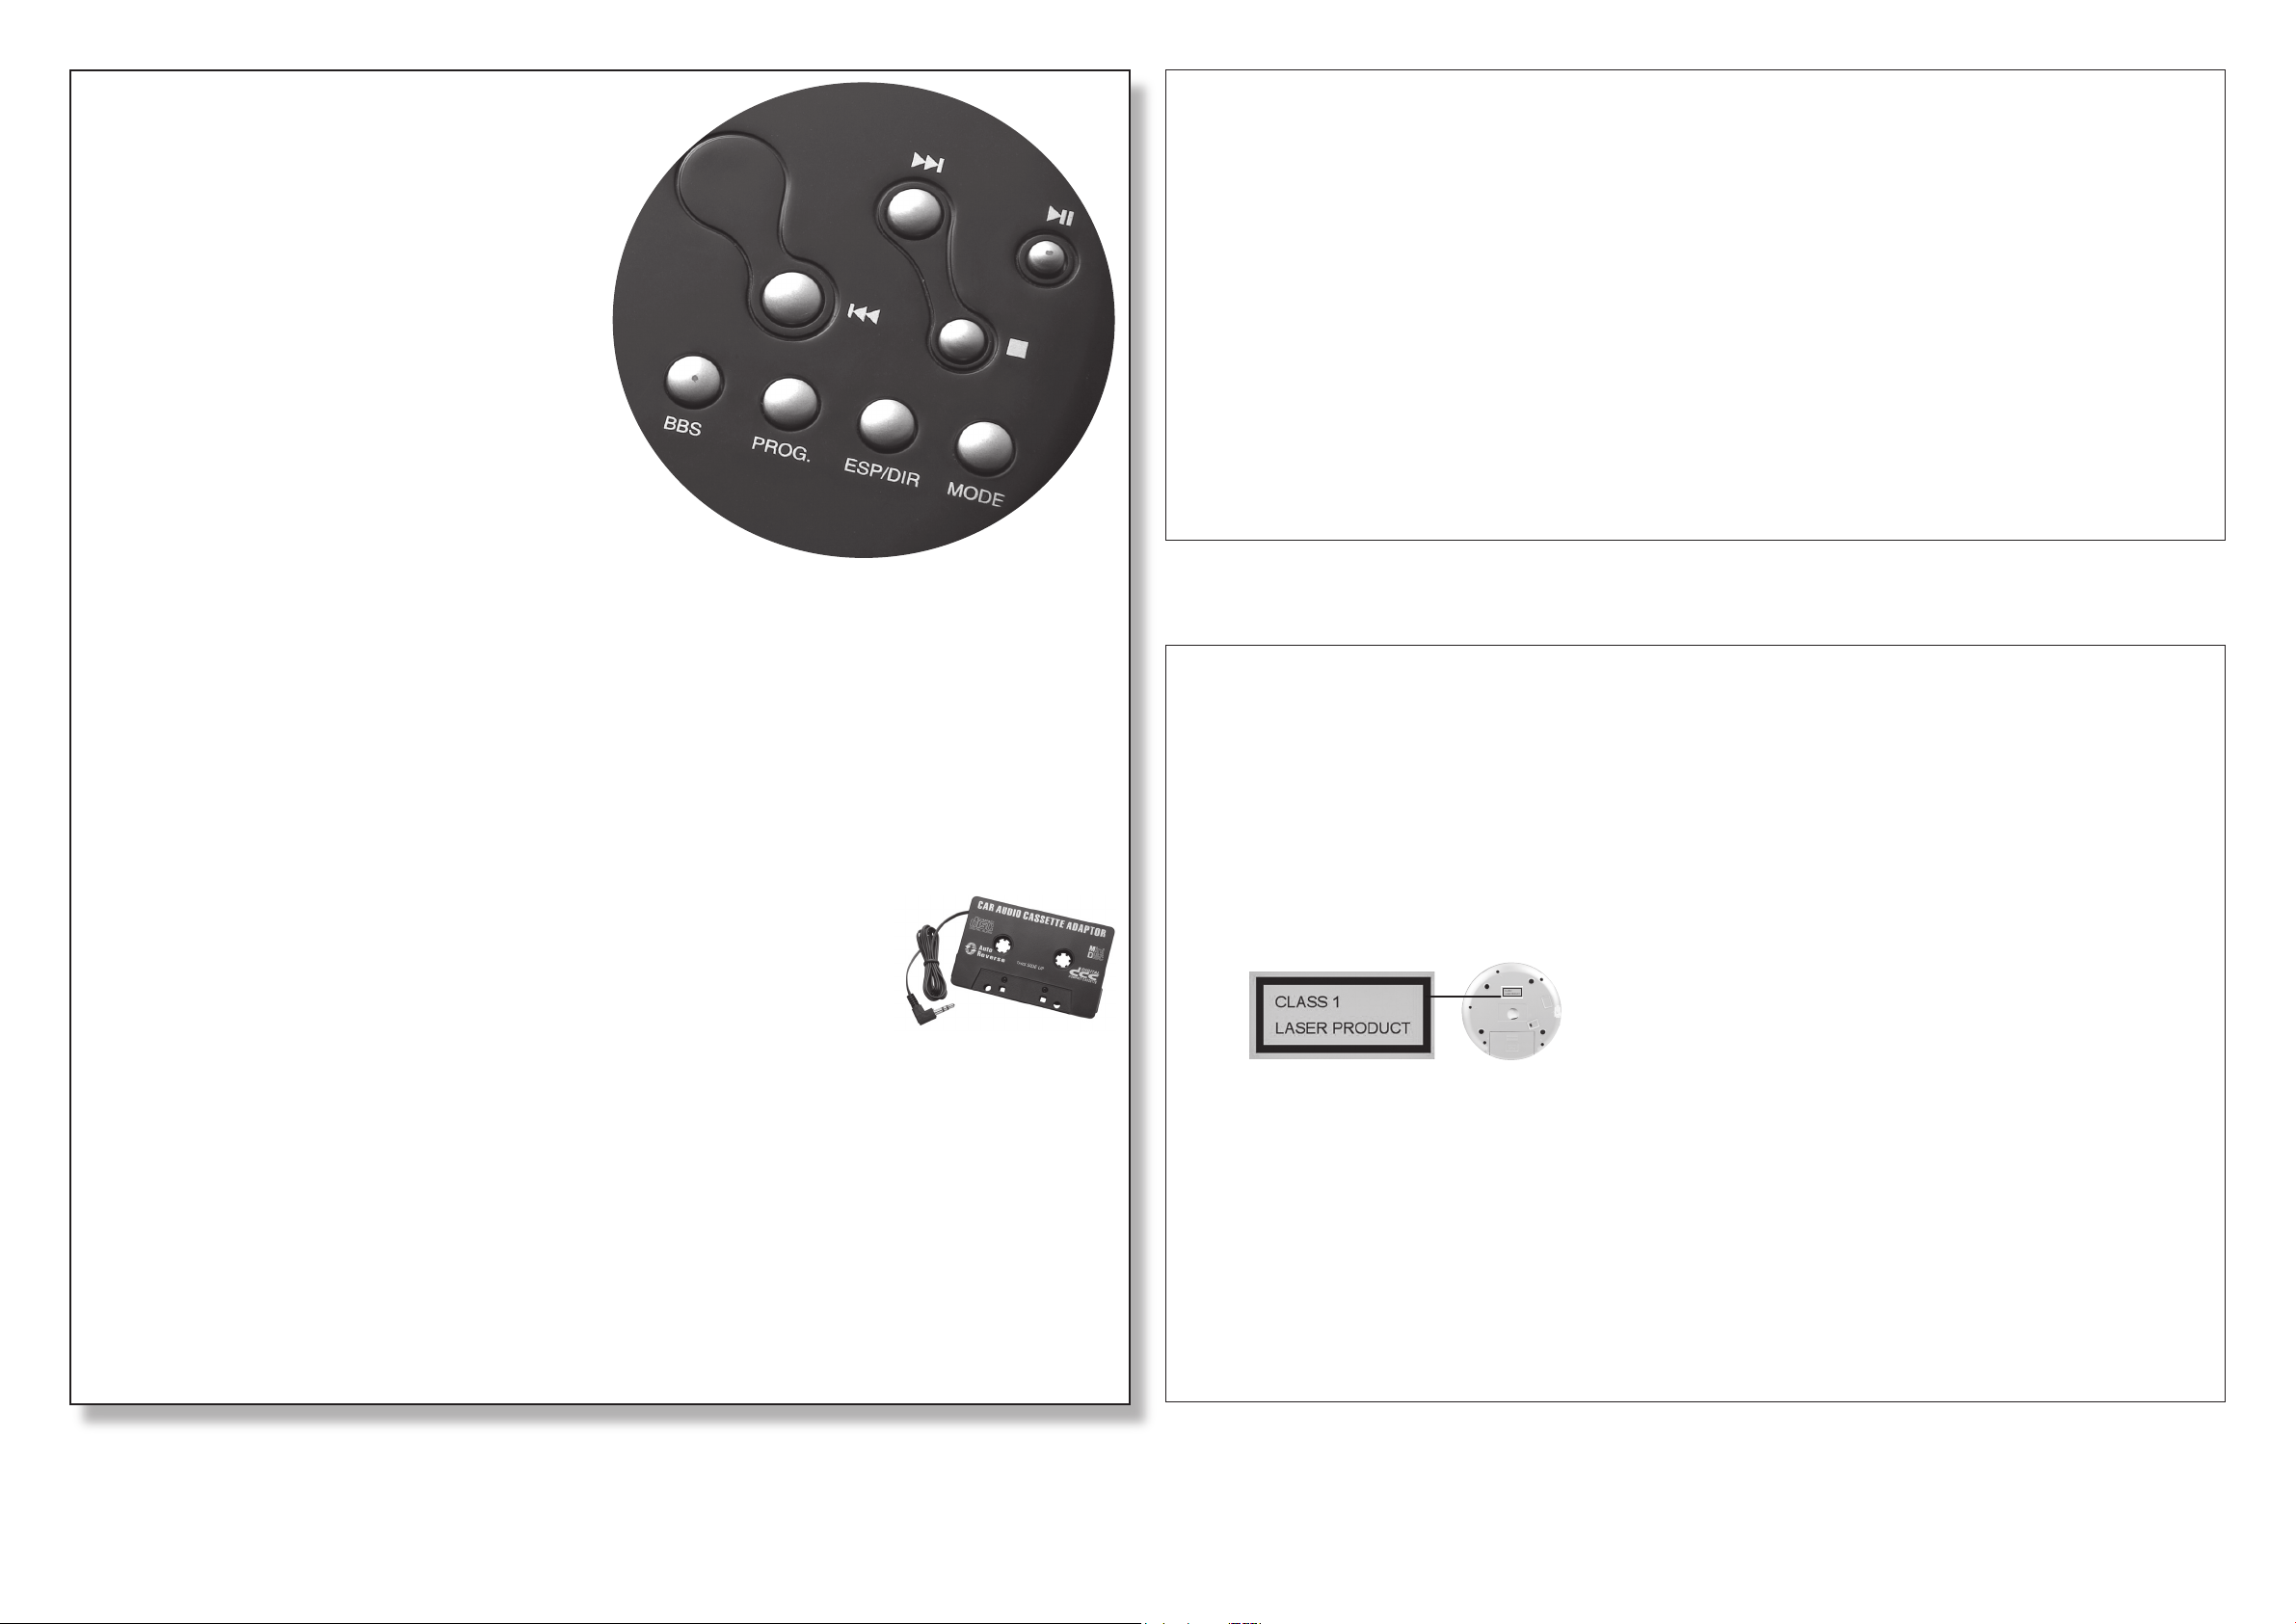
Safety Precautions
WARNING: TO REDUCE RISK OF FIRE OR ELECTRIC
SHOCK, DO NOT EXPOSE THIS APPLIANCE TO RAIN
OR MOISTURE.
This compact disc player is classied as a CLASS 1
LASER product. This device uses a laser light beam.
Only a qualied service person should remove the
cover or attempt to service this device, due to possible
eye injury.
• Do not attempt to disassemble this unit. Laser rays
from the optical pickup are dangerous to the eyes.
• Make sure that pins or other foreign objects do not
get inside the player.
• Take care not to drop the unit or subject it to strong
shocks.
• If you hear no sound when playing a disc, DO NOT
turn the volume up high because the music could
suddenly begin at high volume. To avoid hurting
your ears or damaging the speakers, turn the
volume control to the level before starting playback
and slowly turn it up to the desired level.
• To keep dust from the pickup lens, keep the disc
compartment lid closed after use. Never touch the
lens.
• Do not store CDs in high temperature or high
humidity areas. They might warp.
• Keep CDs dry. A water drop can act as a lens and
affect the laser beam’s focus.
• Never use chemicals such as record cleaning sprays,
anti-static sprays or uids, benzene, or thinner to clean
CDs. These chemicals will permanently damage the
plastic surface of the CD.
• Always handle a CD by the edges to avoid
ngerprints and always keep it in its protective case
or sleeve when it is not in use. Fingerprints and
scratches on the CD’s surface can prevent the laser
beam from correctly reading the digital information.
If the CD gets scratched, use CD repair kit to repair
the disc (available at your local electronics store).
• If a CD skips when you try to play it, the CD might
be scratched. Your local electronics retailer sells a
CD repair kit that might stop the skip.
Trafc Safety
Do not wear an earphone or headphones while
operating a motor vehicle or riding a bicycle. This can
create a trafc hazard and could be illegal in some
areas.
Even though some earphones or headphones let you
hear some outside sounds when listening at normal
volume levels, they still can present a trafc hazard.
Listening Safely
To protect your hearing, follow these earphone or
headphones guidelines.
• Set the volume to the lowest setting before you
begin listening. After you begin listening, adjust the
volume to a comfortable level.
• Do not listen at extremely high volume levels.
Extended high-volume listening can lead to
permanent hearing loss.
• Once you set the volume, do not increase it. Over
time, your ears adapt to the volume level, so a
volume level that does not cause discomfort might
still damage your hearing.
Actual product may vary from the images found in this document.
42-179
04A07
Printed in China
 Loading...