

Operating Instructions
INTEGRATED CD/CASSETTE RECEIVER WITH DSP
n
CQ-VX999EW
Panasonic
Before operating this set, please read these instructions completely.
®

Contents
Page
Precautions...................................................................3
OPERATION: GENERAL
LISTENING TO THE RADIO....................................20
CASSETTE DECK OPERATION
CD PLAYER OPERATION.........................................28
CD/MD CHANGER CONTROL OPERATION...........31
AUX IN OPERATION
CLOCK OPERATION.................................................36
USEFUL FUNCTIONS
REMOTE CONTROL OPERATION..........................41
m Mfi
................................................................
...........................................................
................................................... 89
............................................... 93
............................................
...............................
..............................................
...............................................
...........................................
........................................
................................. 80
...........................................
24
35
37
56
72
?6
... ss
87
88
Page
Installation Guide......................................................46
4
Electrical Connection.................................................47
Troubleshooting.........................................................50
Special Notes..............................................................51
Specifications
ssc®»
m IS
...............................................................
.............................................................
.....................................................
... ... .
............................................
!!!
.
"Z...Z
.
98
102
103
105
53

Panasonic weicomes you to their constantly growing family of electronic products owners.
We endeavor to give you the advantages of precise electronic and mechanical engineering,
manufactured with carefully selected components, and assembled by people who are proud of the
reputation their work has built for our company. We know this product will bring you many hours of
enjoyment, and after you discover the quality, value and reliability we have built into it, you too will be
proud to be a member of our family.
Precautions
Volume Level
For your driving safety, keep the volume level low
enough to be aware of road and traffic conditions.
Car Washing
To avoid electrical shorts which may cause fire or
other damage, do not expose this equipment
(including the speakers and tape) to water or
excessive moisture.
Car Ventilation
If your car is parked for several hours in direct
sunlight, the temperature inside the car may
become very high. It is advisable to drive the car
and give the interior a chance to cool down before
switching the unit on.
Power Supply
This equipment is designed to be used in a car
having 12-Volt negative ground battery system.
Tape Mechanism
Keep magnets, screwdrivers and other metallic
objects away from the tape mechanism and tape
head.
Disc Mechanism
Do not insert coins or any small objects. Keep
screwdrivers and other metallic objects away from
the disc mechanism and disc.
Service
This unit is made of precision parts. Do not
attempt to disassemble or adjust any parts. For
repair, please consult your nearest authorized
Panasonic Service Center.
About Preset Memory
The preset memory is cleared to return to the
original factory setting when the power connector
or battery is disconnected.
CQ-VX999EW
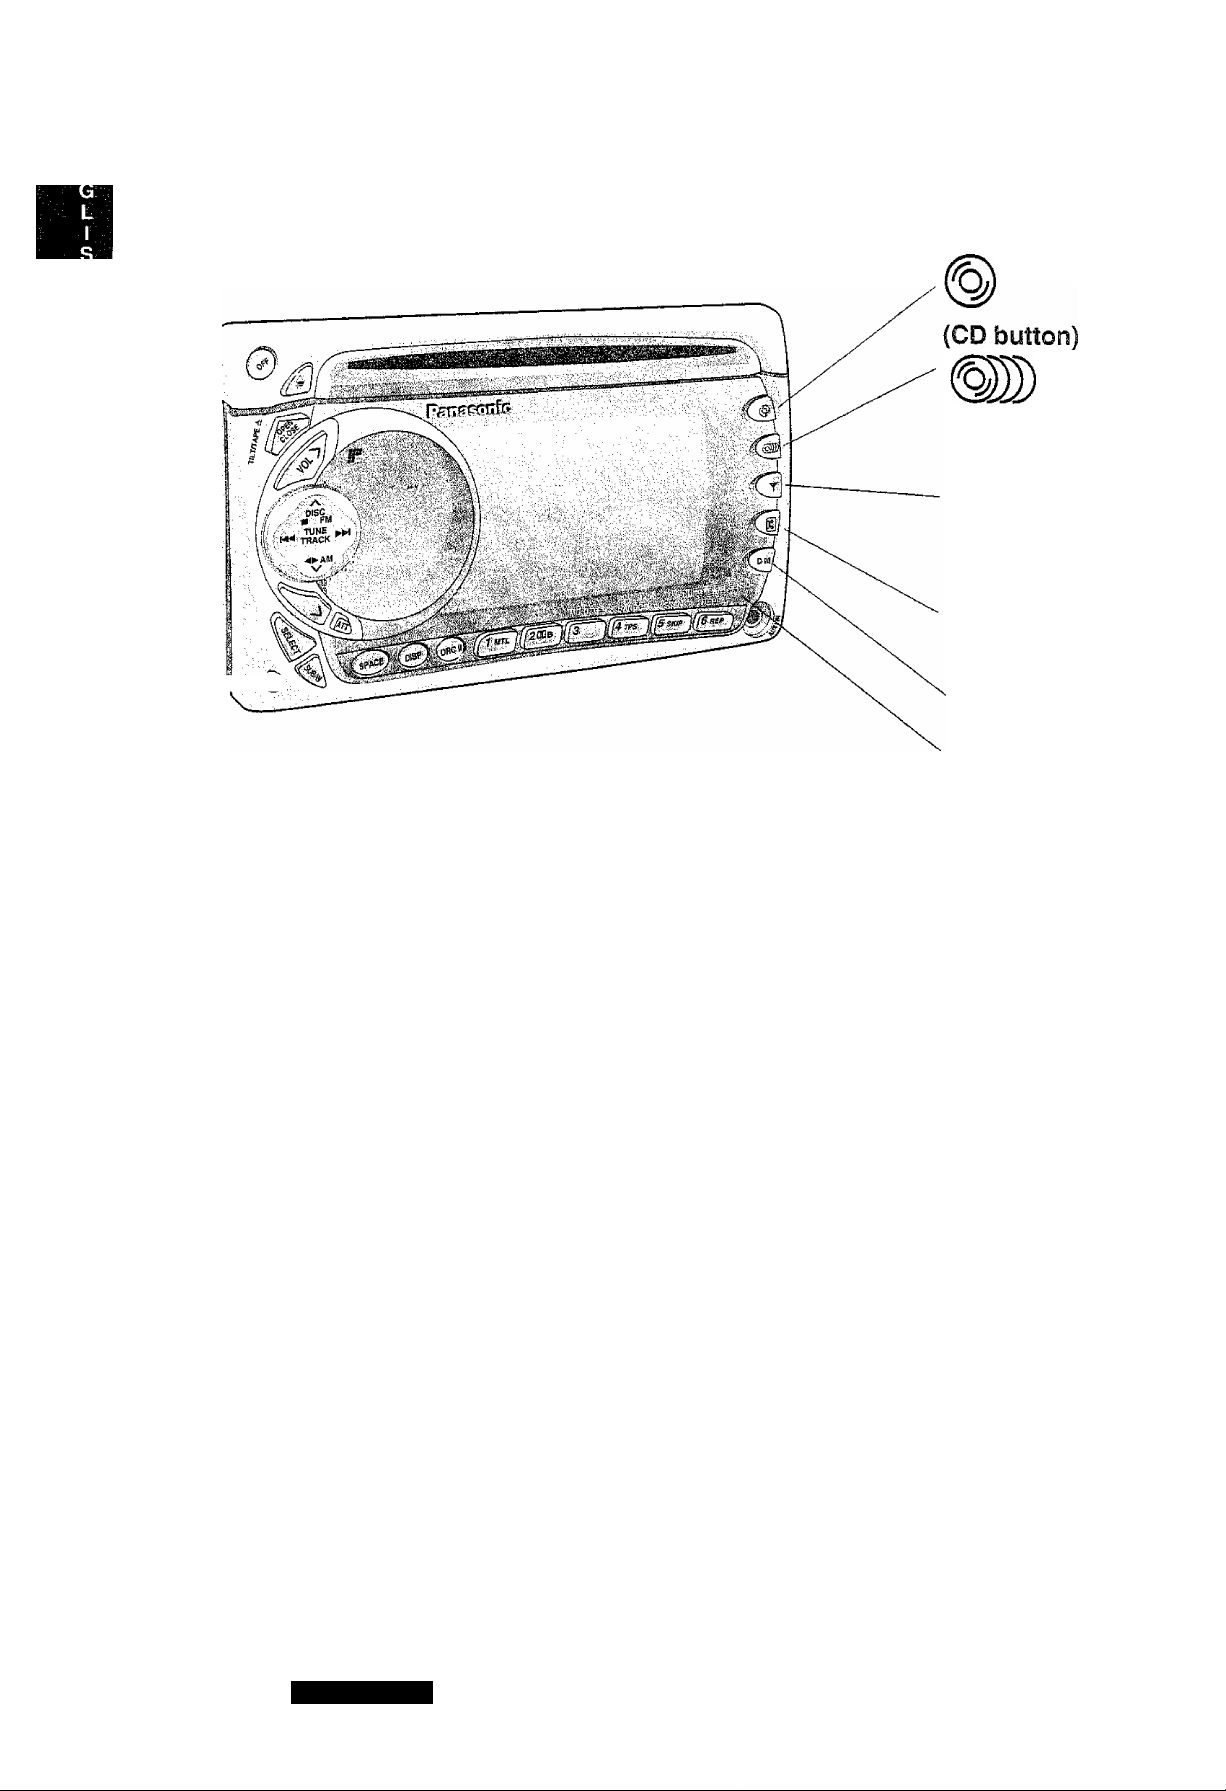
OPERATION: GENERAL
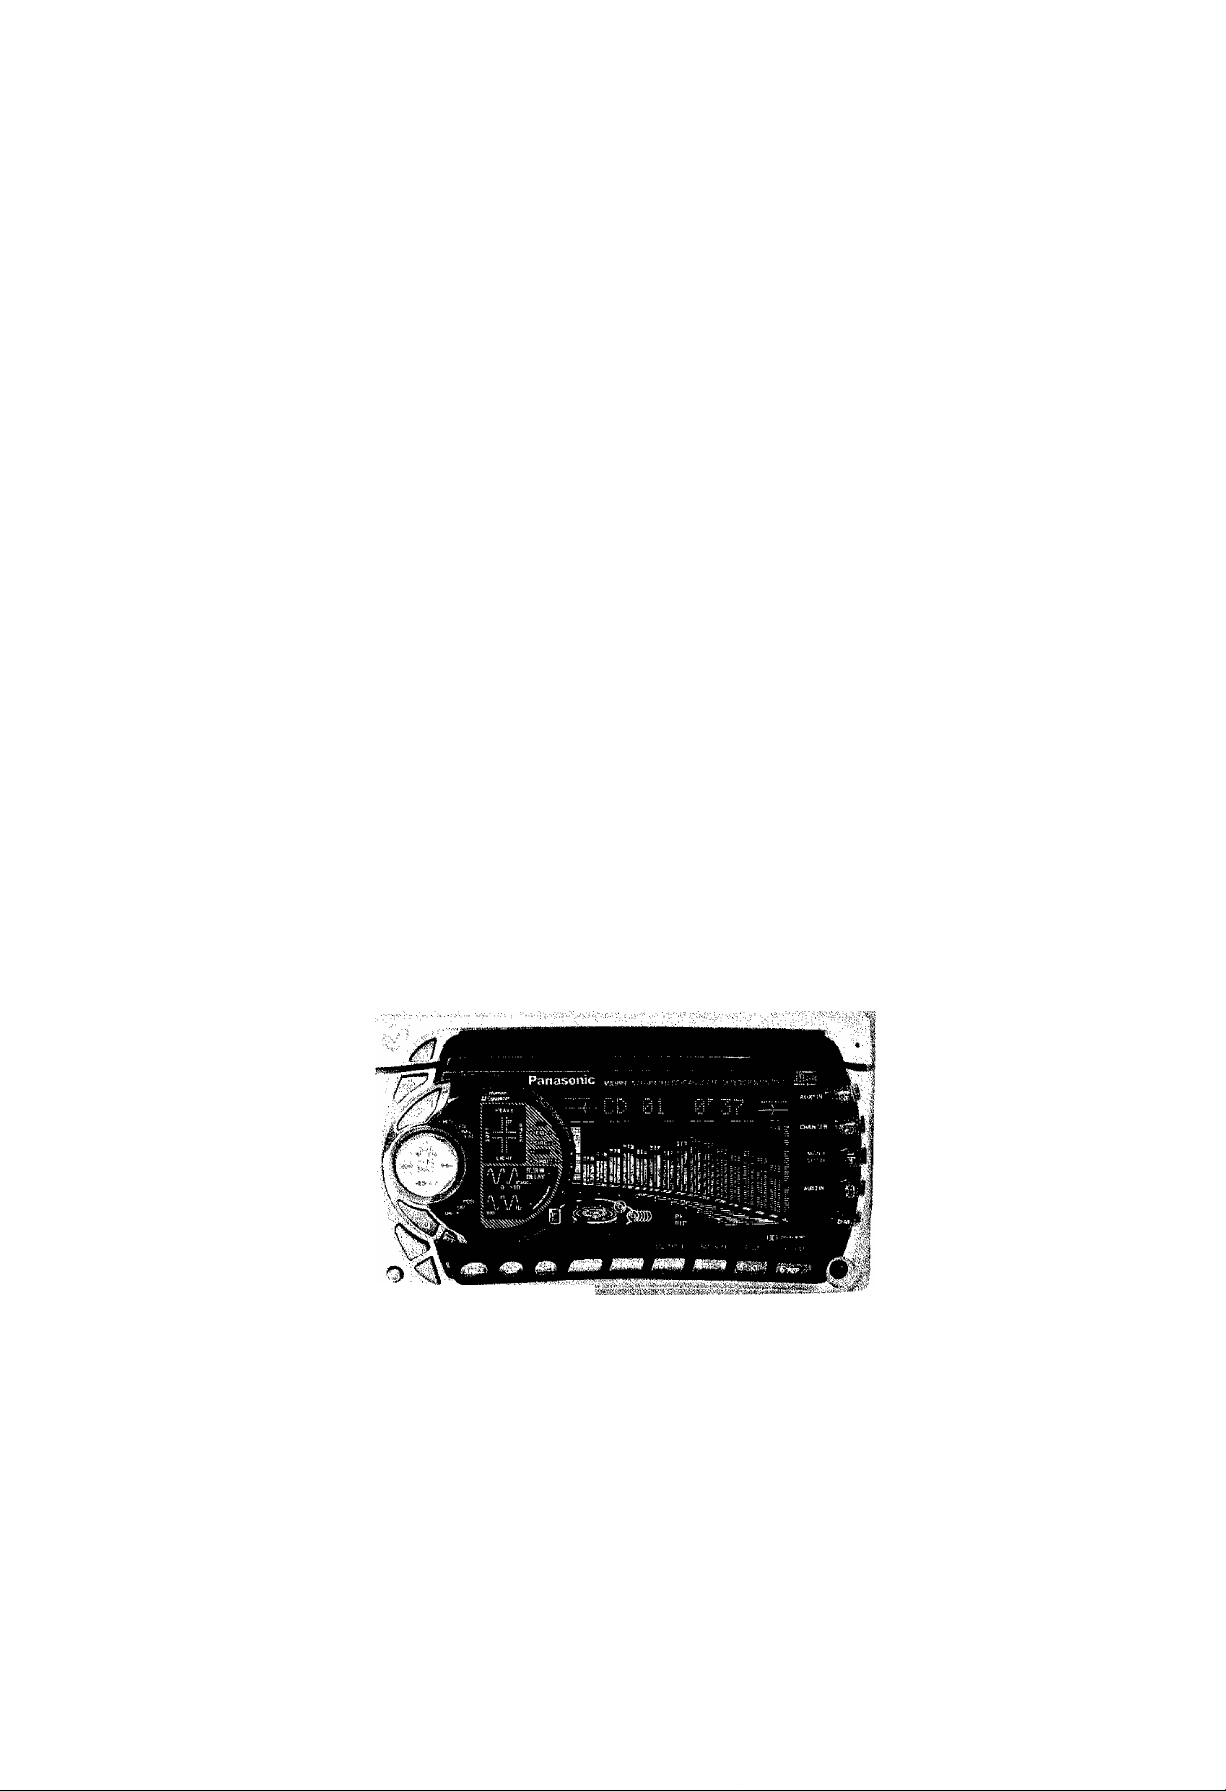
■ Display
(CD changer
button)
(Tuner button)
.v-C©)
ATT (attenuator) indicator
Flashes when ATT is turned on.
(Tape button)
D • M button
Sensor
Dot indicator
Displays the present function and set
(adjustment) levels in characters.
Standby indicators
; Lights inside ° when an Tape is in.
^ : Lights inside when a CD is in.
^JJJJJ ' ^‘9hts inside o when the magazine is in the changer.
CQ-VX999EW
Spectrum Analyzer
indicators
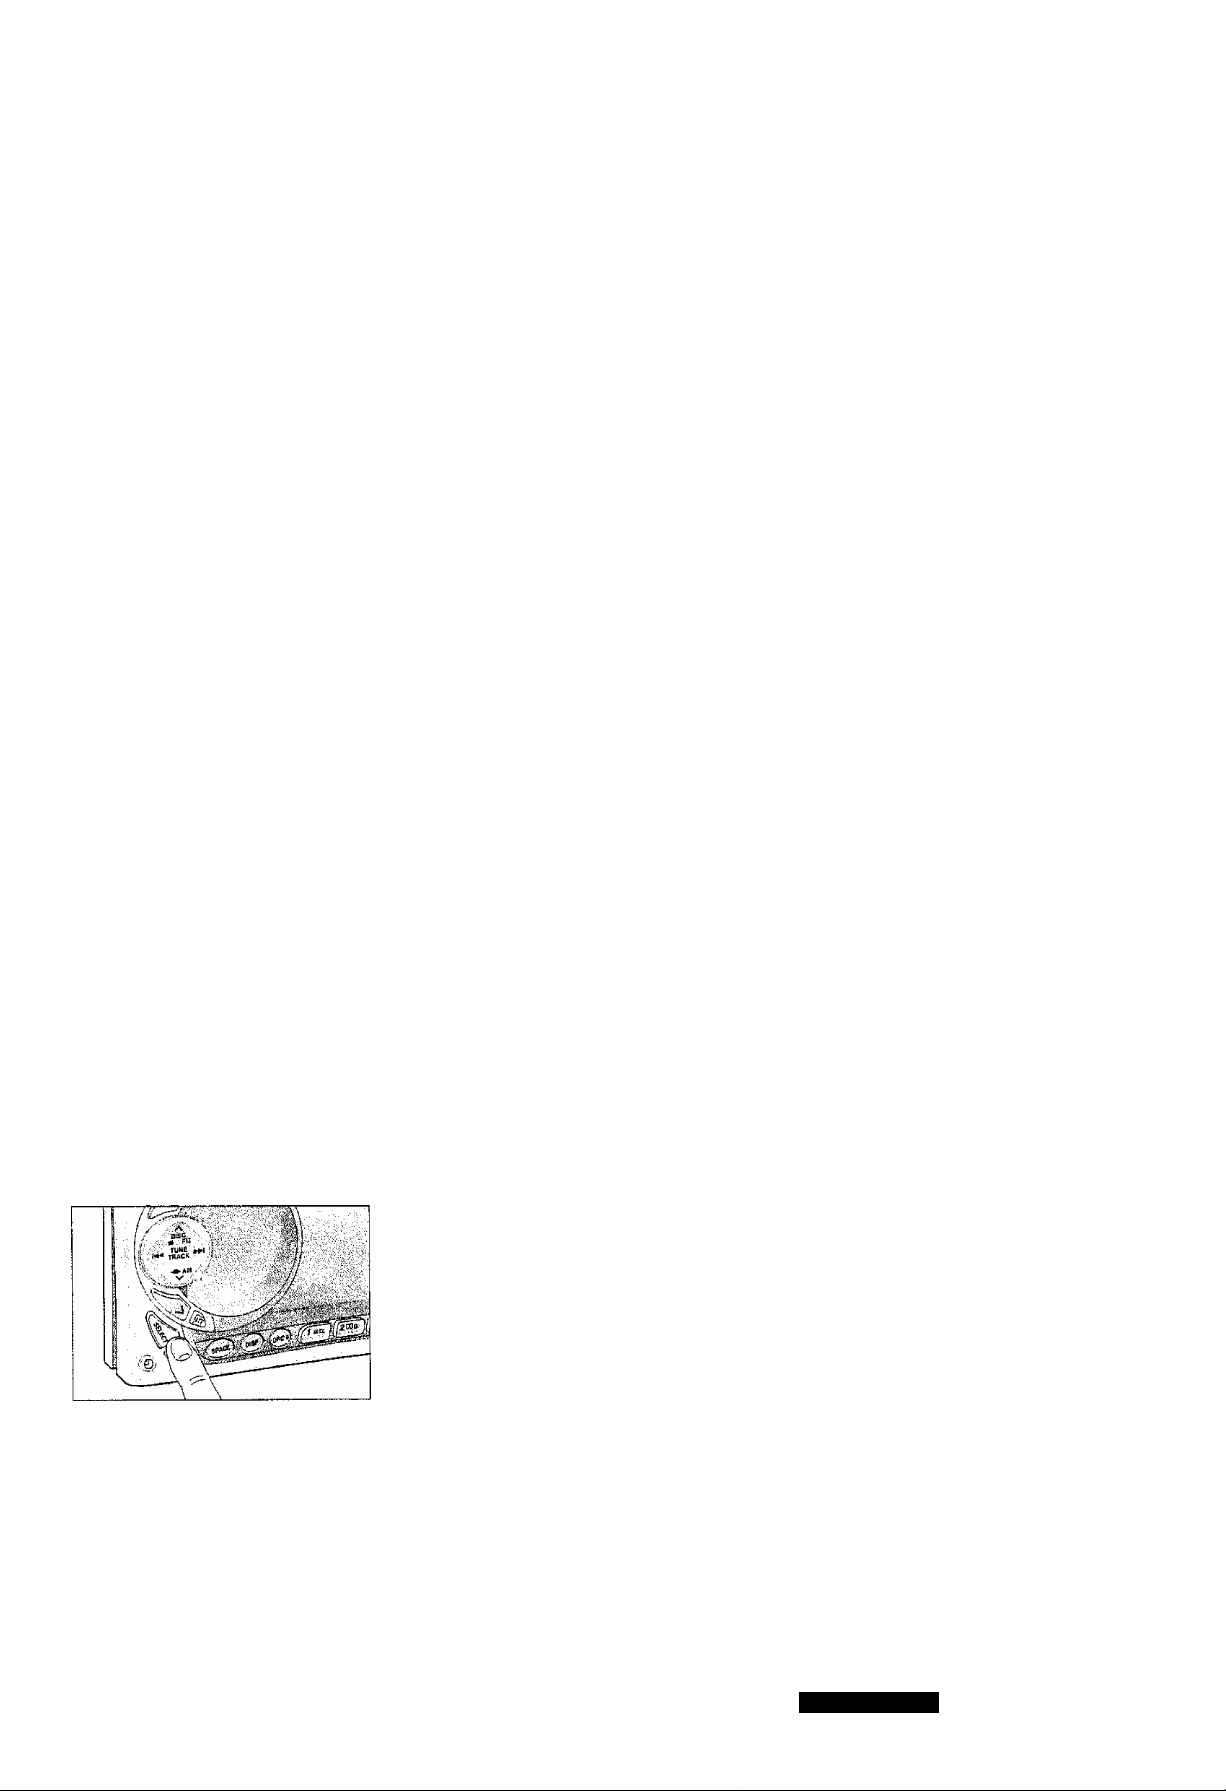
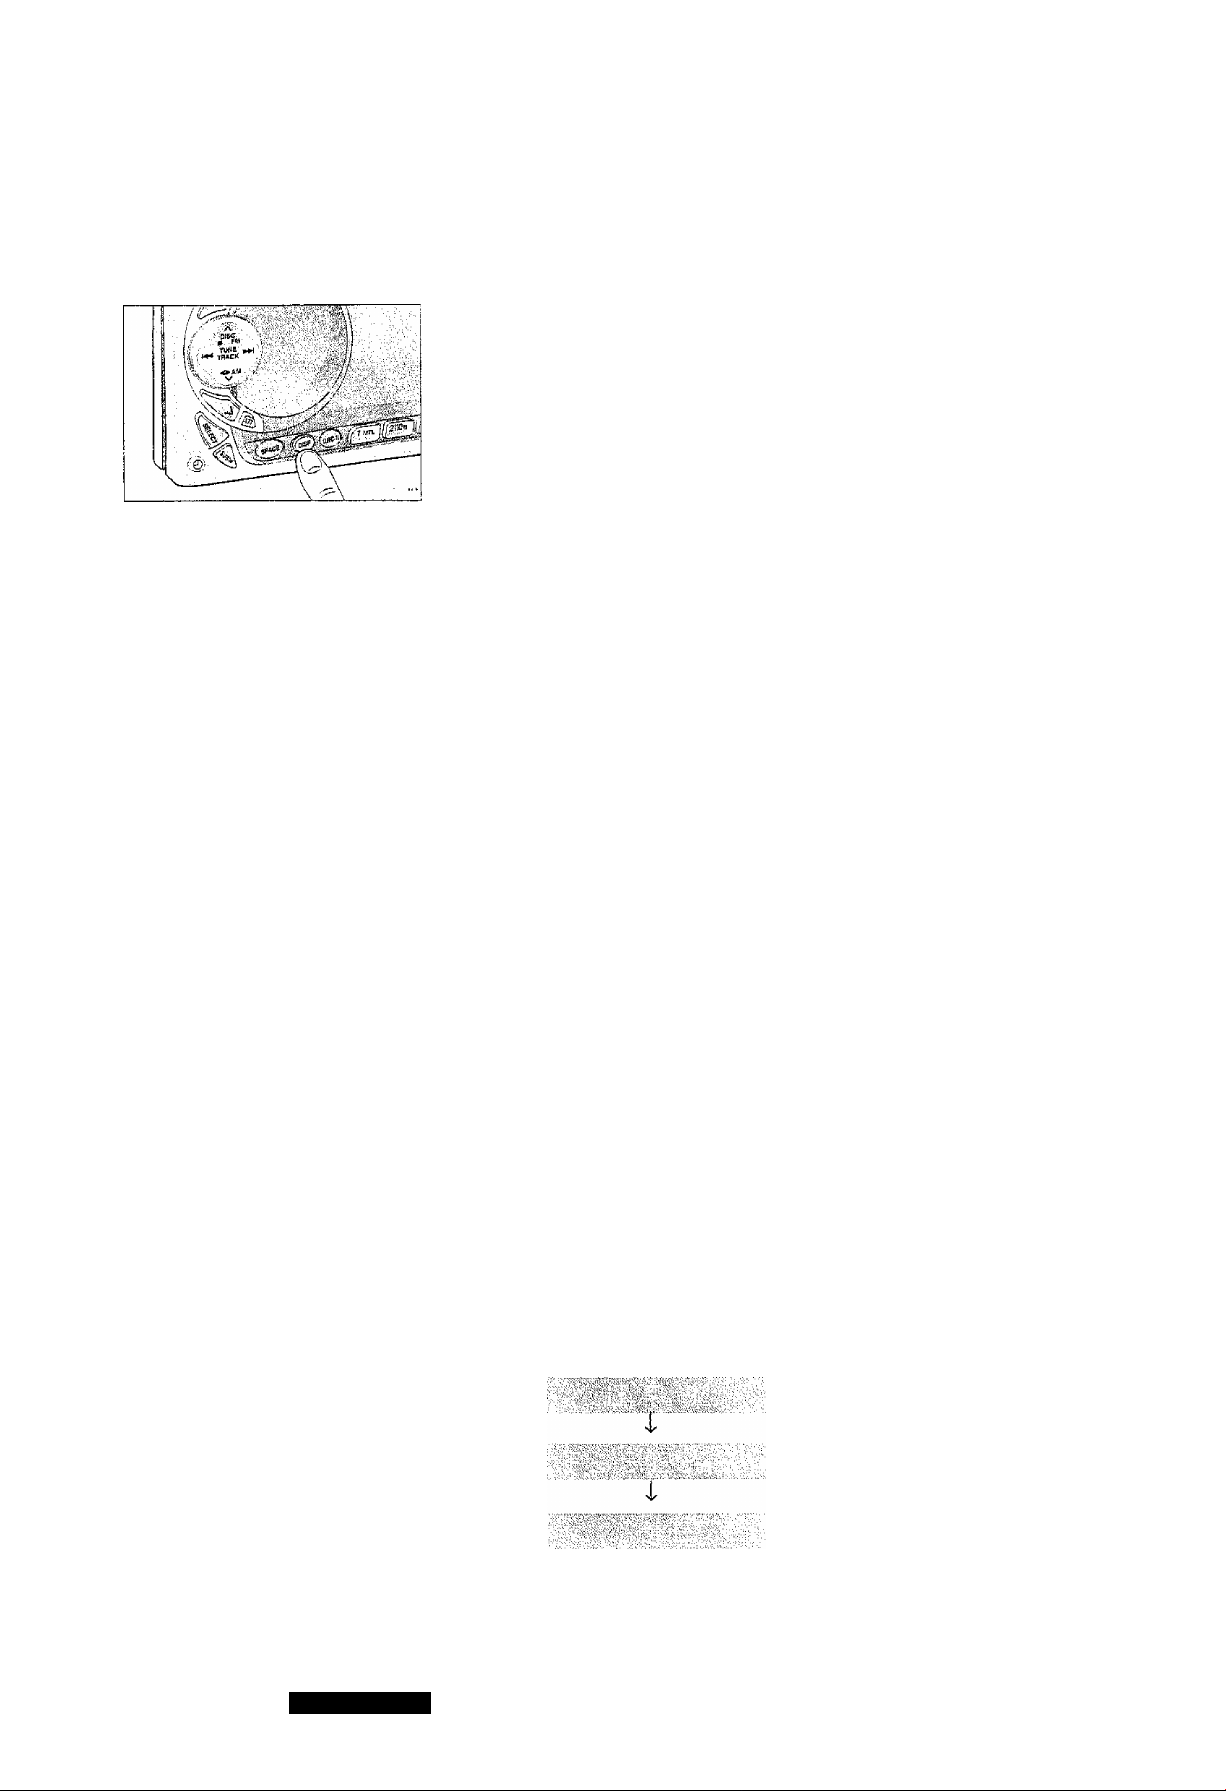
Starting Operation / Power
ir' Turn the ACC switch of your car to ON,
(2 Press any ofT (TUNER), © (CD), g) (TAPE), ^
or D ® M, and your unit is switched on.
Note:
When you are using your unit for the first time, the demonstration
mode pattern is displayed. The display may remain unchanged
when the above buttons are pressed, in such a case, press
DISP to release demonstration mode.
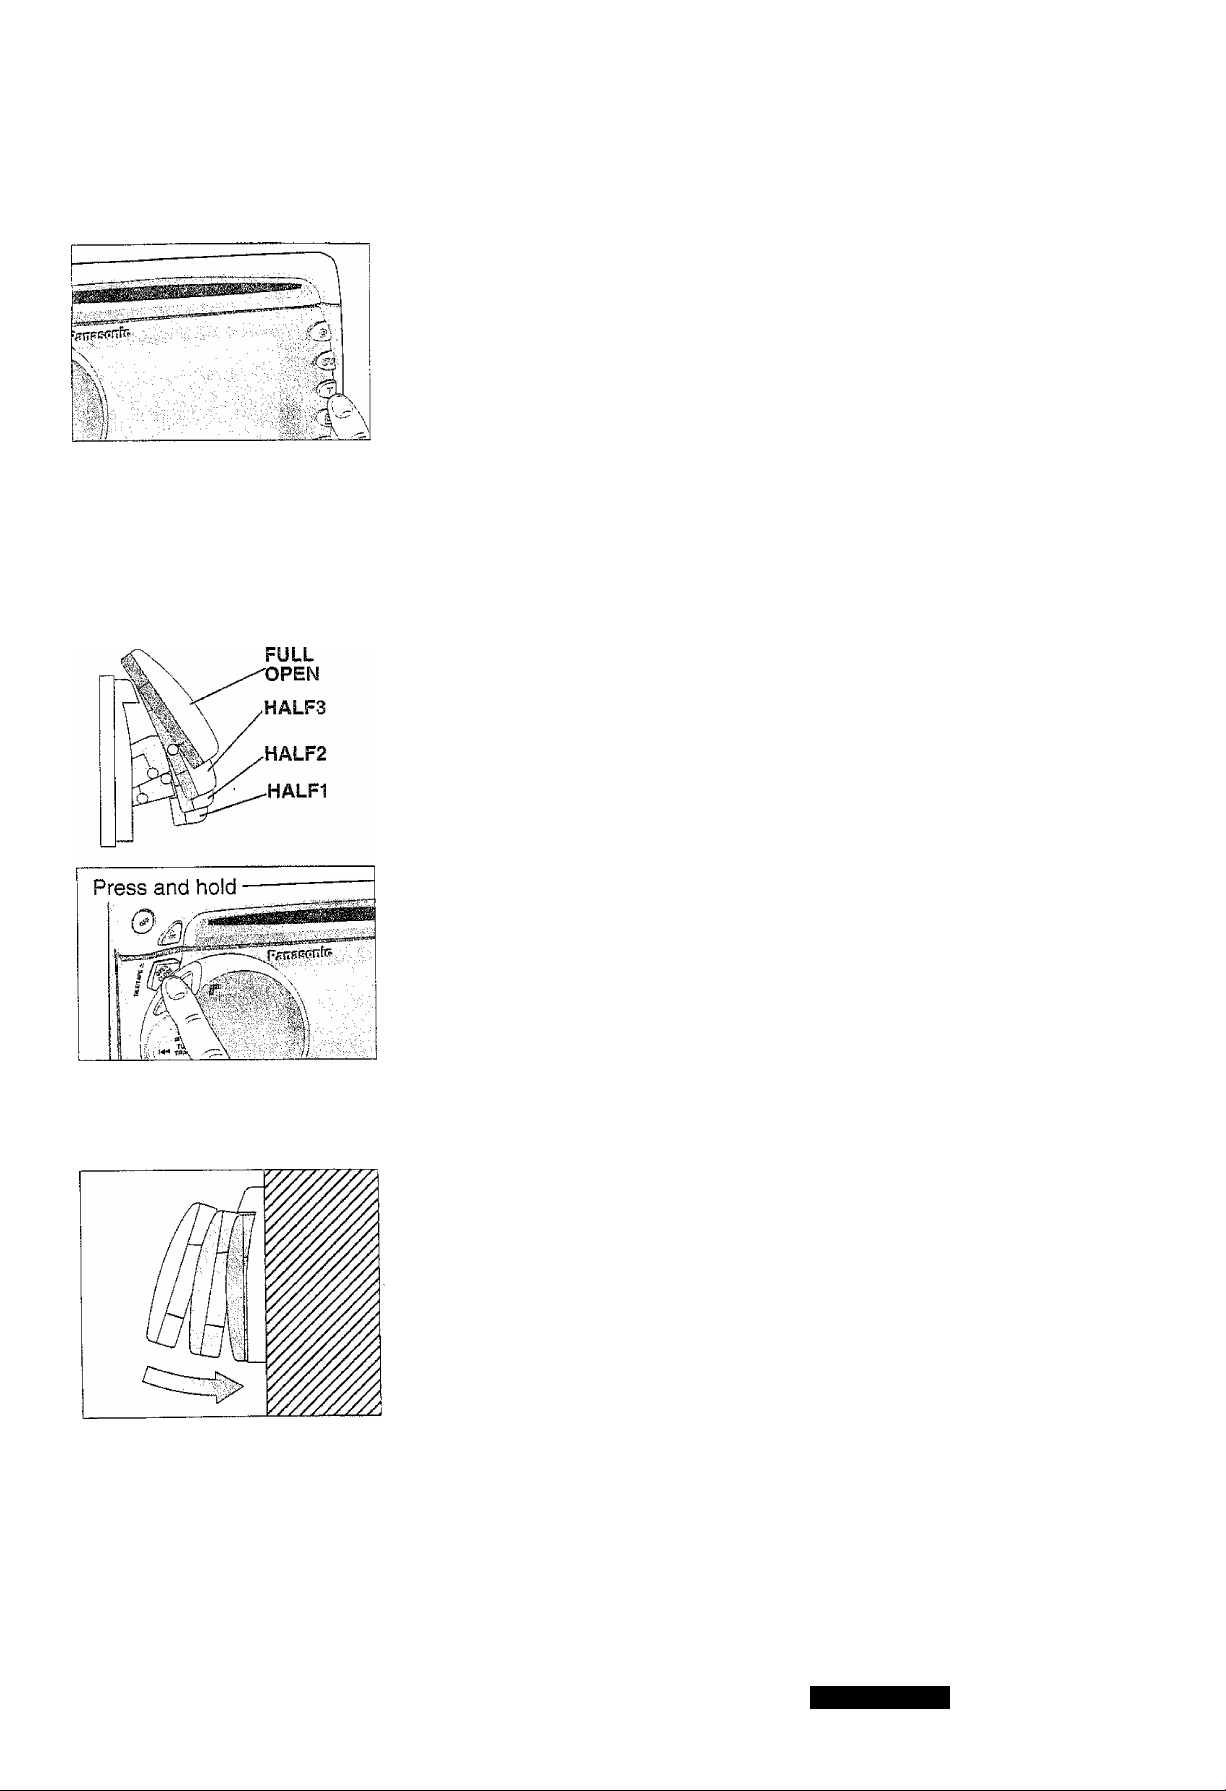
Caution:
If there is any obstacle above the mounting position in your
car, set your unit at HALF 1, HALF 2 or HALF 3 as shown at
left.
The front panel is originally set to the position (FULL OPEN).
See page 40 for how to set the front panel to lift-up position.
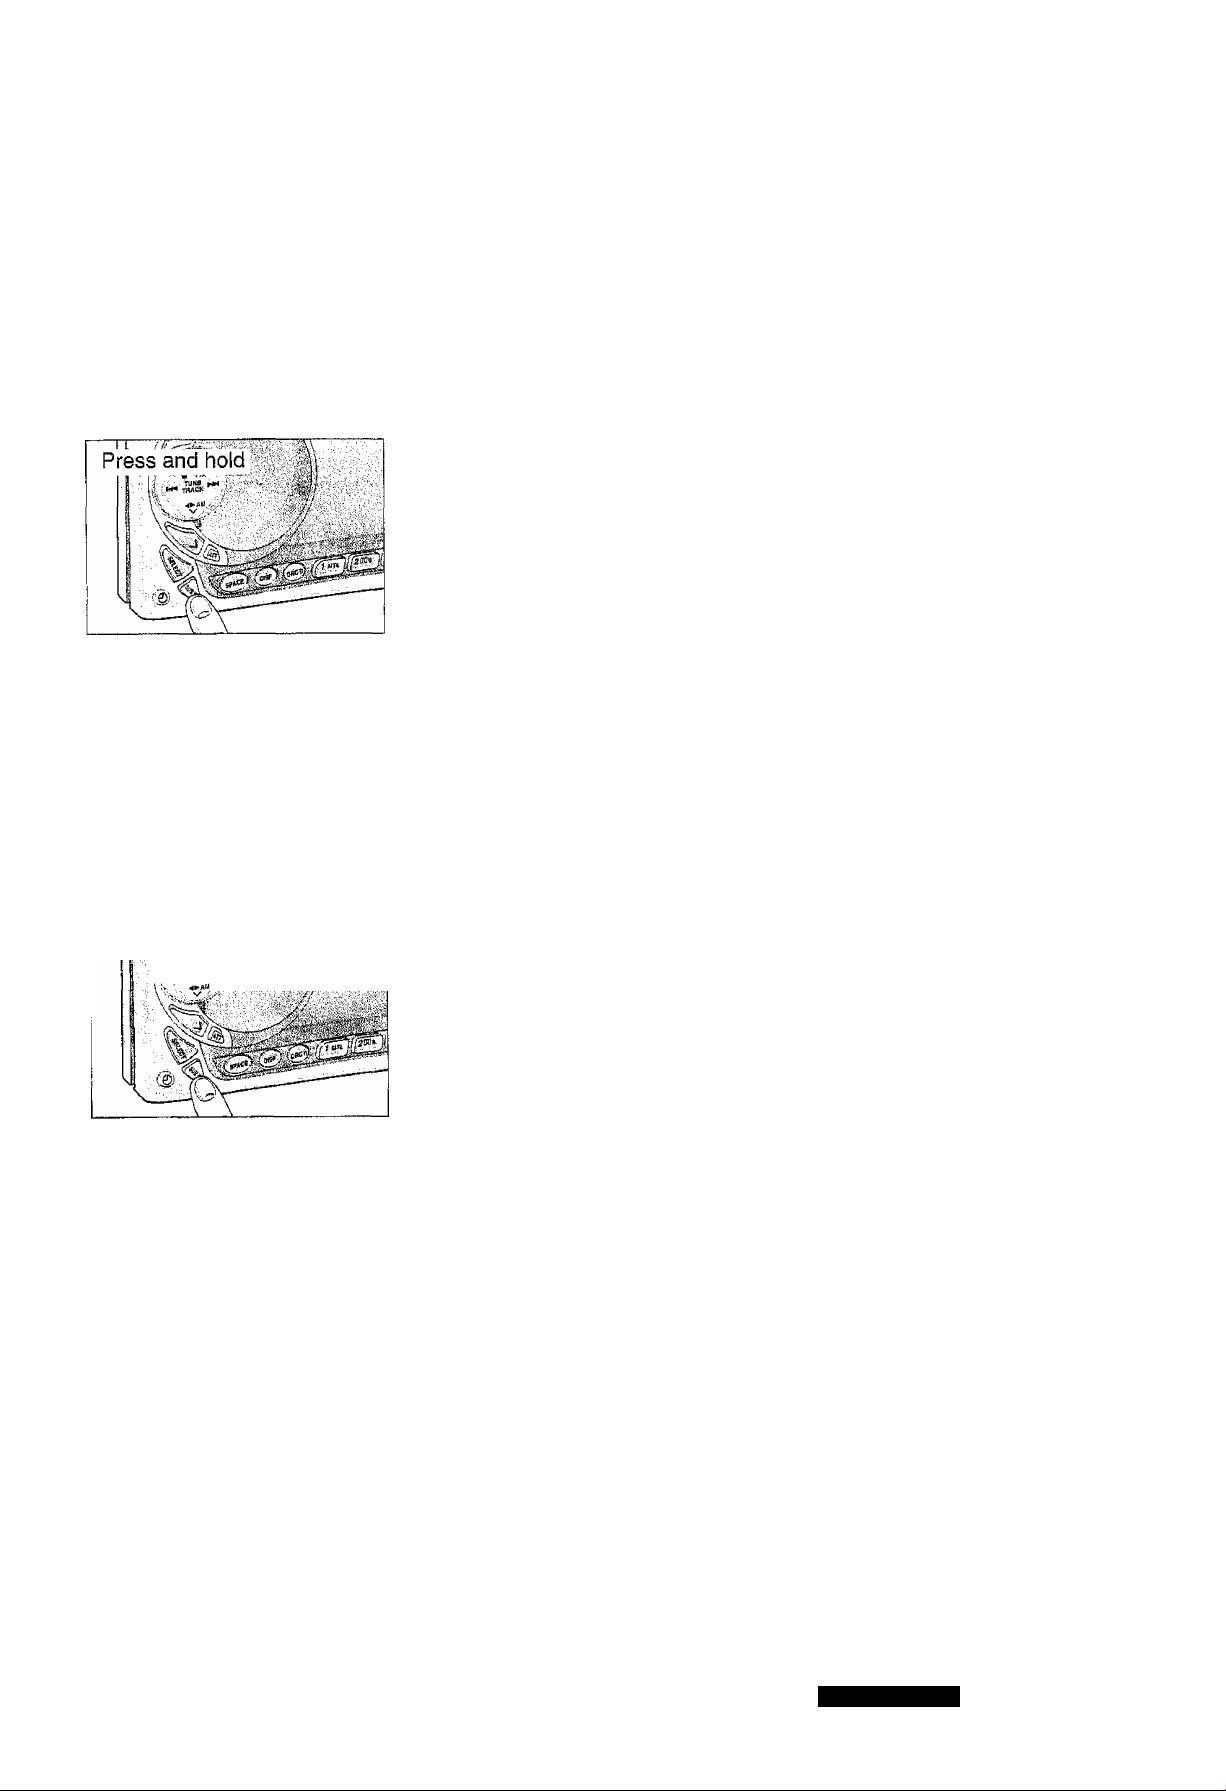
(CH * C)
TILT MOVEMENT
Front Panel Angie Adjustment
(Tilt)
® The front panel can be adjusted to a desired angle for easy display
viewing or easy button operation.
® The front panel angle changes in 3 steps each time press and hold
TILT for more than 0.5 second as shown at left.
® Even after turning off the power, the last TILT angle is memorized.
Note:
® When the engine is turned off, the front panel is automatically
fully closed.
® The front panel goes down if a button on it, for example, is
pushed hard after adjusting the angle. It automatically returns
to the original position after that.
Caution:
Never put your hand or finger inside while the front panel is
opening or closing. This is important to avoid injuries.
Never push or pull the front panel, or expose it to shock while
it is opening or closing, or when it is up highest. This is
important to avoid trouble.
Do not place anything on the front panel while it is opening or
closing, or when it is up highest.
CQ-VX999EW
OPERATION: GENERAL
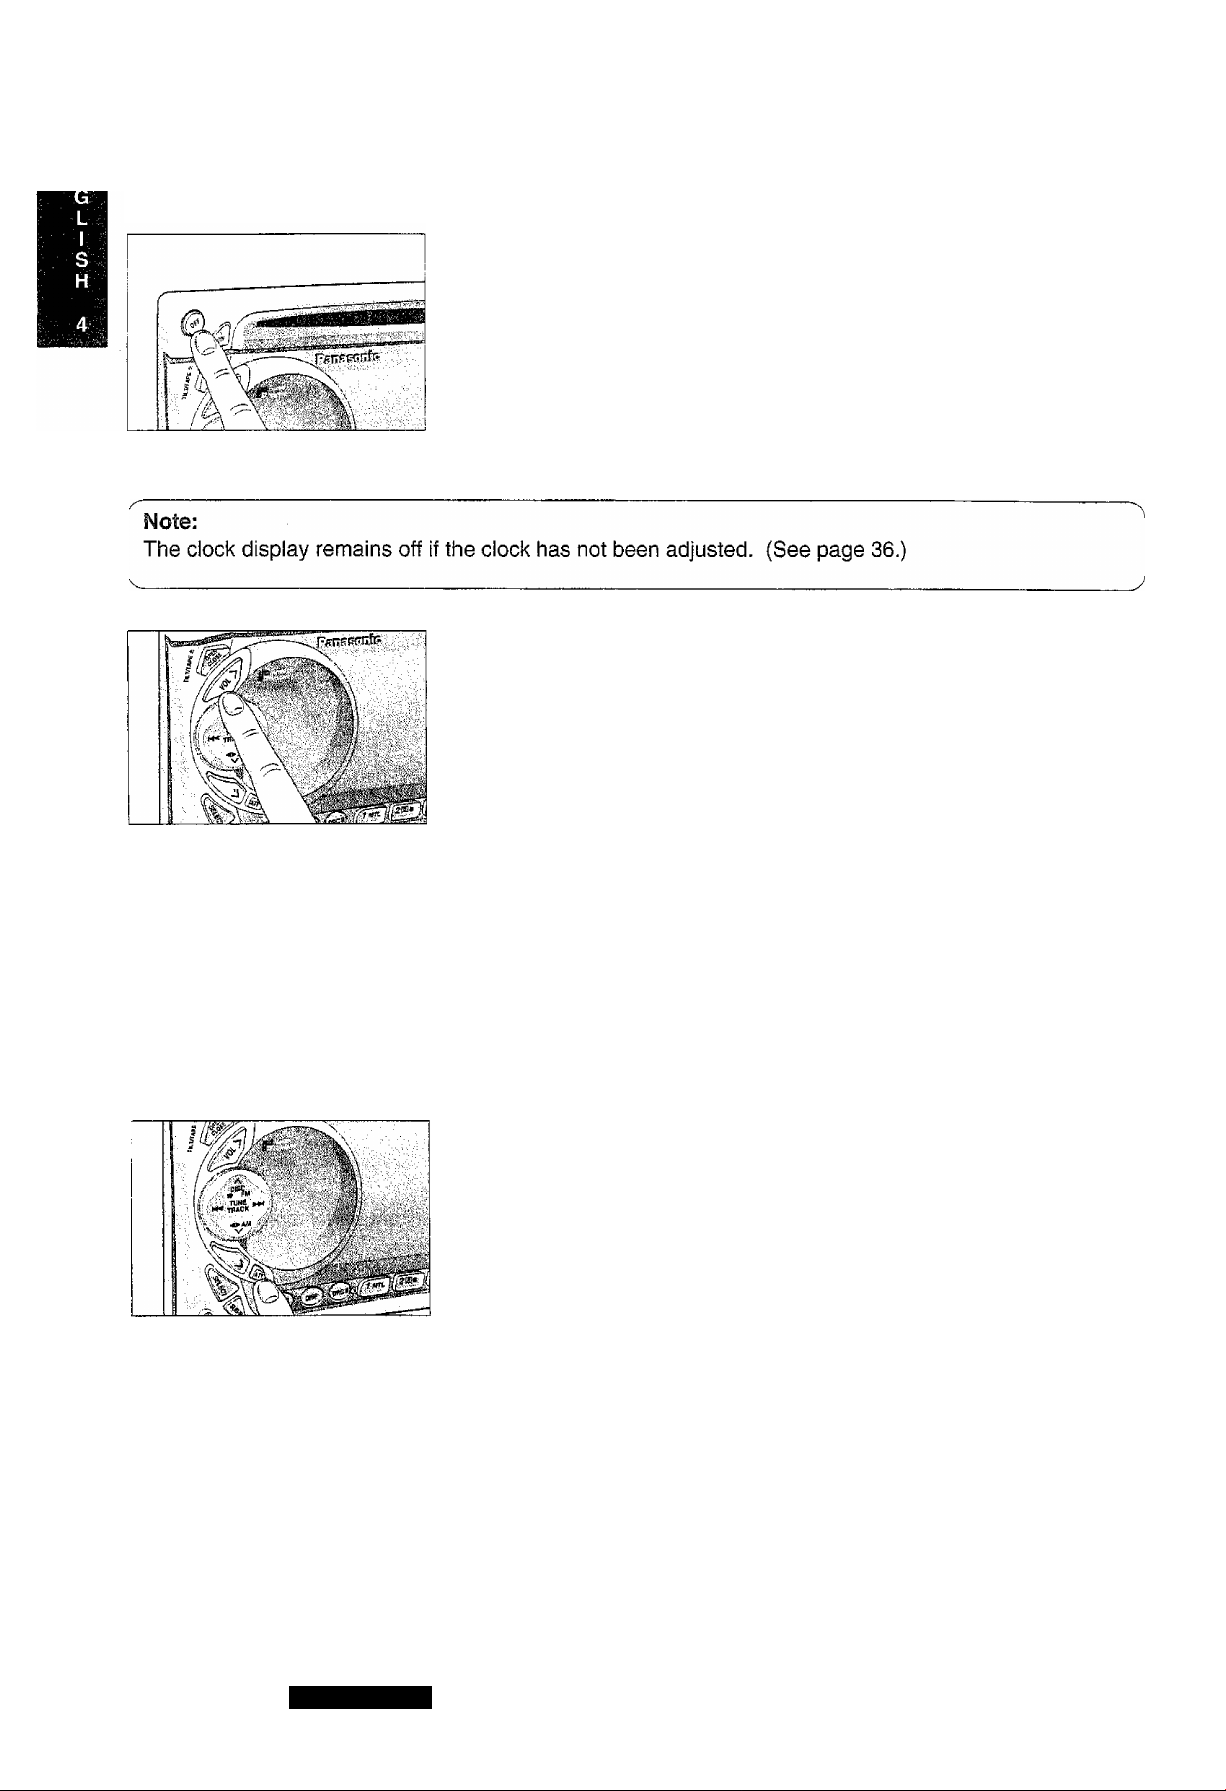
Switching Power Off
• Press OFF to switch off the power.
Press OFF each time after turning power off, the dock display is
turned on and off alternately.
Volume Control
Press A VOL or V to increase or decrease the volume,
(Continued)
0 to 40
'■■y''!-'- O'"'
Note:
Volume can be adjusted in each of the operating modes except in Navi Mute mode with the optional
navigation system connected. (See page 39.)
Attenuator
Press ATT to decrease the volume to about 1/10 of the previous
level.
Press ATT again to cancel.
Note:
ATT cannot be used in Navi Mute mode. (See page 39.)
CQ-VX999EW
Sound Control
M Sound Control Display
■SUB®W:
Lights when the preout is set to sub-woofer.
DRC IS indicator:
Lights when DRC II (dynamic road noise control) is set.
~EQ (equalizer) indicator:
Lights when the equalizer is set (or flashes during
adjustment).
r. ; y
;'sr
-post (seat position) indicator:
-THRU:
Lights when the preout is set to THRU.
DELAY:
Lights when a delay time is set for SUB • W output.
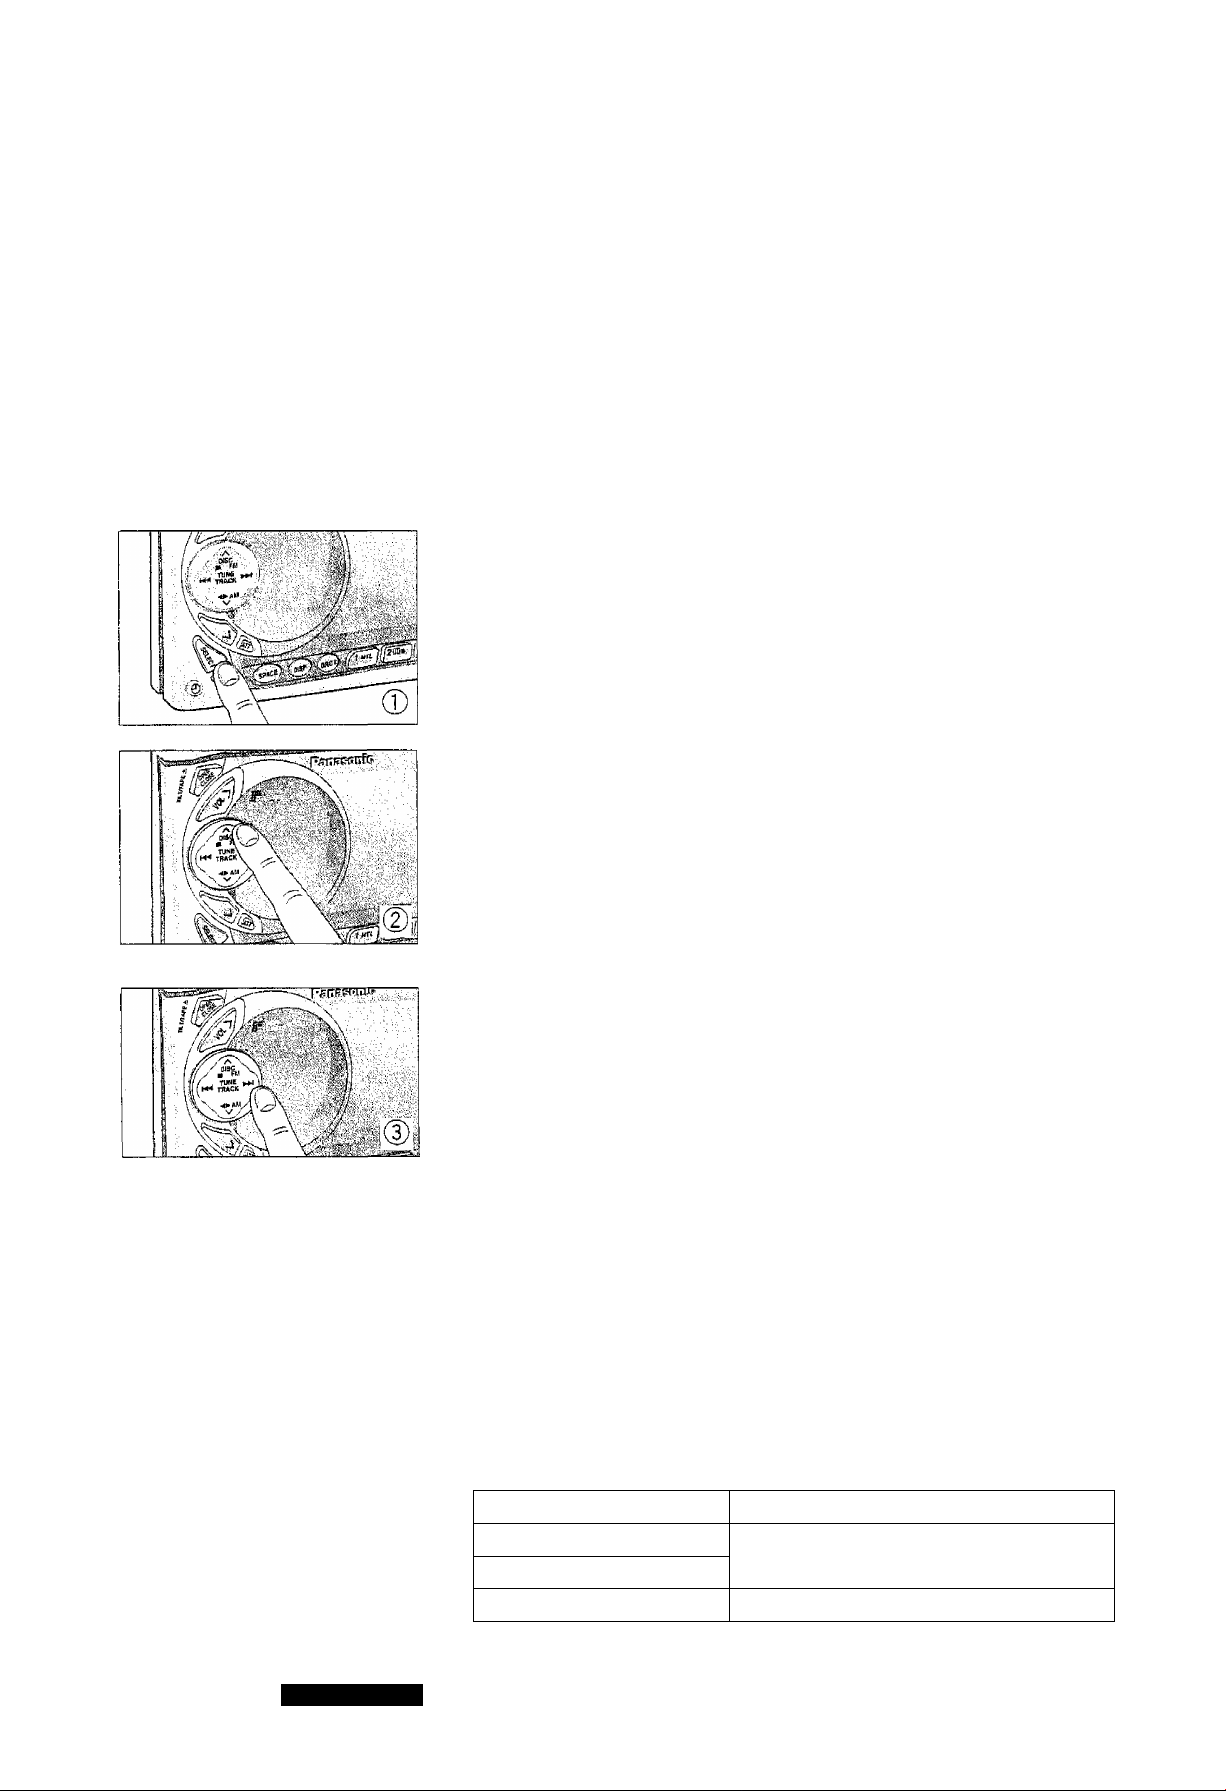
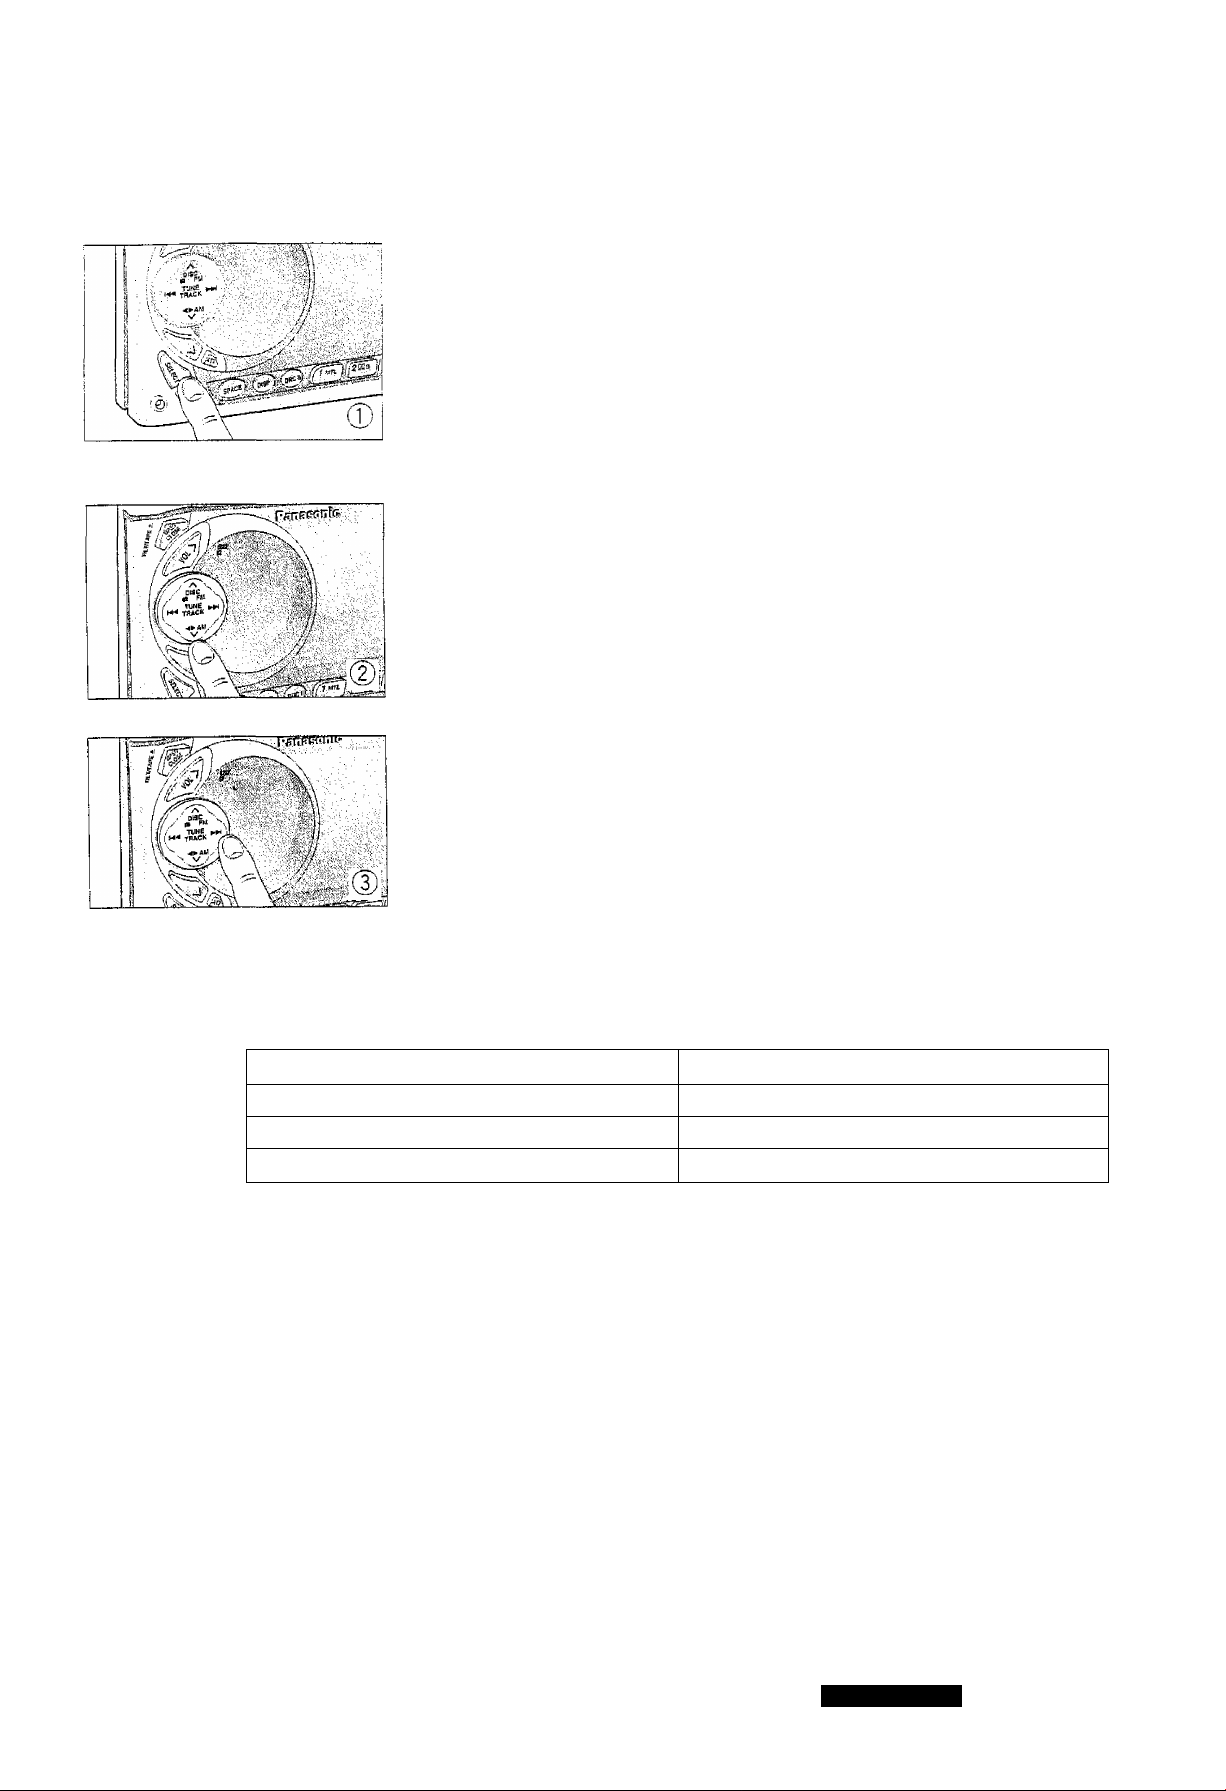
Tone Quality Adjustment
Press SELECT to switch tone quality in sequence as follows.
- ■
vv.;.7' ■'[■■■[■r;-/y.
Lights when the seat position is set.
SPACE indicator:
Lights when a sound effect is set.
Normal mode -i- HUMAN EQ GRAPHIC EQ BAL//FAD
T i
DRCIl SELECT ^ SUPER BASS ^ POSITION SEL
Note:
When a setting mode is selected but no operation is made within 5 seconds, the display will return to
the normal mode. In such a case, press SELECT again and repeat the setting procedure.
CQWX999EW1
OPERATION: GENERAL (Continued)
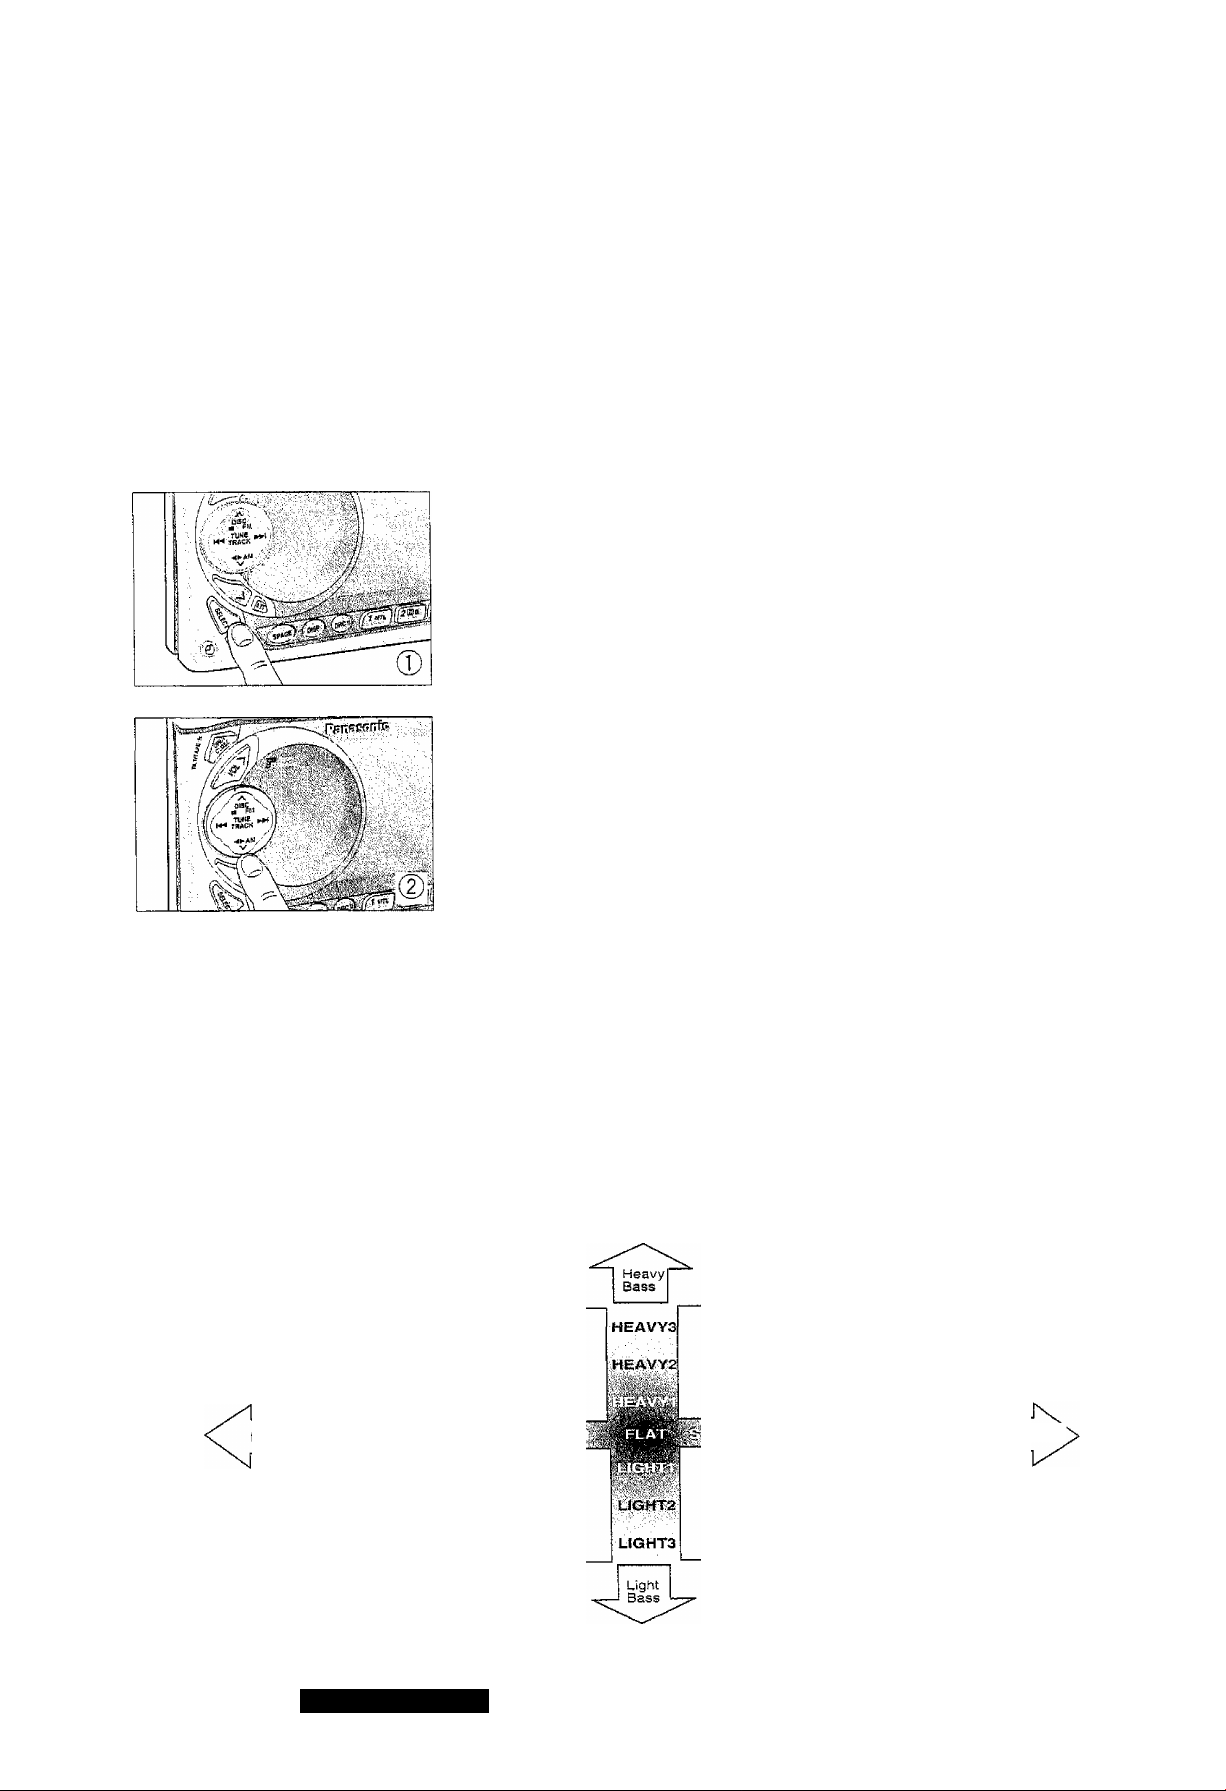
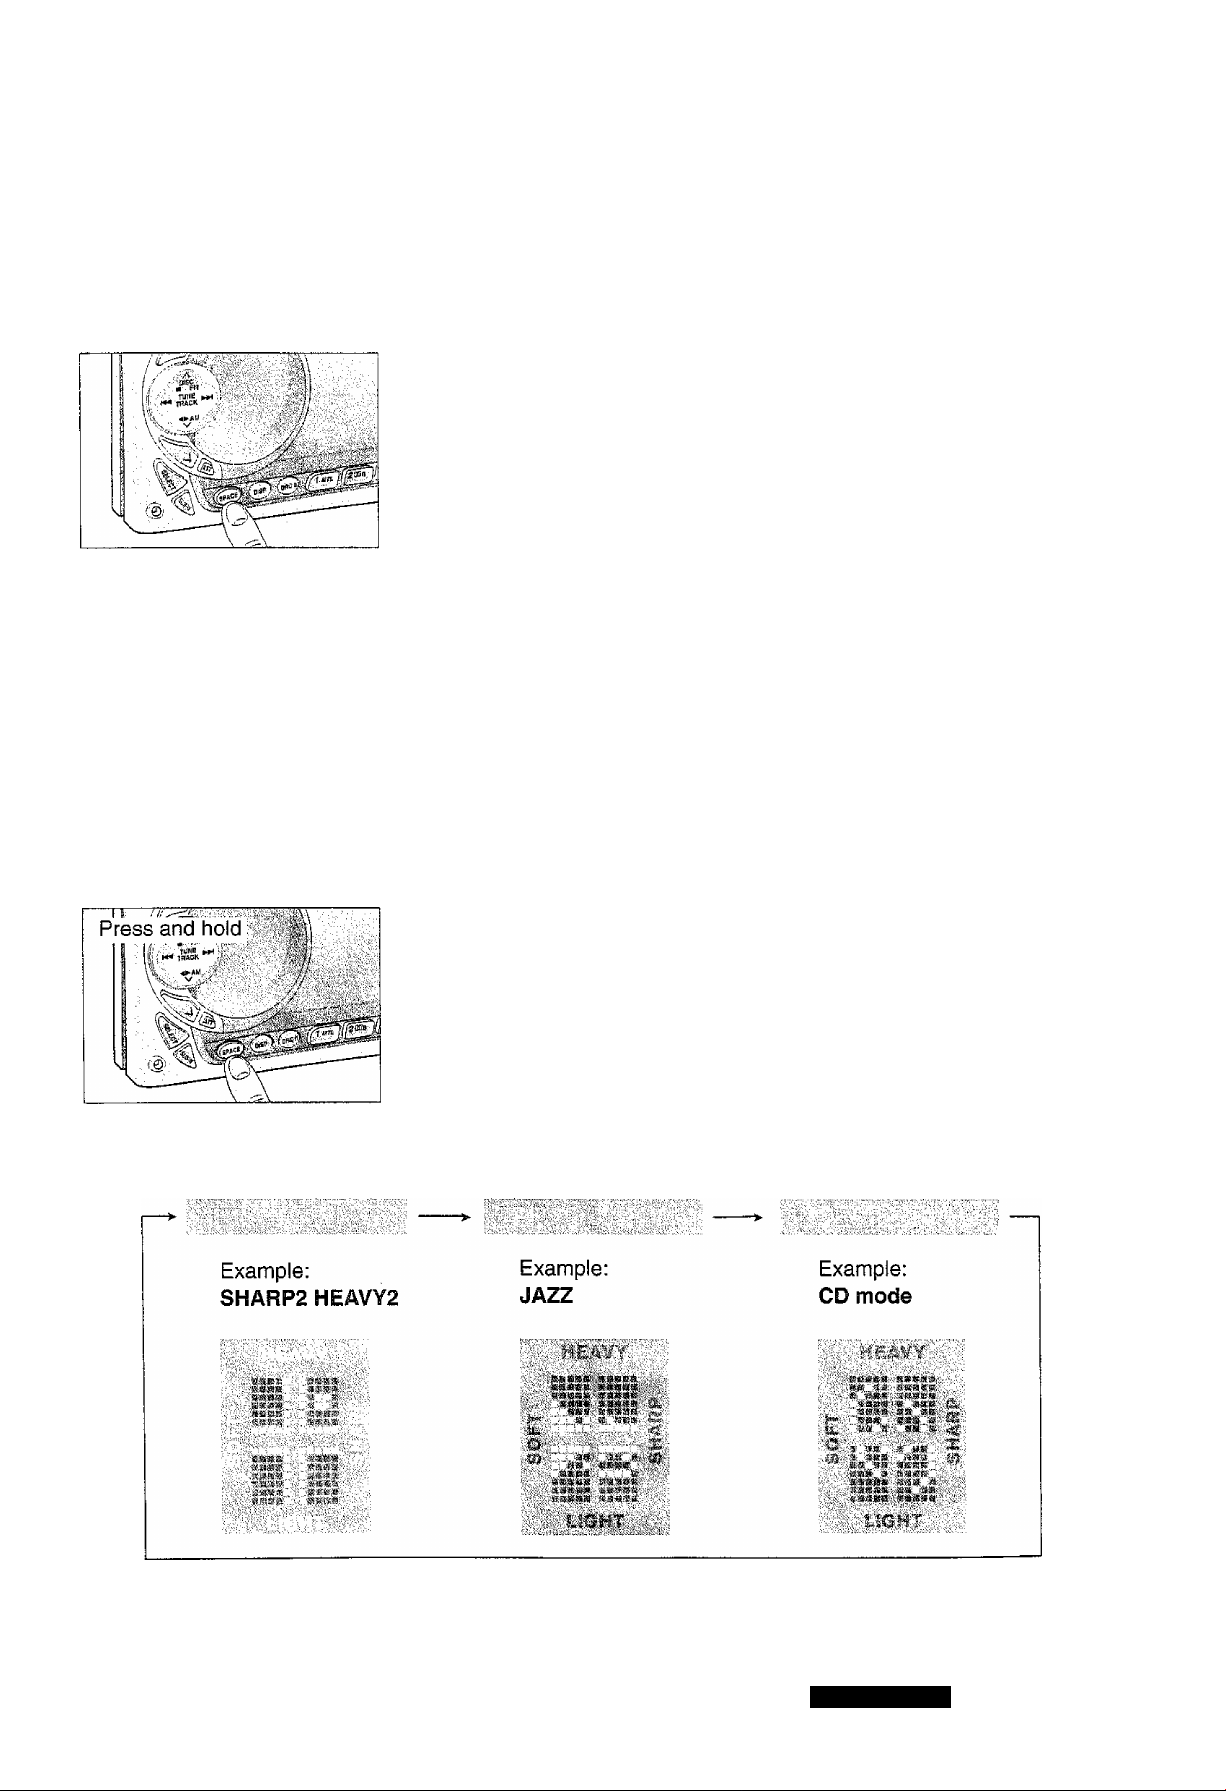
Tone Quality Setting / HEQ (Human Equalizer)
® Uniike GEQ (graphic equalizer) which is for adjusting the tone quality of each frequency band, HEQ
offers a revolutionary function which enables you to select a heavy, light, sharp, or soft tone as desired.
® Select your favorite tone, referring the Human Equalizer Positioning image diagram as follows.
® Press SELECT to select HEQ, The HEQ indicator blinks.
@ Setting a Tone Quality
With the center fixed flat, any of the 49 equalizer patterns,
arranged in vertical and horizontal directions, can be selected.
Press A to select heavy bass sound
; Changes to heavy bass.
Press V to select light bass sound
: Changes to light bass.
Press to select sharp treble sound
: Changes to sharp treble.
Press to select soft treble sound
: Changes to soft treble.
M Human Equalizer Position image
You can select a tone quality suiting with your feeling among 49 patterns. (HEQ default: FLAT)
Center : Flat
Vertical axis : Heavy and light components of sound (mainly bass)
Horizontal axis : Sharp and soft components of sound (mainly treble)
Soft Treble
SOFTS
To enjoy
BGM effect
while driving
SOFT2
To feel
composed
and alert for
safe drive
To relax and
feel refreshed
SHARP2 SHARPS Sharp Treble
To be wide
awake to
lively rhythm
8
eQTVX999EW4

Human Equalizer Display
Setting display:
A set tone quality pattern is displayed in characters.
(A set frequency is displayed in case of GEQ.)
■■.r.
Sectional
display
Tone quality (HEQ) adjustment table
The cursor blinks at the set tone quality
(current HEQ mode) position.
Equalizer characteristic result display
The equalizer curve corresponding to the cursor
position is displayed in the right half.
(7 bands X ±10dB)
(Full display in case of GEQ)
CQ-VX999EW
OPERATION: GENERAL
(Continued)
Sound Range and Level Seiting/GEQ (Graphic
Equalizer)
0 Press SELECT to select GEQ mode.
0 Selecting a frequency
Press to switch the flashing cursor to change the sound range
as follows.
80^ 160-^ 320-> 640^ 1.6k^ 4k^ 10 k (Hz)
t
____________________________________
: opposite direction)
(0
Adjusting the level
The level is 0 dB when the cursor is at the center. Any of the 13
levels can be selected from +12 dB to -12 dB.
(GEQ default: 0 dB for each frequency)
Press A to raise the level.
Press V to lower the level.
i
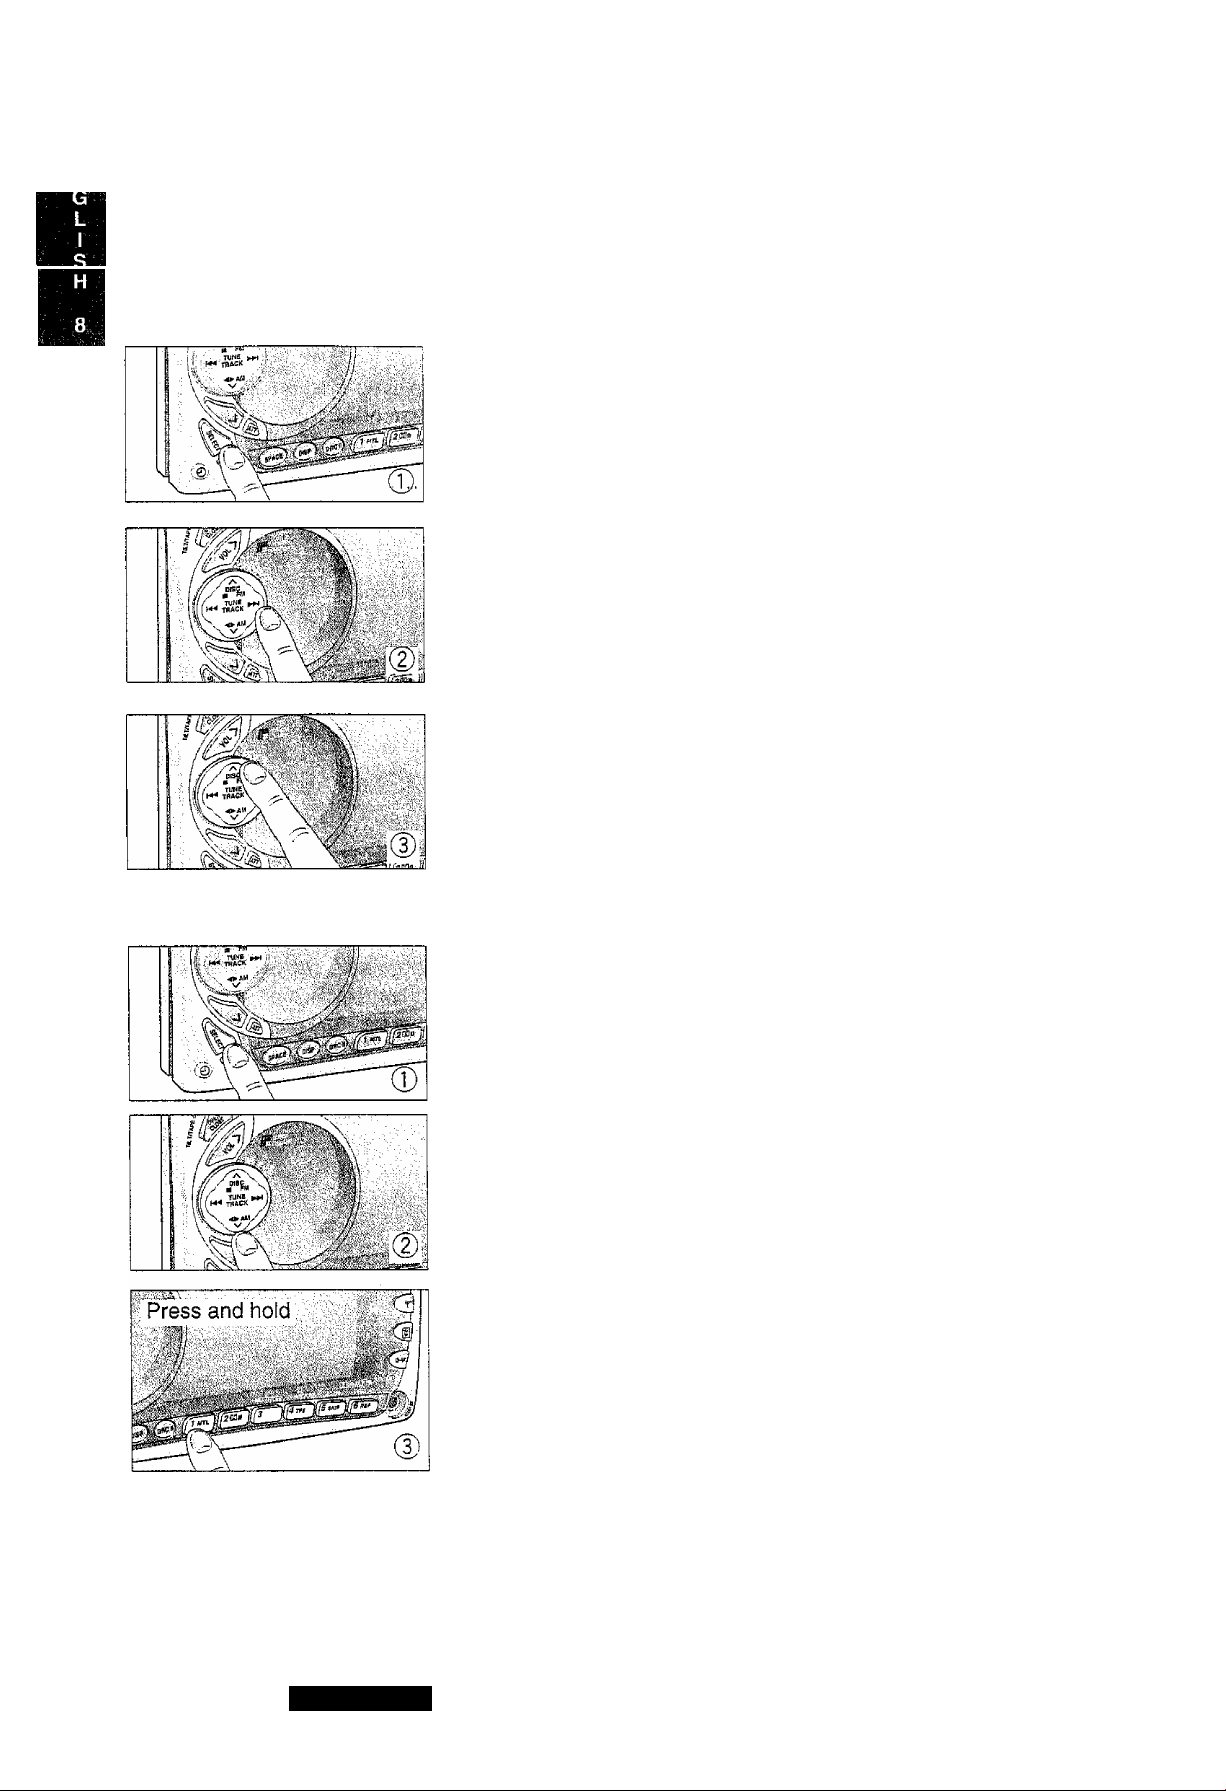
GEQ in the Memory
0 Press SELECT to select GEQ mode.
0 Select a frequency, adjust the level and set the GEQ.
(See steps
0
Press and hold one of the preset buttons 1 to 6 for more than 2
seconds until the display blinks.
Note:
If a preset button once programmed in the memory is preset again, the GEQ saved in the memory is
erased.
0
and 0 above.)
Preset number
10
CQ-VX999EW
TflA Cit
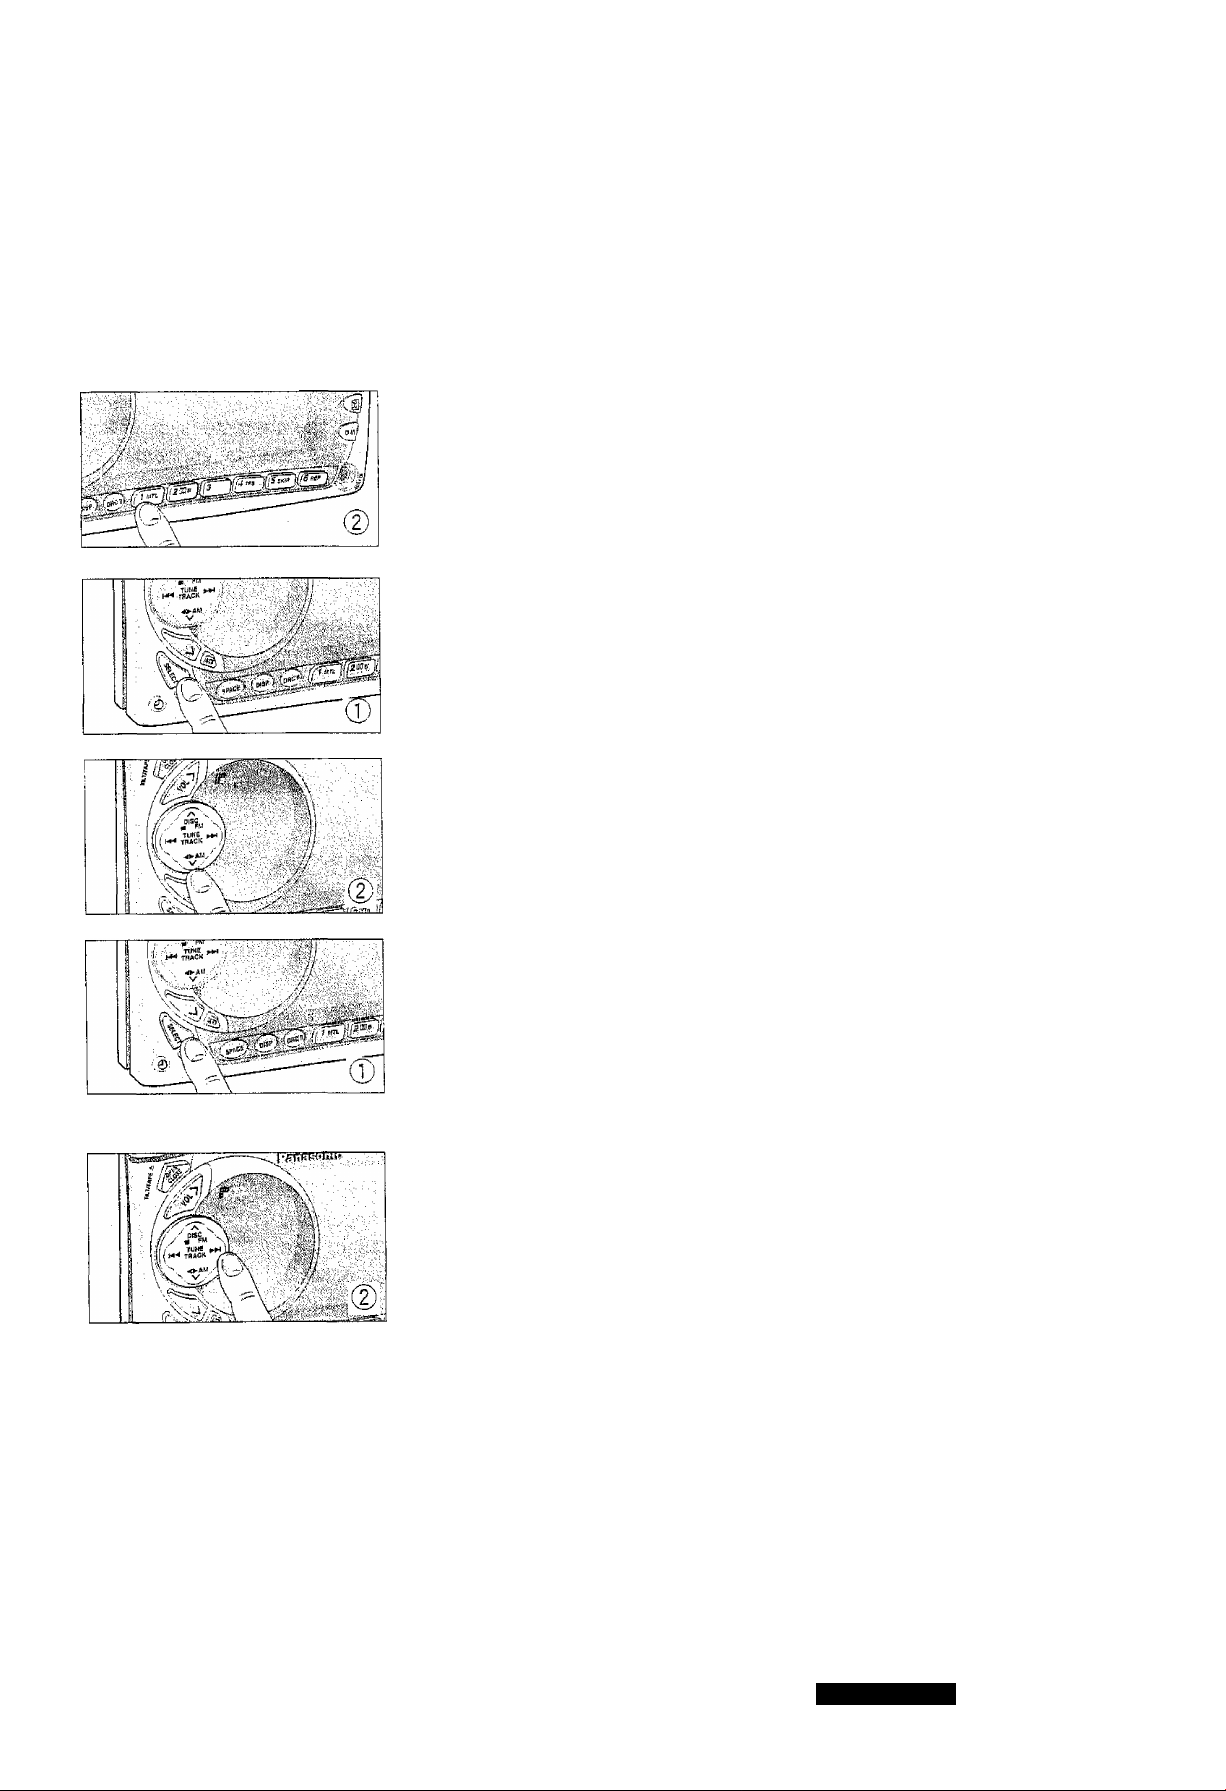
Listening to a Desired Selected
.<4:4y
Sound/Recalling GEQ iVlemory
J Press SELECT to select GEQ mode.
Press one of the buttons (1 to 6) to recall the desired GEQ.
The GEQ preset display appears.
Balance and Fader Adjustment
© Press SELECT to select BAL//FAD mode.
(2) BAL Adjustment
Press to increase the sound volume from the right speakers.
Press l<M to increase the sound volume from the left speakers.
FAD Adjustment
Press A to increase the sound volume from the front speakers.
Press V to increase the sound volume from the rear speakers.
Changing Listening Position/
Seat Position Change
The seat position function reproduces a sound image ideal to the
listener according to his or her place in the car.
© Press SELECT to select POSITION SEL mode.
© Press to switch the position in sequence as follows.
(Seat position default: OFF)
OFF
A
Rear
Front right
Front left
Front
(HH(; opposite direction)
11
GQ-VX999EW
OPERATION: GENERAL (Continued)
Bass Emphasis/SBC (Super Bass Control)
The SBC function reinforces the bass range to suit the speaker characteristics.
® It is set to the rear speaker output, and permits selection of any of the three positions depending on the
type of speakers installed. (See the table below.) These characteristics are so set as to be best suited
particularly to the recommended speakers, but are subject to change in acoustic effects depending on
the type of car and the speakers' positions.
® Referring to the characteristics of each type of speaker, set SBC as suited to the characteristics of the
type of speakers used, in case of the SBC-SW type, the system can be upgraded by connecting a
desired sub-woofer to the special sub-woofer output to create a front-oriented sound.
Setting a SBC Type
® Press SELECT to select SBC mode.
@ Press A to set SBC.
(When "SBC" is not displayed.)
d) Setting a type
Press ^ to switch the SBC type in sequence as follows.
(SBC default: SBC OFF)
SBC OFF
X
SBC TYPE 1
SBC TYPE 2
SBC TYPES
Normal. To reproduce normal,-
flat characteristics
Bass is reproduced for easier
listening by cutting off its
undesired components accord
ing to the characteristics of the
sub-woofer built in the amplifier.
Bass is emphasized according
to the characteristics of the
semi-flushed mounted speaker.
Bass is emphasized according
to the characteristics of the
flushed mounted speaker. —
Set the SBC type
dependent on
■speakers used.
(See the following
speakers
assumed.)
12
CQ-VX999EW
(H^ : opposite direction)
SBC Display
SBC TYPE1
SBC TYPE2
SBC TYPES
Speaker Assumed
Semi-flush mounted speaker
Flush mounted speaker
(In this case, the rear speakers will be in monaural mode.)
■ T) Press SELECT to select SBC mode.
(2) Press V to select SBC-SW.
(When "SBC-SW“ is not displayed.)
(X^ Setting a type
Press »\ to switch the SBC frequency in sequence as follows.
(SBC default: SBC-SW OFF)
SBC-SW OFF
SBC-SW 100 Hz
T
SBC-SW 200 Hz
(H^ ; opposite direction)
SBC-SW Display Bass Cutoff Frequency
SBC-SW 100Hz
SBC-SW 150Hz
SBC-SW 200Hz
Note:
® Rear speaker sound is monaural output.
® When the preout is set to SUB ® W, the delay time to emphasize the speaker bass can be adjusted.
(See page 18.)
i—
SBC-SW 150 Hz
ioOHz
150Hz
200Hz
CQrVX999EW
13
в OPERATION; GENERAL (Continued)
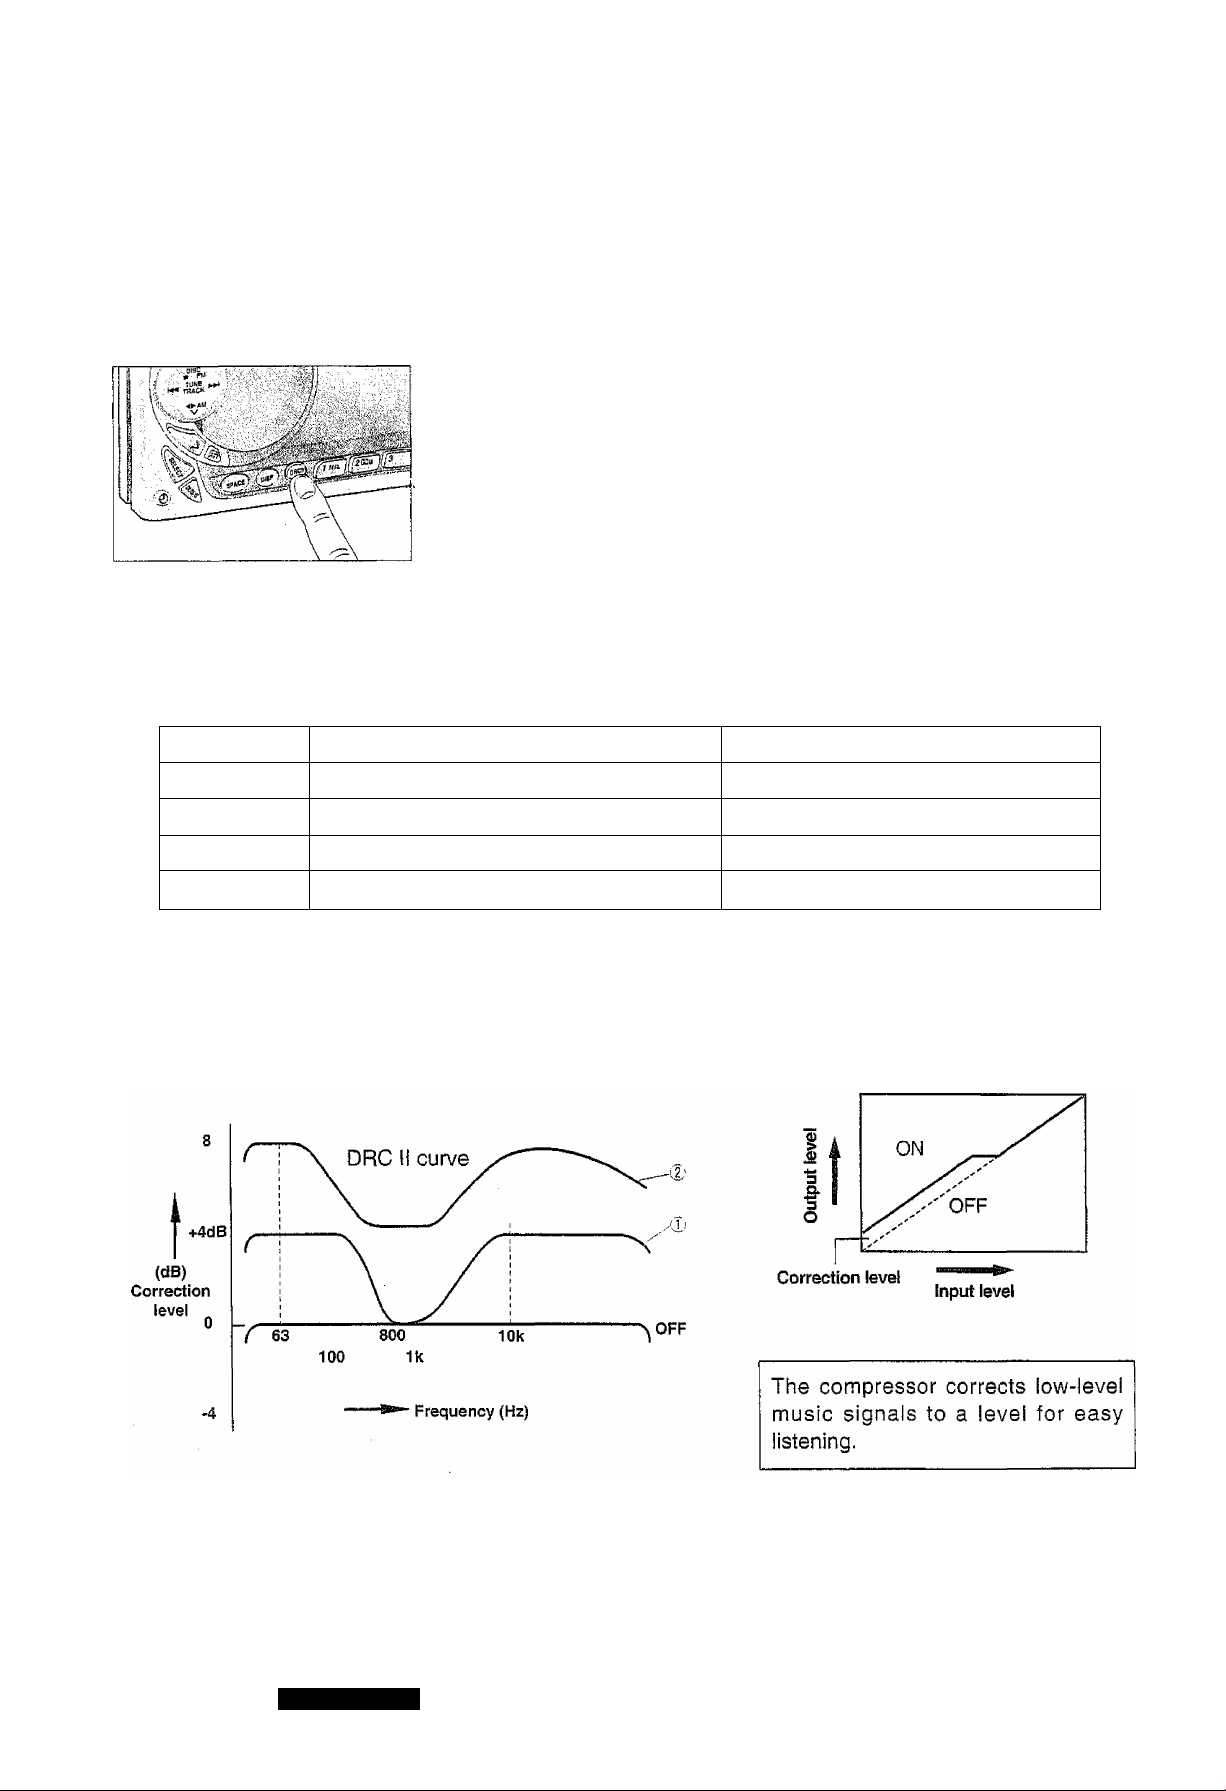
H Dynamic Road Noise Controi Setting/DRC li
The DRC II function corrects noise inside the car as appropriate to the running condition of it to let you
enjoy listening.
Press DRC 1! to switch the DRC !l type in sequence as follows.
(DRC II default: DRC II TYPE 2)
DRCNTYPE 2 DRCMTYPE 3 ^ DRCIITYPE 4
T i
DRCNTYPE 1 DRCII OFF
The correction level increases starting with TYPE 1. Select a position as desired referring to the table
below.
Model Description
TYPE1
TYPE2
TYPES Music in low volume in town drive
TYPE4 Music in low volume in highway drive
The DRC II curve changes in the pattern Ф or ф as follows:
Town drive
Highway drive
Characteristics
DRC curve ®, compressor OFF
DRC curve (D, compressor OFF
DRC curve ®, compressor ON
DRC curve compressor ON
14
GQ-VX999EW:
Sound Field Effect Settsng/SPACE
A sound field effect can be set for each of the AM, FM, CD, TAPE, CH-C, AUX1 and AUX2 modes.
Press SPACE to switch the Sound Field Effect in sequence as follows.
(SPACE default : SPACE OFF)
SPACE OFF LIVE HOUSE ^ CONCERT HALL JAZZ CLUB
t i
CINEMA <- VOCAL 4- DISCO STADIUM
Note:
SPACE effect is OFF during saving in the Direct Memory. (See page 37.)
Desired Space Display/SPACE Indicator
To display the Sound Field Effect currently set by an icon:
® Press and hold SPACE for more than 2 seconds.
(D The current SPACE indicator is shown by an icon.
(D Press and hold SPACE for more than 2 seconds to switch the icon
as follows:
CQ-VX999EW
15
OPERATION; GENERAL (Continued)
Switching Spectrum Analyzer Display
Press DISP to switch the spectrum analyzer display in the 16 patterns
including DEMO mode in sequence as follows.
Note:
DEMO mode is initially displayed. There may be cases where the
buttons cannot be operated in DEMO mode. If so, change the
spectrum analyzer display to other than DEMO mode.
V
____________________________________________________
DEMO MODE
y
iifiiSIMiiiisll’
.
.....
"‘"T“
.. .......
iiliSIliiilfisS:
illiiiiiiyiiftSiStS t
i
SiiiSSSyiiillitfe
16
i
CQ-VX999EW
Preout (External Output) Switching
Connect an optional power amplifier (CY-A/I9054EN, for example) and set it to suit your system.
Your unit has a preout for rear output and another for sub-woofer/front/rear output. The operating
procedures for the possible setting of preout (sub-woofer/front/rear) outputs are described in this section.
Press and hold SUB ® W for more than 2 seconds to switch the output
mode as follows:
(Preout default; SUB ® W)
PREOUT SUB®W
(Sub-woofer output)
In case of connecting sub-woofers that
emphasize bass;
Volume level, delay time adjustment,
and cutoff frequency can be set.
i
PREOUT THRU
(Through output)
Preout Output Volume Adjustment
(common to SUB*W and THRU)
0 Press SUB • W to select LEVEL SELECT (See page 18.)
® Press or to decrease or increase the volume.
(Default: 0 dB)
In case of connecting speakers for
normal system upgrading:
Volume level adjustment and front/rear
switching can be made.
Adjusting range: -o® dB <—lOdB -i-IOdB (at 2-dB intervals)
“oo dB: No output from the amplifier connected to
the preout terminal (No sound is produced.)
Note:
• When a setting mode is selected but no operation is made within 5 seconds, the display will return
to the normal mode. In such a case, press SUB«W again and repeat the setting procedure.
• These operations cannot be performed in Direct Memory mode or Navi Mute mode.
CQ-VX999EW
17
 Loading...