

Olympus Super Zoom 330, Infinity SuperZoom 330 Instructions Manual

INSTRUCTIONS
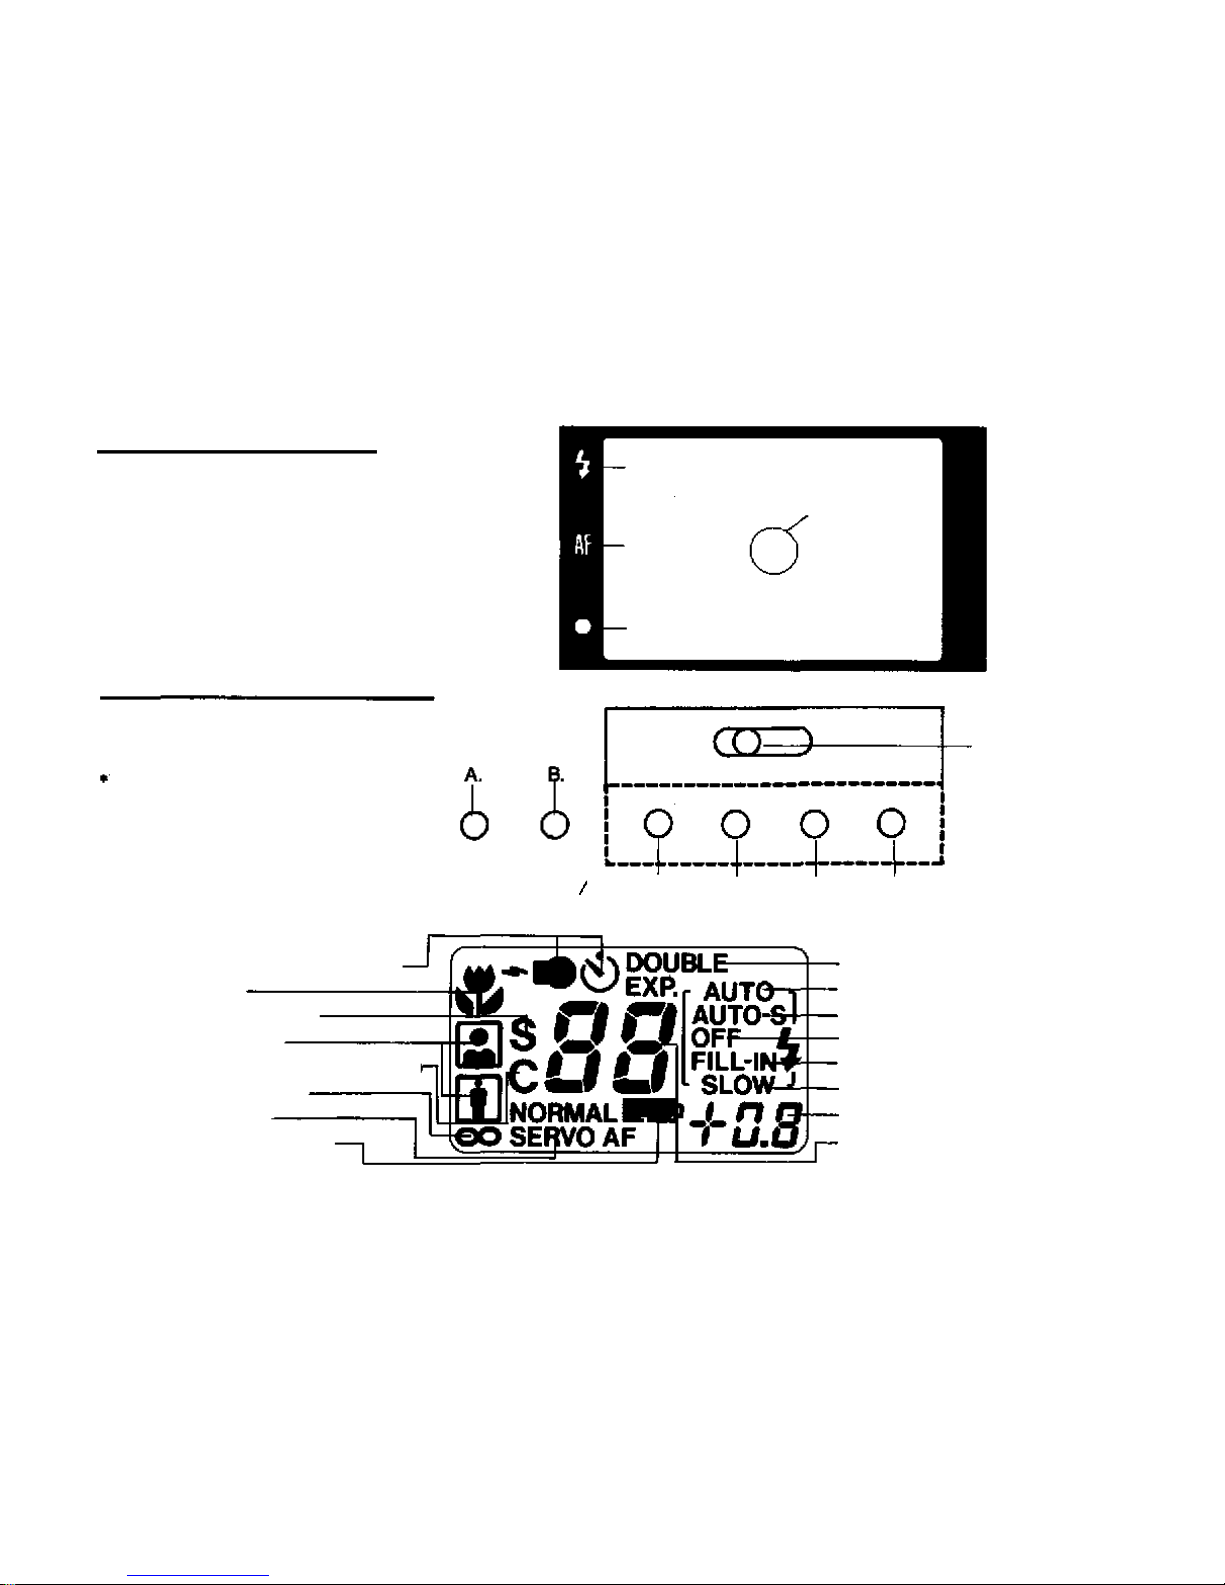
When using the mode button,
each mode will be displayed on
the LCD panel. However, spot
metering will be displayed in
the viewfinder.
SPOT
SELF
REMOTE
C. D. E. F.
DRIVE + / — SUBJECT FLASH
G. MACRO
B. Selftimer/remote control (p. 31)
G. Macro (p. 29)
C. Single-frame advance
E. Auto zoom (p. 40)
C. Continuous - frame advance (p. 48)
E. Infinity mode (p. 43)
E. Servo AF (p. 44)
Battery remaining indicator
C. Double exposure (p. 50)
F. Auto flash (p. 21)
F. Auto-S flash (p. 23)
F. Flash OFF (p. 35)
F. Fill-in Hash (p. 36)
F. Slow-synchro fill-in flash (p. 38)
D. Exposure compensation (p. 46)
Exposure counter
LCD panel indicators
Viewfinder indicators
LCD panel/Mode button
Mode button
Flash indicator
Autofocus
indicator
Autofocus frame
Spot metering
— 1 —
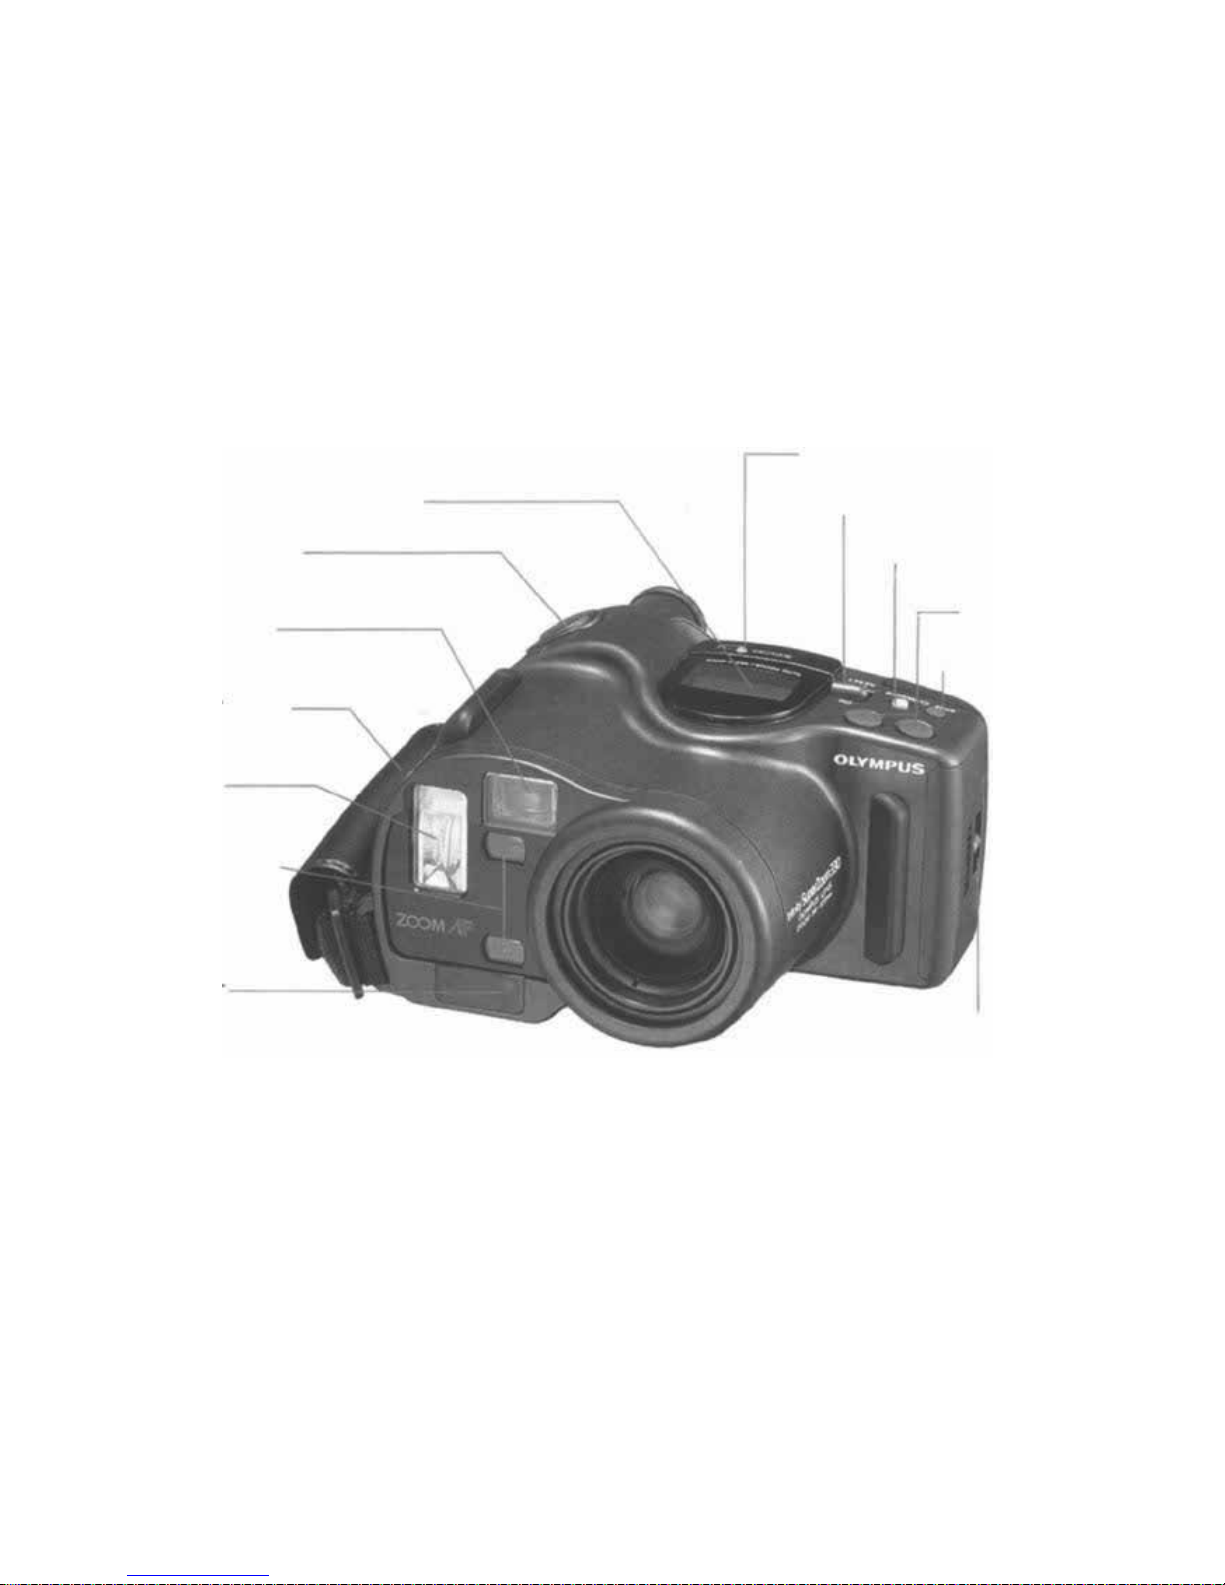
Description of controls (1)
LCD panel
Shutter release button
Viewfinder window
Grip / shoulder strap
Flash reflector
Autofocus windows
AF illuminator
Macro button
Power switch
Selftimer remote
control button
Zoom buttons
Spot metering
button
Back cover release
— 2 —
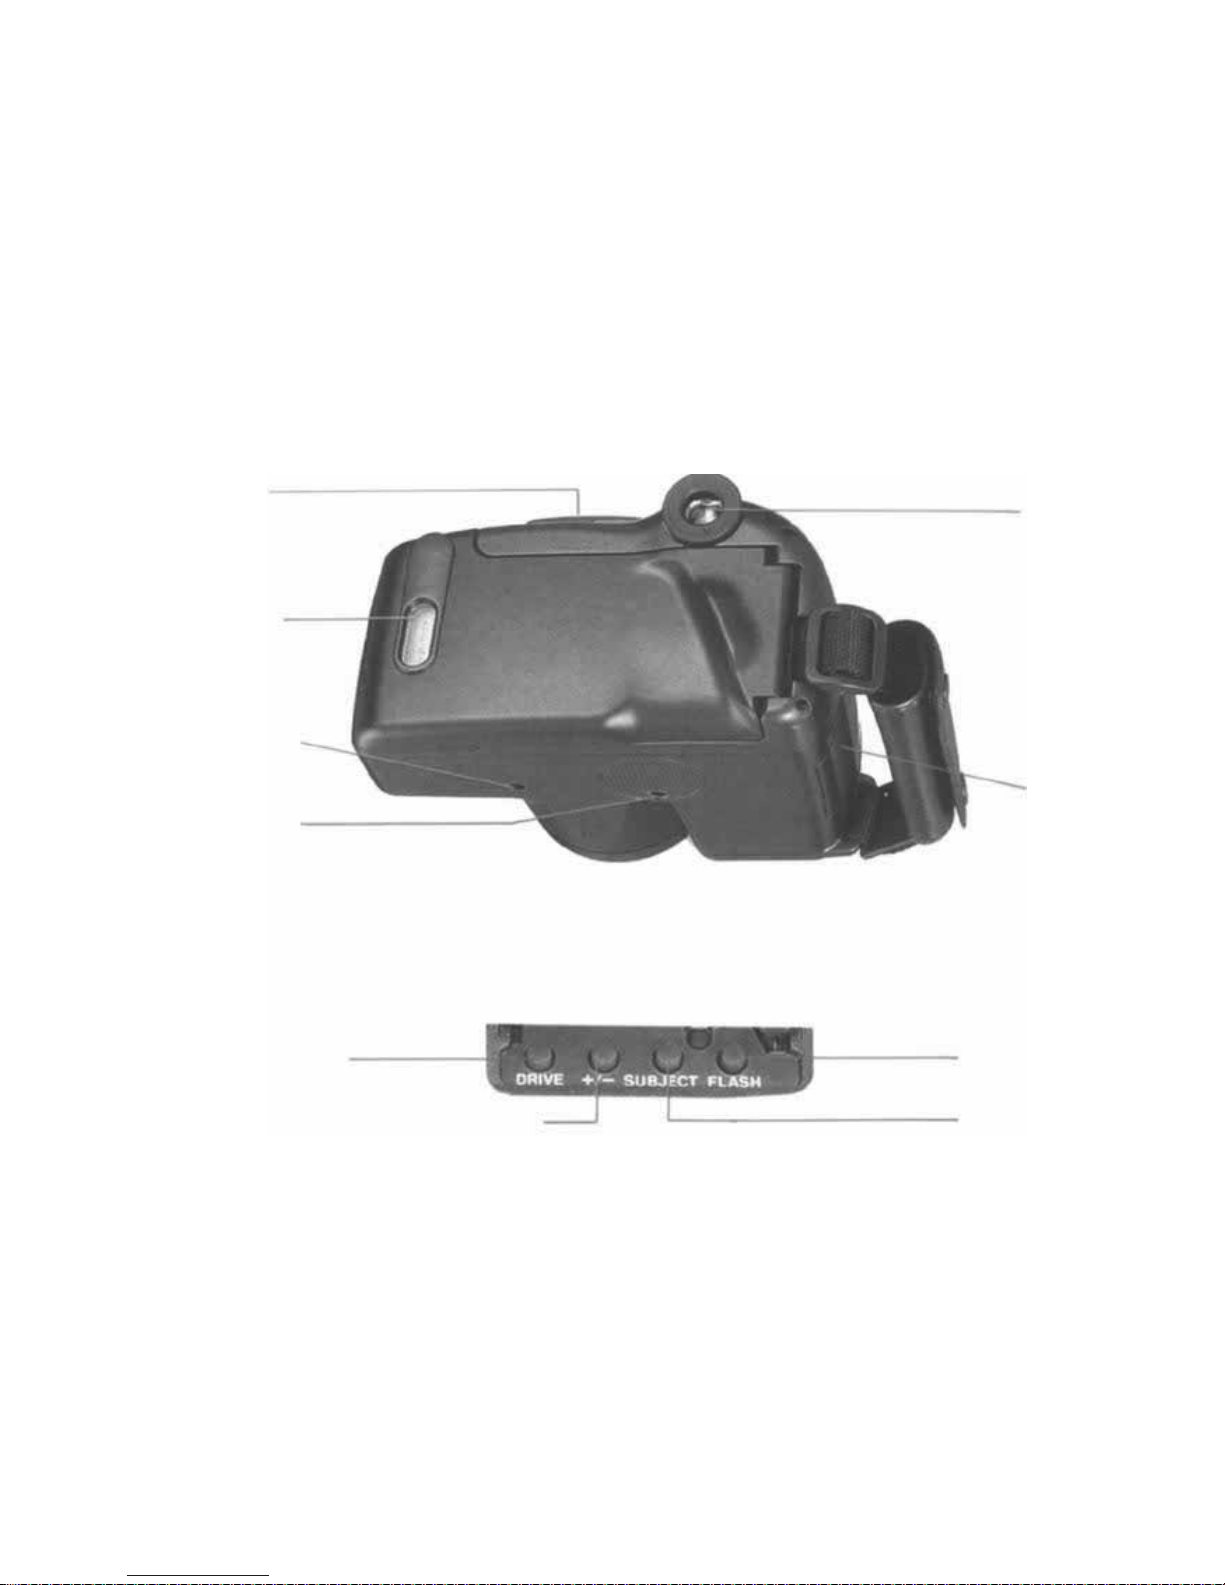
Description of controls (2)
Mode cover
Viewfinder
Exposure compensation mode button
Drive mode button
Functions listed below will not be cancelled when the power switch has been turned
OFF.
—Auto-S flash mode
—The first frame in double exposure mode
Flash mode button
Subject mode button
Battery cover
Tripod socket
Rewind button
Film window
— 3 —

Table of contents
Description
of
controls
...........................
2
Before
you
begin...................................
6
Loading the batteries.............................. 6
Attaching
the
strap
................................
8
Holding
the
camera
...............................
9
Loading the film.................................. 10
Unloading the film............................... 13
Simple point & shoot photography............. 15
How to take pictures............................. 15
Auto flash photography......................... 21
Auto-S flash photography...................... 23
Camera functions and controls................ 25
Focus lock.......................................... 25
Spot metering...................................... 27
Macro photography.............................. 29
Selftimer/Remote
control
......................
31
Flash OFF.......................................... 35
Fill-in flash........................................... 36
Slow-synchro fill-in flash......................... 38
Auto zoom mode.................................... 40
Infinity
mode.........................................
43
Servo
AF
mode
......................................
44
Special effects ........................................ 46
Exposure compensation............................ 46
Continuous mode.................................... 48
Double exposure mode ............................ 50
How to use the soft case .......................... 52
Troubleshooting...................................... 53
To take better photographs........................ 55
Zoom lens............................................. 55
Autofocus
(AF)
......................................
57
Exposure............................................... 59
Care and storage..................................... 62
Specifications......................................... 63
— 4 —
Thank you for purchasing the OLYMPUS Infinity Super Zoom 330. Please read thi s
instruction manual carefully before using the camera. We also recommend that you
shoot at least one roll of film just to familiarize yourself with the camera's features.
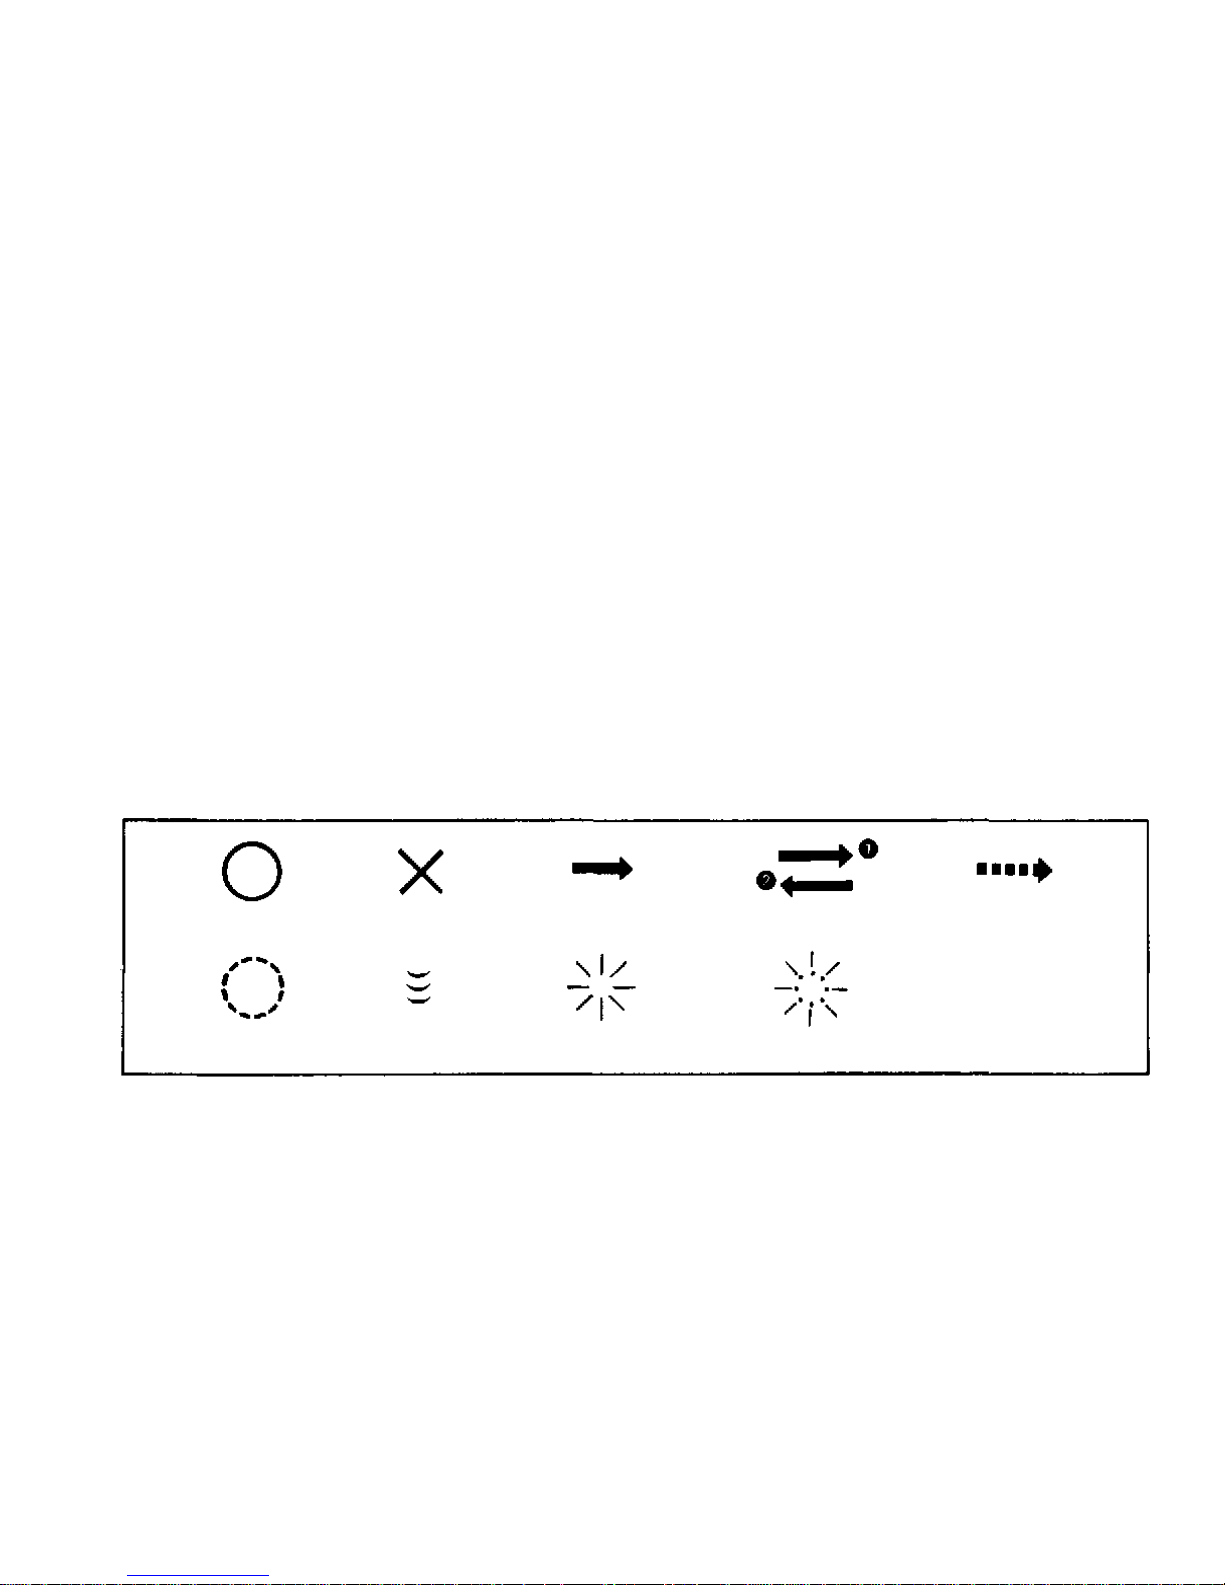
Symbols used i n this manual
Correct
Incorrect
operation
Order of operation
Automatic operation
Lamp blinking
Lamp on
Press l ig ht ly
Attention
— 5 —
Before you begin...
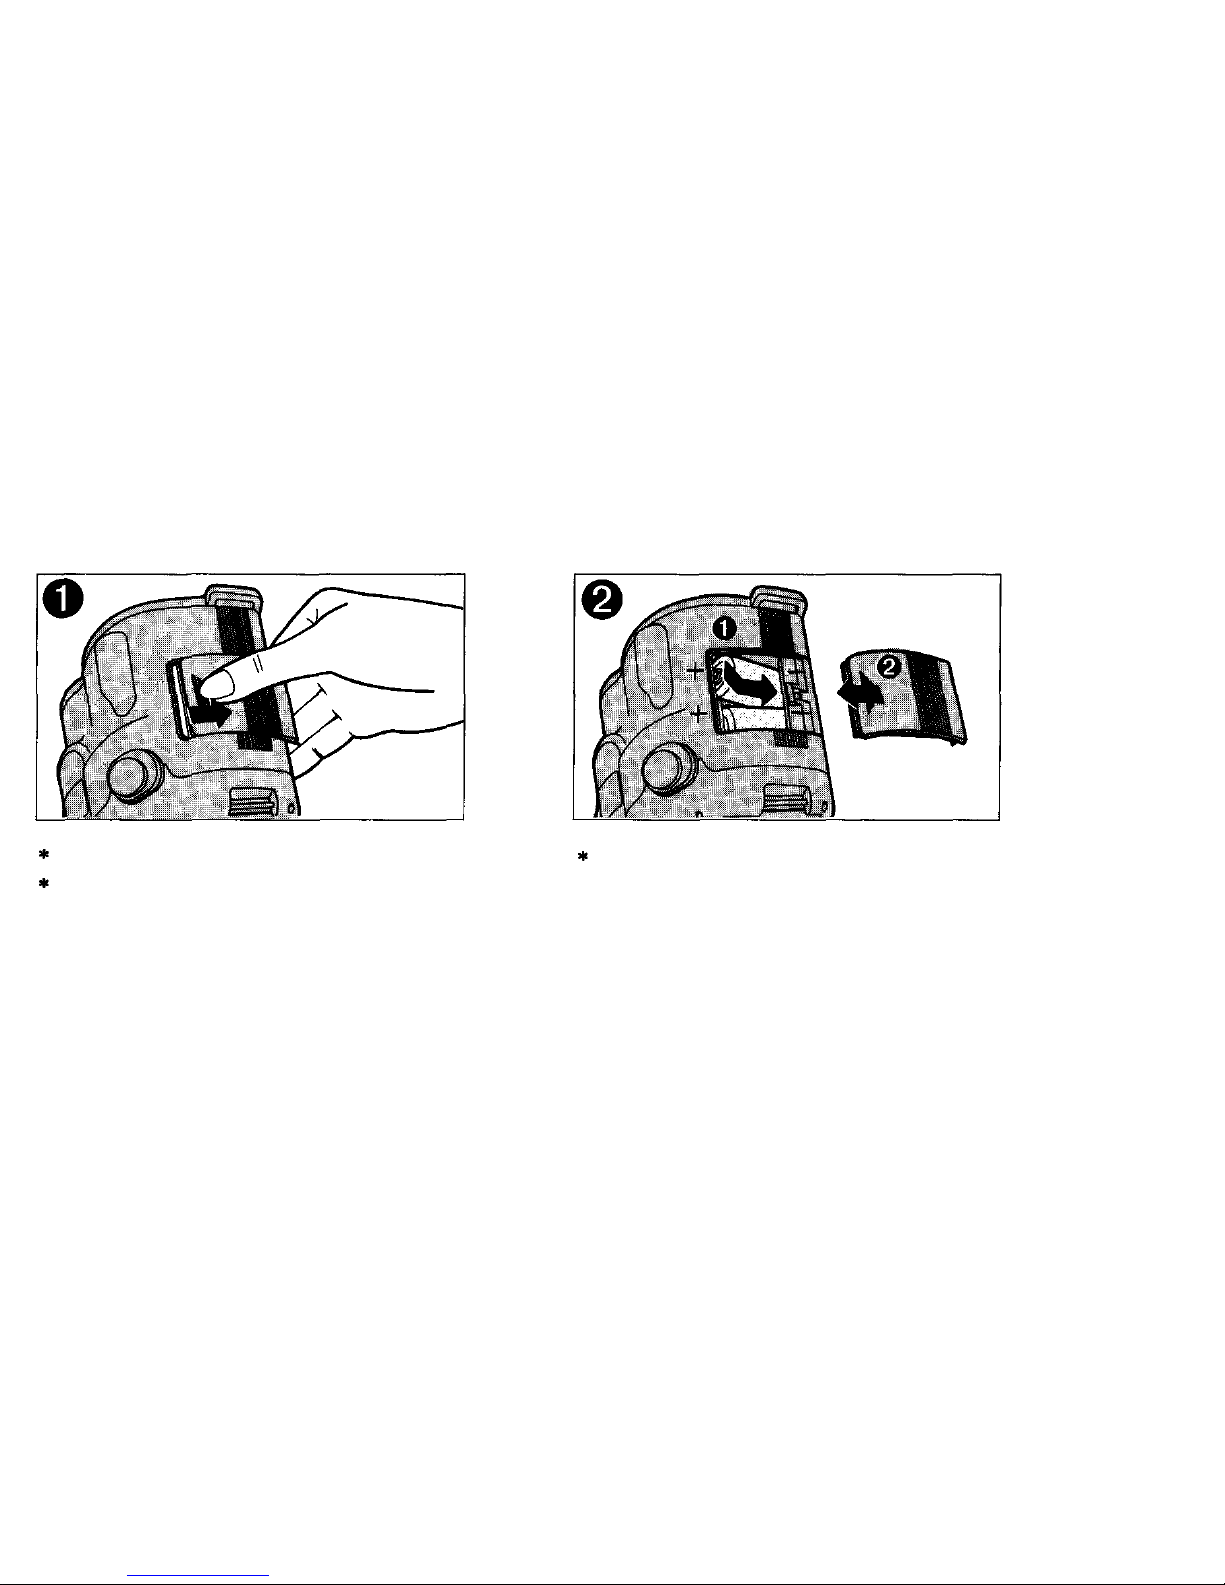
Loading the batteries
Be sure power switch is OFF.
Remove battery cover on the side of the
grip.
Insert two 3V lithium batteries as shown and
replace cover.
Use Panasonic C R 123A, Duracell DL
123A, or equivalent.
WARNING: Do not mix different types of
batteries or new and old
batteries at the same time.
— 6 —
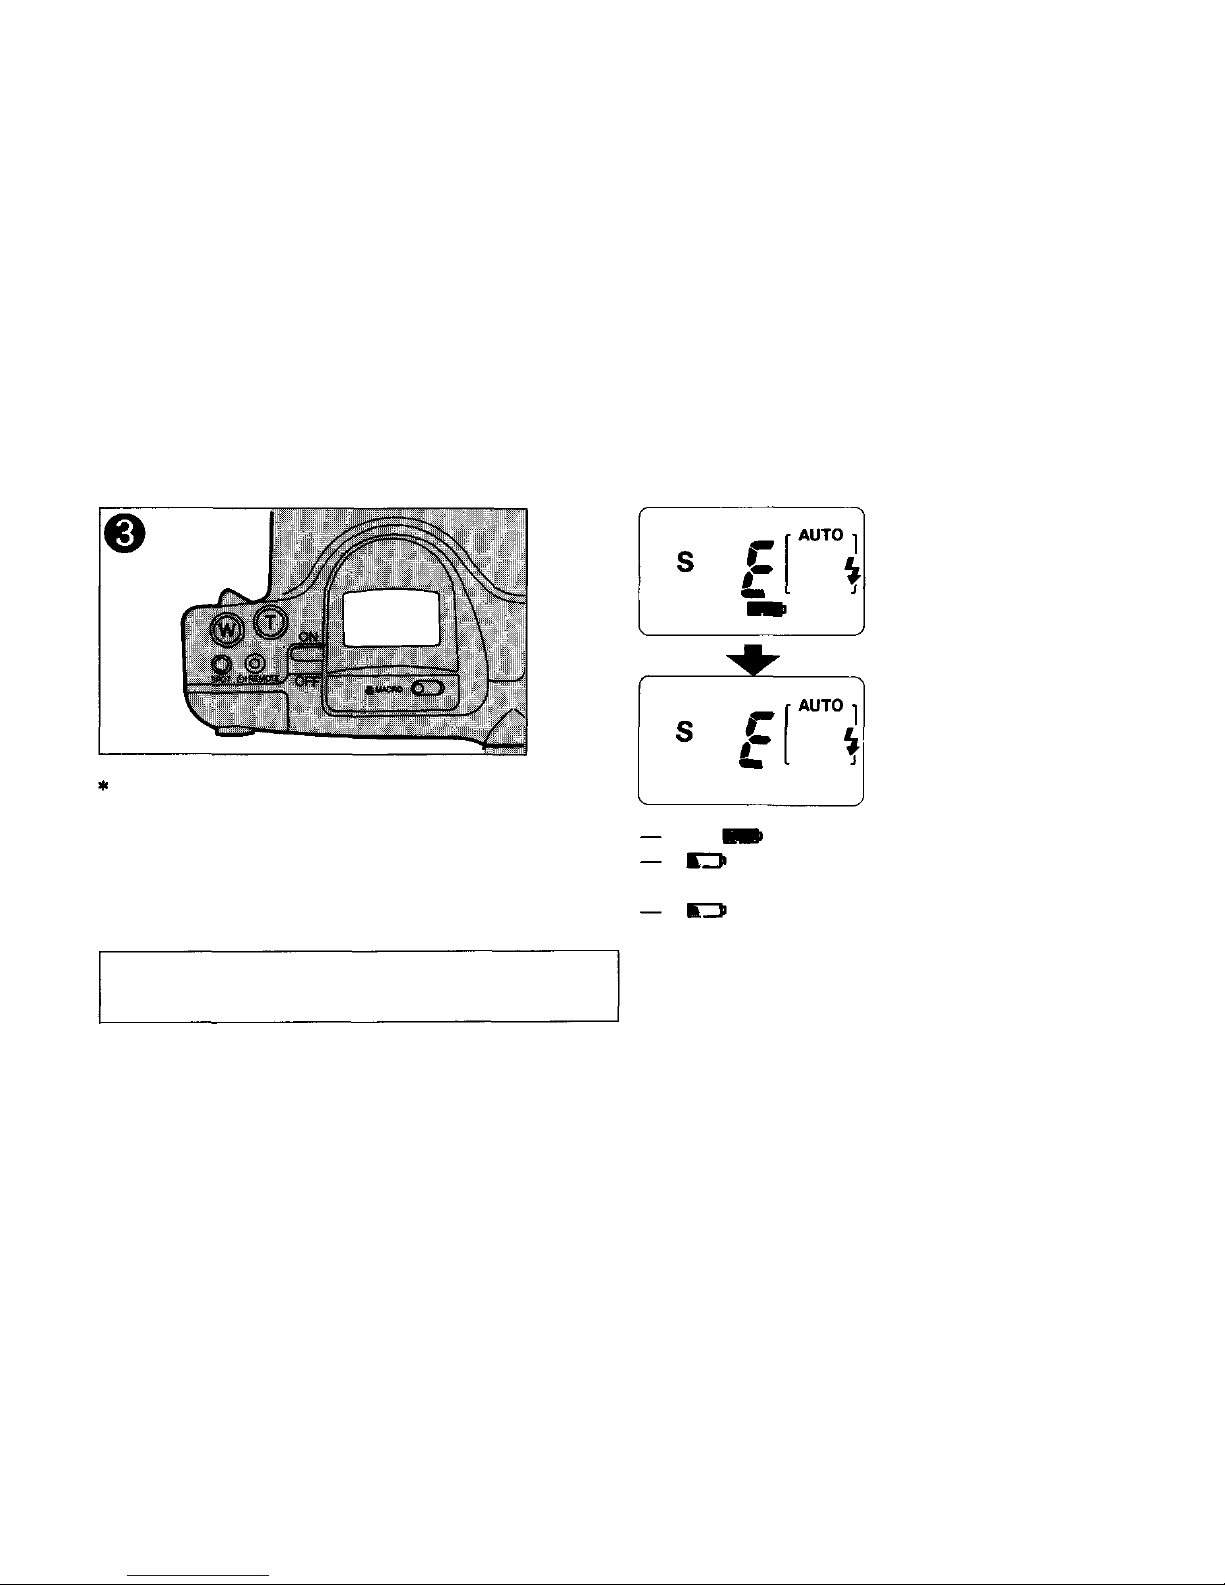
Switch power ON and check battery power
level on the LCD panel.
NOTE: LCD panel display switches of f auto-
matically after 90 seconds if no controls
are used.
When is displayed, batteries are OK.
If flashes, batteries are low, have spares
handy.
If is displayed continuously, batteries should
be replaced immediately.
Remove batteries if you do not plan to use the
camera f or an extended period of time.
— 7 —
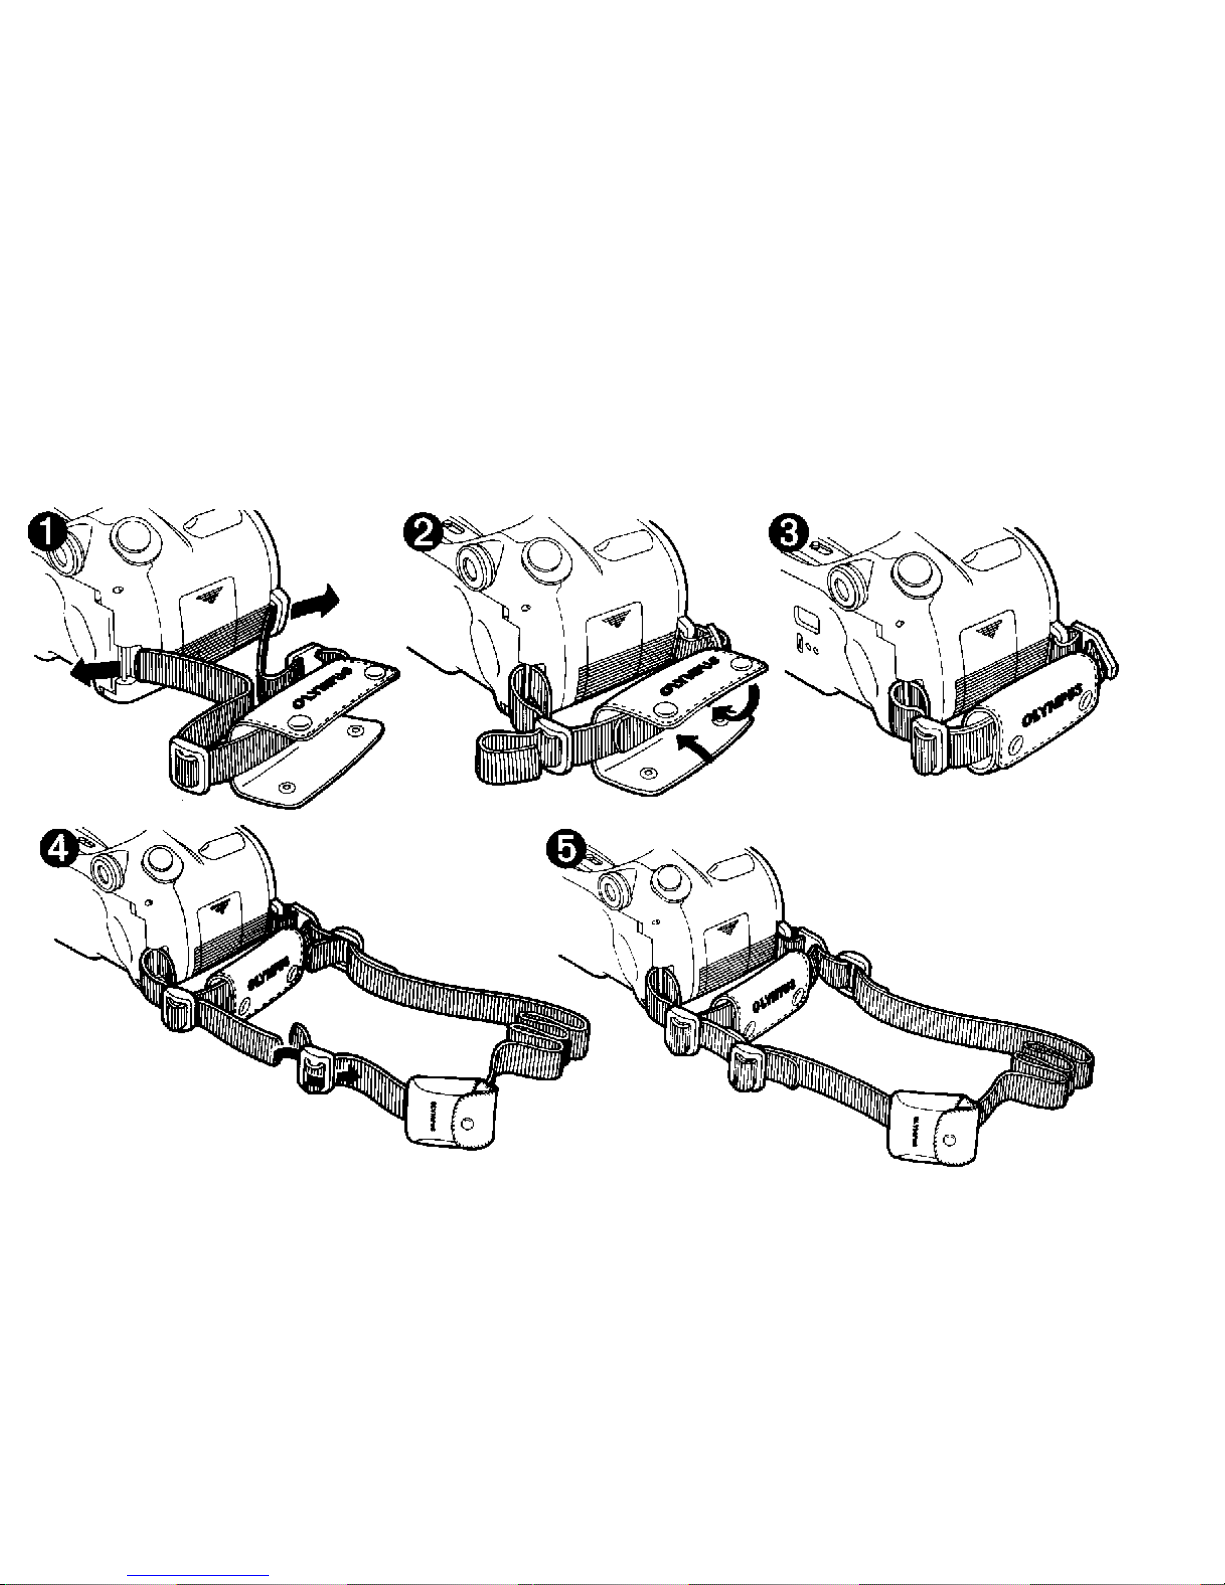
Attaching the strap
— 8 —
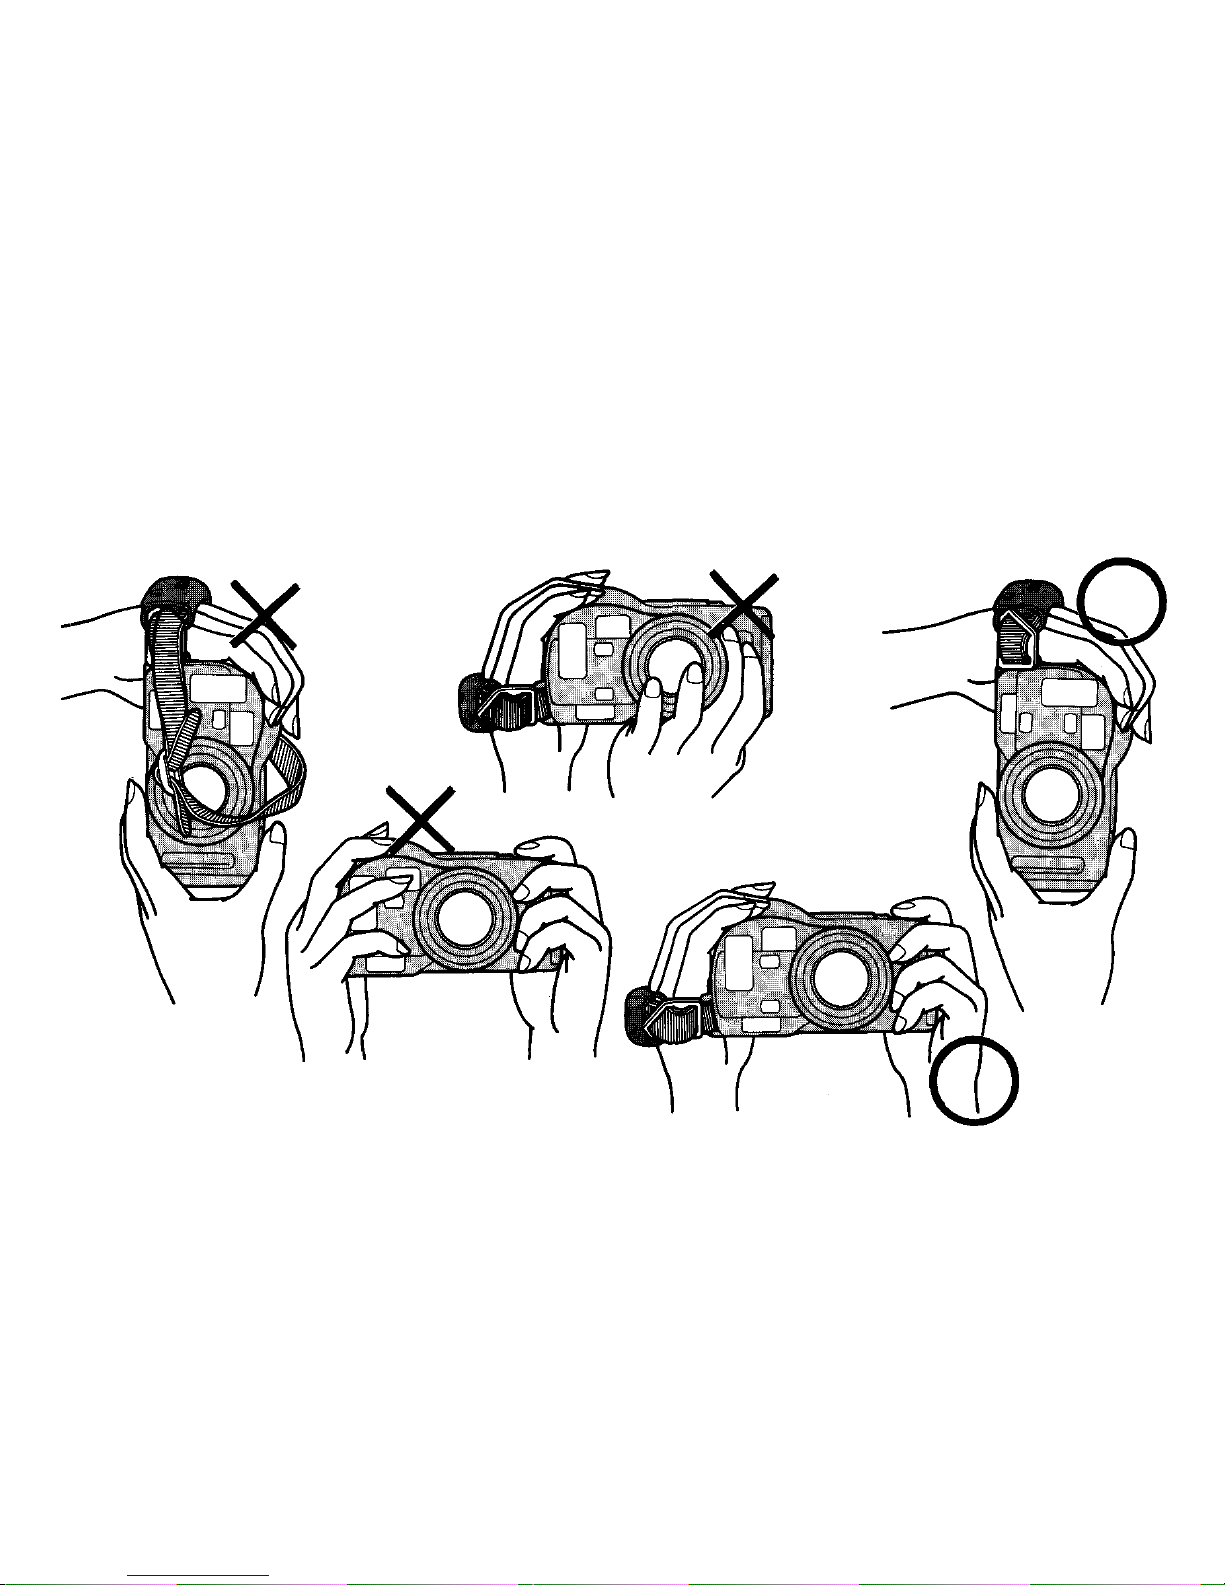
Holding the camera
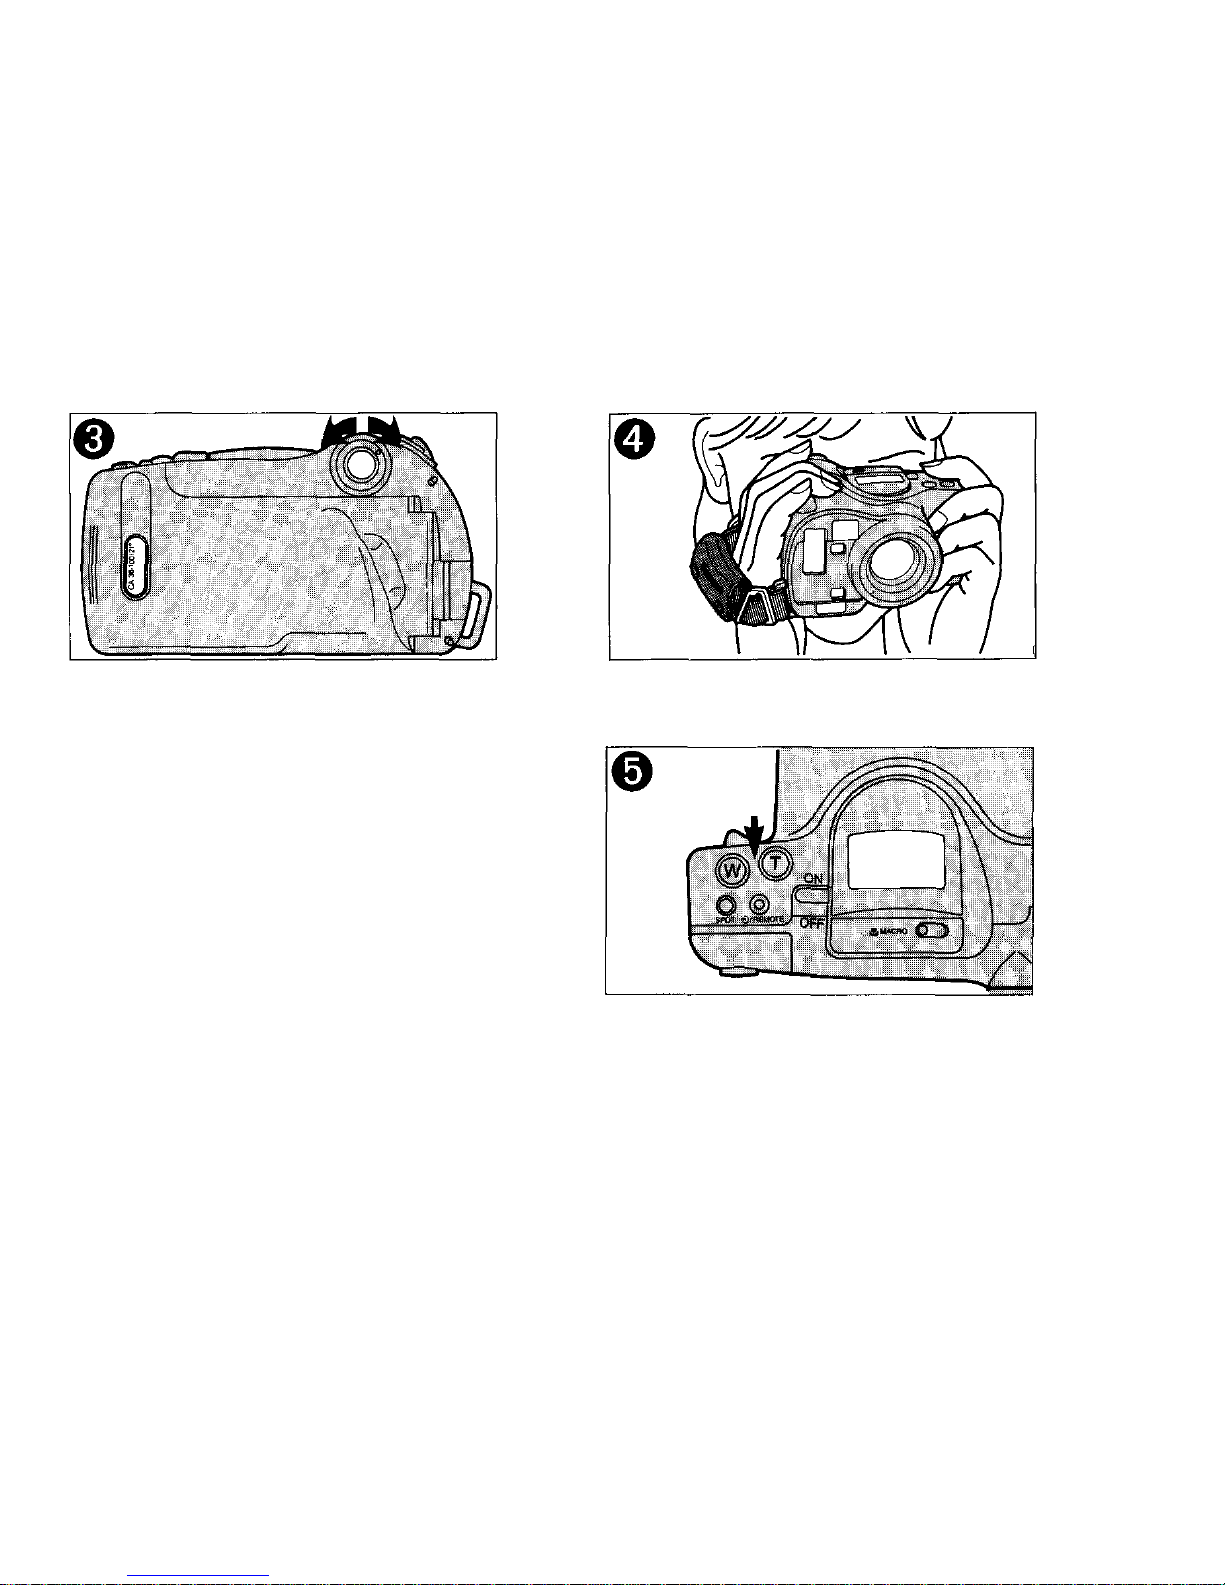
Hold the camera correctly. Keep fingers and camera strap away from the lens,
viewfinder and flash reflector.
NOTE: It is particularly important to hold the
camera steady when shooting at longer
focal lengths (telephoto); use both
hands for maximum stability.
— 9 —
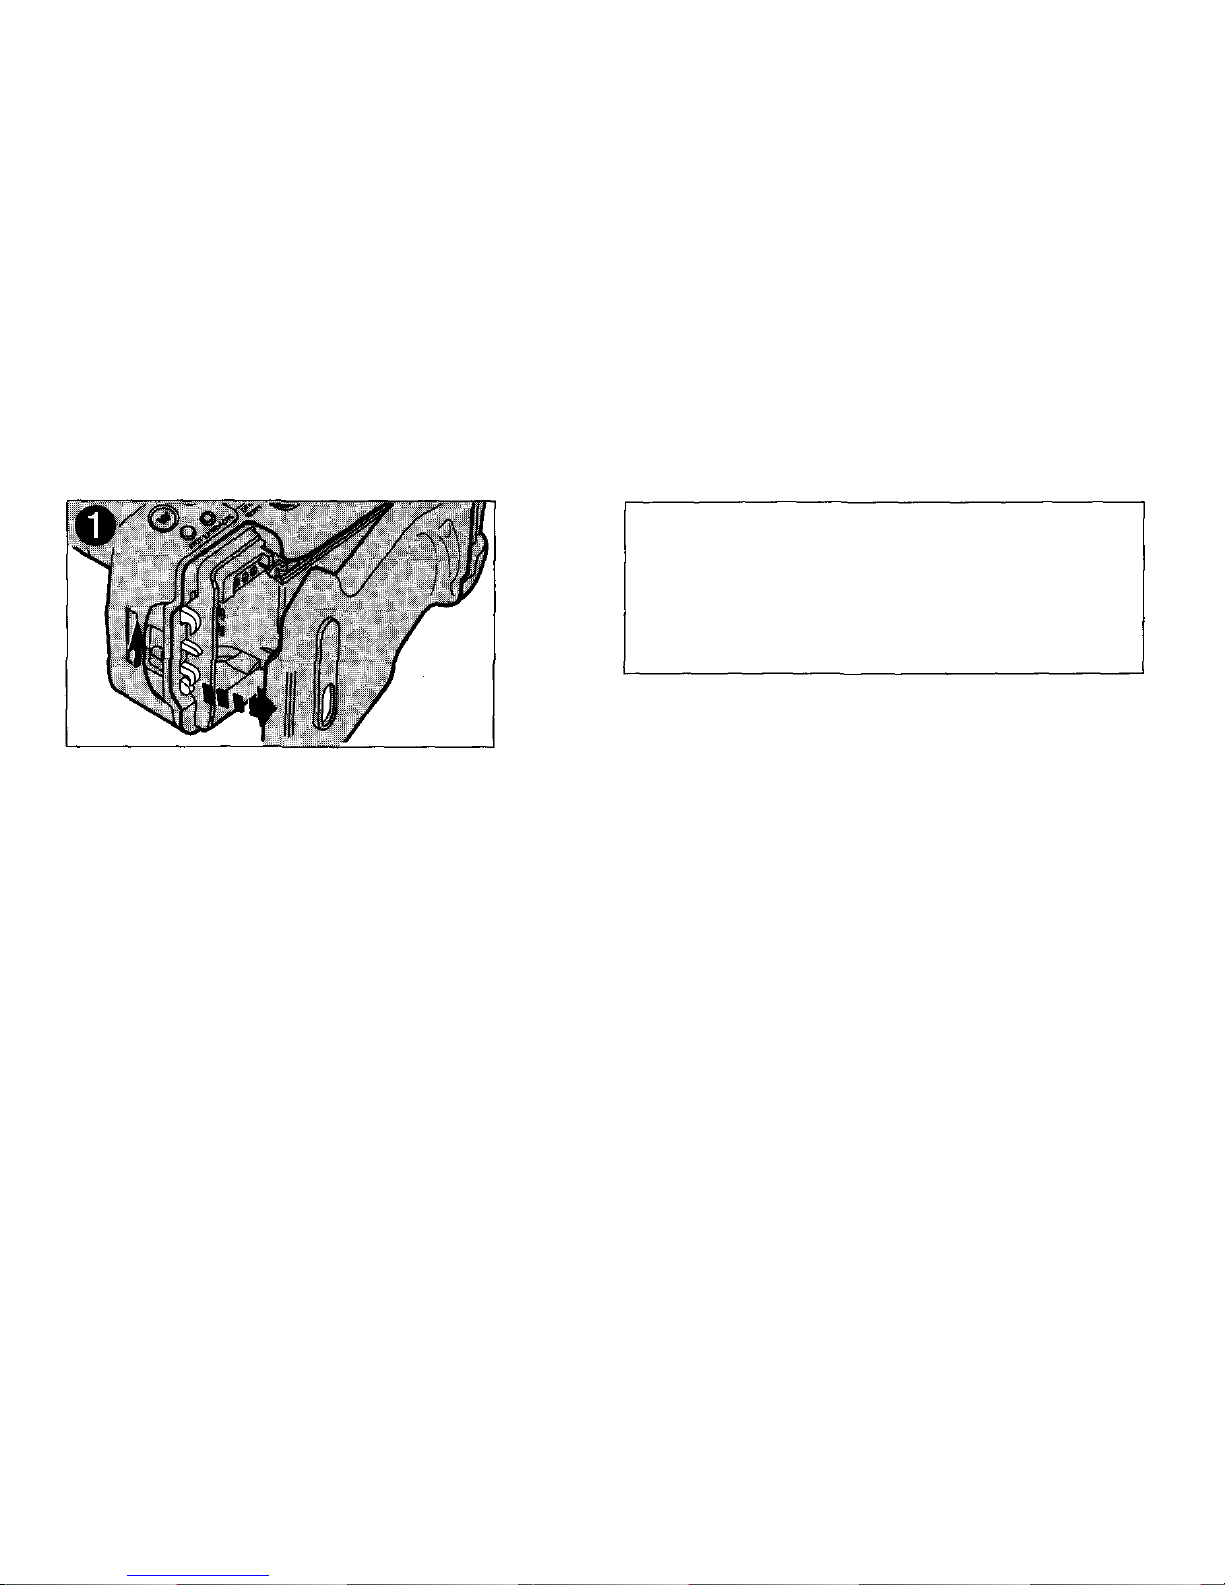
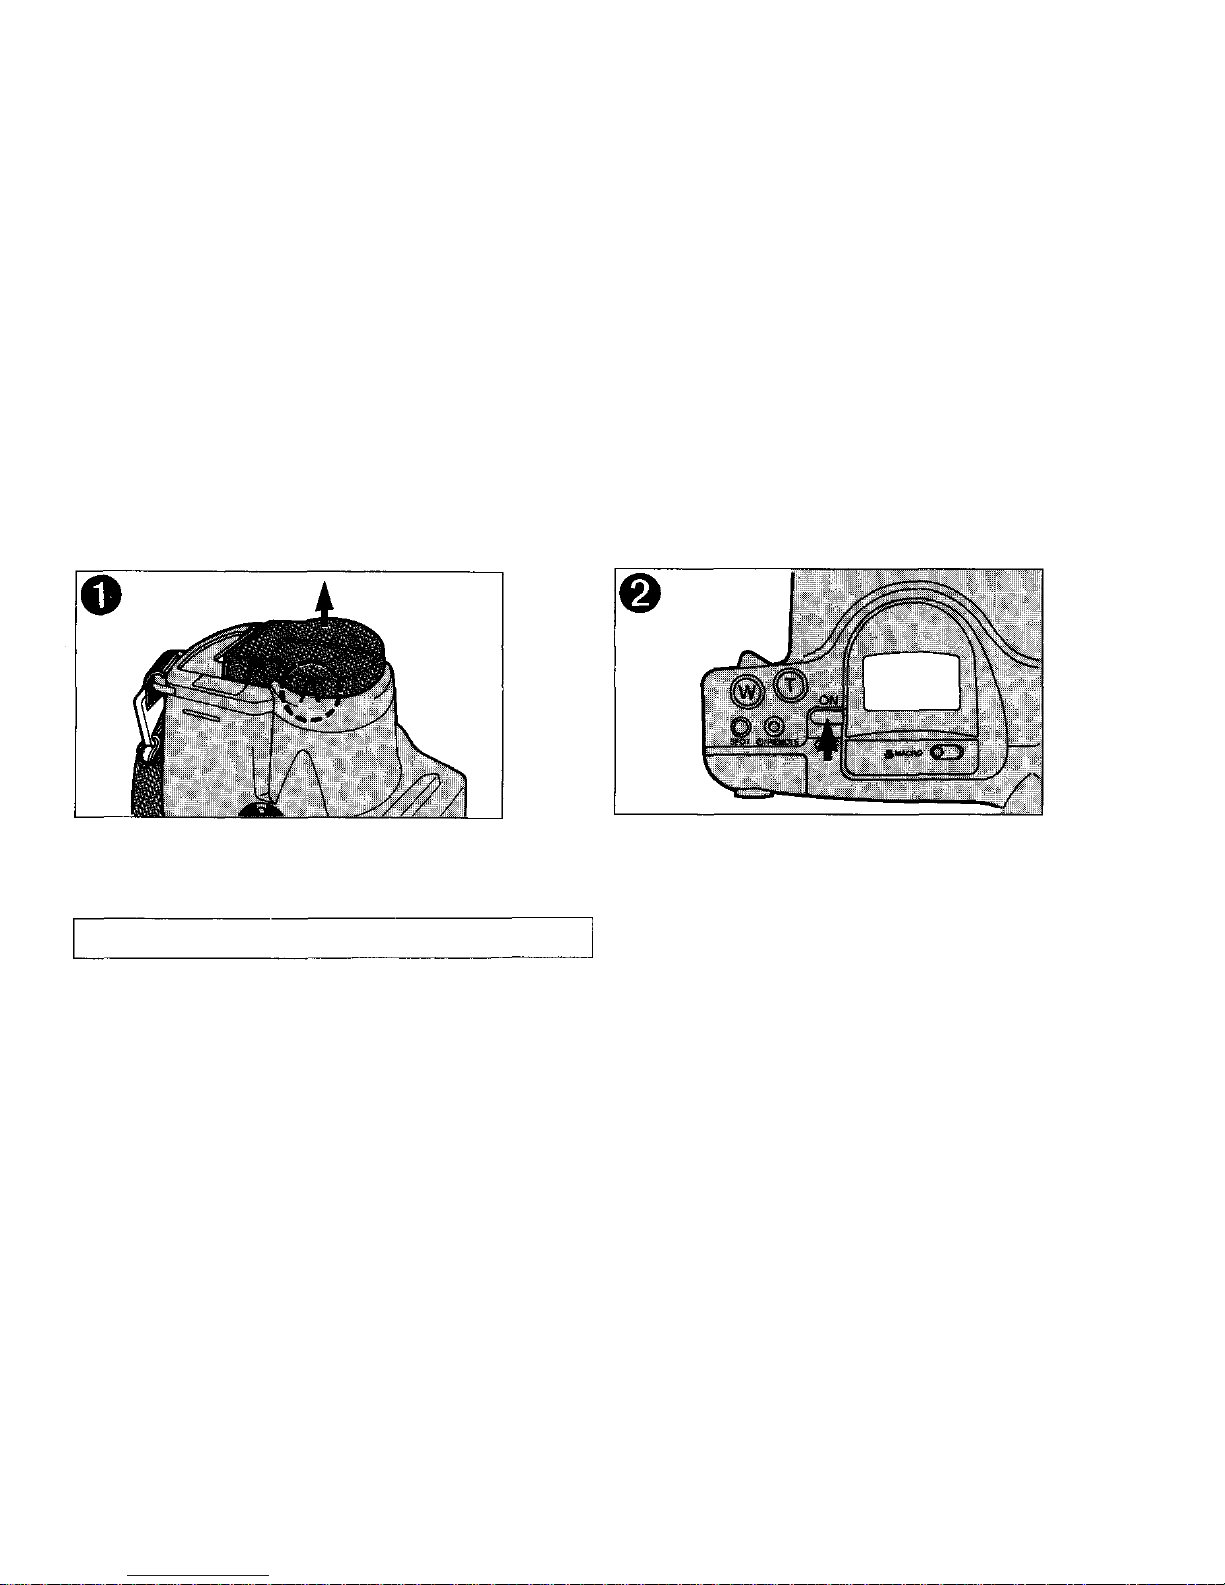
*Open t he ba ck cover by sliding the back
cover release toward the top of the
camera.
NOTE: Avoid direct light w hen loading the
film.
This camera is designed to use DX-coded 35mm
film. DX coding is used by virtually all major film
manufacturers. DX coding allows the camera to
identify and set the film speed automatically.
If DX-coded film is unavailable, use ISO
100 film.
Loading the film
— 10 —
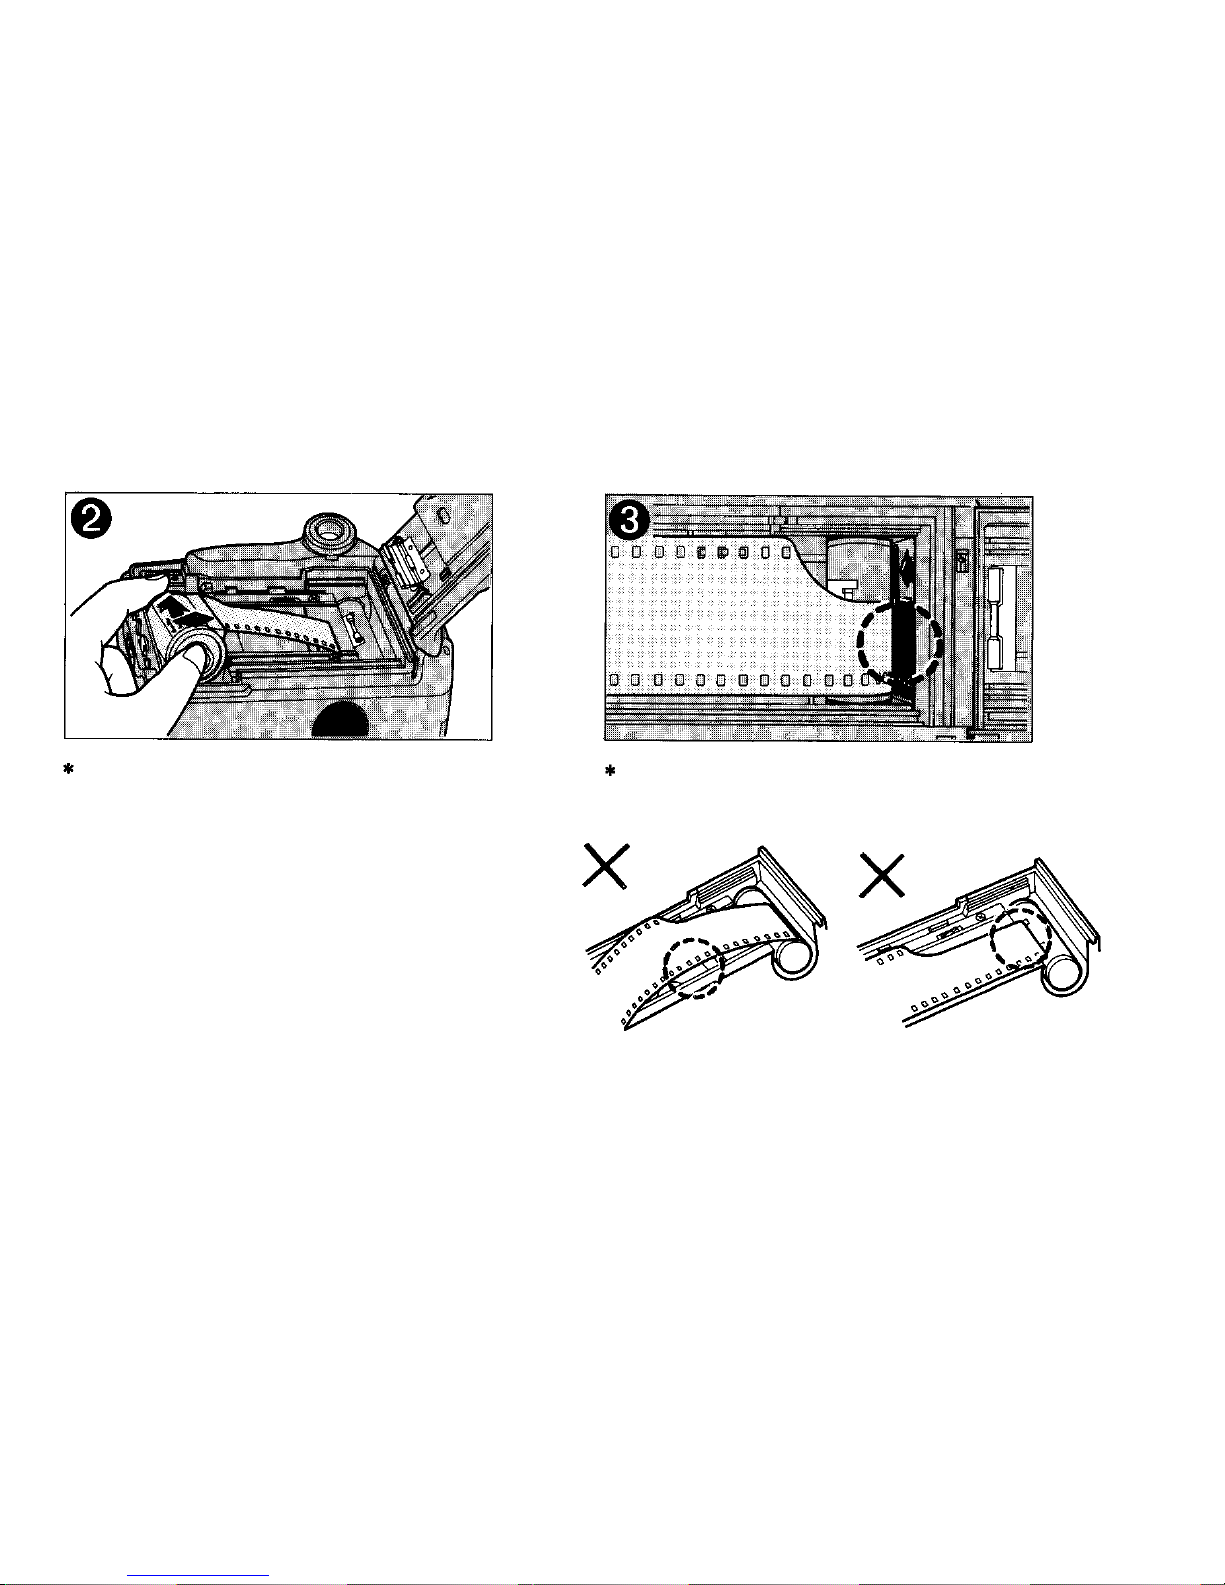
Insert the film cartridge. Do not touch
the lens with your finger or the film
leader when loading.
Align the film leader with the film
loading indicator.
— 11 —
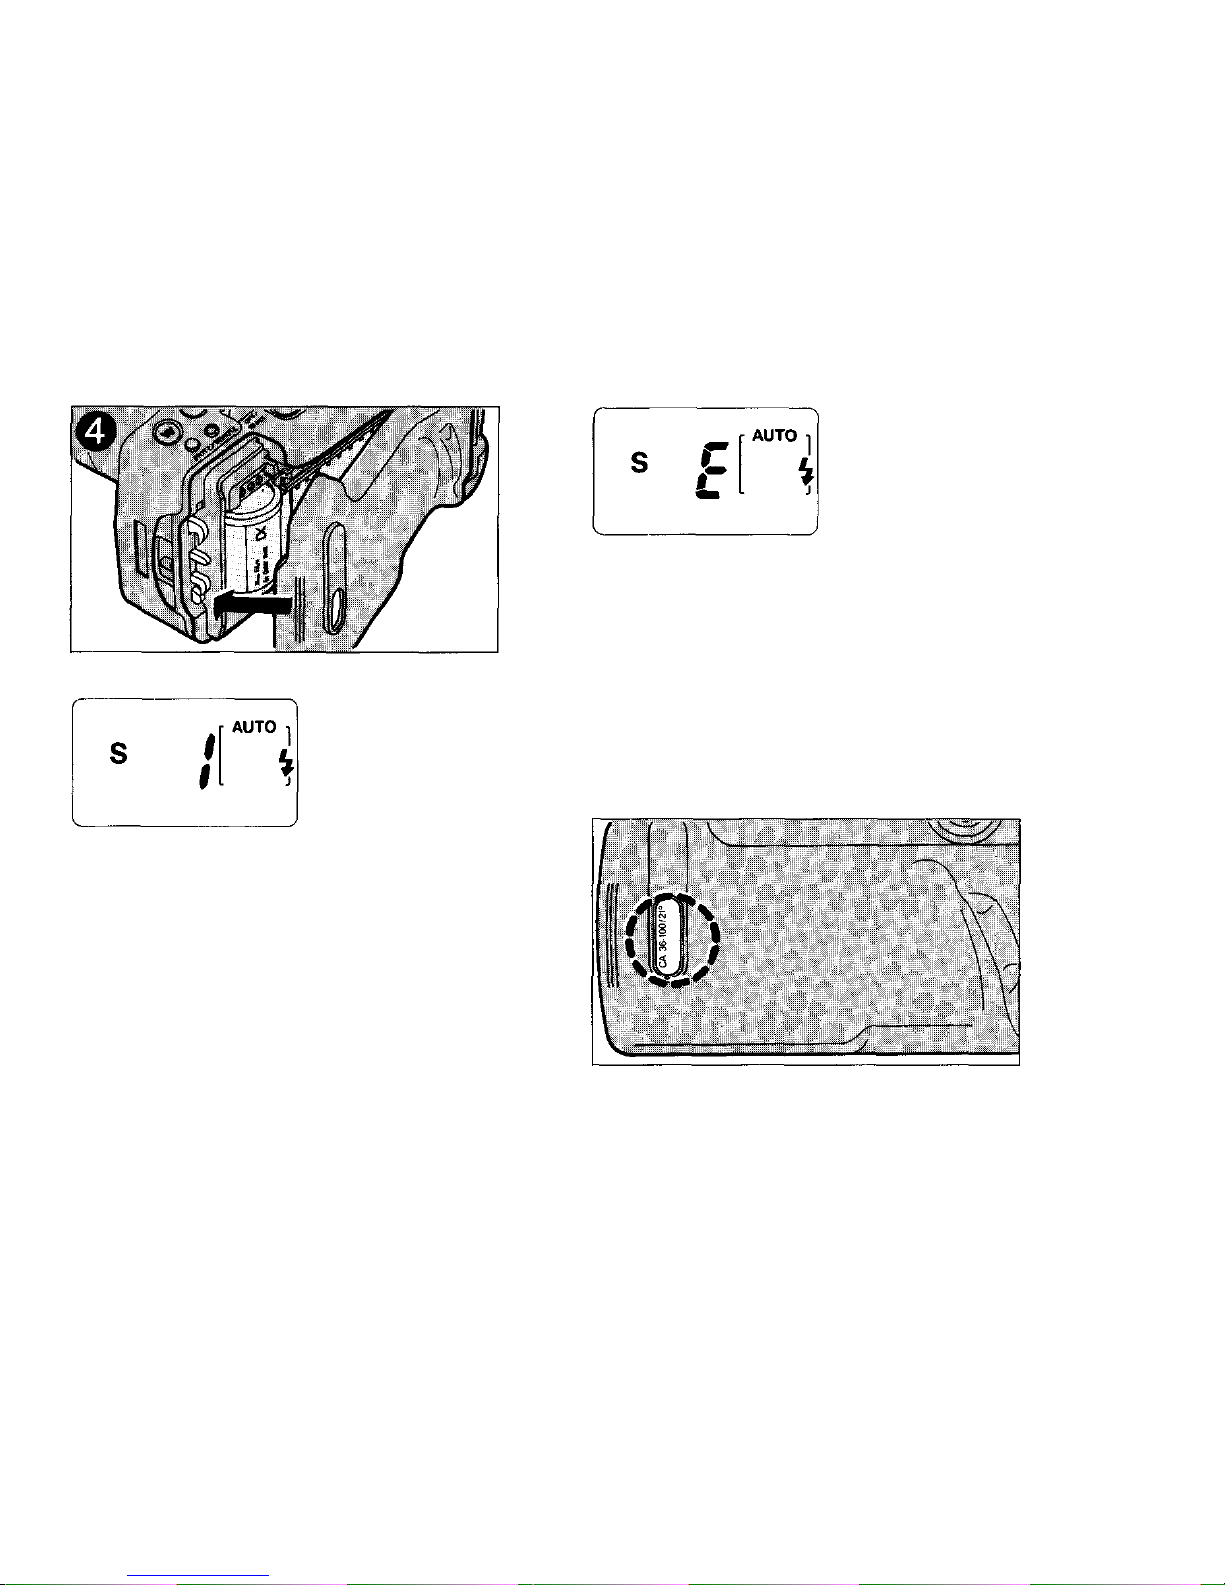
* Close the back cover.
—The film will advance automatically and
the exposure counter on the LCD panel will
display the number "1" indicating the first
picture on the roll.
—T he LCD panel w ill also display an "S"—to
indicate single frame advance and either
"AUTO or "AUTO S"—to indicate flash
mode. Either flash mode may be used for
point-and-shoot photography.
—Use the window in the camera back to check
type of film loaded.
—If film is improperly loaded, the LCD panel
will display a blinking "E". In this case, open
the back cover, and realign the film leader.
NOTE: Auto-S will be displayed if the camera
was in Auto-S mode prior to being
switched OFF. In all other flash
mode, the camera reverts to AUTO
when it is switched OFF. (For details
on Auto and Auto-S flash mode,
see
pgs.
21 or 23)
— 12 —
Unloading the film
* The camera automatically rewinds the film
when you reach th e end of th e roll.
NOTE: If you want to rewind the film before
th e end of the roll, press the rewind
button with the tip of a ballpoint pen.
Do not use any device with a sharp tip.
—The exposure counter on the LCD panel
counts down as the film is rewinding.
The final reading of exposure counter before
rewinding may be more than the number of
exposure specified for the film.
— 13 —
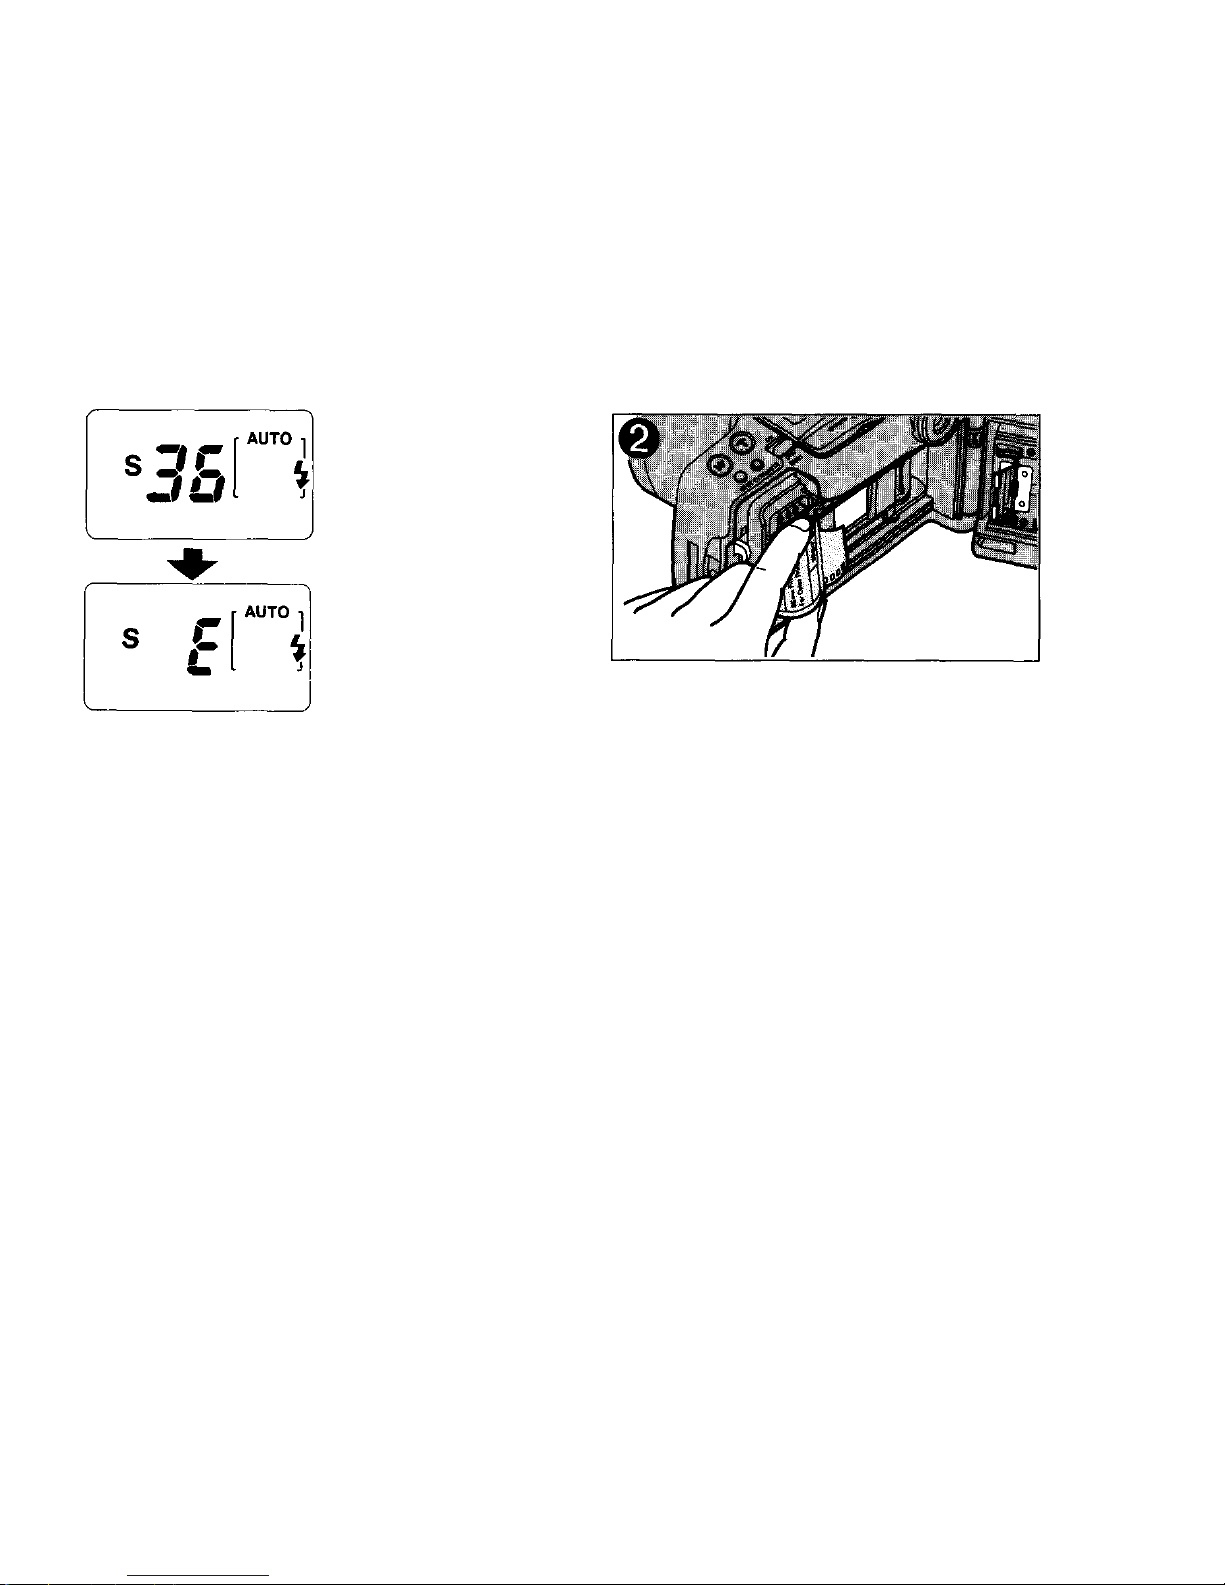
—Once the film has been rewound, a blinking
"E" will be displayed on the LCD panel.
Fur ther operations a re not possible until the
rewound film cartridge is removed.
*Open the back cover, and remove the
film cartridge from the camera.
— 14 —
Simple point & shoot photography
How to take pictures
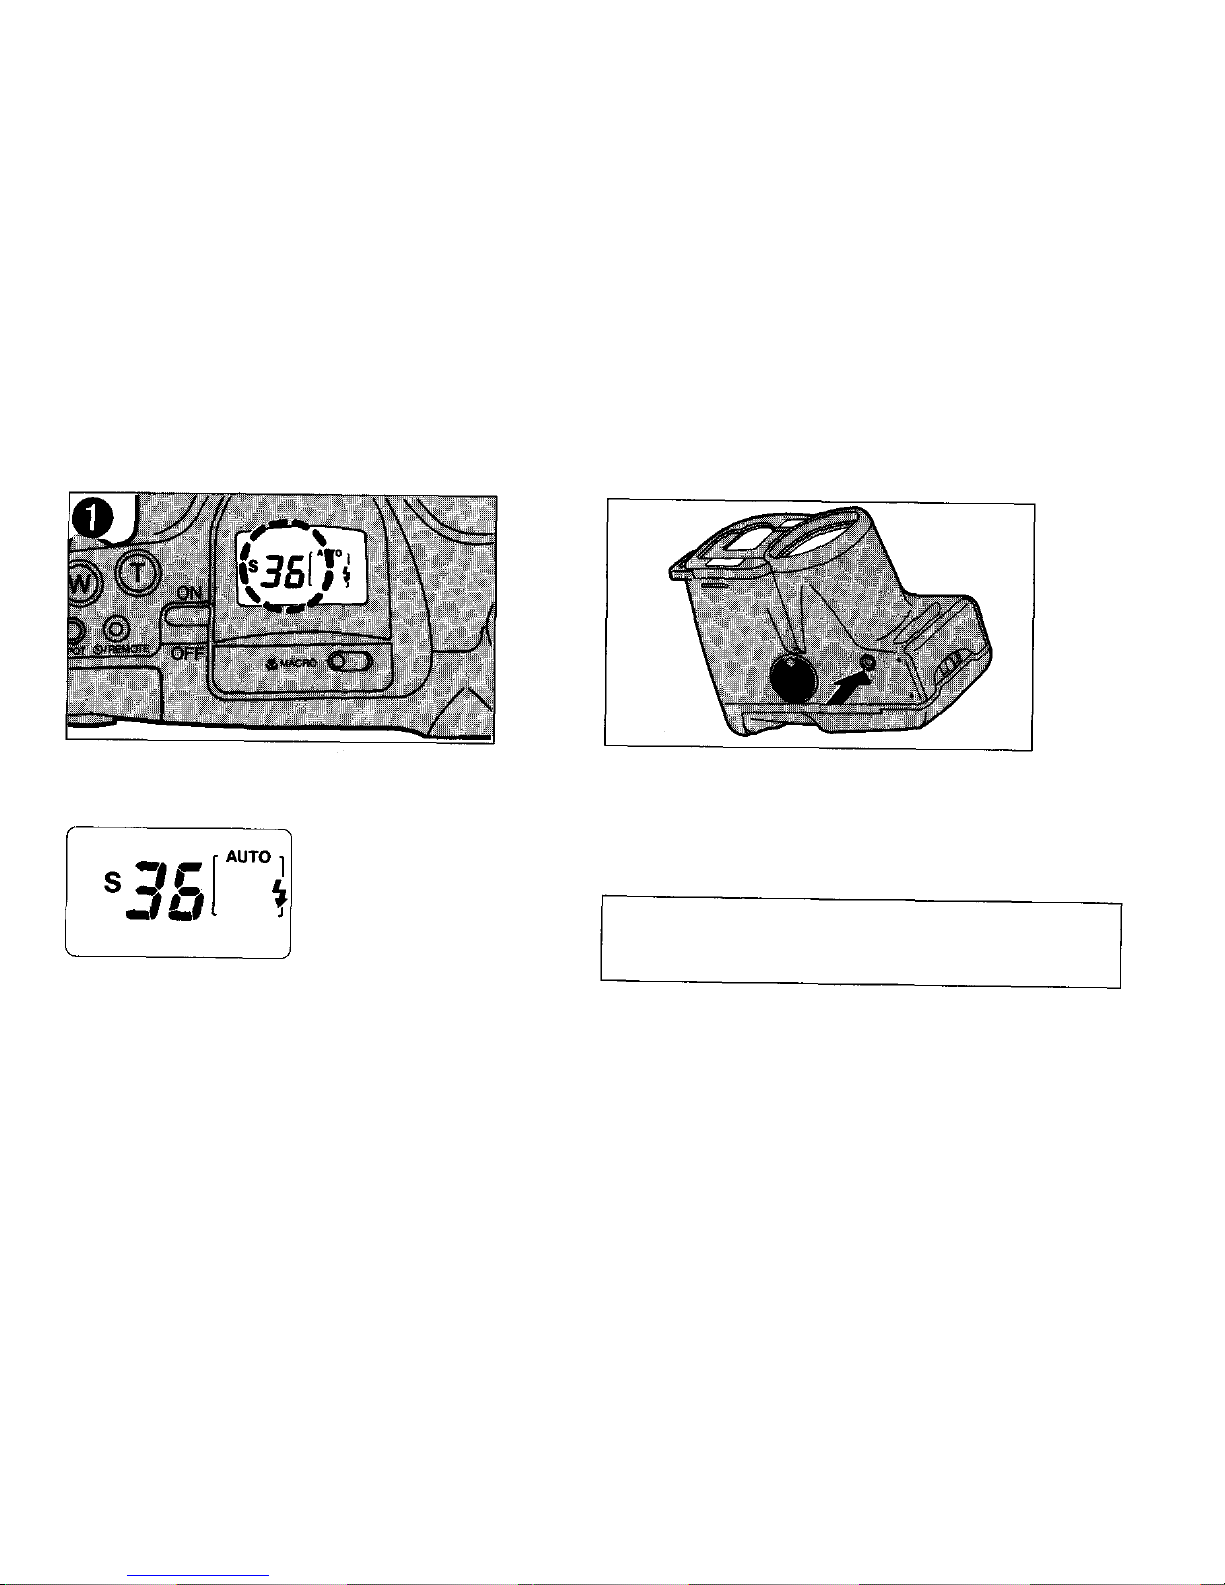
*Set power switch ON.
* Remove lens cap.
To remove the lens cap, press part A.
Switch power OFF, when removing lens cap.
— 15 —
*Adjust viewfinder.
A dioptric correction ring on the view-
finder eyepiece allows photographers who
wear eyeglasses to adjust the focus of the
viewfinder. Adjustable range is — 2 to +1
diopters.
*While looking t hrough the viewfinder,
aim the camera at the subject.
*Use the zoom button to adjust the size
of your subject in the frame. (telephoto
or wide angle)
— 16 —
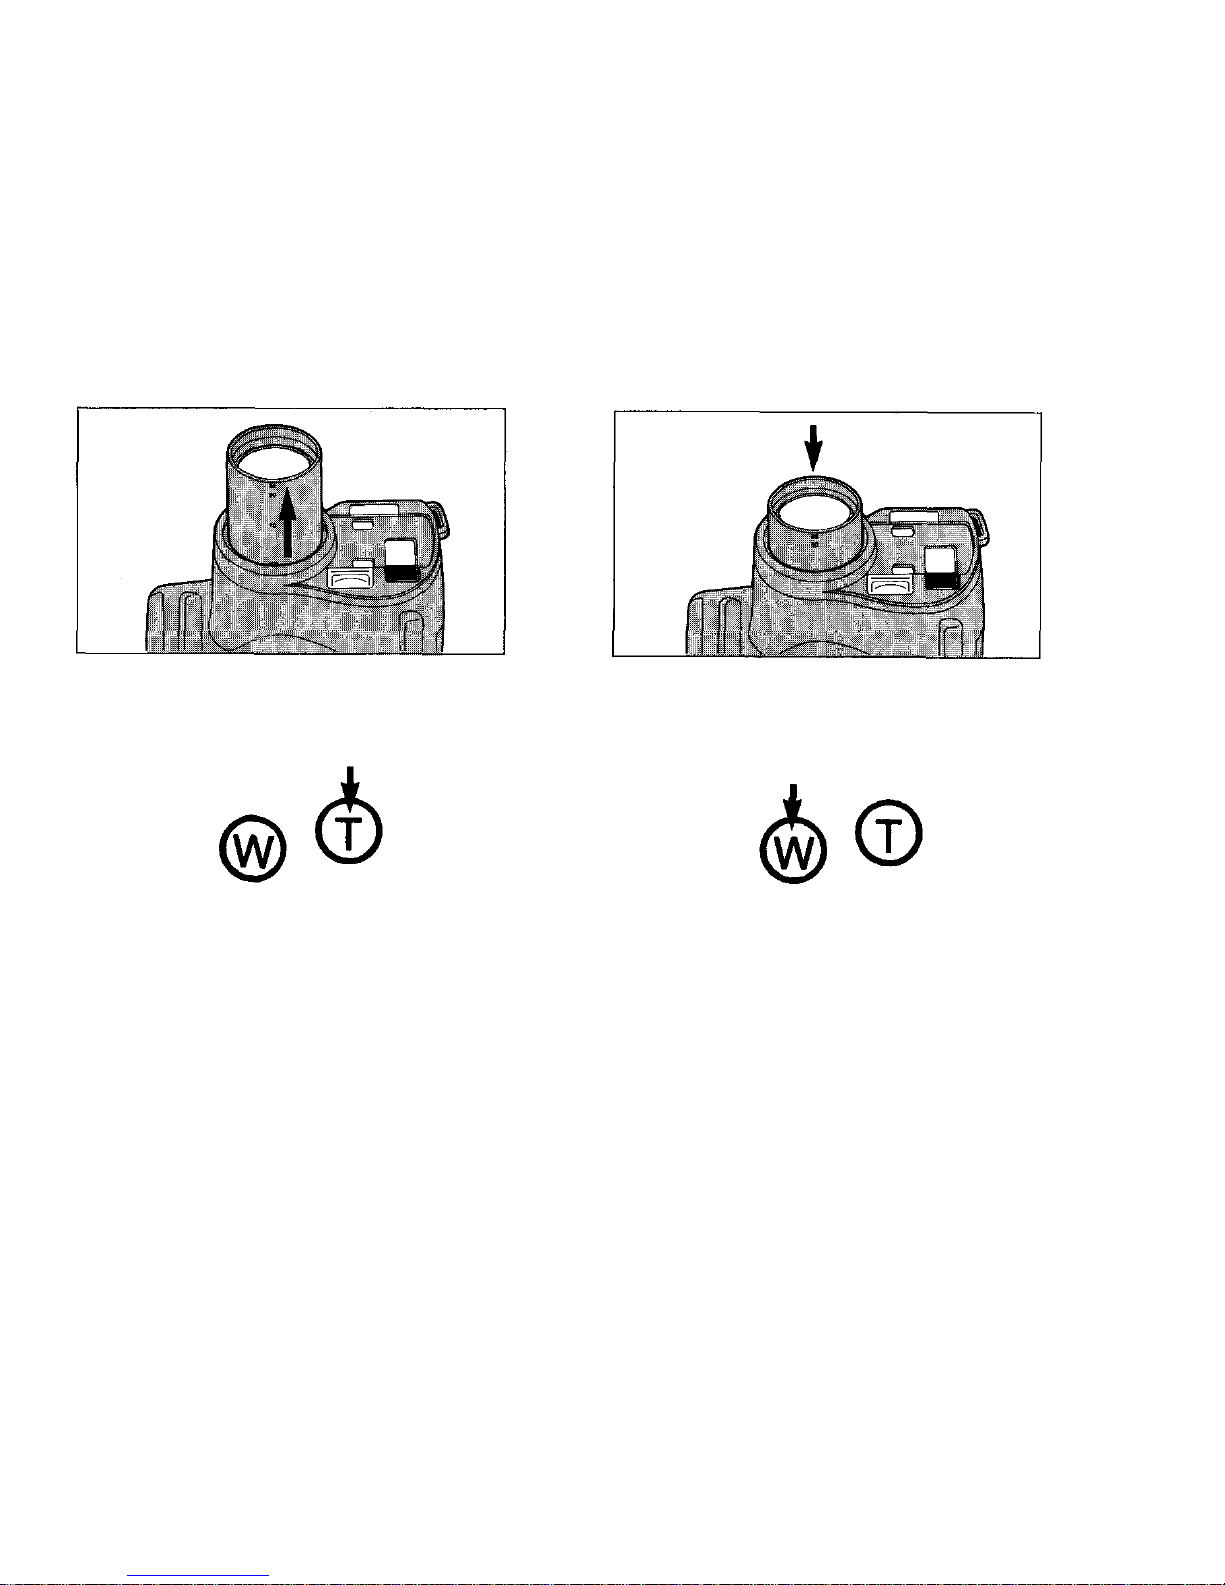
—Press the "T" (Telephoto) on the zoom
button to zoom in. (The maximum focal
length in the "T" position is 105mm.)
—Press the "W" (Wide-angle) on the zoom
button to zoom out. (The minimum focal
length in the "W" position is 38mm.)
— 17 —

*Position your subject within the
autofocus frame in the center of the
viewfinder.
—When correct focus has been achieved, the
"AF" light will appear in the viewfinder.
— I f t he "AF" light is blinking, correct focus
was no t achieved. If this occurs, let go of the
shutter release but ton. Make sure your
subject is within the autofocus frame in the
center of the viewfinder and press the shutter
release button half-way again.
*Press the shutter release button half-way
to focus.
— 18 —

*When correct focus has been achieved
(the "AF" light has appeared), press the
shutter release but ton fully. As soon as
the shutter is released, film will automati-
cally advance to the next frame.
* Switch power OFF when camera is not in
use.
— 19 —
 Loading...