

Olympus CH30, CH40 User manual
OLYMPUS
POLARIZING
MICROSCOPE
no
CHAP
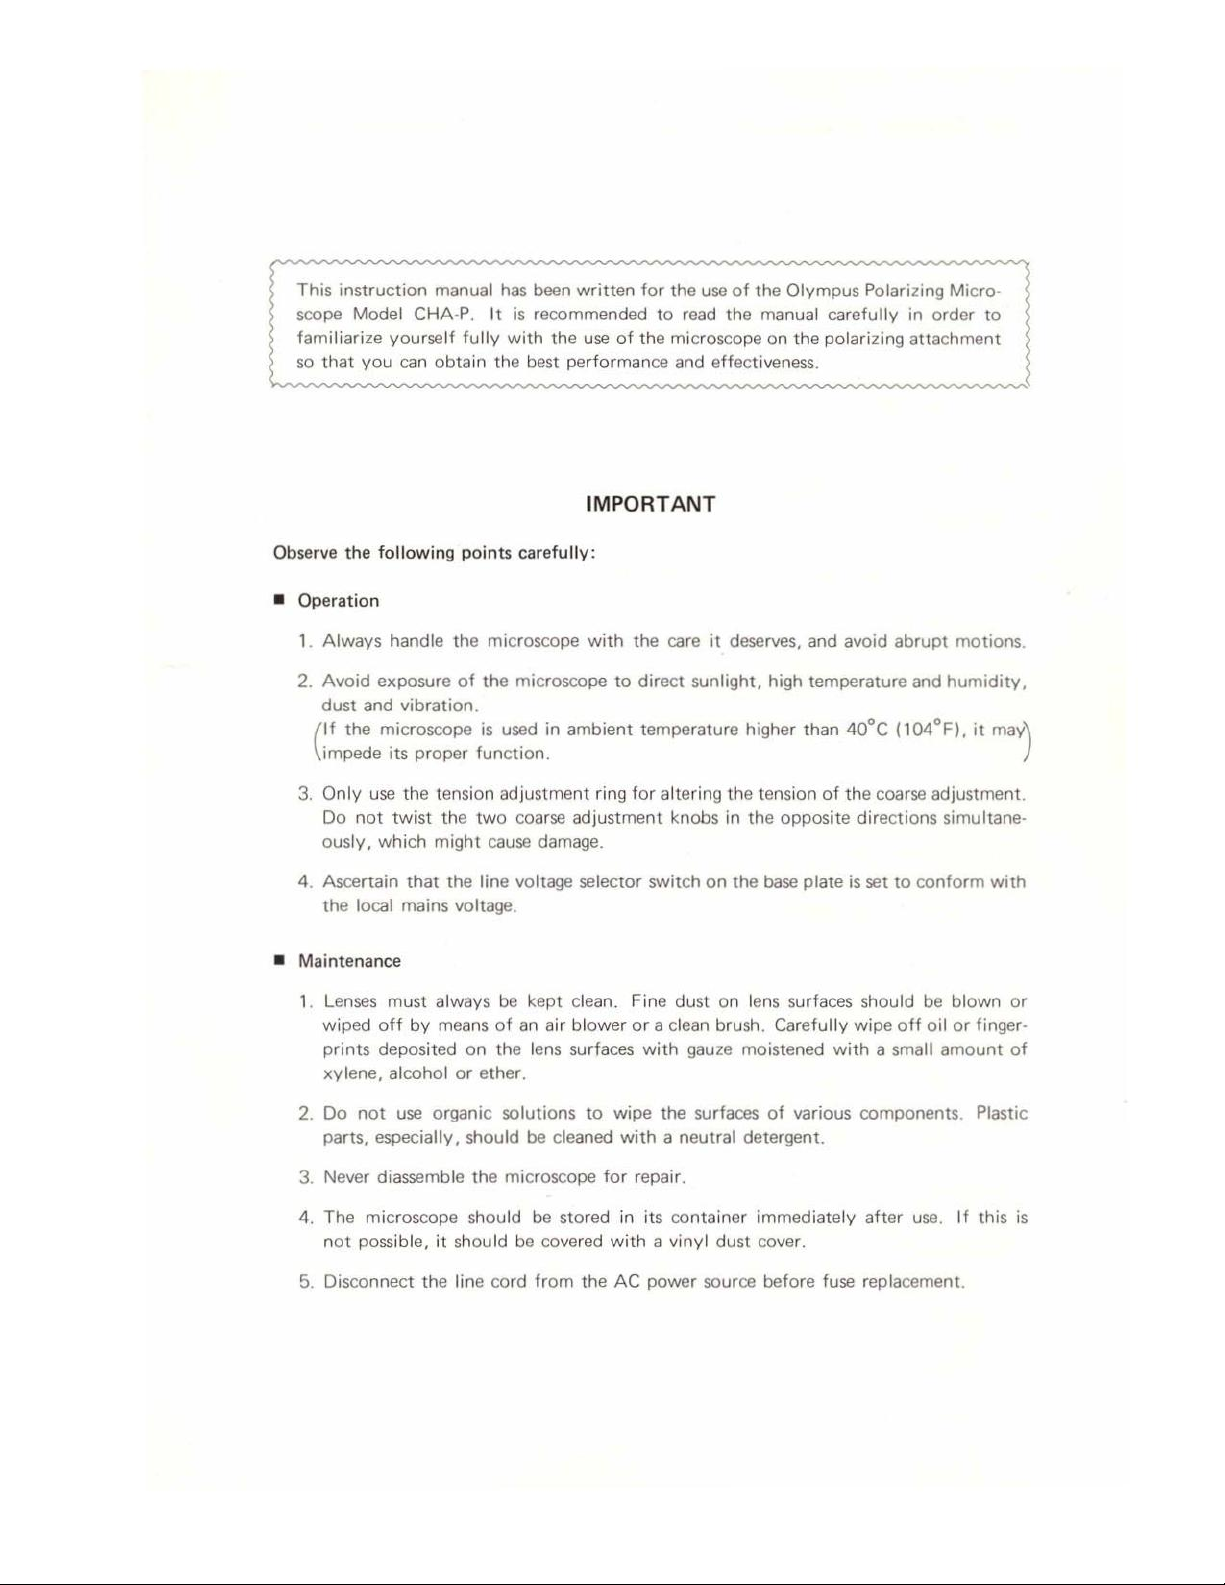
This
instruction
scope
Model
familiarize
so
that
you
manual
CHA-P.
yourself
can
obtain
It
fully
the
has
been
is
recommended
with
best
written
the
use
of
performance
IMPORTANT
for
the use
to
read
the
microscope
and
of
the
Olympus
the
manual
on
carefully
the
polarizing
effectiveness.
Polarizing
in
order
attachment
Micro-
to
Observe
m
the
Operation
1.
Always
2.
Avoid
dust
If
the
(ide
3.
Only
Do
ously,
4.
Ascertain
the
=
Maintenance
1.
Lenses
wiped
prints
xylene, alcohol
2.
Do
Parts,
following
handle
exposure
and
vibration.
microscope
its
proper
use the
not
twist
which
that
local
mains
must
off
by
deposited
not
use
especially,
points
the
microscope
of
the
is
function.
tension
the
two
might
cause
the
line
voltage.
always
means
on
or
ether.
organic
should
carefully:
microscope
used
in
adjustment
coarse
damage.
voltage
be
kept
of
an
air
the
lens
solutions
be
cleaned
with
the
care
it
to
direct
sunlight,
ambient temperature
ring
for
altering
adjustment
selector
clean.
blower
surfaces
to
switch
Fine
or a clean
with
wipe
the
knobs
on
dust
gauze
surfaces
on
brush,
with a neutral
deserves,
high
higher
the
tension
in
the
opposite
the
base
lens
surfaces
Carefully
moistened
of
detergent.
and
avoid
temperature
than
40°C
of
the
directions
plate
is
wipe
with a small
various
abrupt
and
humidity,
(104°F),
coarse
adjustment.
simultane-
set
to
conform
should
off
be
oil
amount
blown
or
components.
motions.
it
may
with
or
finger-
of
Plastic
)
3.
Never
diassemble
4.
The
microscope
not
possible,
5.
Disconnect
it
the
the
should
should
line
cord
microscope
be
stored
be
covered
from
the
for
repair.
in
its
container
with a vinyl
AC
power
immediately
dust
cover.
source
before
after
fuse
replacement.
use.
If
this
is
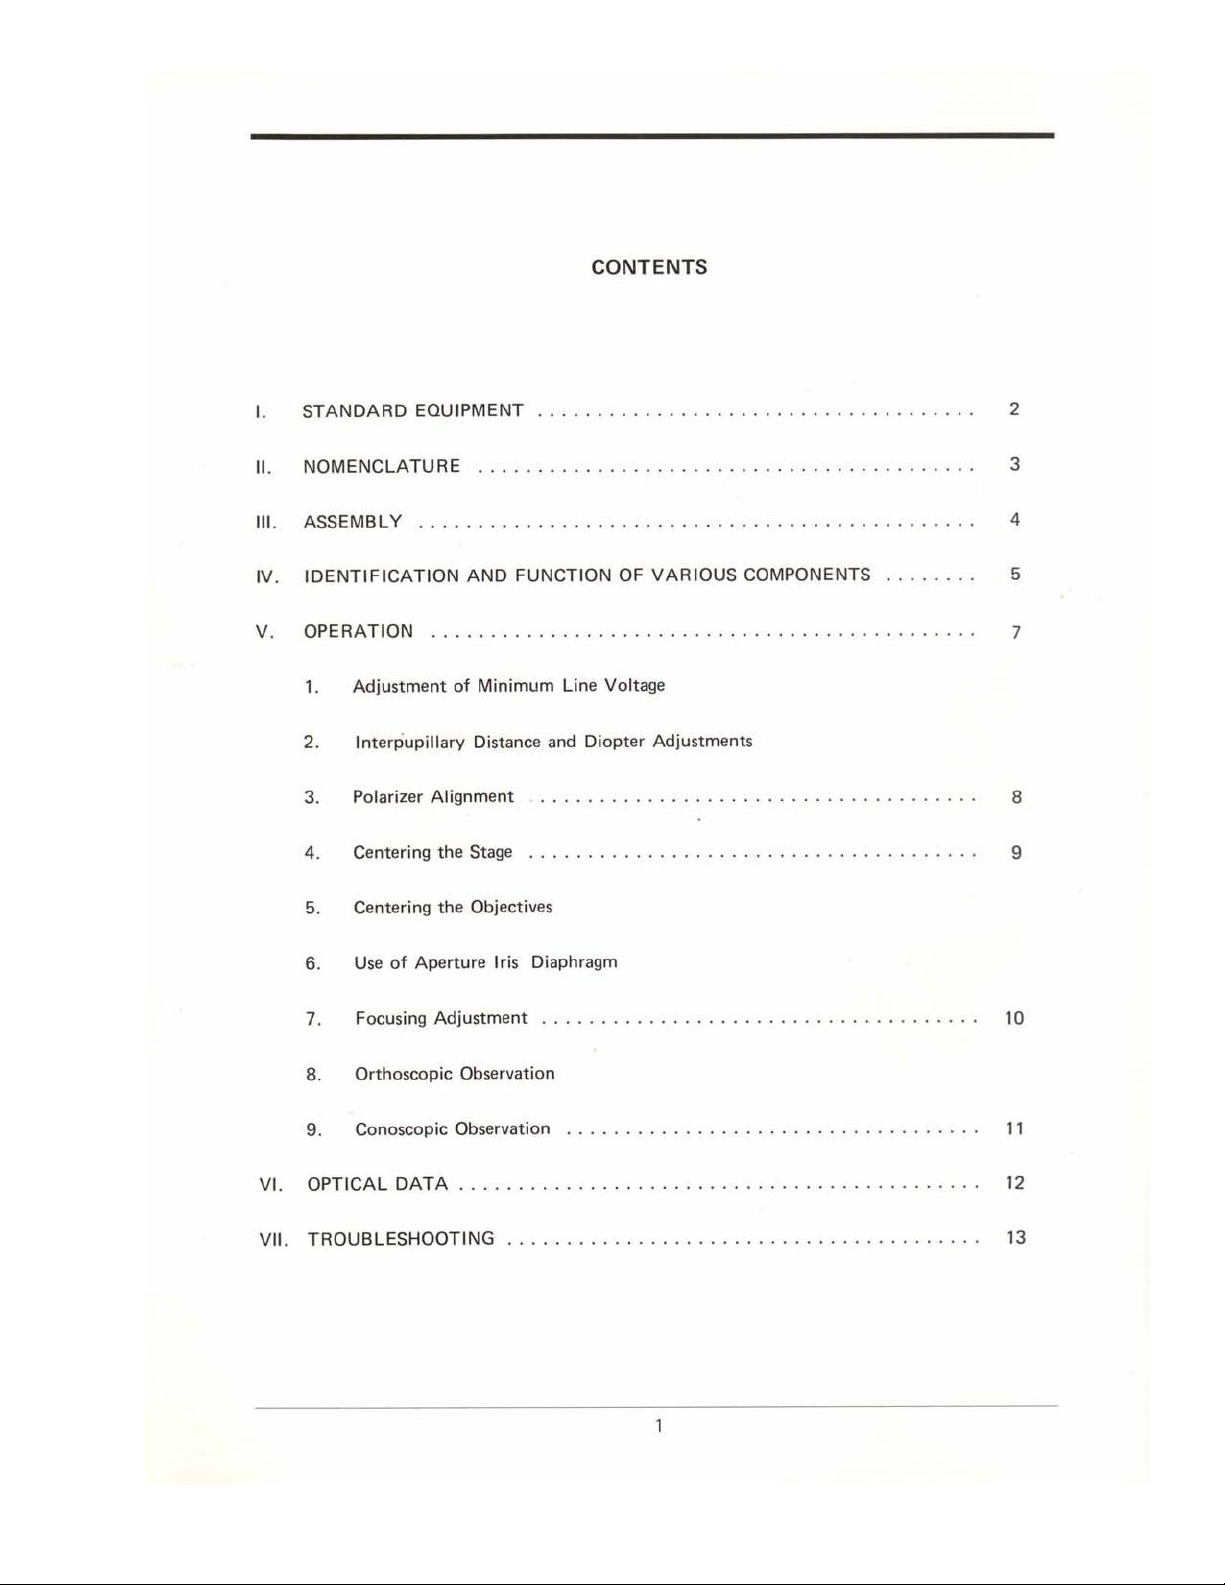
CONTENTS
STANDARD
NOMENCLATURE:
ASSEMBLY
IDENTIFICATION
OPERATION
a
Adjustment
2.
Interpupillary
3.
Polarizer
4.
Centering
δι
Centering
6.
Use
of
EQUIPMENT...
:
saxo
os
ee
morose
AND
FUNCTION
of
Minimum
Distance
Alignment. > srmn
the
Stage
......................................
the
Objectives
Aperture
Iris
Diaphragm
44444444
es
44
nue
sin
Line
and
Si
ez
OF
Voltage
Diopter
su
i
gu
iü
iy
VARIOUS
Adjustments
ema
ci
sar
Gele
COMPONENTS
ge
Ka
va
va
da
guns
va
ela e lee
va
alam
e
ale
Rw
vü
da
........
ee
sales
vü
8
es BE Be 8
2
3
4
5
7
9
%
8.
9.
OPTICAL
νι.
TROUBLESAOOTİNG
VII.
Focusing
Orthoscopic
Conoscopic
Adjustment
Observation
Observation
DATA
sus
am s rra
o o siirleri
..........................,........
sema
sz
erir
e e esimi 5 en
vi m ür
ο
ο
öle
a
10
11
12
13
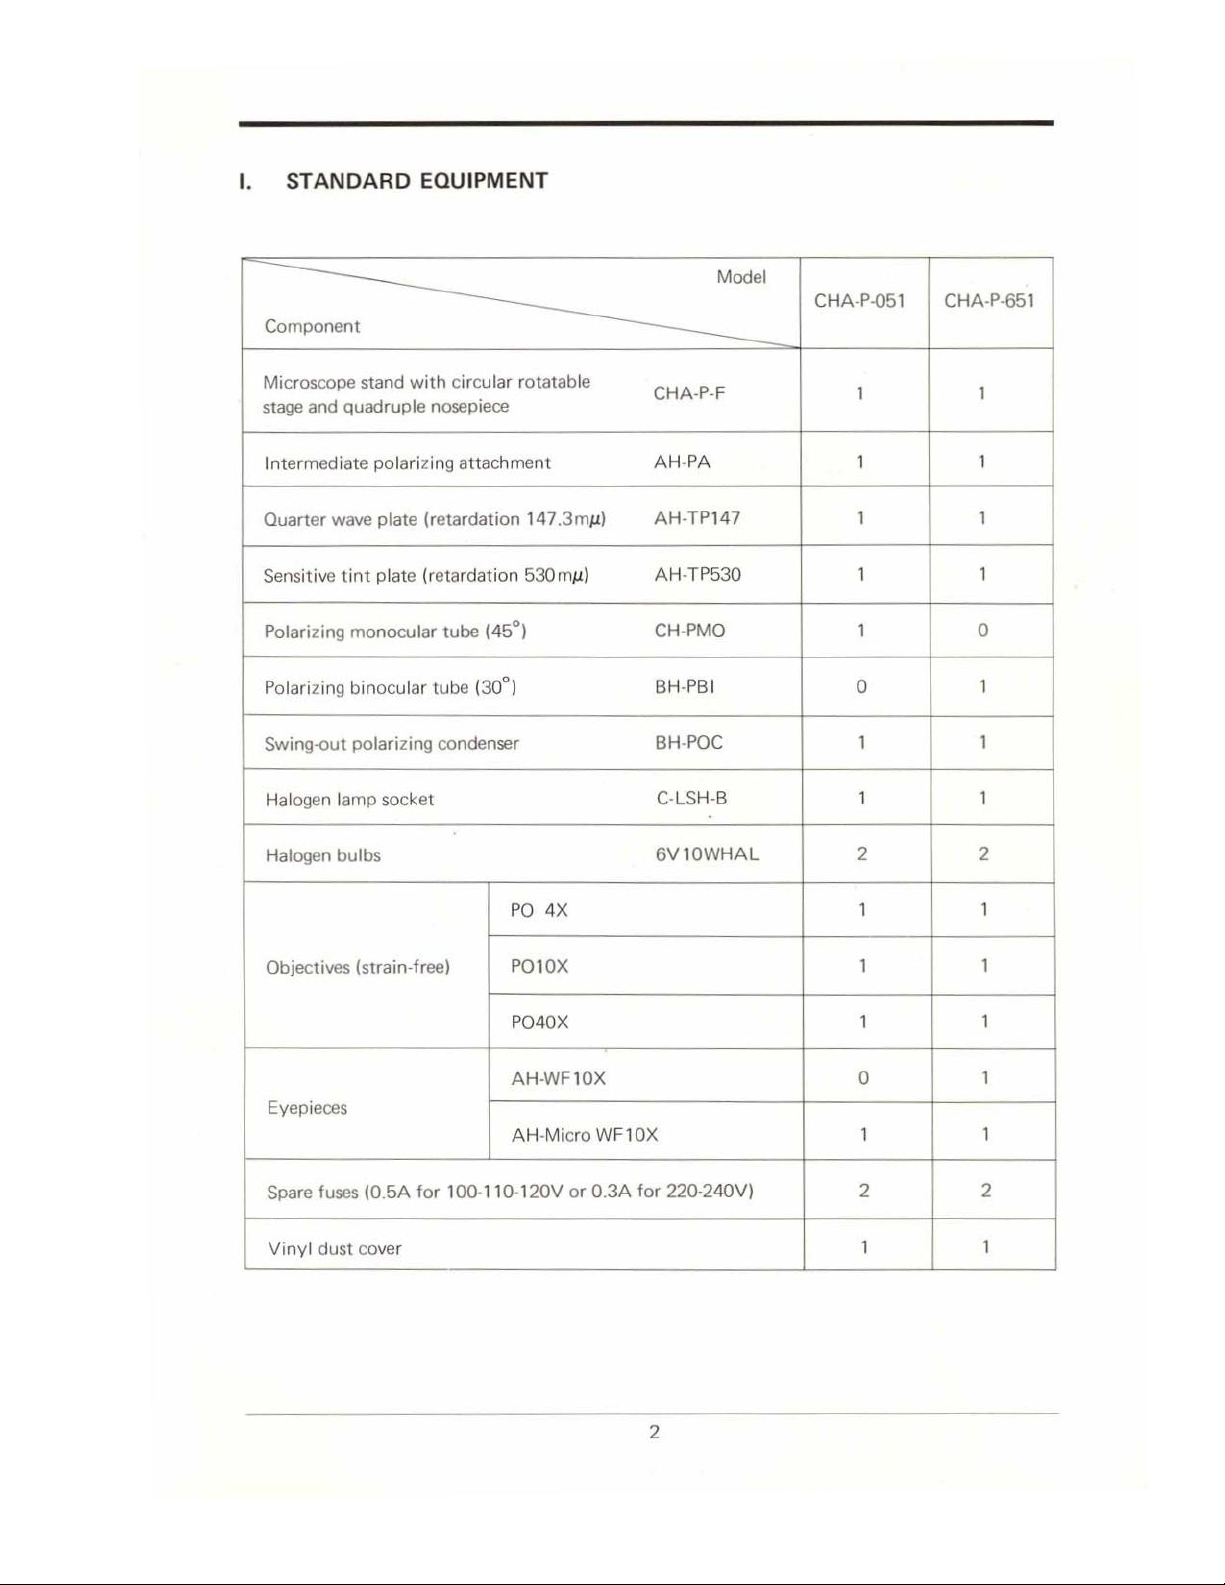
I.
STANDARD
EQUIPMENT
一
一
—
Component
rc
Intermediate
Quarter
Sensitive
Polarizing
Polarizing
Swing-out
Halogen
Halogen
Objectives
Eyepieces
Spare
Vinyl
polarizing
wave
plate
tint
plate
monocular
binocular
polarizing
lamp
socket
bulbs
(strain-free)
fuses
(0.5A
dust
cover
attachment
(retardation
(retardation
tube
tube
(30°)
condenser
for
100-110-120V
147.3my)
530 my)
(45°)
PO 4X
PO10X
PO40X
AH-WF10X
AH-Micro
or
WF10X
0.3A
Model
CHAR
AH-PA
AH-TP147
AH-TP530
CH-PMO
BH-PBI
BH-POC
C-LSH-B
6V
10WHAL
for
220-240V)
CHA-P-051 CHA-P-651
1
1 1
1 1
1 1
1
0
1 1
1 1
2
1 1
1 1
1 1
0
1 1
2 2
0
1
2
1
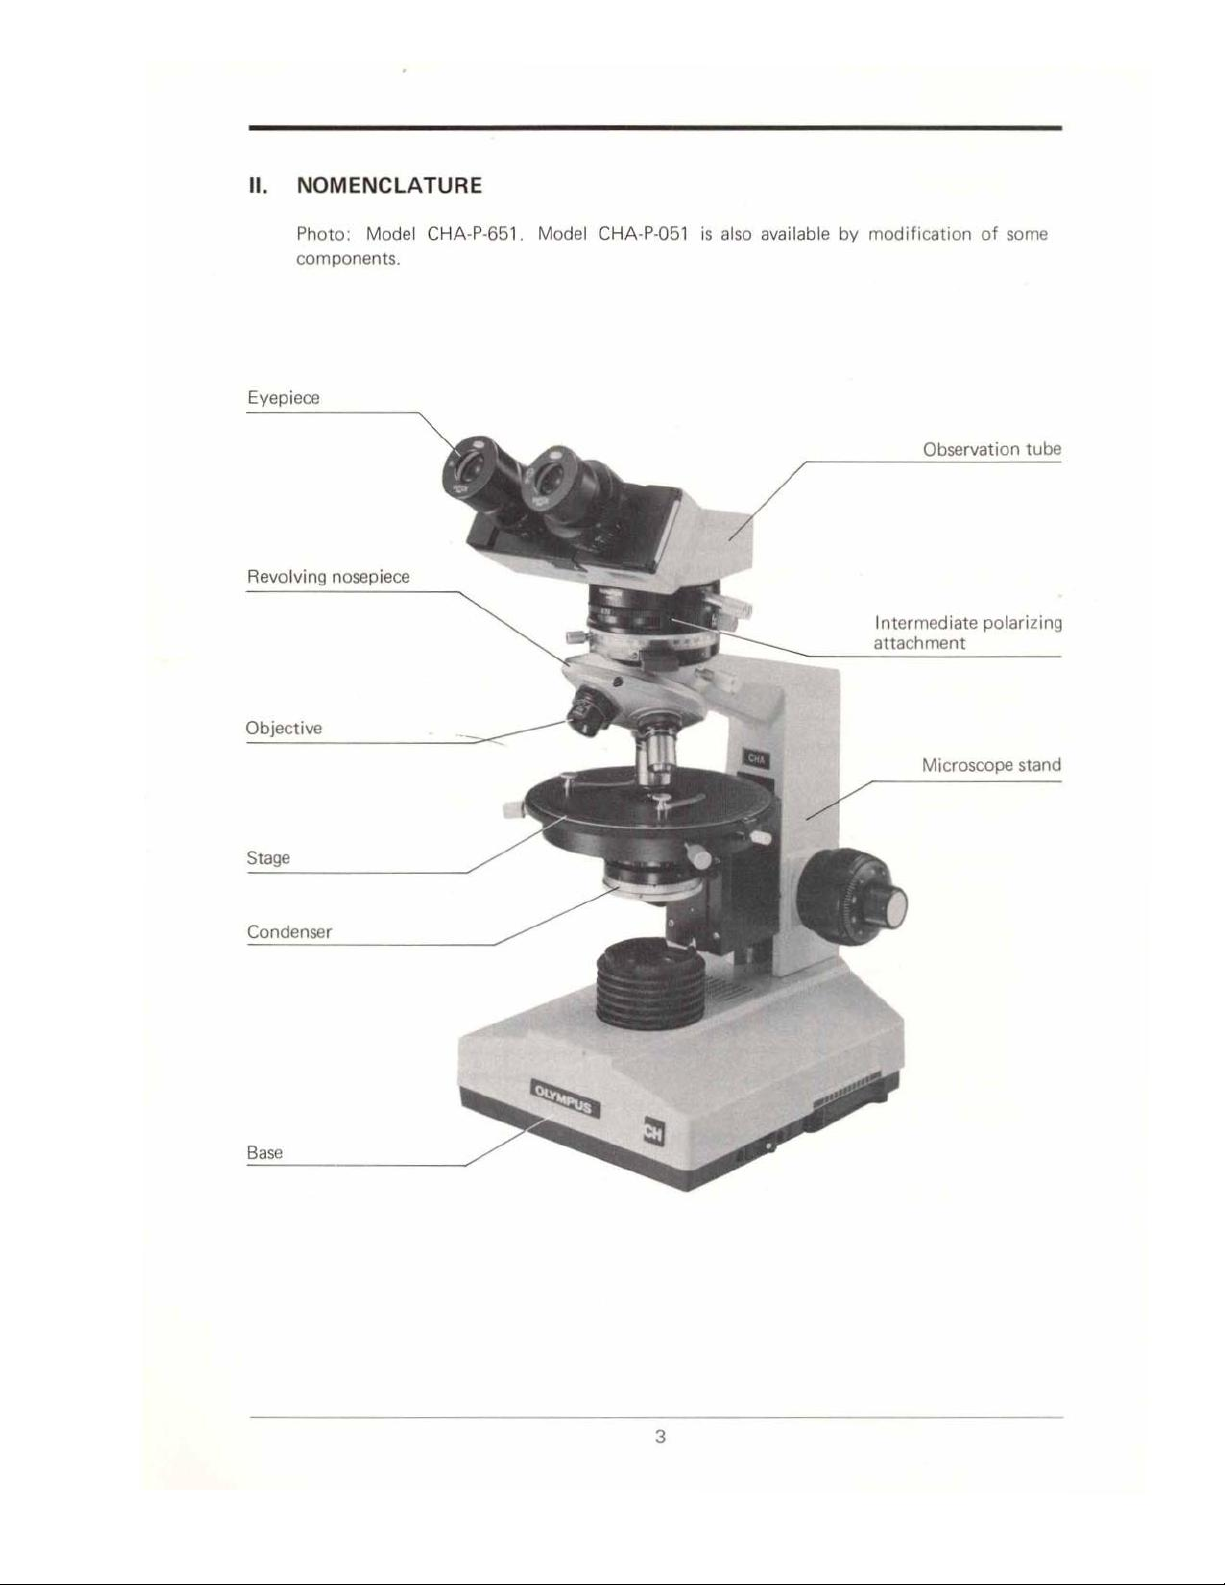
II.
NOMENCLATURE
Photo:
components.
Eyepiece
Revolving
Model
nosepiece
CHA-P-651.
Model
CHA-P-051
is
also
available
by
modification
Intermediate
attachment
of
some
Observation
polarizing
tube
Microscope
stand
Condenser
Base
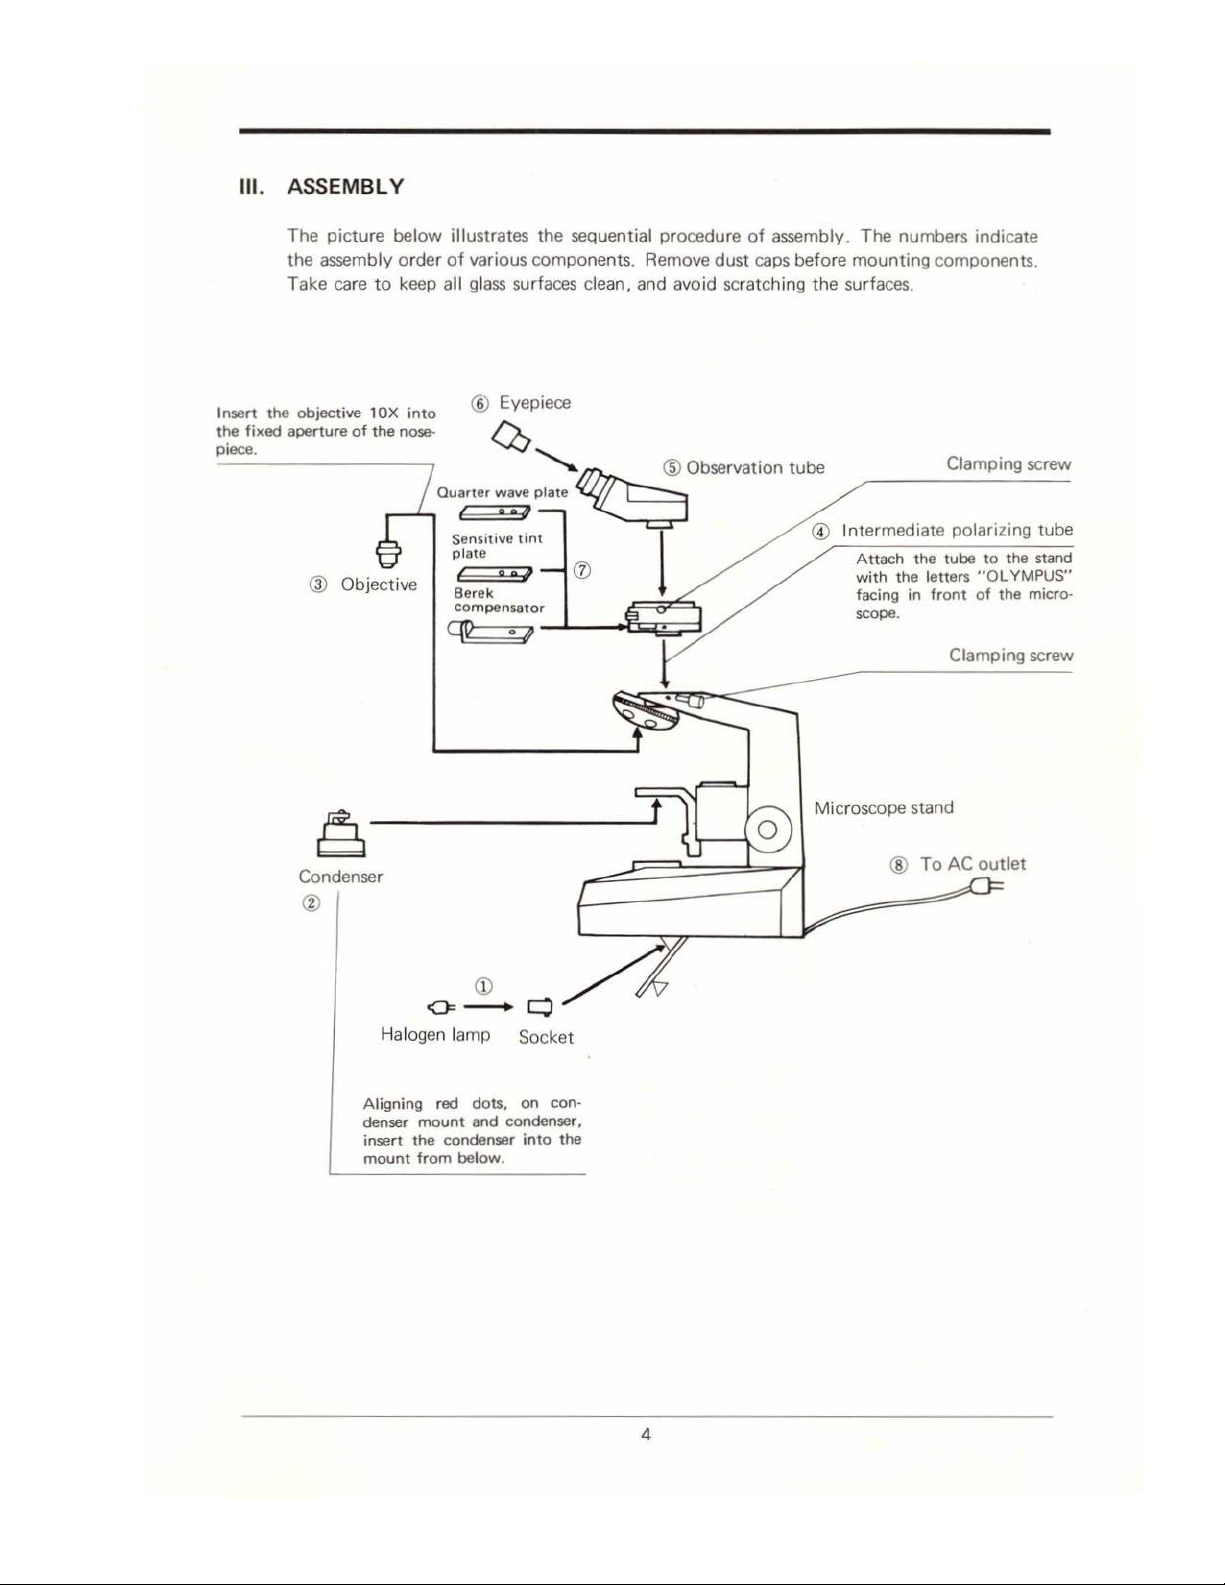
Ill.
Insert
the
the
fixed
piece.
ASSEMBLY
The
picture
the
assembly
Take
objective
aperture
©
below
care
to
10X
of
the
acai
Objective | gerek
order
keep
illustrates
of
various
all
glass
the
components.
surfaces
into © Evepiece
nose-
™
Quarter
wave
plate
E
Sensitive
pinta
=
compensator
tint
sequential
clean,
procedure
Remove
and
avoid
©
Observation
of
assembly. The
dust
caps
scratching
before
the
tube
@
numbers
mounting
surfaces.
-
Intermediate
Attach
the
with
the
facing
scope.
letters
in
front
indicate
components.
Clamping
polarizing
tube
screw
-
to
the
"OLYMPUS"
of
the
tube
stand
micro-
=
Condenser
©
Halogen
Aligning
denser
insert
mount
©
<
ーー
lamp
red
dots,
mount
and
the
condenser
from
below.
—
OF
Socket
on
con-
condenser,
into
the
Clamping
Microscope
8)
stand
To
AC
screw
outlet
|
 Loading...