

Page 1

C. ADJUSTMENT METHOD C-150/D-390
C. ADJUSTMENT METHOD
[1] TABLE FOR SERVICING TOOLS.....................................................................................C-2
[2] EQUIPMENT........................................................................................................................C-2
[3] ADJUSTMENT ITEMS AND ORDER...............................................................................C-2
[4] SET UP..................................................................................................................................C-2
[5] ADJUSTMENT.....................................................................................................................C-2
1.SELF TEST.......................................................................................................................C-2
2.MECHASHATTER ADJUSTMENT...............................................................................C-3
3.CCD BAD PIXEL ADJUSTMENT..................................................................................C-3
4.EFA ADJUSTMENT........................................................................................................C-3
5.FLASH ADJUSTMENT...................................................................................................C-3
6.WRINTING OF SERIAL NO...........................................................................................C-4
7.DESTINATION SETUP..................................................................................................C-4
[6] ADJUSTMENT ITEMS........................................................................................................C-4
[7] EFA CHART...........................................................................................................................C-5
C-1 Ver.1
Page 2
C. ADJUSTMENT METHOD C-150/D-390
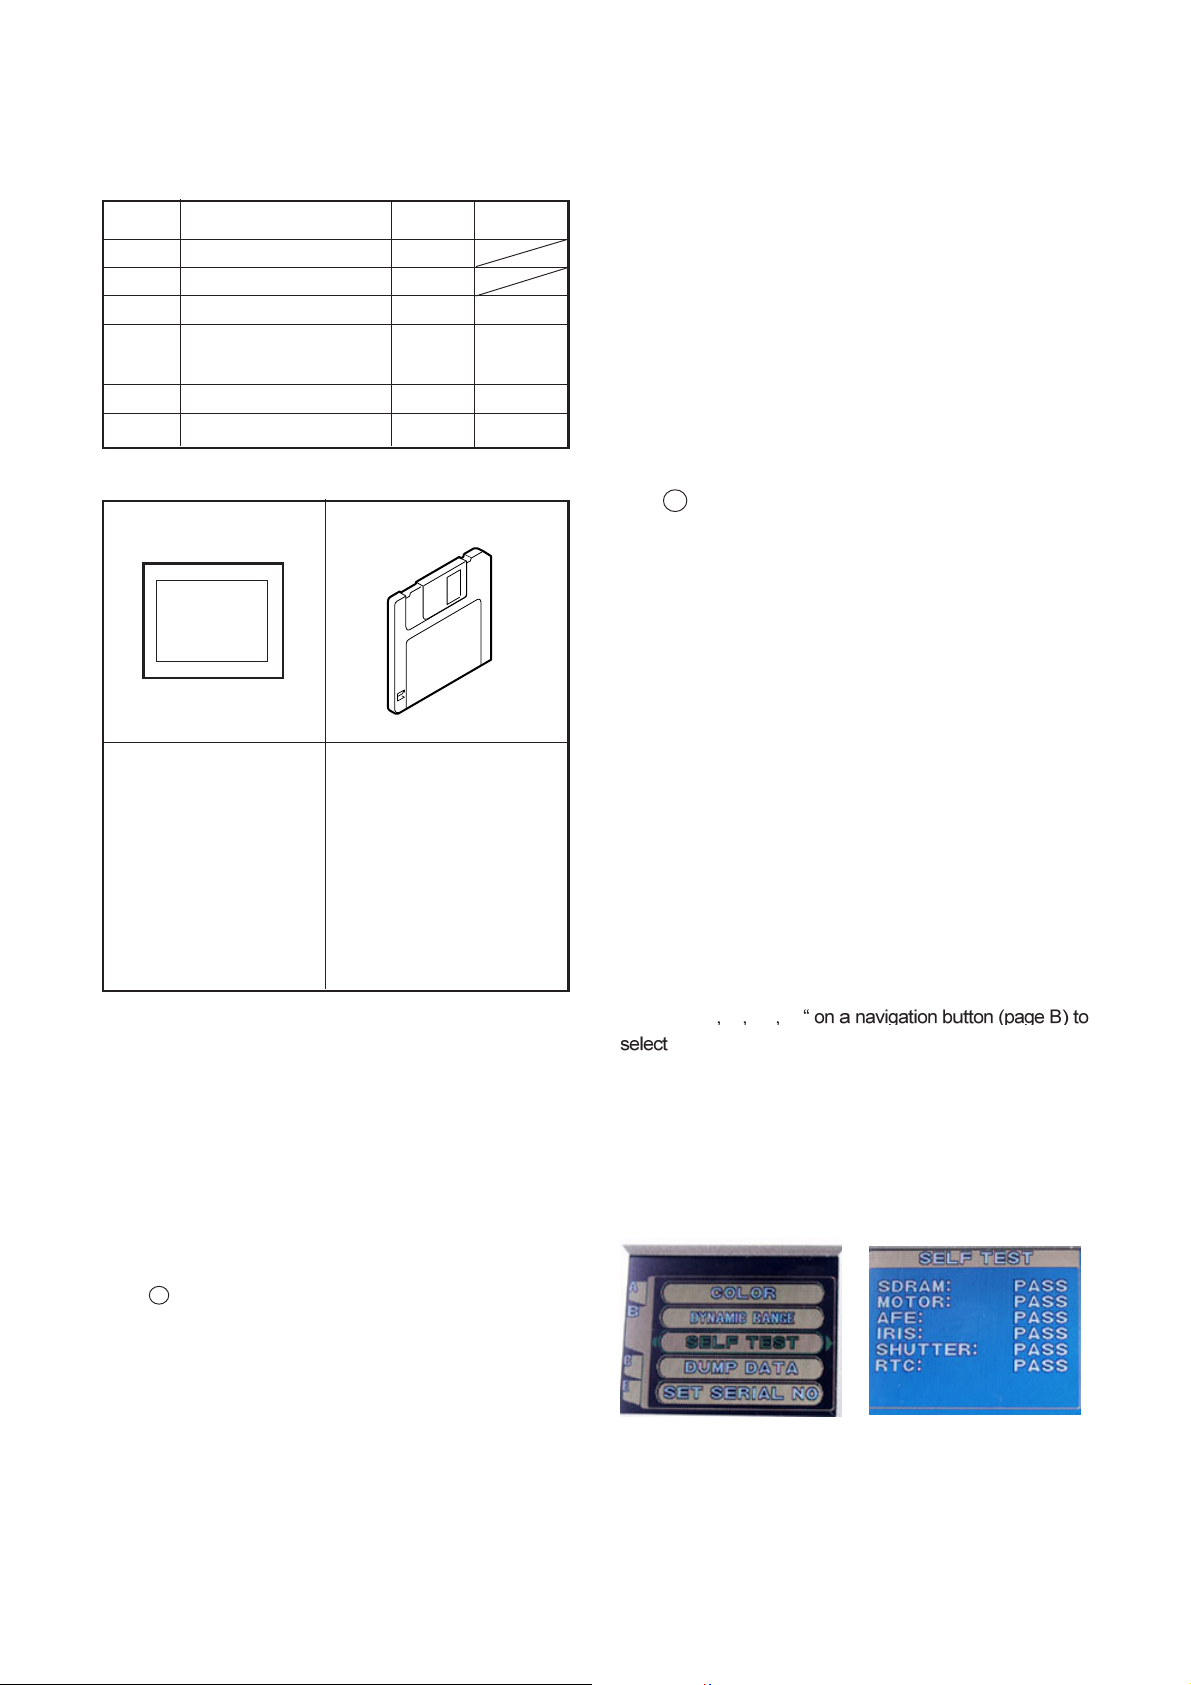
[1] Table for Servicing Tools
Ref. No.
J-1
J-2
J-3
J-4
J-5
J-1
E.F.A Chart
Calibration software
AE CAMERA TESTER
Reflective sheet
(18% of reflectance)
Black curtain
Name
J-2
Number
1
1
1
1
1
Part code
KC0272
KC0321
[3] Adjustment Items/Order
1.SELF-TEST
2.MECHASHUTTER Adjustment
3.CCD BAD PIXL Adjustment
4.EFA Adjustment
5. FLASH Adjustment
6 Writing OF SERIAL NO
7 Destination setup
Note : When LENS, CCD, Circuit Board, and other parts
are exchanged, it is necessary to adjust again.
[4] Setup
1. System requirements
Windows 98SE/ME/2000
IBM R -compatible PC with Pentium processor
CD-ROM drive
3.5-inch high-density diskette drive
USB port
8 MB RAM
Hard disk drive with at least 15 MB available
VGA or SVGA monitor with at least 256-color display
2.Creation of the Adjustment card
Copy the Adjustment software to xD-Picture Card.
Files are “menu” and “SERIAL NO”.
Note :
*AE CAMERA TESTER uses as same type as the SH cam-
era. (What can set up the luminosity at LV=15)
*We supply the data of an EFA chart by electronic data.
Print out when you adjust it.
[2] Equipment
1.IBM R -compatible PC
2. AC Adaptor E-7AC
[5] Adjustment
Execution of “SELF TEST" initialize an old
data.
1.SELF-TEST
1.Set the xD-picture card to a camera, then open the lens
barrier.
2.Press” T
3. “SELF -TEST” starts and the result appears. In case of
Good, it displays as “pass”.(fig. 2)
Note : Fix to a tripod and leave an any photograpic sub-
jects 50cm or more.
X T T
“SELF TEST”(fig. 1), then press “X” on a button.
fig.1
fig.2
C-2 Ver.1
Page 3

C. ADJUSTMENT METHODC-150/D-390
2.MECHASHUTTER Adjustment
Adjusting method:
1.Set the AE CAMERA TESTER’s luminosity at LV=15.
2.Set an adjustment xD-picture card to a camera, then open the lens barrier.
3.Align the lens center with the AE CAMERA TESTER.
4.Press” X
then press “X” on a button.
5.“CALI SHUTTER” starts and the result appears.
Conditions: Turn on the switch and wait for 30 minites for aging to take place
before using AE CAMERA TESTER.
3.CCD BAD PIXL Adjustment
Adjusting method:
1.Set the A E CAMERA TESTER’s luminosity at LV=15.
2.Set an adjustment xD-picture card to a camera, then open the lens barrier.
3.Align the lens center with the AE CAMERA TESTER.
4.Press” X
then press “X” on a button.
5.“BAD PIXEL” starts and the result appears.
T “CALI SHUTTER”(fig. 3),
T T T select “BAD PIXEL”(fig. 4),
fig.3
4.EFA Adjustment
Adjusting method:
1.Set the camera 50 cm from the EFA chart. (fig. 6)
2.Set an adjustment xD-picture card to a camera, then open the lens barrier.
3.Press” X
4.“EFA” starts and the result appears.
fig.5
5.FLASH Adjustment
1.Set the camera 40 cm from the Reflective sheet .(fig. 7)
2.Set an adjustment xD-picture card to a camera, then open the lens barrier.
3.Cover the camera and the Reflecive sheet by a black curtain.
4.Press” X T T select “CALI FLASH”(fig. 8), then press “X” on a button.
5.“CALI FLASH” starts and the result appears.
Black curtain
“EFA”(fig. 5), then press “X” on a button.
CAMERA
50cm
fig. 6
fig.4
EFA chart
CAMERA
40cm
fig. 7
Reflective sheet
fig.8
C-3Ver.1
Page 4

C. ADJUSTMENT METHOD C-150/D-390
6. Writing OF SERIAL NO
1. Set an adjustment xD-picture card to the camera and connects with personal computer and AC power supply.
2. Open the file of "SERIAL NO" into an adjustment xD-picuture card.
3. Overwrite “SERIAL No” of the camera.
4. Disconnect with personal computer at once, then open the lens barrier again.
5. Press” T X T T T T select “SET SERIAL NO”, then press “X” on a button.
"SERIAL No" appears on a LCD monitor.
6.Close the barrier cover and remove the xD-picure card.
In case of un-setting for "SERIAL NO", it display as "TEST MODE " on a LCD monitor. Please be sure to input “SERIAL NO”.
7. Destination setup
1. Insert the adjustment xD-picture card to the camera and connect with AC power supply.
2. Open the lens barrier and press” T T .
3. Select the serial label as same alphabet as the destination indicated and press “X” on a button.(fig.9-10)
4. Close the lens barrier and take out an adjustment xD-picture card. Check the language (default) of the destination of a
camera.
* Cautions ... It will become specification change if a destination setup is mistaken.
Destination
fig. 9
Destination
SHIP J ...... JAPAN (C-150-J)
SHIP U......CANADA,USA (D-390-U)
SHIP E......EUROPA (C-150-E/D-390-E)
SHIP GP.....OTHERS (C-150-G)
SHIP GN....KOREA (C-150-K)
SHIP CC....CHINA (C-150-C)
[6] Adjustment Items
AJUTMENT ITEMS
1.SELF TEST ○ ○ ○ ○
2Mechashutter Adjustment ○ ○ ○ ○
3.CCD BAD PIXEL Adjustment ○ ○ ○ ○
4.E.F.A Adjustment ○ ○ ○ ○
5.FLASH Adjustment ○ ○ ○ ○
6.Writing of SERIAL NO ○ ○ ○ ○
7.Destination setup ○ ○ ○ ○
fig.10
EXCHANGED PARTS
LENS # CCD LP MAIN BOARD
Note :
Not each adjustment can be performed individually. Please be sure to adjust from "1.SELF TEST."
C-4 Ver.1
Page 5

EFA CHART
 Loading...