

Configuring other Applications
NuLOOQ navigator ™: tips and tricks
Configuring other Applications
Out of the box, NuLOOQ navigator has configurations for many popular applications. NuLOOQ
navigator is entirely configurable to control virtually any application using the simple to use
NuLOOQ Configuration tool. And once configured, you can share your new application
configuration with others.
This lesson shows how to quickly configure NuLOOQ navigator to control other apps.
1. Bring up the NuLOOQ preference pane from the System Preferences
Window. Click on the NuLOOQ navigator icon as shown in image to the
right.
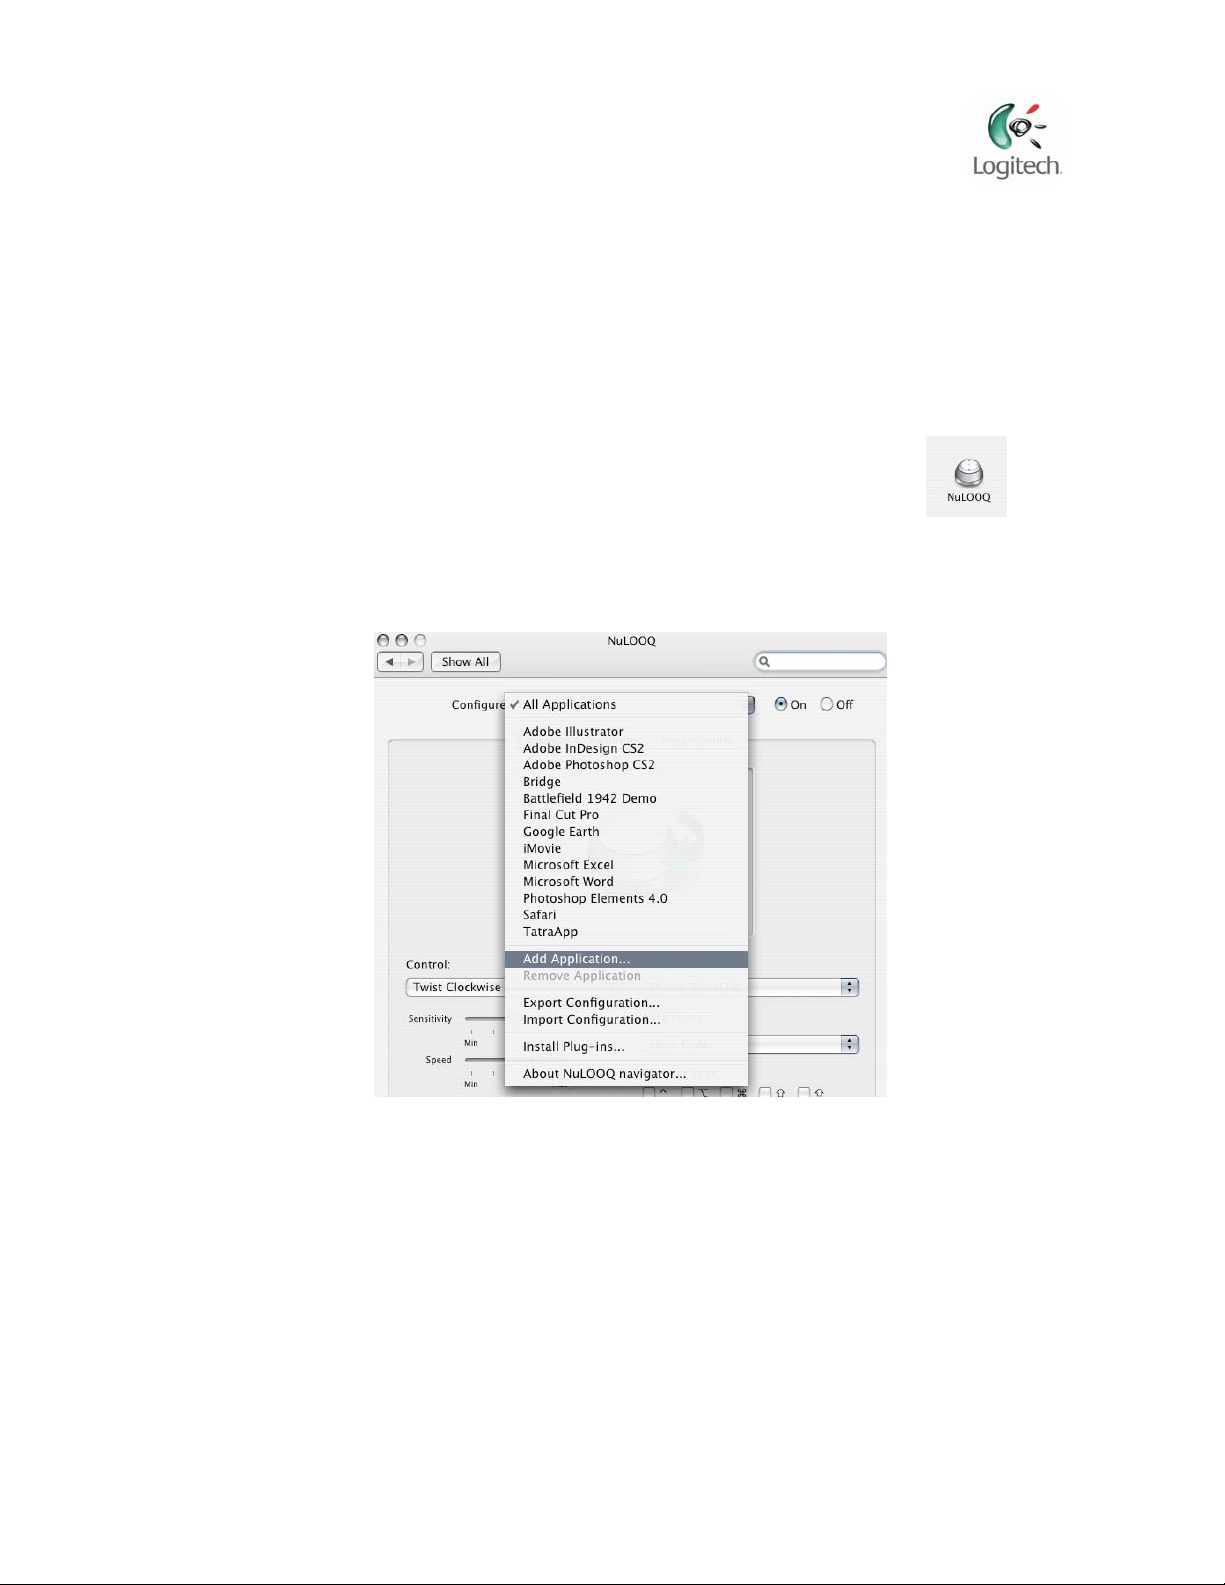
2. The NuLOOQ navigator preference window will open. In that preference window, select
“Add Application” from Configure selection. See image below.
3. An Add Applications dialog box appears. Within this box, go to the application you’d
like to add. In this example, we’ll be adding support for DVD Player application.
Copyright © 2006 Logitech. All rights reserved. Logitech, the Logitech logo, and other
Logitech marks are owned by Logitech and its affiliates. All other trademarks are the
property of their respective owners.
Configuring other Applications
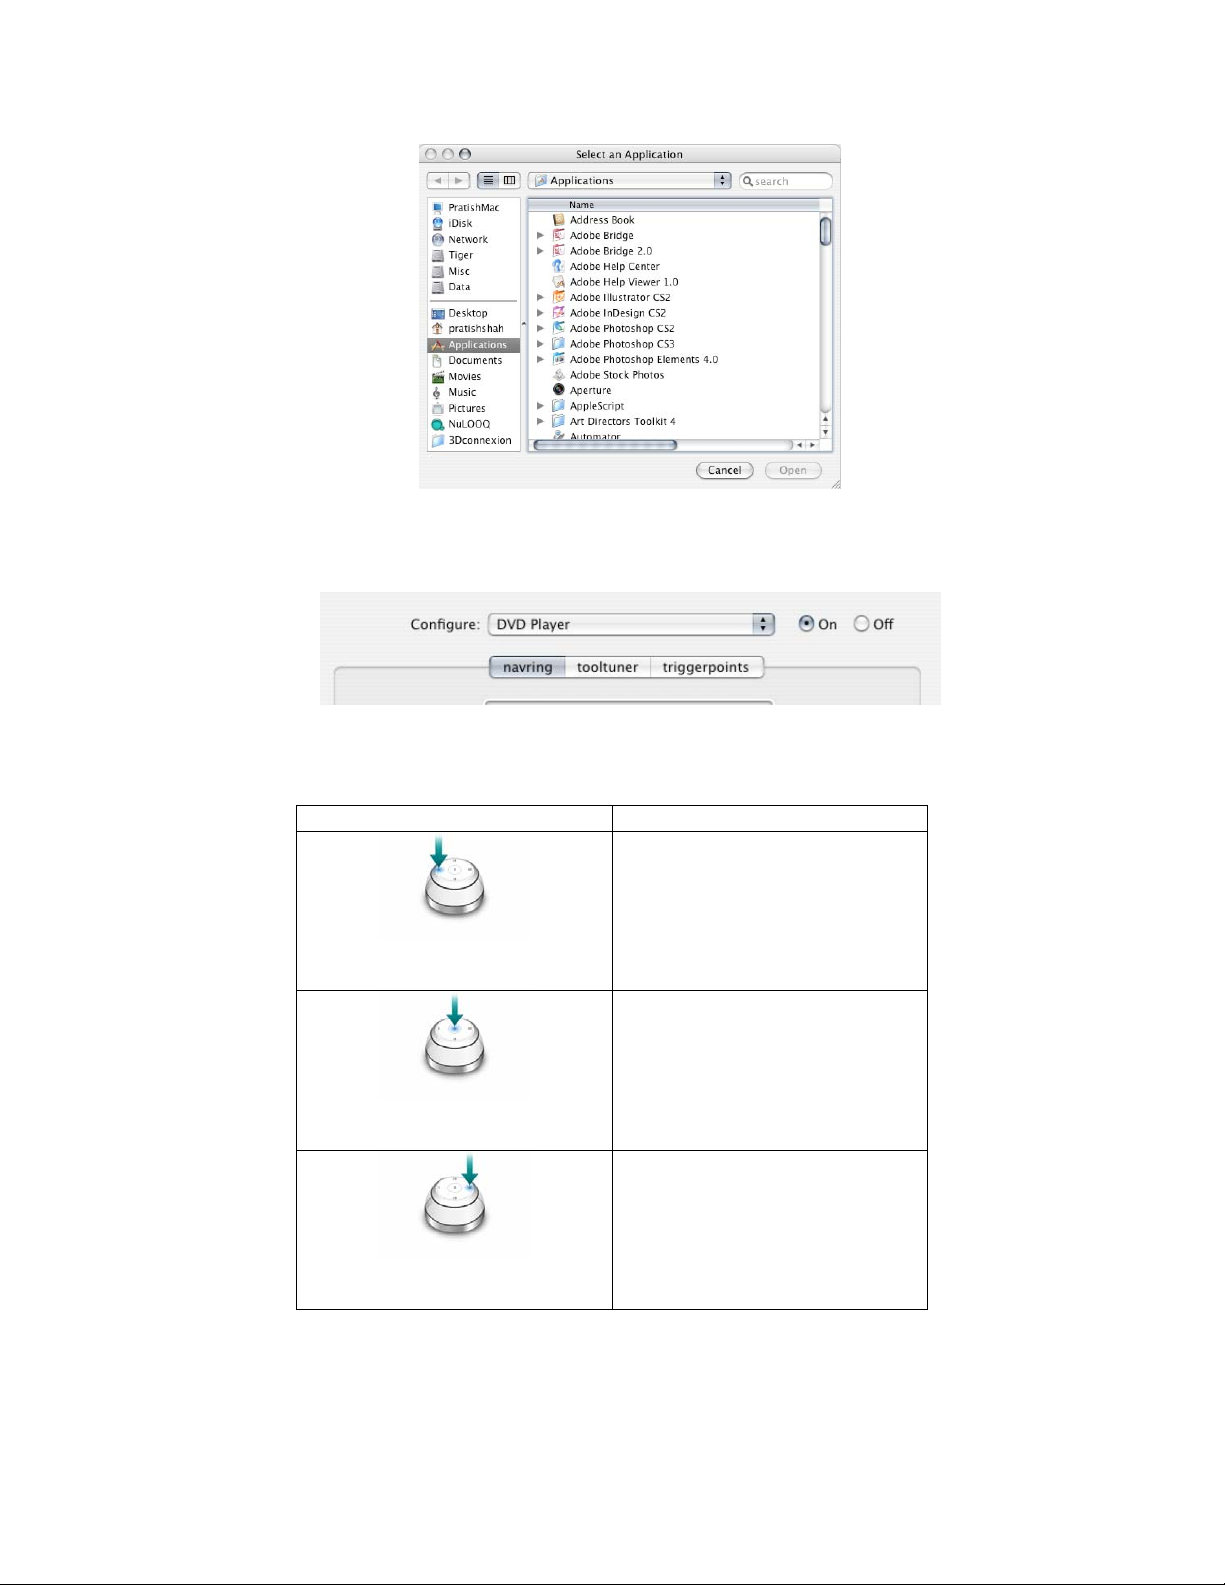
4. In the NuLOOQ navigator preference panel, DVD Player will now appear next to
Configure.
5. Here is how we plan to configure NuLOOQ navigator to control DVD Player and the
associated shortcut command within DVD Player application:
NuLOOQ navigator Action DVD Player Action
Go to Previous Track (left arrow)
Triggerpoint I
Play / Pause (spacebar)
Triggerpoint II
Go to Next Track (right arrow)
Triggerpoint III
Copyright © 2006 Logitech. All rights reserved. Logitech, the Logitech logo, and other
Logitech marks are owned by Logitech and its affiliates. All other trademarks are the
property of their respective owners.

Configuring other Applications
Increase / Decrease Volume
Tooltuner clockwise &
counterclockwise
Navring right and left
For any application you intend to map, it helps to create a quick chart to outline what
NuLOOQ navigator action will result in what reaction in the application. At the end of
this document is a sample chart that you may use.
6. Let’s start off by configuring triggerpoints I, II and III. Select Triggerpoi nts tab in the
NuLOOQ navigator pane. And select “Triggerpoint I” under Control, as in image below.
(CMD-UP ARROW, CMD-DOWN
ARROW)
Scan forward / backward (CMDRIGHT ARROW, CMD-LEFT
ARROW)
7. Under Assignment, select “Type Keystroke”. Once selected a Keystroke field should
appear. Move cursor into that field.
Copyright © 2006 Logitech. All rights reserved. Logitech, the Logitech logo, and other
Logitech marks are owned by Logitech and its affiliates. All other trademarks are the
property of their respective owners.

Configuring other Applications
8. Click within Keystroke field and once the cursor is in there, just click on “Left Arrow” key
on the keyboard. A “Left” will be written within the text box.
9. Under Mode, change the mode from “Press and Hold” to “Press and Release”. This will
emulate a press and release action of the left arrow, rather than a press and hold. The
preference pane should appear as above when complete.
10. Now do the same for Triggerpoints II and III as describe above using the shortcut from
the earlier table.
11. Let’s now configure the tooltuner to increase and decrease volume in DVD Player. At
the top of the NuLOOQ navigator preference pane, now selec t “tooltuner” tab.
12. Under Control, select “Tune Clockwise”. We want to configure clockwise to increase
volume.
13. Under Assignment, select “Type Keystroke”. Once selected a Keystroke field should
appear. Move cursor into that field.
Copyright © 2006 Logitech. All rights reserved. Logitech, the Logitech logo, and other
Logitech marks are owned by Logitech and its affiliates. All other trademarks are the
property of their respective owners.

Configuring other Applications
14. Within that field, press and hold down CMD key and then press Up Arrow key. Once
that’s done the Keystroke box should look like the following.
15. Now do the same with Tune Counterclockwise to decrease volume.
16. Let’s now configure the navring to scan forward and backwards. Go to top of
preference pane and select navring tab.
17. Once in navring tab, go to Control and select “Push Right”. We’ll configure Push Right
to scan forward.
18. Under Assignment, select “Type Keystroke”. Once selected a Keystroke field should
appear. Move cursor into that field.
19. In the Keystroke field, press and hold down the CMD key and then press RIGHT ARROW
on keyboard. The keystroke field should appear as follows.
20. With the navring you can control how fast you send that keystroke. That selection is
done by the options under “Mode”, just below “Modifier Keys”.
21. For this demonstration, we’ll select 5 times / second. This provides a comfortable rate
of forward movement. However feel free to experiment with different rates that best
suit your desired response.
Copyright © 2006 Logitech. All rights reserved. Logitech, the Logitech logo, and other
Logitech marks are owned by Logitech and its affiliates. All other trademarks are the
property of their respective owners.

Configuring other Applications
22. Now do the same for Push Left to configure for Scan Backwards.
23. Click on Apply and your NuLOOQ navigator will now control DVD Player, whenever DVD
Player is running.
24. To export your newly created configuration, under Configure, select “Export
Configuration”, type in configuration file name and feel free to share your new configs
with others.
Copyright © 2006 Logitech. All rights reserved. Logitech, the Logitech logo, and other
Logitech marks are owned by Logitech and its affiliates. All other trademarks are the
property of their respective owners.

Configuring other Applications
NuLOOQ navigator Application Configuration Chart
Application Name:
Application Version #:
NuLOOQ navigator Action Application Reaction Shortcut or Scroll Wheel
Navring – Push Up
Navring – Push Down
Navring – Push Right
Navring – Push Left
Navring – Twist Clockwise
Navring – Twist Counterclockwise
Tooltuner – Tune Clockwise
Tooltuner – Tune Counterclockwise
Triggerpoint I
Triggerpoint II
Triggerpoint III
Copyright © 2006 Logitech. All rights reserved. Logitech, the Logitech logo, and other
Logitech marks are owned by Logitech and its affiliates. All other trademarks are the
property of their respective owners.
 Loading...