

Protected by copyright. Unauthorized or unlawful copying or downloading expressly prohibited.
Basics — Walkthrough — Appendicies
USING THE GUIDE
Using the Guide
USING THE GUIDE
Welcome to Prima’s Offi cial Game Guide for Sierra’s Scarface™: The World Is Yours
SAY HELLO TO MY (NOT-SO-LITTLE) GUIDE
fi nd all the information, tips, tricks, and strategies necessary to return Tony Montana to the role of top drug kingpin in the sweltering Miami
setting in the 1980s. Every page is packed with information on how best to regain Tony’s iron grip on the town that he once called his own…until
his untimely demise at the conclusion of the fi lm—a demise that he has managed to avoid. For now, anyway…
for Microsoft’s Xbox, Sony’s PlayStation 2, and Windows PC platforms. Herein you’ll
Default Controls
Action: On Foot Action: Vehicle Action: Menus Xbox PS2 PC
Character Movement Steer Navigate Menu Options Left Stick Left Stick W, A, S, D
Look/Move Camera Camera — Right Stick Right Stick V
Cycle Weapons Weapon Select Navigate Menu Options a or d a or d Mouse Wheel
— — Navigate Menu Options w w Arrow Keys
Conceal Weapon Conceal Weapon Navigate Menu Options x x 3
Run/Wall Cover Accelerate Select Menu Option 1 u e
Reload/Melee-Counter Brake/Reverse — 3 p R
Taunt, Talk; Hold for Blind Rage Hand Brake — 2 o T
Action/Engage Enter/Exit Vehicle Go Back a Screen 4 I E
Fire/Punch Fire — 8 R <
Secondary Fire Look Behind — 6 r >
Lock-On, Strafe Lock-On — 7 L ?
SAT Phone Menu SAT Phone Menu — 5 l t
Center Camera Cycle Camera Angles — r R3 h
Toggle Crouch Horn/Taunt — g L3 LEFT CTRL
Pause Pause — 9 s q
Turn Tape Player On/Off Turn Tape Player On/Off — 0 t T
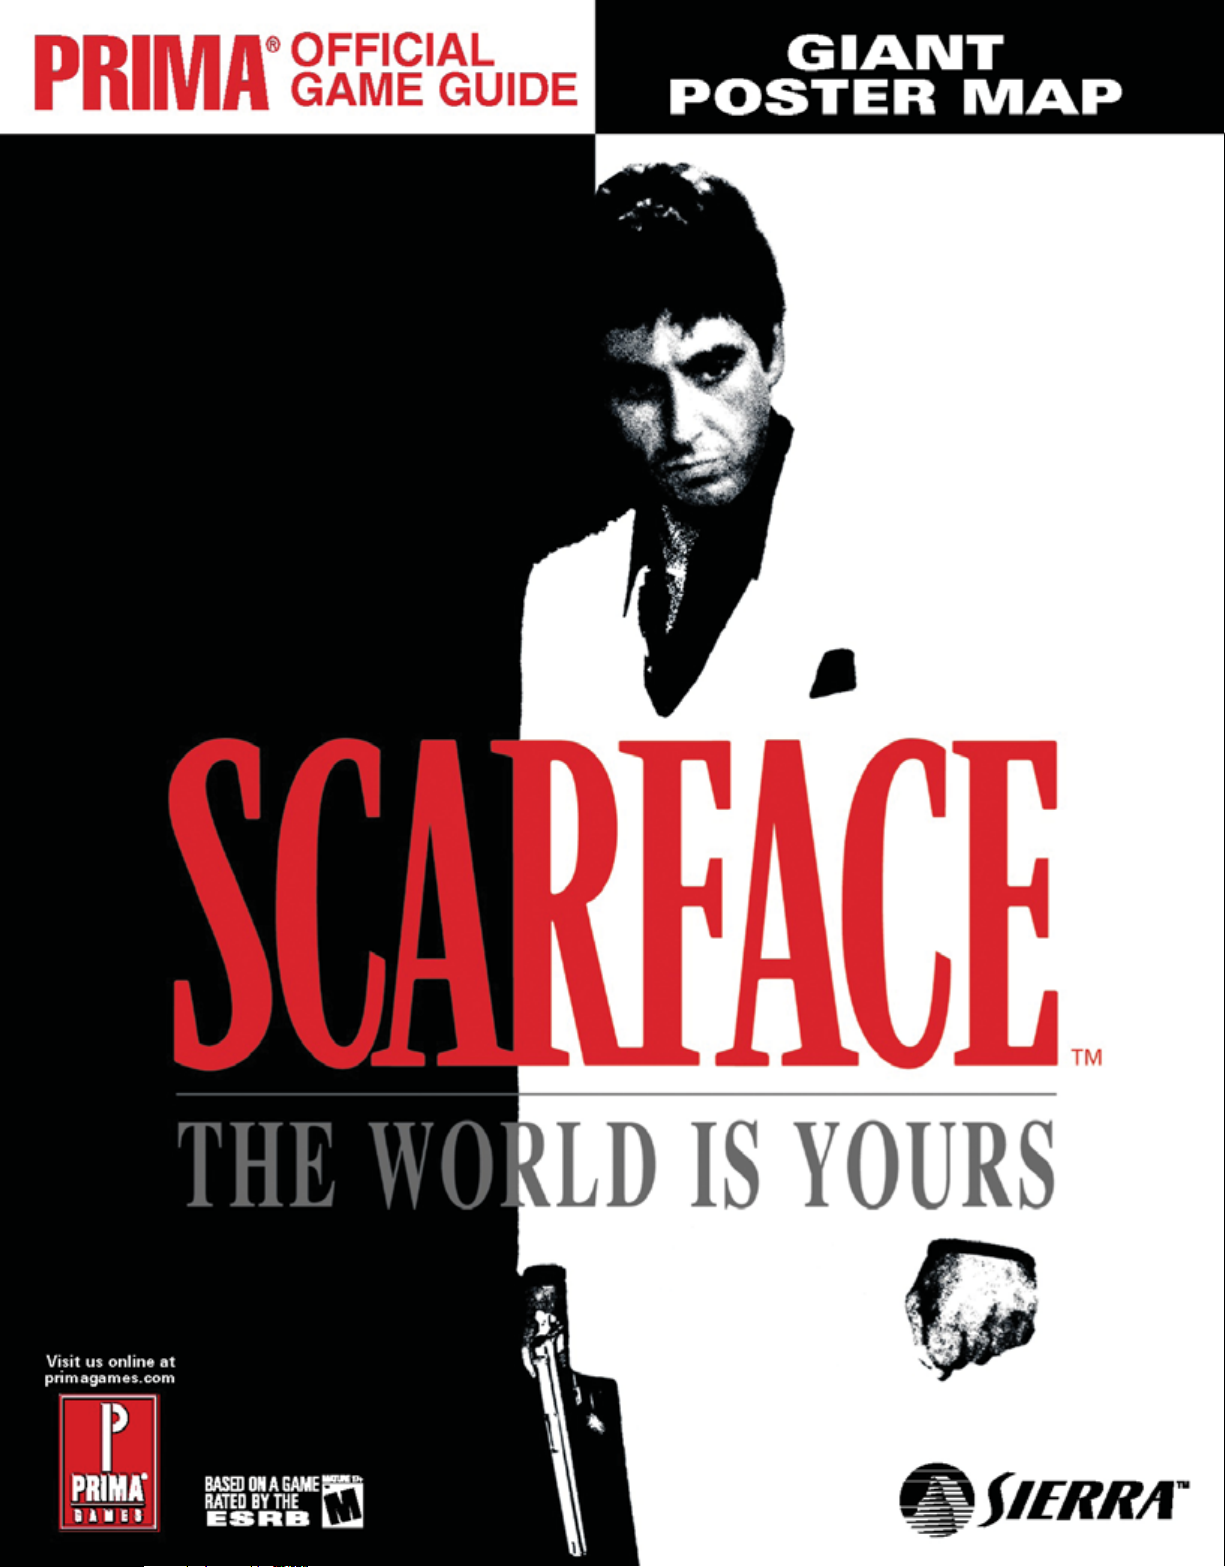
Guide Contents
Gameplay Primer
Here you’ll fi nd everything you need
to know to achieve complete and
utter victory over the myriad forces
arrayed against Tony. This includes
(but is not limited to):
•
Combat: Featured here are both hand-to-hand
and more lethal options, with tips on how to
make the most of your available tools.
•
Empire Building: This is the pulsing heart of the meta-game—the game within the game. While
there is a straightforward mission mode (covered in the Walkthrough section), there is much,
much more to the game than simply going from point A to point B. In here we cover everything
from working with Dealers (or, perhaps, working them) to conquering territory that your rivals
would like to keep as their own.
This section goes into general strategies
applicable to the game at large. The Walkthrough section also
details the meta-game as it pertains to what point you are at in
the main game.
•
Balls: This section details how to build up and maximize your ability to earn Balls. Balls are the
basic unit of currency in the game when it comes to dealing with the various ladies. You also use
Balls to charge your Rage meter.
Walkthrough
The Walkthrough section takes you
step-by-step through how to beat
the game inside and out. If you want
to fi ll Tony’s shoes, heed the words
written here.
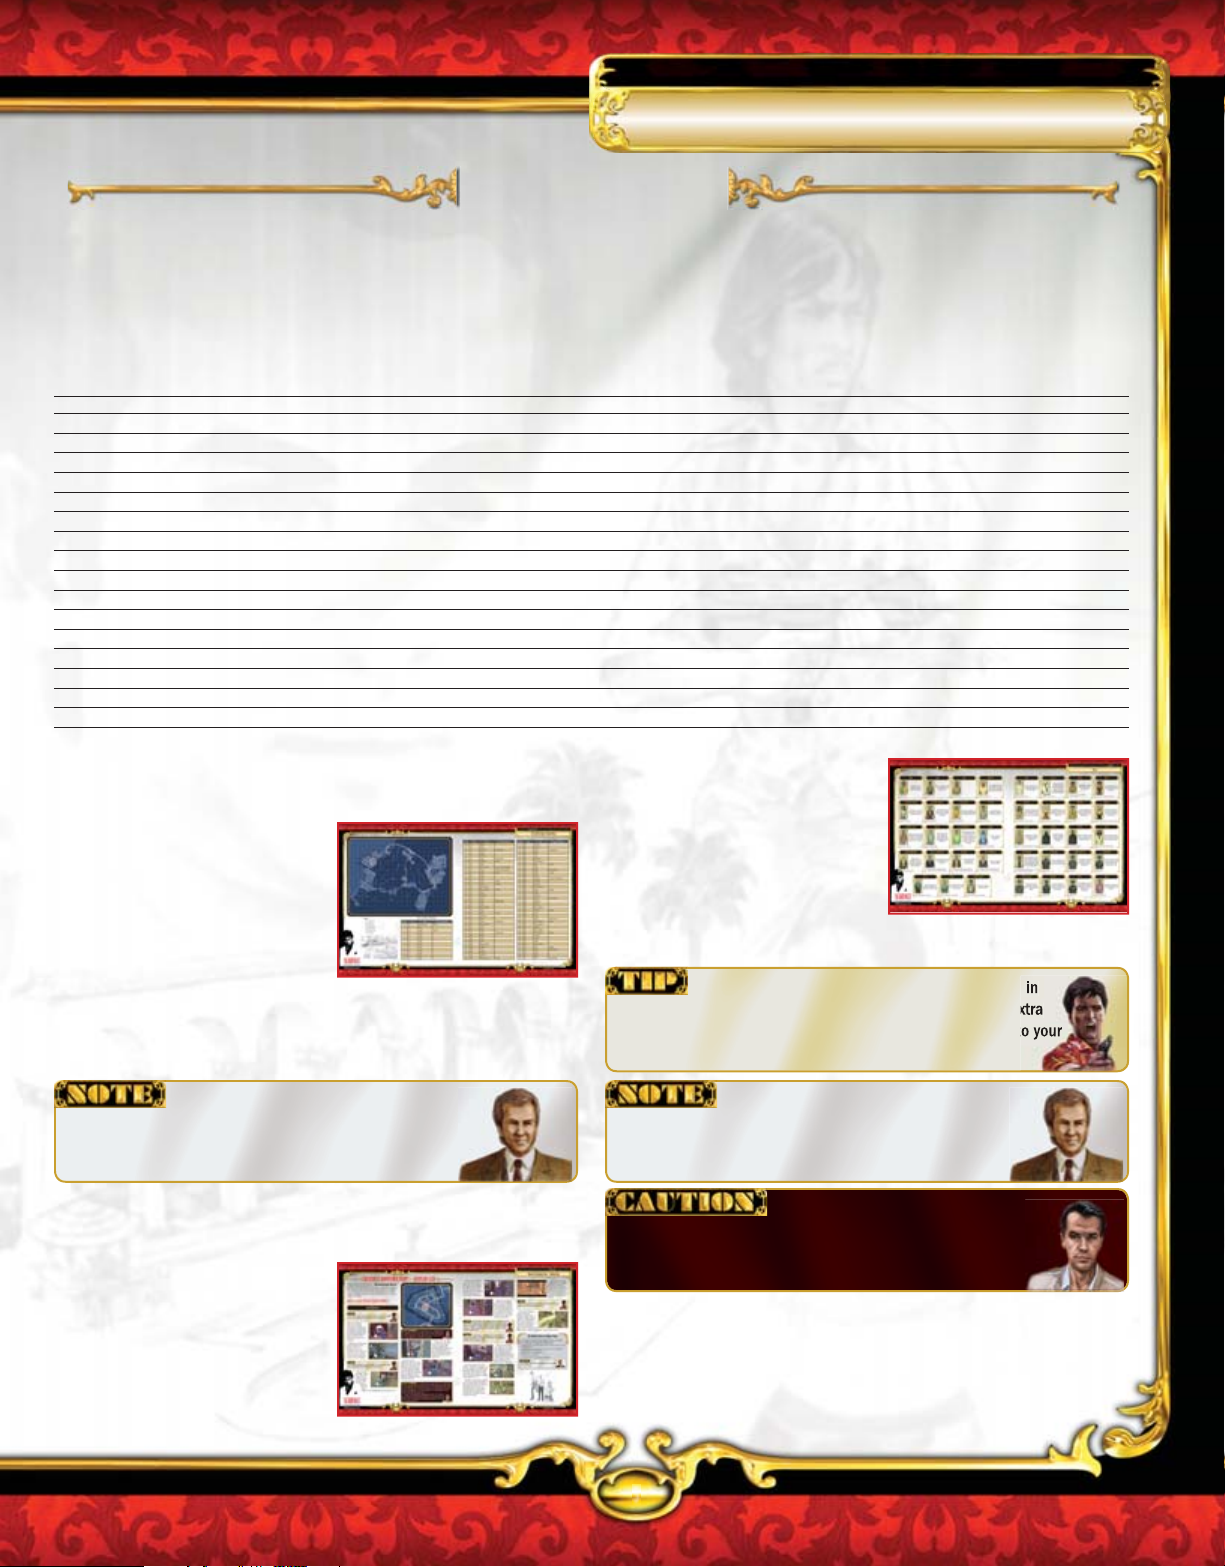
Appendices
Cars, people, cheats and more! This
large section is laden down with all
manner of in-depth info on all the
things we couldn’t put elsewhere in
the guide. Oh, and did we mention a
complete section of Cheats?
Tips, Notes, and Cautions
These include all sorts of helpful hints to aid you in
getting the most out of the game. They could contain some extra
information for defeating a boss, or a shortcut that gets you to your
goal quicker.
These include various bits of info that don’t
generally have a direct bearing on the gameplay at hand.
They could act as a reminder or point out a landmark that may
become important later in the game.
Paying close attention to these could
mean the difference between life and death for Tony. Generally,
these refer to situations where life, limb, or both are in peril.
Ignore these at your own risk!
ARE CHU READY, MENG?
With that all behind us, it’s time to turn the page and begin learning
what it takes to be Tony Montana. You don’t want to let Tony down,
do you?
5
Protected by copyright. Unauthorized or unlawful copying or downloading expressly prohibited.
primagames.com
Key
H: Henchman
G: Garage
B: Boathouse
M: Mansion
U: Uniques
F: Furniture
D: Décor
I: Investments
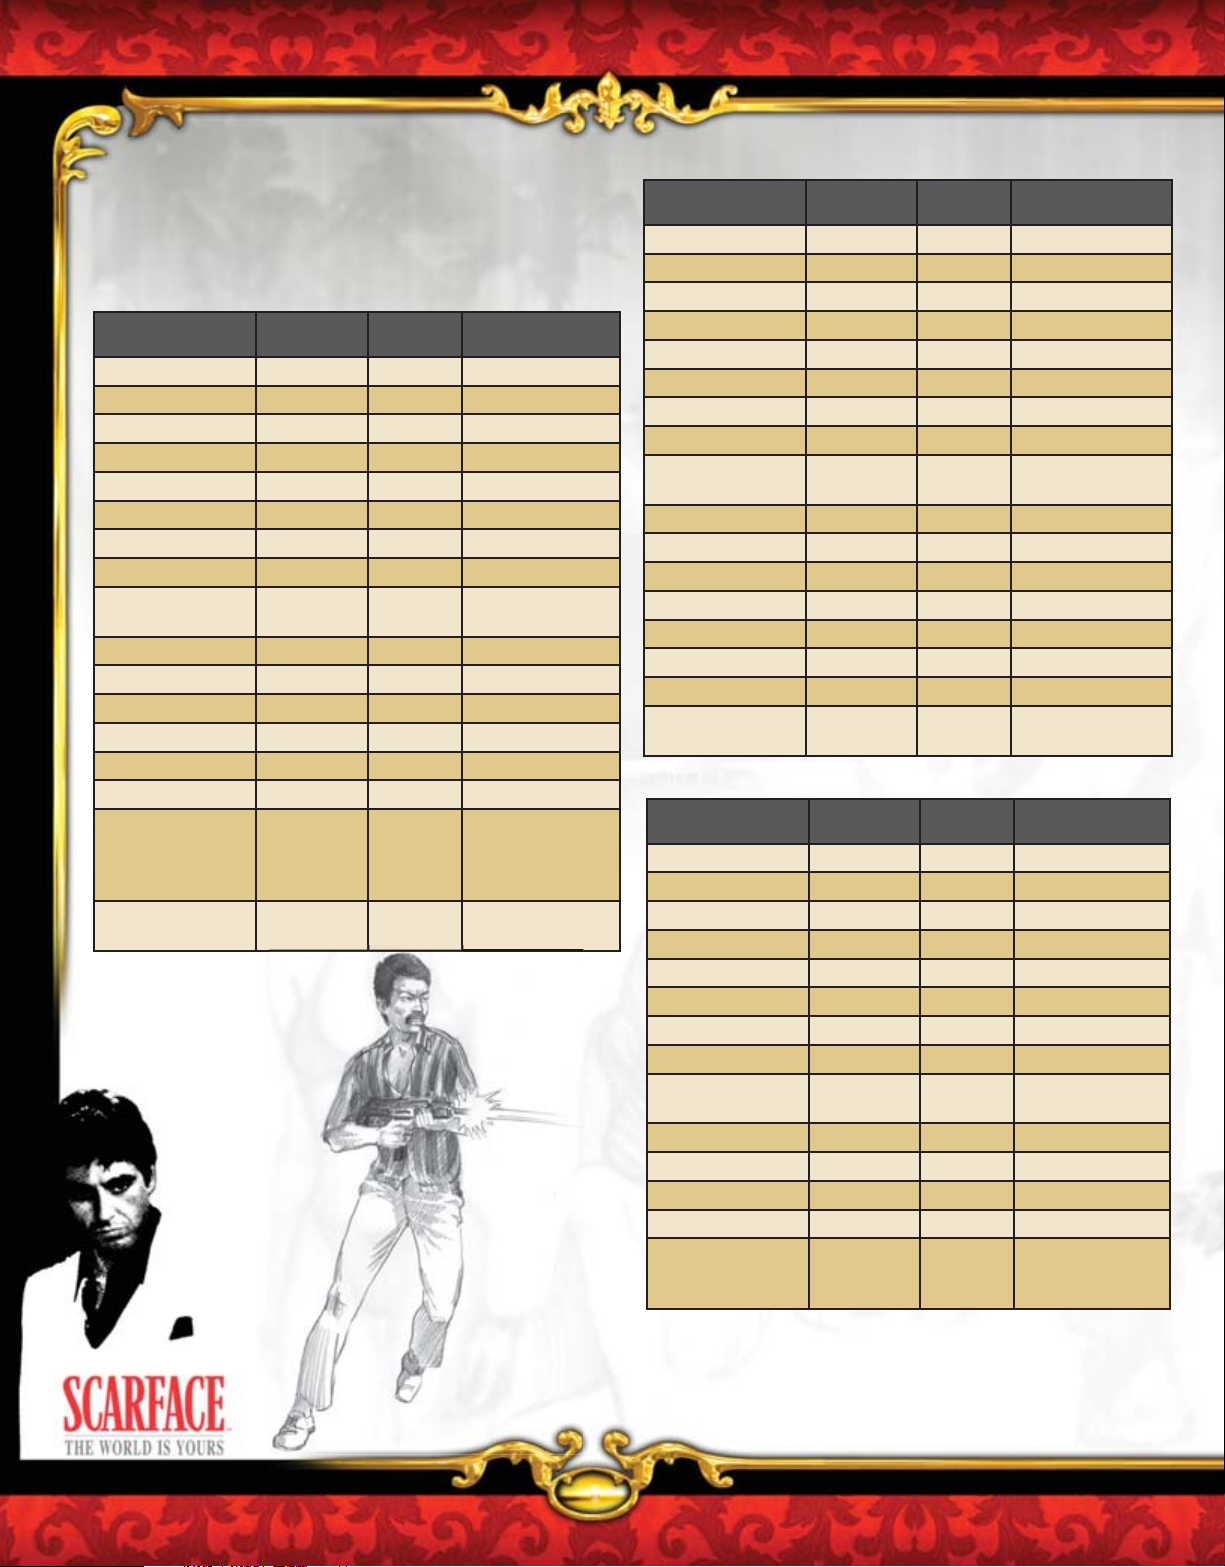
REP AND EXOTICS: LEVEL 1
Exotic Cost
H: Driver $15,000 11,000 —
H: Boat Pilot $40,000 60,000 —
G: Bandit ST $10,000 2,400 —
G: Orient YU $12,000 3,000 —
G: Stretch Limo $250,000 20,000 —
G: GPV Offroad $14,000 1,000 —
B: Jet Boat $10,000 4,600 —
M: Renovate $25,000 47,000 —
U: Manny’s
Remains
$8,000 10,000 —
F: Liquor Cabinet $7,000 8,000 —
Comfy Chair $2,000 1,000 —
F: Cigar Stand $4,000 5,000 —
F: Jukebox $3,000 4,000 —
D: Stuffed Pelican $700 2,000 —
D: Bong $2,000 1,000 —
I: Montana Records $100,000 61,000
I: Montana
$2,000,000 40,000 Fronts Cost 10%
Holdings
Rep
Increase Notes
Unlocks New
Music Tracks
& Creates New
Playlist
Less to Purchase
REP AND EXOTICS: LEVEL 2
Exotic Cost
H: Arms Dealer $15,000 37,000 —
H: Enforcer $30,000 40,000 —
G: Santa Monica $15,000 2,000 —
G: Monterey Shark $24,000 3,000 —
G: Caballo El Ray $16,000 1,500 —
G: Lakota Fastback $40,000 1,500 —
G: Mojave $28,000 5,000 —
B: Picklefork $53,000 25,000 —
B: Antique
Trickcraft
$35,000 45,000 —
U: Gina’s Remains $8,000 19,000 —
F: Projection TV $55,000 45,000 —
F: Vending Machine $2,500 3,000 —
F: Liquor Display $4,500 5,000 —
D: Stuffed Tiger $24,500 60,000 —
D: Exotic Fern $500 2,000 —
D: Vintage Wine $8,000 11,000 —
I: Montana Fitness $1,500,000 200,000 All Henchmen Gain
Rep
Increase Notes
50% Health
REP AND EXOTICS: LEVEL 3
Exotic Cost
G: Tomahawk $18,000 5,000 —
GS Wolhabend $45,000 20,000 —
Lightning $25,000 25,000 —
G: Delphine $50,000 40,000 —
G: Conick N29 $70,000 20,000 —
B: Cigarette Boat $160,000 180,000 —
M: Modern $400,000 100,000 —
U: Modern Art $147,000 90,000 —
F: Antique Comfy
Chair
$41,000 20,000 —
F: Drink Machine $2,000 4,000 —
F: Beer Cooler $1,000 2,000 —
D: Marble Statue $10,000 5,000 —
D: Tropical Plant $3,000 1,000 —
I: Montana
Productions
$1,200,000 443,000
Rep
Increase Notes
Unlocks Tony’s
Clothing Options
in the Cheat Menu
PRIMA Offi cial Game Guide
8
Protected by copyright. Unauthorized or unlawful copying or downloading expressly prohibited.

Enemy Health Stats
Here you’ll fi nd a list of the
various meatsicles you’ll come
across throughout Tony’s
adventure and their health
levels. Naturally civilians are
even less resilient than this
motley band of mutants and
ornery LEOs, so when you’re
busily clearing a street corner of
random gang members, try not to hit the peds—the LEOs aren’t
big fans of that. You can compare these health values with
the damage values of the weapons featured in this chapter to
give you a good idea of what your odds are like against a given
enemy with a given weapon:
Base Enemies 150
Skull 150
Sosa 150
Cops 200
DEA 350
Swat 500
Coked Out Gang Leaders 600
Coked Out Chainsaw Wielding Maniacs 200–400
Not surprisingly, the farther up the chain you go, the harder
your foes become, with those under chemical stimulation
generally proving to be the biggest nuisances. You do not want
to go toe-to-toe with any but the most basic foe bare-knuckled
(sometimes, though, you won’t have that option).
You better have a big gun
Haymaking for fun and profi t
You can counter an incoming enemy attack with the counter button.
Timing is important here, so hit it just as the enemy’s blow is about to
connect to return the hurt on your opponent.
By and large, melee combat is an abso-
lute
last
resort. Tony has access to large quantities of guns and
other weapons, so use them.
Medic!
Hand-to-Hand
Though it’s natural to want to rely on fi rearms, sometimes you’re
forced to rely on your fi sts for plot and story-progression reasons.
Therefore it’s important to at least understand the basics of handto-machete/pistol/etc. combat when those unfortunate, fi rearm-free,
moments arise.
Tony can make a few basic attacks when you repeatedly press the
“fi re” button. This results in a successive string of attacks culminating
in a combination (or combo, for short). This volley of blows will lay
out most foes you manage to land successive blows upon.
Outside of healing via Rage (which, actually is the most effi cient
and least cumbersome way to do so) you have the option of
visiting blood mobiles scattered over the Miami area. One hit
from them and you’ll be back to 100% in no time. You can also
visit any front with a cash register to receive a health refi ll.
Barring that, you also can fi nd health packs scattered about
various points in the game—usually in areas where you’ll have
to deal with some pretty hairy situations. Unlike blood mobiles,
however, these will not max out your health with one hit if
you’re critical.
PRIMA Offi cial Game Guide
14
Protected by copyright. Unauthorized or unlawful copying or downloading expressly prohibited.

Basics — Walkthrough — Appendicies
Dis Is How De Game Is Played, Meng
After clearing the opening tutorial and raiding the penthouse of a nowdeceased acquaintance to secure funds to re-open the mansion, it’s
time to start to come to grips with the meta-game. You’ve completed
the fi rst couple of missions but have yet to be exposed to the web
that binds the entire game together. This web is navigated, almost
exclusively, via the SAT Phone (shorthand for SATellite Phone) secured
during the course of the mission “Gaspar Gomez.” What you need to
know, in the early going, is that this wonderful little toy is much more
than a simple telephone (in fact, it’s more than the latest cell phone
could ever hope to manage).
Banking: Saving Your Money (and Tony’s Life)
Save often!
You want to be intimately familiar with the bank for two basic
reasons:
1. You need to launder your ill-gotten gains from your various
criminal activities (which you’ll do very early in the game for
the fi rst time.
2. Save!
If you don’t launder your cash, any time you die or are busted
by the cops, you’ll lose
to save often so you don’t lose progress. So remember: save
early and often!
all
your dirty money. And it’s important
Business
Leads: The Bricks and Mortar
If there’s a basic building block of the entire empire building process,
it’s the Felix lead. Using Tony’s SAT Phone and dialing up (who else?)
Felix from the Business menu, you’re presented with several options,
multiples of which are usually Felix leads. You use these leads to
contact suppliers all over Miami. Initially anyway, this is the only way to
score coke to sell to dealers.
There are also Sandman leads. The major differences between the
two are:
1. Sandman leads are to the islands what Felix leads are to Miami:
Gateways to coke suppliers.
2. Because you do only large deals with the suppliers derived from
Sandman leads, you must smuggle all results from these leads to
your storehouses in Miami. With the contacts from Felix leads, your
travel time is signifi cantly reduced (and much less death-prone).
3. All coke earned from Sandman leads has to be smuggled into
Miami and dropped at storehouses because the amounts are far
too great to dispose of on the dealer level.
For the following strategy, you can substitute Sandman lead
wherever you see Felix lead.
Business, turf , and heat: making the world yours
The phone itself gives you access to all manner of activities (some
of which have already been discussed) but the categories of Business,
Turf, and Heat are most interesting:
Business: From here you access all leads, suppliers, missions, etc. If you aren’t sure what to do
next, this is the place to start. We’ll delve into all facets of this in this section.
Turf: Use this menu to check how your world-conquering aspirations are panning out. By
conquering fronts, taking out gangs, and consolidating storehouses (all discussed in the “Turf”
section of this chapter) you earn greater reputation and gradually proceed through the game’s
main plotline.
Heat: This essentially exists to undermine all of your illicit activity. It makes doing business much
harder than it otherwise would be and is broken down into two categories: Gang and Police.
Protected by copyright. Unauthorized or unlawful copying or downloading expressly prohibited.
Keep gang heat low when on Felix and Sandman
leads. The lower your heat, the better the odds of securing larger
and larger suppliers (see the “Heat” section for more details).
23
primagames.com

Basics — Walkthrough — Appendicies
Dis Is How De Game Is Played, Meng
Peruse this handy table to know exactly how much resistance you’re
likely to face at any given moment by cross-referencing the gang type
(gang, soldiers, mercenaries, elite) with the current heat level. Use
this to know whether you have a reasonable chance of coming out of
the confrontation alive.
Gang Make-Up
It takes all types
Gangs are composed of one of four different types of members:
gangs, soldiers, mercenaries, and elites. Each successive group is
larger and carries increasingly heavy weapons, so check the gang
chart to see the make-up of a given gang before charging in.
In any group with a leader, if you slay that leader,
any surviving members run for the hills. If you don’t get them all,
you won’t get credit for taking out them out and they’ll be back,
in full force, later on.
The Gang Map
ABCDEFGHI JKLMNOPQRSTUVW
1
2
3
4
5
6
7
8
9
10
11
12
13
14
15
16
17
LH = Little Havana
DT = Downtown
SB = South Beach
NB = North Beach
Turfs
IND = Industrial Area
TP = Trailer Park
37
Protected by copyright. Unauthorized or unlawful copying or downloading expressly prohibited.
primagames.com

Basics — Walkthrough — Appendicies
Dis Is How De Game Is Played, Meng
Gang # Turf Type Special Properties
66 NB Gang —
67 NB Soldiers Leader, Attack Boat
68 NB Soldiers —
69 NB Soldiers —
70 NB Mercenaries —
71 NB Gang Leader
72 NB Gang —
73 NB Soldiers —
74 NB Gang Attack Boat
75 NB Soldiers —
76 NB Soldiers —
77 NB Mercenaries —
78 NB Soldiers Leader
79 NB Gang —
80 NB Gang —
81 SB Gang Attack Boat
82 SB Mercenaries Leader
83 SB Mercenaries —
84 SB Soldiers —
85 SB Mercenaries —
86 SB Mercenaries Leader
87 SB Soldiers —
88 SB Gang —
89 SB Gang —
90 SB Mercenaries —
91 SB Elite Leader
92 SB Gang Attack Boat
93 SB Gang —
94 TP Gang —
95 TP Elite Attack Boat
There is no such thing as cop heat in the islands,
because this lawless abode is the domain of the Sandman. You
still need to deal with gangs.
Heat is what keeps Tony
honest. It keeps you, the
player, from turning the city
and its surroundings into a
war zone. As you perform
nefarious acts or take
on the numerous gangs
throughout the city in a
bid to wipe them out, you
incur a penalty in the form
of heat for each “infraction.”
This penalty accrues on the Gang Heat meter—the higher the meter,
the more diffi cult it will become to perform all sorts of basic, criminal
tasks. The same goes for cop heat, but you have the additional
tracking mechanism of the Visibility meter.
The heat meters
Ganging Up: Gangs and Keeping the Heat Down
Causes of increased gang heat include:
1. Unsuccessfully attempting to take out a gang nest.
2. Blowing deals with suppliers, dealers, etc.
3. Blowing up suppliers, dealers, etc.
4. Failing an intimidation check against gang members.
5. Fighting off gangs while trying to do distribution and smuggling runs.
Generally the fi fth reason is where you end up
accruing the most heat.
Except for the fi fth reason, you have pretty good control over whether
your gang heat rises. You’re likely to see a steady ebb and fl ow (mainly
fl ow, though) in your overall gang heat level. Think of this as a cost of
doing business. You will ultimately accrue huge amounts of gang heat.
Heat
The heat is on
Two small meters (one a skull and one a badge) are on the lower part
of your display, just above your mini-map. These two icons represent
the current “interest” level of local law enforcement as well as the
numerous gangs (see the “Gangs” section for more info).
Protected by copyright. Unauthorized or unlawful copying or downloading expressly prohibited.
The enforcer kills gangs dead.
How do you reduce gang heat? Here are some ways:
1. Take control of more turf: either by owning fronts and storehouses
or exterminating gang nests completely (no members in a given nest
escape—see the “Gangs” section under “Turf” for more details).
2. Successfully complete deals with dealers, suppliers, etc.
3. Successful intimidations against gang members lowers your heat
to some degree—right before you turn around and blow them away.
(See the tip.)
4. Pay it off (more on this in a moment).
39
primagames.com
 Loading...