

Page 1

EPSON PRODUCT SUPPORT BULLETIN
Date:
PSB #:
Reference:
Product(s):
Subject:
This bulletin was created to inform you about an updated firmware release for the AP-60
Projector Sound Solution unit to improve the performance described below.
Improvements:
• Improves the sound performance when feedback is present.
Serial Numbers Affected:
AP-60 Serial numbers with the countermeasure: G91121915~G91121920 /
G00120001~G00120480 (January, 2010 shipment)
Note: The following serial numbers were included in the January, 2010 shipment, and
these units do not have the countermeasure: G91121891 / G91121897 /
12/24/2009
PSB.2010.01.001
TI09-68e Rev. A and B
AP-60 Projector Sound Solution
Firmware Update – Improves Sound Quality
Originator:
Authorization:
Total Pages:
esc
8
G91121899~G91121914
Required Equipment and Preparation:
Required:
• AP-60 unit to be updated
• PC computer running Windows 98SE / Me / 2000 / XP
• RS232 Null modem serial cable
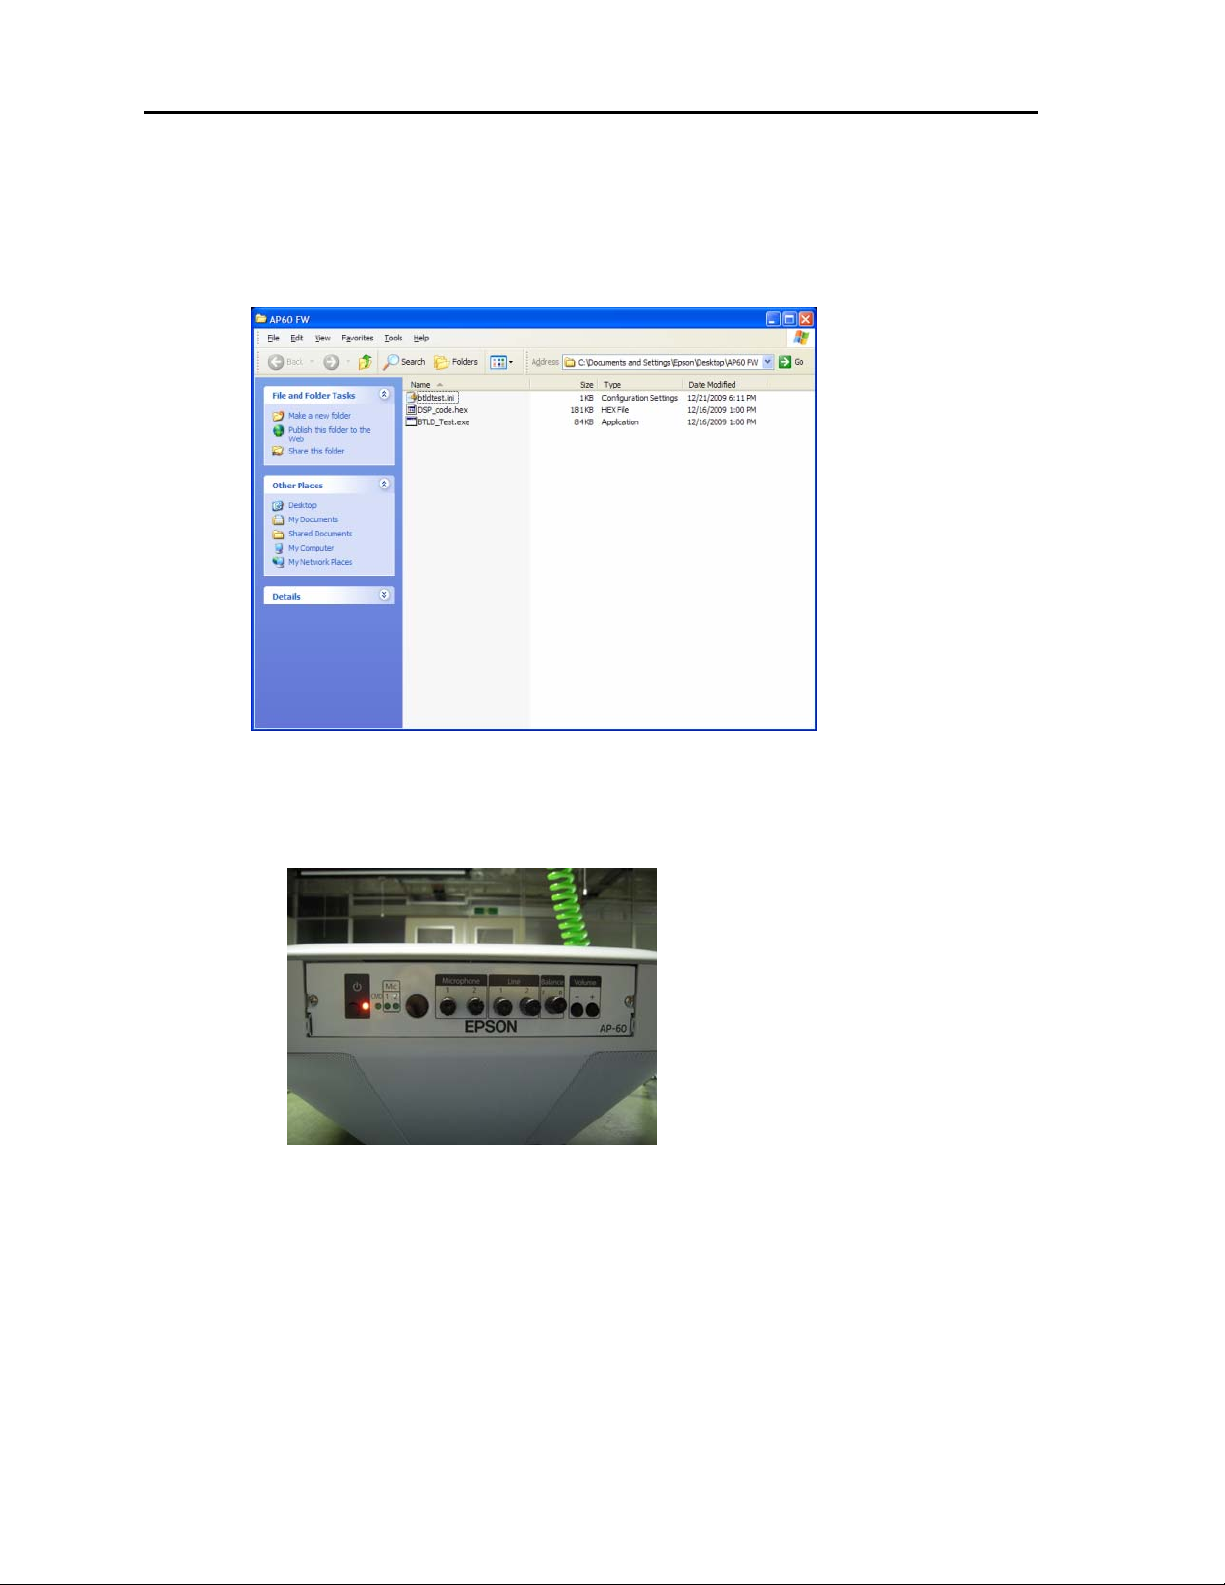
• Firmware/DownLoader files: BTLD_Test.exe, btldtest.ini, DSP_code.hex (included in
epson13644.exe package)
• Download and extract epson13644.exe package. The files are extracted and copied to
C:\EPSON\epson13644_ap60_downloader_firmware_13.
Page 1 of 8
PSB.2010.01.001
Page 2
How to Establish Serial Communication between the AP-60 and the Computer:
a) Download epson13644.exe package which includes the following files:
1. BTLD_Test.exe
2. btldtest.ini
3. DSP_code.hex
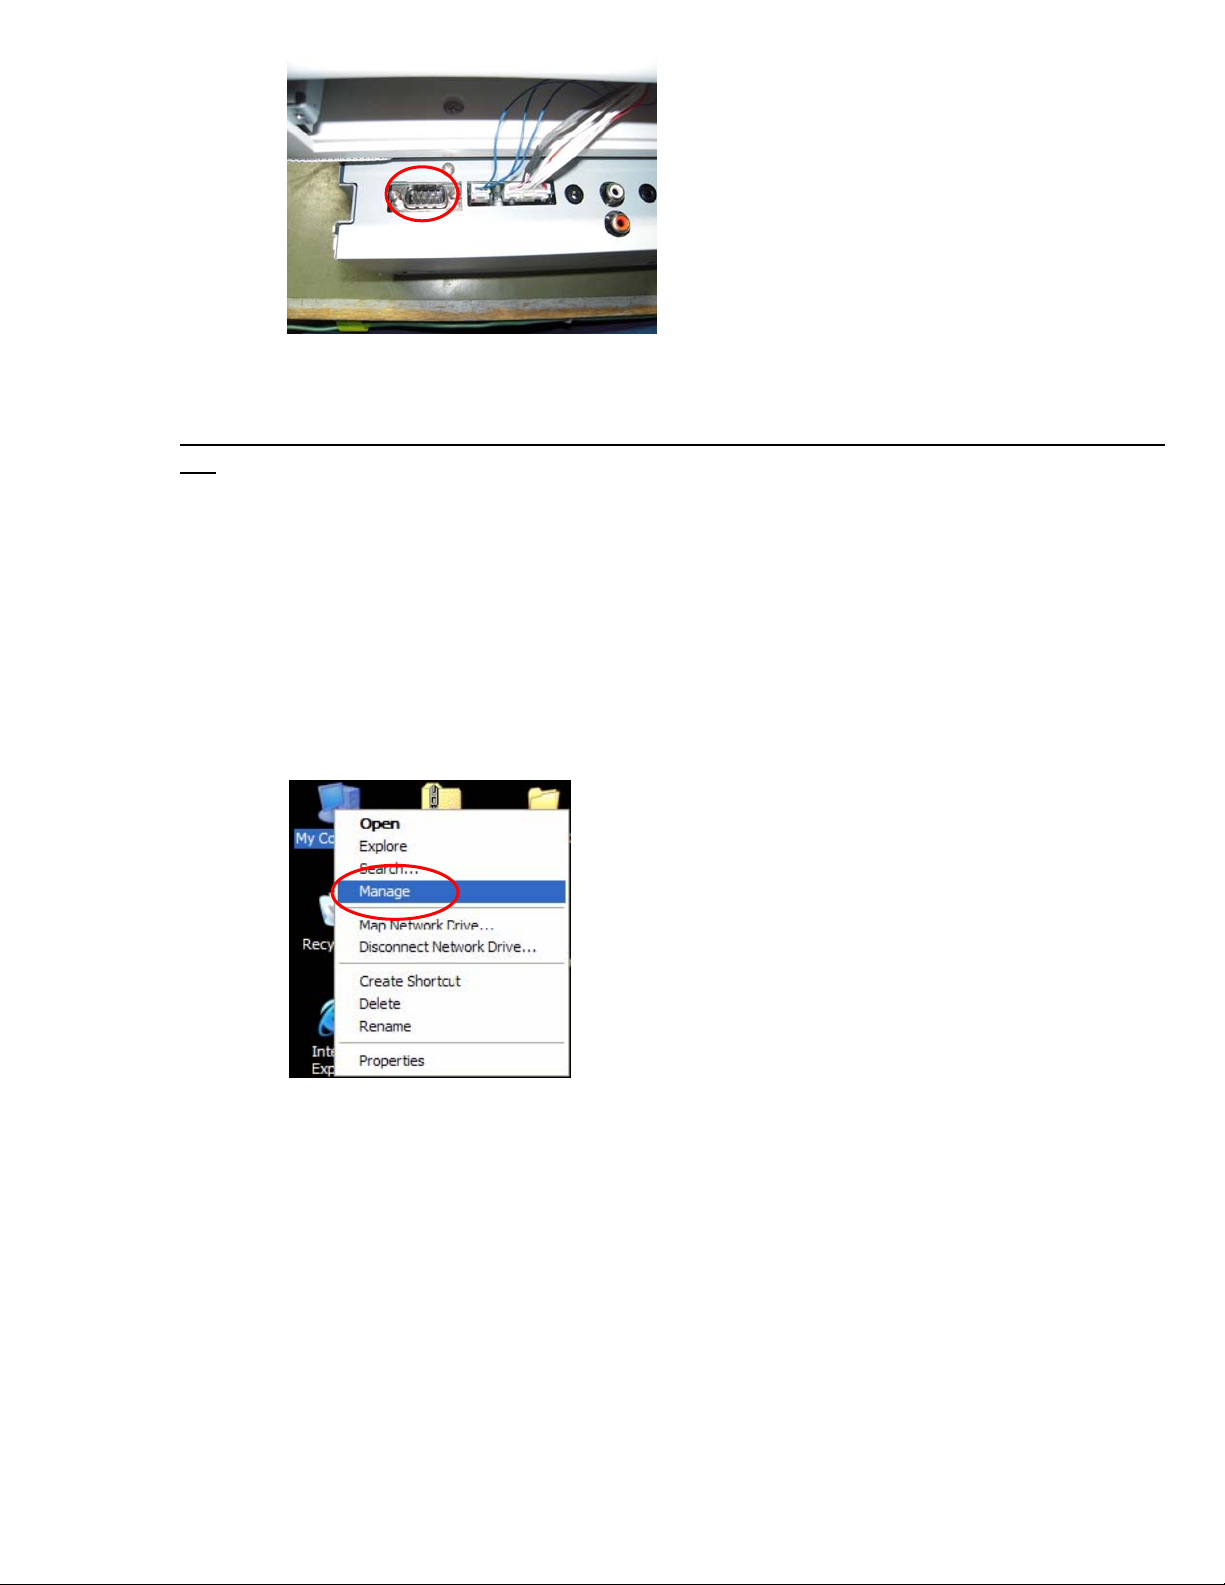
b) Remove two Phillip screws from the audio control board then slide out the audio
control board to access the RS-232 connector.
c) Connect one end of the RS-232 cable to the backside of the RS-232 port and the
other end of the cable to the PC. Then restart the PC.
Page 2 of 8
PSB.2010.01.001
Page 3
1) Connect the power cable to the AP-60 unit (Power LED is solid orange) -- do not turn it
on. Verify the null modem cable is connected to the AP-60 unit RS-232c and computer RS-
232c serial ports.
When the AP-60 is in Standby Mode, hold down the Power button (black button on the
front left side of the audio control board) for at least 3 seconds or more until
the Power light LED shows blinking green—release when the Power LED is blinking green.
a) If the Power LED does not show blinking green, set the projector to standby mode
and hold down the power button again for 3 seconds or more.
b) Right-click My Computer on the PC desktop screen then click Manage.
2. Click Device Manager and expand Ports (COM & LPT). Then note the available
COM Port number. The following example shows the assigned port number as COM1.
Page 3 of 8
PSB.2010.01.001
Page 4

3. Open the C:\EPSON\epson13644_ap60_downloader_firmware_13 to find the three files:
a) BTLD_Test.exe
b) Btldtest.ini
c) DSP_code.hex
4. Open btldtest.ini file and verify the COM Port number.
It should match the COM Port number noted in the previous step.
If the COM Port number does not match the settings in Step 2 above, make the changes
then save the file and close the window.
5. Launch BTLD_Test.exe
If the wrong port number is entered in the window shown in the previous step, the
following error message will display.
Page 4 of 8
PSB.2010.01.001
Page 5

6. When each button in the following screen is active, the serial communication is available.
If the serial communication is not available, the buttons in the window are grayed out
as shown below.
• Confirm that the AP-60’s power light exhibits the flashing green LED again.
• Reseat the cable
• Restart PC
• Restart AP 60
Page 5 of 8
PSB.2010.01.001
Page 6

How to Rewrite the Firmware
1. Click PM Wr/Rd (from BTLD_Test folder)
Page 6 of 8
PSB.2010.01.001
Page 7

2. Then select DSP_code.hex
3. And click Open button to start the Download.
4. Progress bar will display. The firmware update takes about a minute to process the
firmware update. When the following message is displayed, click OK. This completes
the firmware update.
5. To confirm the firmware version, please follow the instructions listed below.
Page 7 of 8
PSB.2010.01.001
Page 8

How to confirm firmware version number.
1. Click the “Get Version” button.
Three sets of numbers will display -Confirm that “13” is displayed in the center
of the figures as show in the blue circle. “13” indicates the updated firmware
version.
7. The download process has been completed.
8. To close the downloader window, click the X in the upper-right corner of
the screen
Then press the PWR button on the front side of the audio control board to
set the AP-60 to Standby mode
Disconnect the Power Cable
Disconnect the RS-232 cable
Reinstall the audio control board and secure the panel with two screws
Page 8 of 8
PSB.2010.01.001
 Loading...