

Page 1
Easy 7-Step Setup
Follow these steps to get your ProcessMate
Temperature Control System ready for operation.
®
A NORDSON COMPANY
ProcessMate™6500
Temperature Control System
• Connect the power plug to the power pack. The unit
is shipped with a USA-compatible plug and three
international plugs. Attach the correct plug to match
local power outlets.
• Connect the power cord into the back of the
ProcessMate.
• Connect the power cord into your local power source.
Quick Start Guide
• Use the checklist enclosed with the ProcessMate to identify all items.
If there is any discrepancy, please call us immediately.
• Now is a good time to activate your extended One Year No-Fault Warranty.
Register the warranty online at www.efd-inc.com/warranty/one
Unpack the Unit/Warranty
1
Connect Power
2
1
Page 2
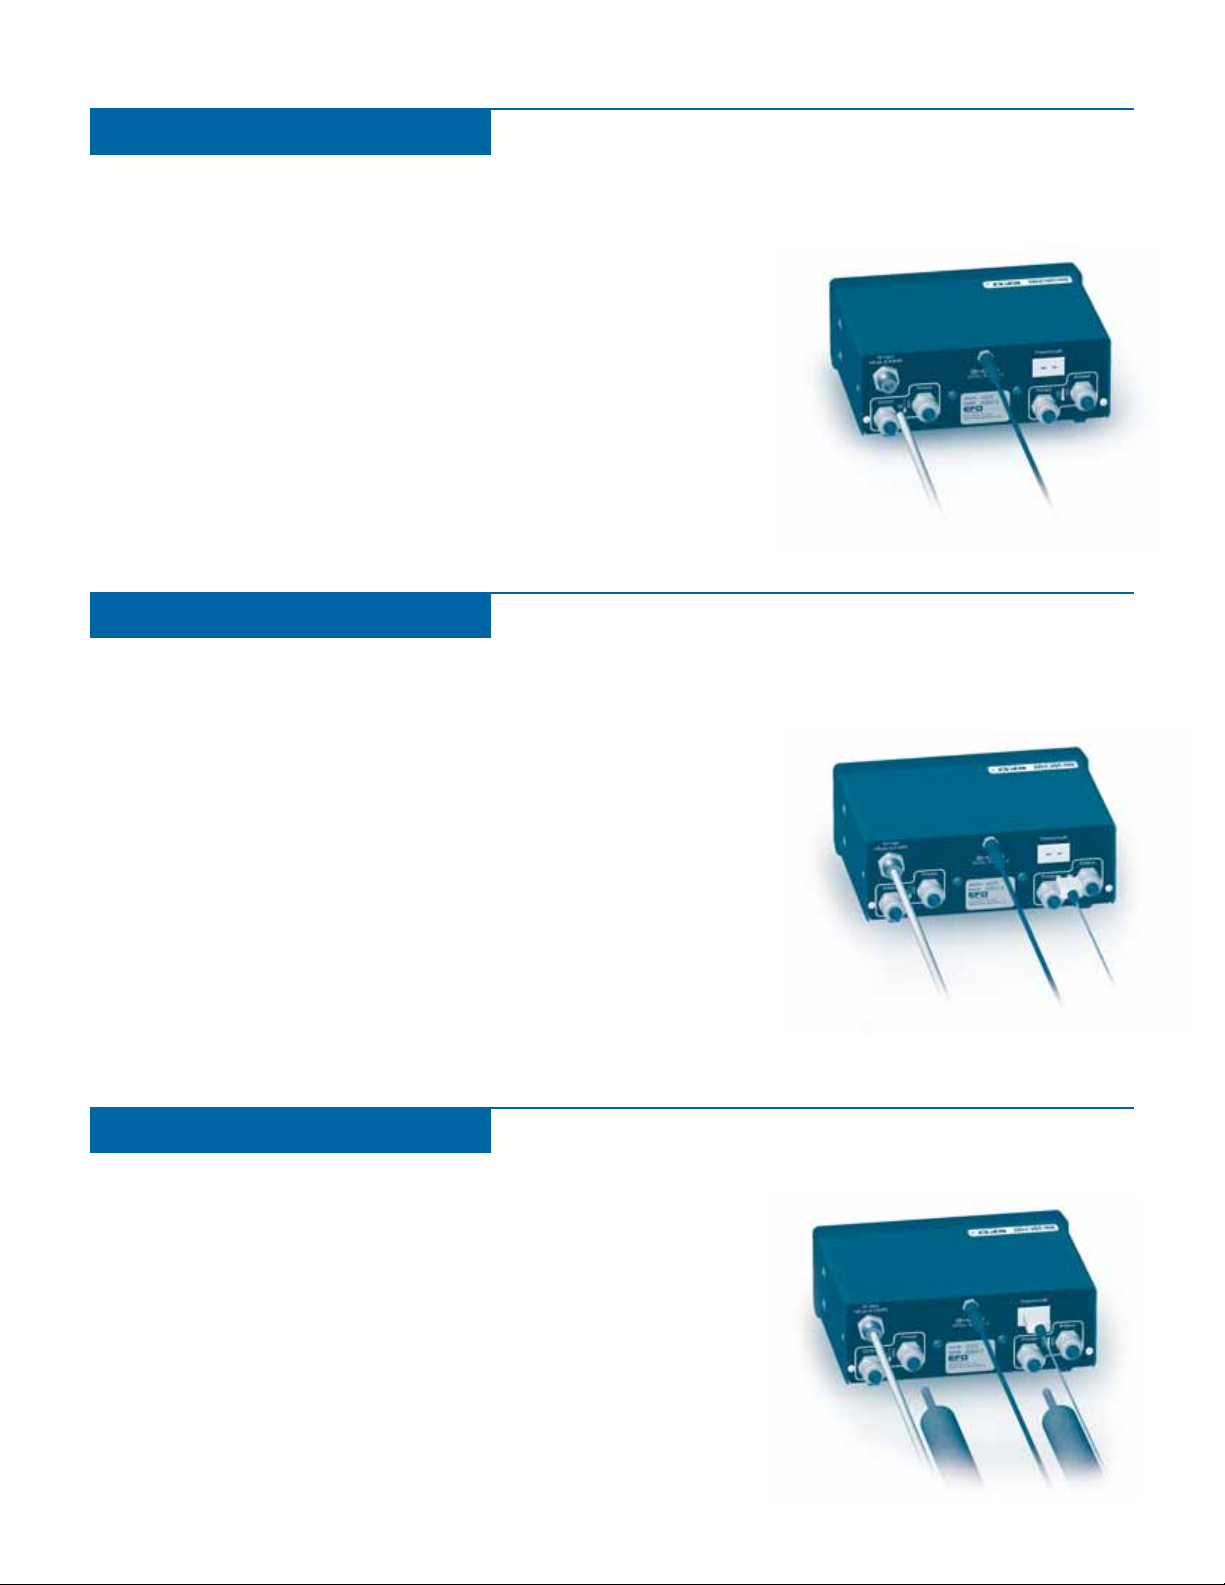
• Slide the insulation over the cold feed line.
• Slide the insulation over the hot feed line.
*Option: Can route thermocouple lead with either hot
or cold feed line.
• Insert the cold feed line into the cold process fitting.
• Insert the hot feed line into the hot process fitting.
2
Connect Thermocouple
4
Attach Temp. Control Feed Lines
5
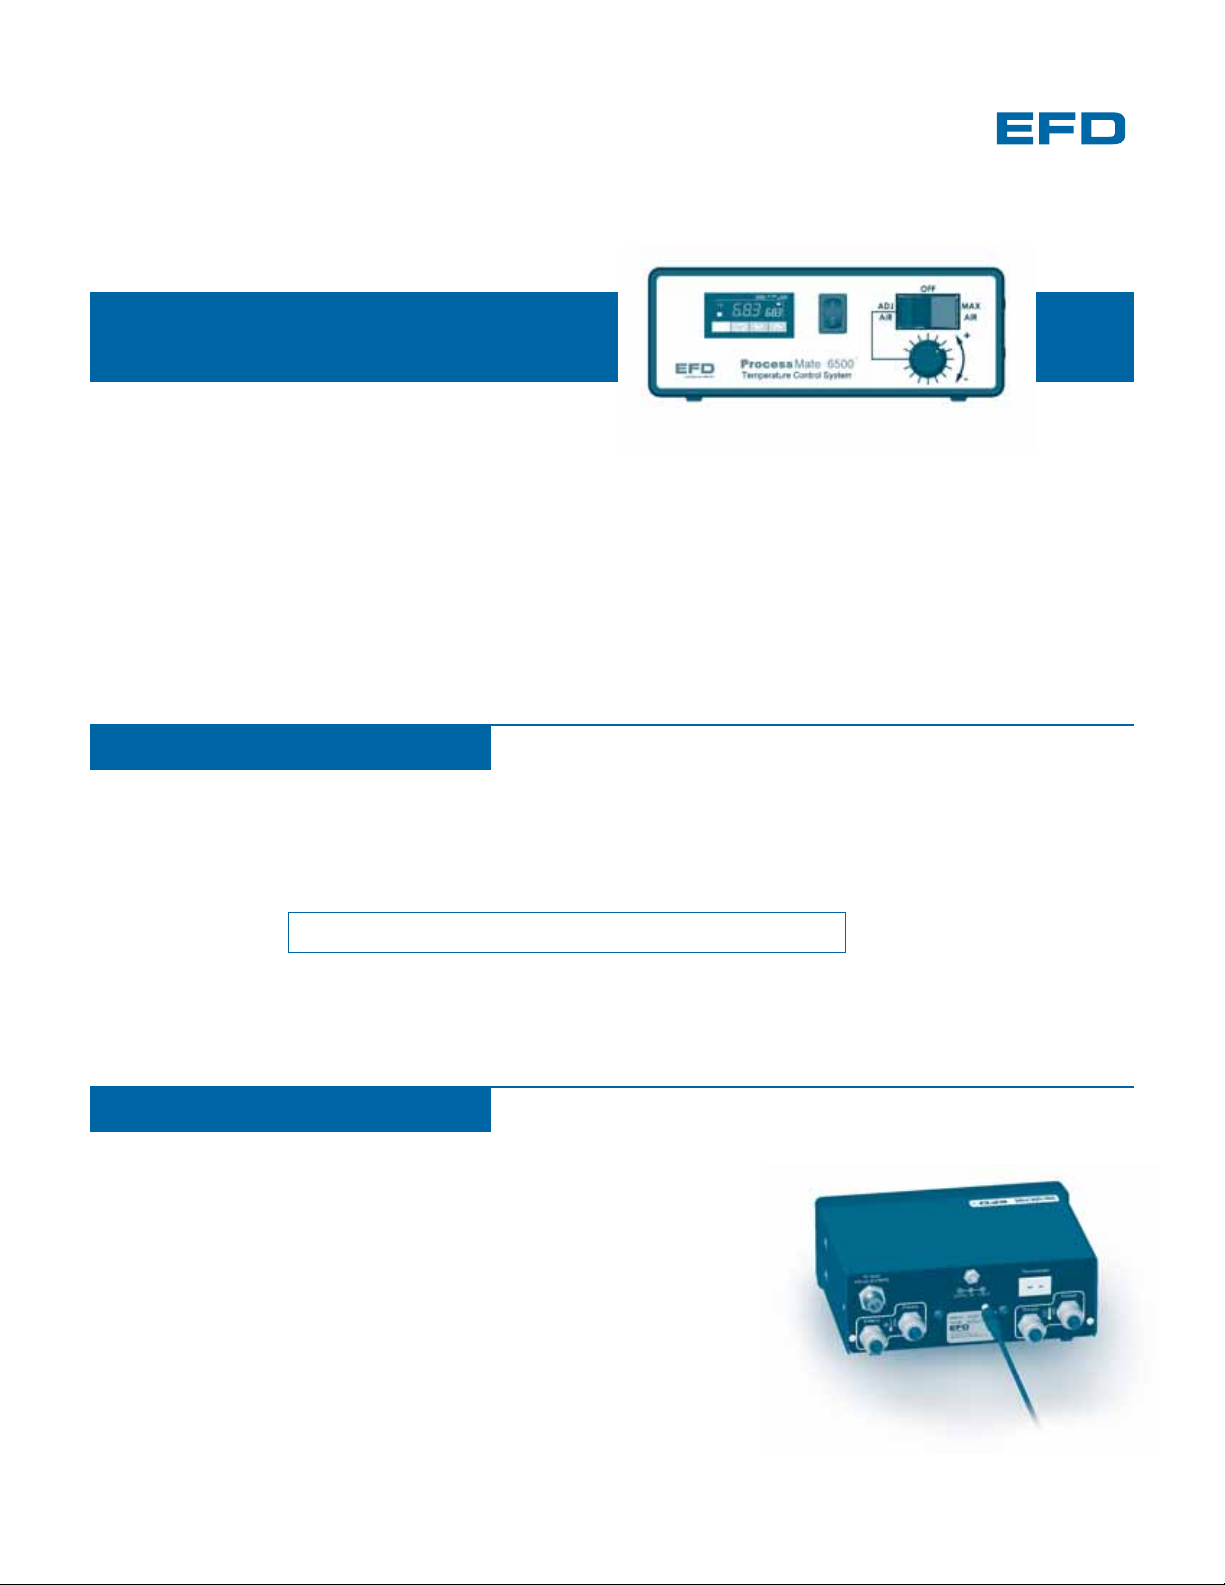
• Plug the K-type thermocouple lead into the back panel
of the ProcessMate.
• Connect the other end of the lead to process hardware.
*Option: Can route lead with either air line tubing inside insulation.
See Step 5.
NOTE: Longer Thermocouple leads may be used when required.
These are available from a variety of sources in many lengths.
Only K-Type thermocouple leads should be used with the ProcessMate.
Using a different type will result in incorrect temperatures.
NOTE: Clean, dry, filtered factory air is necessary to meet warranty requirements.
If your air supply is not filtered, order the EFD five-micron filter regulator
(EFD part# 2000F755).
• Push one end of the air input hose into the input fitting
on the back of the ProcessMate.
• Connect the other end of the hose to your plant air supply.
• Set plant air supply within 80 to 100 psi (5.5 to 6.9 bar).
• DO NOT exceed 110 psi (7.5 bar) or damage to the unit may occur.
Connect Air Input
3
Page 3

3
• Turn the power switch to the ON position.
• Turn air switch to ADJ AIR. Turn the knob labeled with
+/- markings to allow more or less air to reach the
desired pressure.
• Press the UP/DOWN button on the front panel display
to desired dispensing temperature. (Hold down button
for rapid increase/decrease.)
• Insert a muffler into each exhaust port for both cold and
hot feed exhausts.
NOTE: Tubing can be purchased as an accessory to route
for remote exhaust in lieu of mufflers.
6
Operation
7
Connect Exhaust Mufflers
Page 4

Helpful Hints
See User’s Guide for additional information and frequently asked questions.
4
©2006 Nordson Corporation 6500-GUIDE-01 v062606
This equipment is regulated by the European Union under WEEE Directive (2002/96/EC).
See www.efd-inc.com for information about how to properly dispose of this equipment.
For EFD sales and service in over 30 countries,
contact EFD or go to www.efd-inc.com/contact
EFD, Inc.
East Providence, RI USA
800-556-3484; +1-401-434-1680 (outside the USA)
info@efd-inc.com www.efd-inc.com
EFD International Inc.
Dunstable, Bedfordshire, UK
0800 585733 or +44 (0) 1582 666334
Ireland 00800 8272 9444
europe@efd-inc.com www.efd-inc.com
EFD, Inc., Asia
China: +86 (21) 5854 2345
china@efd-inc.com www.efd-inc.com/cn
Singapore: +65 6896 9630 sin-mal@efd-inc.com
A NORDSON COMPANY
 Loading...