

Page 1
Quick Installation Guide
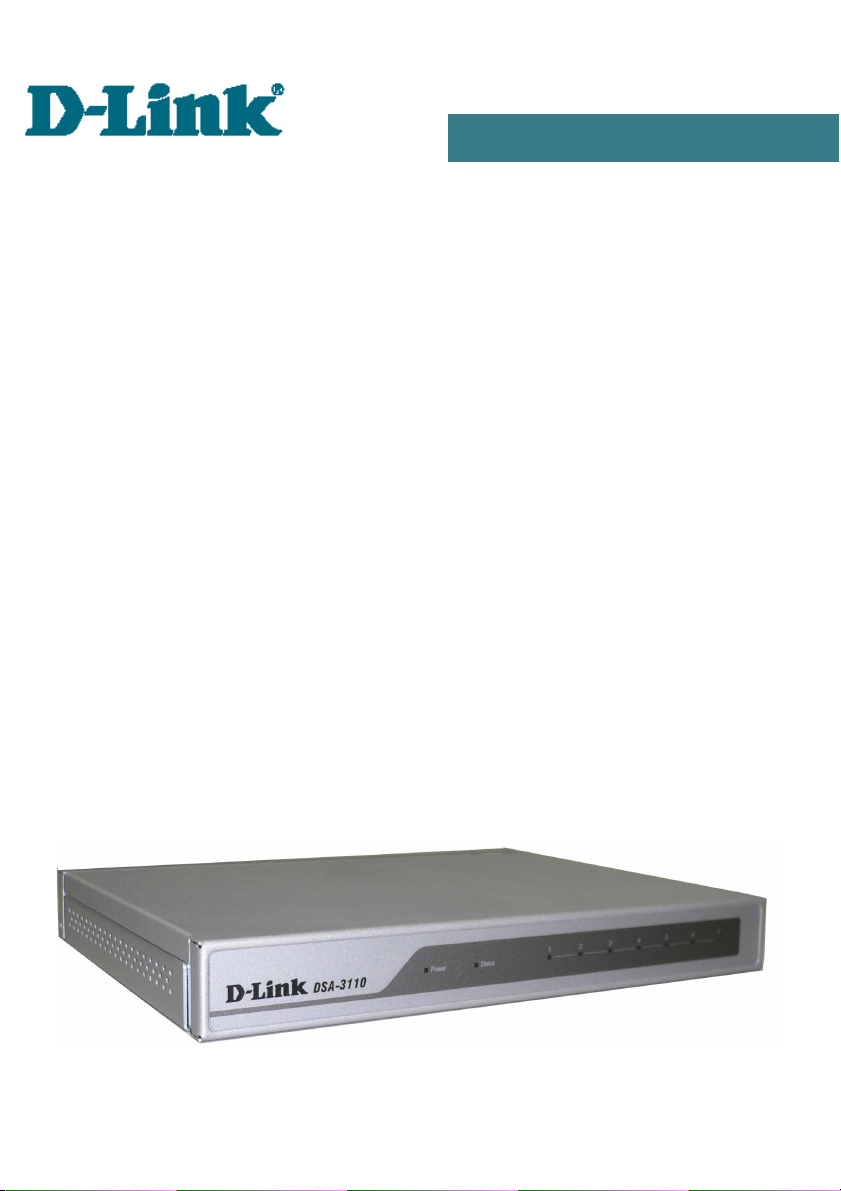
DSA-3110
Hotspot Edition
Hotspot Service Gateway
Page 2

BEFORE YOU BEGIN
Please read this guide before installation. Make sure that you have all the
necessary information and equipment. Also check whether the existing
hardware/software firewalls are disabled.
CONNECTING DSA-3110 HOTSPOT EDITION TO
EXISTING NETWORK
1. Connect an Ethernet cable between any of Ethernet ports 4-7
located on the back panel of the device and the Ethernet port of
your PC or the hub (switch) of your network.
2. Connect the power cord to the power connector port on the back
panel of the device, then plug the power adapter into an electrical
outlet or power strip. The Power LED turns on indicating that the
device has been powered on.
Attention! Using a power supply with a different voltage rating than the
one included will cause damage and void the warranty for this product.
3. Check whether the LED of the Ethernet port to which you have just
connected the Ethernet cable is on. If the relevant LED is off,
please repeat steps 1-2 and check the Ethernet cable.
Note: All LAN1 ports of the DSA-3110 Hotspot Edition device are autoMDI/MDIX. So you can use a straight-through Ethernet cable as well as a
crossover-one.
Page 3

CHECKING IP ADDRESS
Check the IP address of the computer used to configure the DSA-3110
Hotspot Edition device.
Go to Start > Run.
Enter “cmd” in the
Open field. Click the
OK button.
In the opened window,
type “ipconfig”. Press
the Enter key.
Current settings of your
IP address will be
displayed.
The IP address should
fall within the range
from 192.168.1.1 to
192.168.1.253.
If your IP address is out of the range specified above, change it in the
following way:
1. Left-click the
Network Connection
icon
Page 4

2. The Local Area
Connection Status
window appears. In the
window, click the
Properties button.
3. The Local Area
Connection Properties
window appears. Select
the Internet Protocol
(TCP/IP) line and click
the Properties button.
4. In the opened window,
select the Use the
following IP address
radio button and enter
the IP address of your
computer from the range
specified above (e.g.,
192.168.1.2) and the
subnet mask
(255.255.255.0).
5. Click the OK button
in the present window
and the OK button in the
Local Area Connection
Properties window.
Page 5

CONNECTING TO WEB-BASED INTERFACE
1. Open a web browser
on your computer.
Enter
http://192.168.1.254 in
the address bar.
Note: First disable proxy
settings in your web
browser.
2. On the opened page,
enter “admin” in the
Login field and
“admin” in the
Password field. Then
click the Enter button.
After successful registration the system statistics page opens.
Follow the menu to configure the necessary settings.
Please refer to the “User Manual” document to fine-tune the device.
Page 6

TECHNICAL SUPPORT
You can find software updates and user documentation on our website.
D-Link provides its customers with free support within the product's
warranty period.
Customers can contact the technical support group by phone or by Internet/
e-mail.
FOR CUSTOMERS WITHIN RUSSIA
CONTACT D-LINK TECHNICAL SUPPORT
(495) 744-00-99
CONTACT D-LINK BY INTERNET
Website: http://www.dlink.ru
E-mail: support@dlink.ru
FOR TELEPHONE NUMBERS AND ADDRESSES OF D-LINK
OFFICES WORLDWIDE VISIT
http://www.dlink.com/corporate/worldwideoffices/
 Loading...