

Page 1
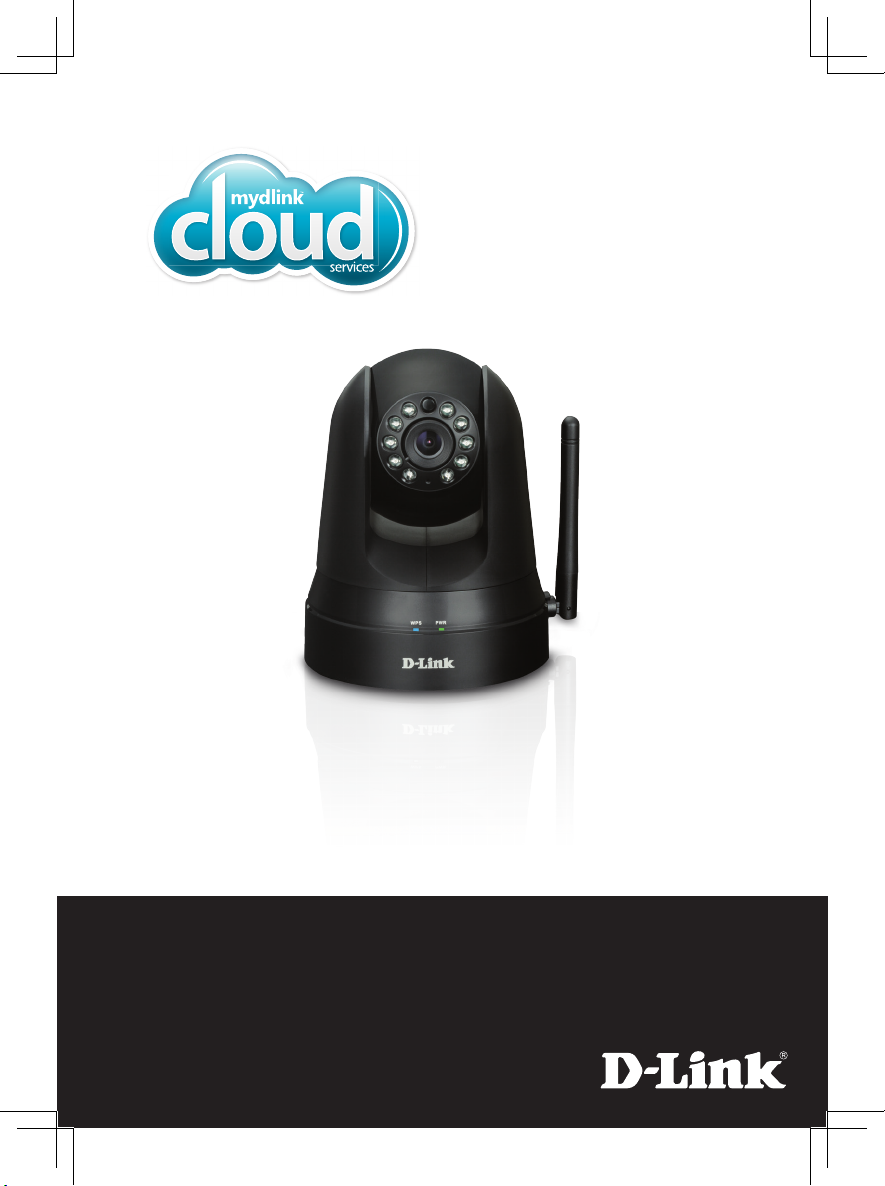
DCS-5009L
Pan & Tilt Day/Night Network Camera
Cloud Camera
Quick Install Guide
Page 2
Package Contents
DCS-5009L Pan & Tilt Day/Night Network Camera
Mounting Kit
Power Adapter
Ethernet Cable
Quick Install Guide
If any of the above items are missing, please contact your reseller.
Minimum Requirements
• Wired 10/100 Fast Ethernet or Wireless 802.11g/n network
(Wireless N network recommended for optimum performance)
Computer with:
• 1.3GHz processor or above and at least 128MB RAM
• Windows® 8, 7, Vista®, or Mac OS® X 10.6 or higher
Web Browser
• Internet Explorer® 7, Firefox, Safari 4, or Chrome
• Installed and enabled Java and ActiveX® controls
Network Device and Service
• A router (D-Link Cloud Router is recommended)
• An Internet connection
• An e-mail account (required to create a mydlink account)
2
Page 3
Product Overview
ENGLISH
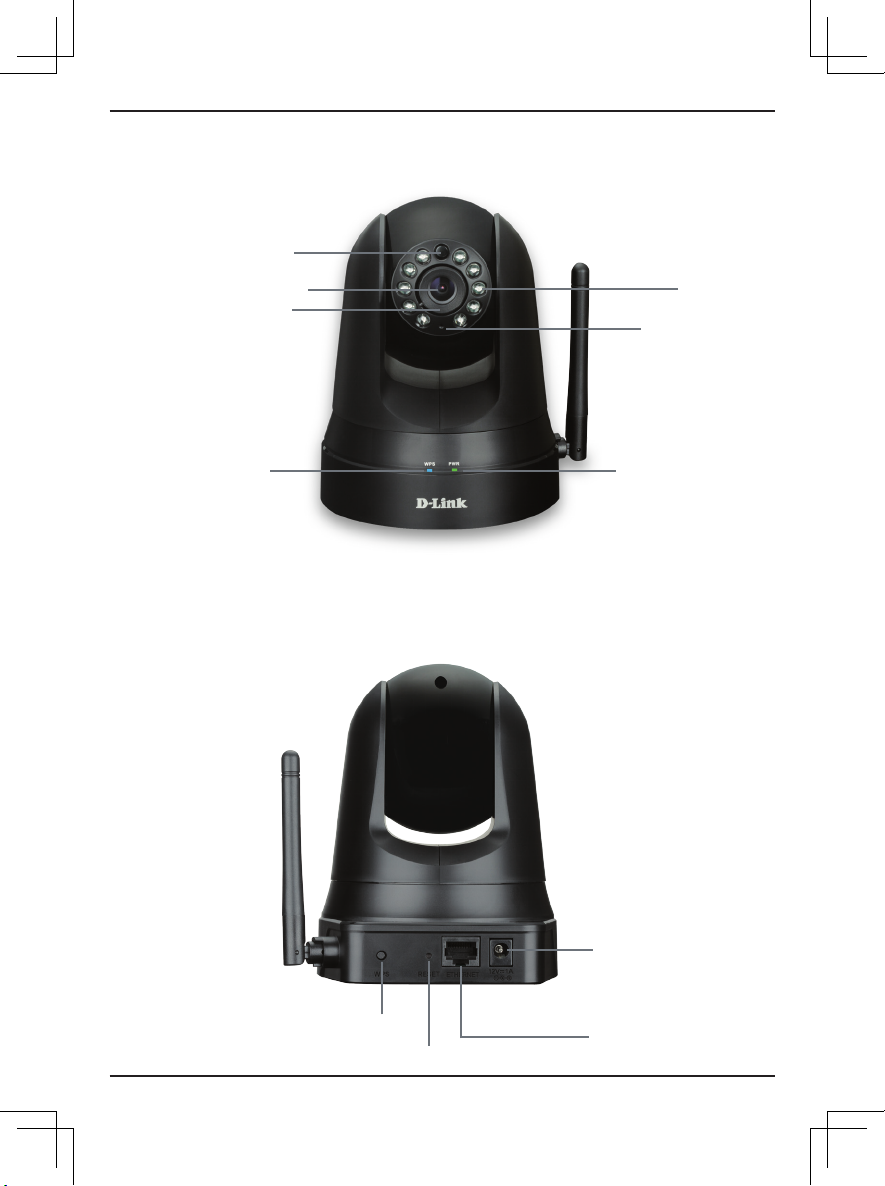
Front
Light Sensor
Camera Lens
Manual Focus Bezel
WPS LED
*Note: If you see a white haze when viewing in night vision mode, the IR lights on the
camera may be reecting o a nearby surface. Try repositioning the camera in order to
avoid glare from the IR LEDs.
Microphone
Power and Link LED
IR LEDs*
Back
WPS Button
Reset Button
Power Connector
Ethernet Port
3
Page 4

Zero Conguration Setup
The Zero Conguration Setup will only work with a registered
Cloud Router and an active mydlink account. Your Cloud Router will
automatically assign your network settings (both wired and wireless) to
your camera, and add it to your mydlink account. If you do not have a
D-Link Cloud router, skip to the Easy Setup section on the next page.
Attach the power supply to the power
1
receptor located on the back of the DCS5009L and connect it to a wall outlet or
power strip. Power is conrmed when the
Power LED is lit.
If using an Ethernet connection: Connect
2
the included Ethernet cable to the Ethernet
port located on the back of the DCS-5009L
and connect it to your router.
If using a wireless connection: Press and
hold the WPS button on the side of the
camera for ve seconds. The blue WPS
status LED will start to blink. Then, press
the WPS button on your Cloud Router
within two minutes.
From any PC, open a web browser,
3
go to http://www.mydlink.com and
log into your account. Once mydlink
detects your camera, a notice will
appear that there is a new device
detected. Click on your camera from
the New Devices list and then click
Yes to add your camera.
Your setup is complete!
DCS-5009L
4
Page 5

Easy Setup (All Other Routers)
ENGLISH
If you do not have a D-Link Cloud Router, you can use any Windows or Mac
computer to go through the Setup Wizard, which will guide you through
the installation process, from connecting your hardware to conguring
your camera.
Download the Setup Wizard from http://www.mydlink.com/support.
Windows Users - Extract (“unzip”) the les to a folder on your computer and
then double-click the autorun.exe le.
Mac Users - Download the Mac OS Setup Wizard. Open the SetupWizard le
and launch the application.
After about 20-30 seconds, the Setup Wizard will open, which will guide you
step-by-step through the installation process from connecting your hardware
to conguring your camera and registering it with your mydlink account.
5
Page 6

Start mydlink
1
2
3
Open a web browser on any computer connected to the Internet.
Enter http://www.mydlink.com in the address bar and press Enter.
Sign in with your mydlink account registered in the Setup Wizard.
• Windows does not have Java installed by default.
Please download it from http://www.java.com.
• In Mac OS X 10.7.x, Java applets are disabled by
default. Click the Finder > Applications > Utilities
> Java Preferences and check the Enable applet
plug-in and Web Start applications option.
• The ActiveX® controls in IE will install automatically
if needed. We suggest that you make sure that
you have enabled the related options in Tools >
Internet Options > Security > Custom Level.
If your image is blurry, you can manually focus the camera by adjusting the focus bezel.
mydlink Lite App (Free)
Search for “mydlink lite” to download and install the app on your smartphone or tablet
when connected to the Internet. You can also nd the app by scanning the QR code
below with a QR code scan app.
mydlink Requirements: for mydlink and mydlink app requirements refer to: www.mydlink.com
mydlink+ App (Paid - Tablet Only)
Search for the word “mydlink+” to download and install the app on your tablet when
connected to the Internet. You can also nd the app by scanning the QR code below
with a QR code scan app.
mydlink Requirements: for mydlink and mydlink app requirements refer to: www.mydlink.com
6
Page 7

Mount the Camera
ENGLISH
Please refer to the steps below to assist you with mounting the camera.
We suggest that you congure the camera before mounting.
1. Place the mounting bracket where you want to
position the camera and use a pencil to mark
1
the holes.
2. Depending on the material of the wall or ceiling,
use a 6mm drill bit to drill two holes where you
2
marked. If the wall is made out of concrete, after
drilling the holes, insert the plastic anchors and
then insert the screws.
3. The power and Ethernet cables can be
concealed behind the mounting bracket. Run
3
the cables through the back of the mounting
bracket, securing them with the built-in
guides. Be sure to leave enough cable length
protruding from the top to allow connection to
the camera.
4. Fasten the mounting bracket to the wall using
the screws provided.
4
5. Using the supplied thumbscrew, fasten the
camera to the mounting bracket. Connect the
power and Ethernet cables to the camera.
6. Adjust the angle of the arm on the mounting
bracket as required. Tighten the thumbscrew to
lock the arm in place.
Do not overtighten the screws as this may crack the bracket.
7
5
6
Page 8

Technical Support
This guide is only for the rst time conguration. Please refer to the user manual to
learn more or visit http://www.mydlink.com for more information. Also feel free to
contact us. U.S. customers can contact D-Link Technical Support through our website.
USA
http://support.dlink.com
Version 1.0(US)_130x183
June 3, 2014
6DCS5009LQ01G
©2014 D-Link. All Rights Reserved. D-Link and the D-Link logo are trademarks or registered trademarks of D-Link
Corporation or its subsidiaries. All other third party marks mentioned herein may be trademarks of their respective owners.
Maximum wireless signal rate derived from IEEE Standard 802.11g and 802.11n specications. Actual data throughput
will vary. Network conditions and environmental factors, including volume of network trac, building materials and
construction, and network overhead, lower actual data throughput rate. Environmental conditions will adversely aect
wireless signal range. Product specications, size and shape are subject to change without notice, and actual product
appearance may dier from that depicted on the packaging. This publication may not be reproduced, in whole or in part,
without prior express written permission from D-Link Systems, Inc.
 Loading...