

100 Corporate Drive Mahwah, NJ 07430
Service Bulletin
No. : OST-F926
Date:
May 31, 2007
_____________________________________________________________
Model: DVD-3910
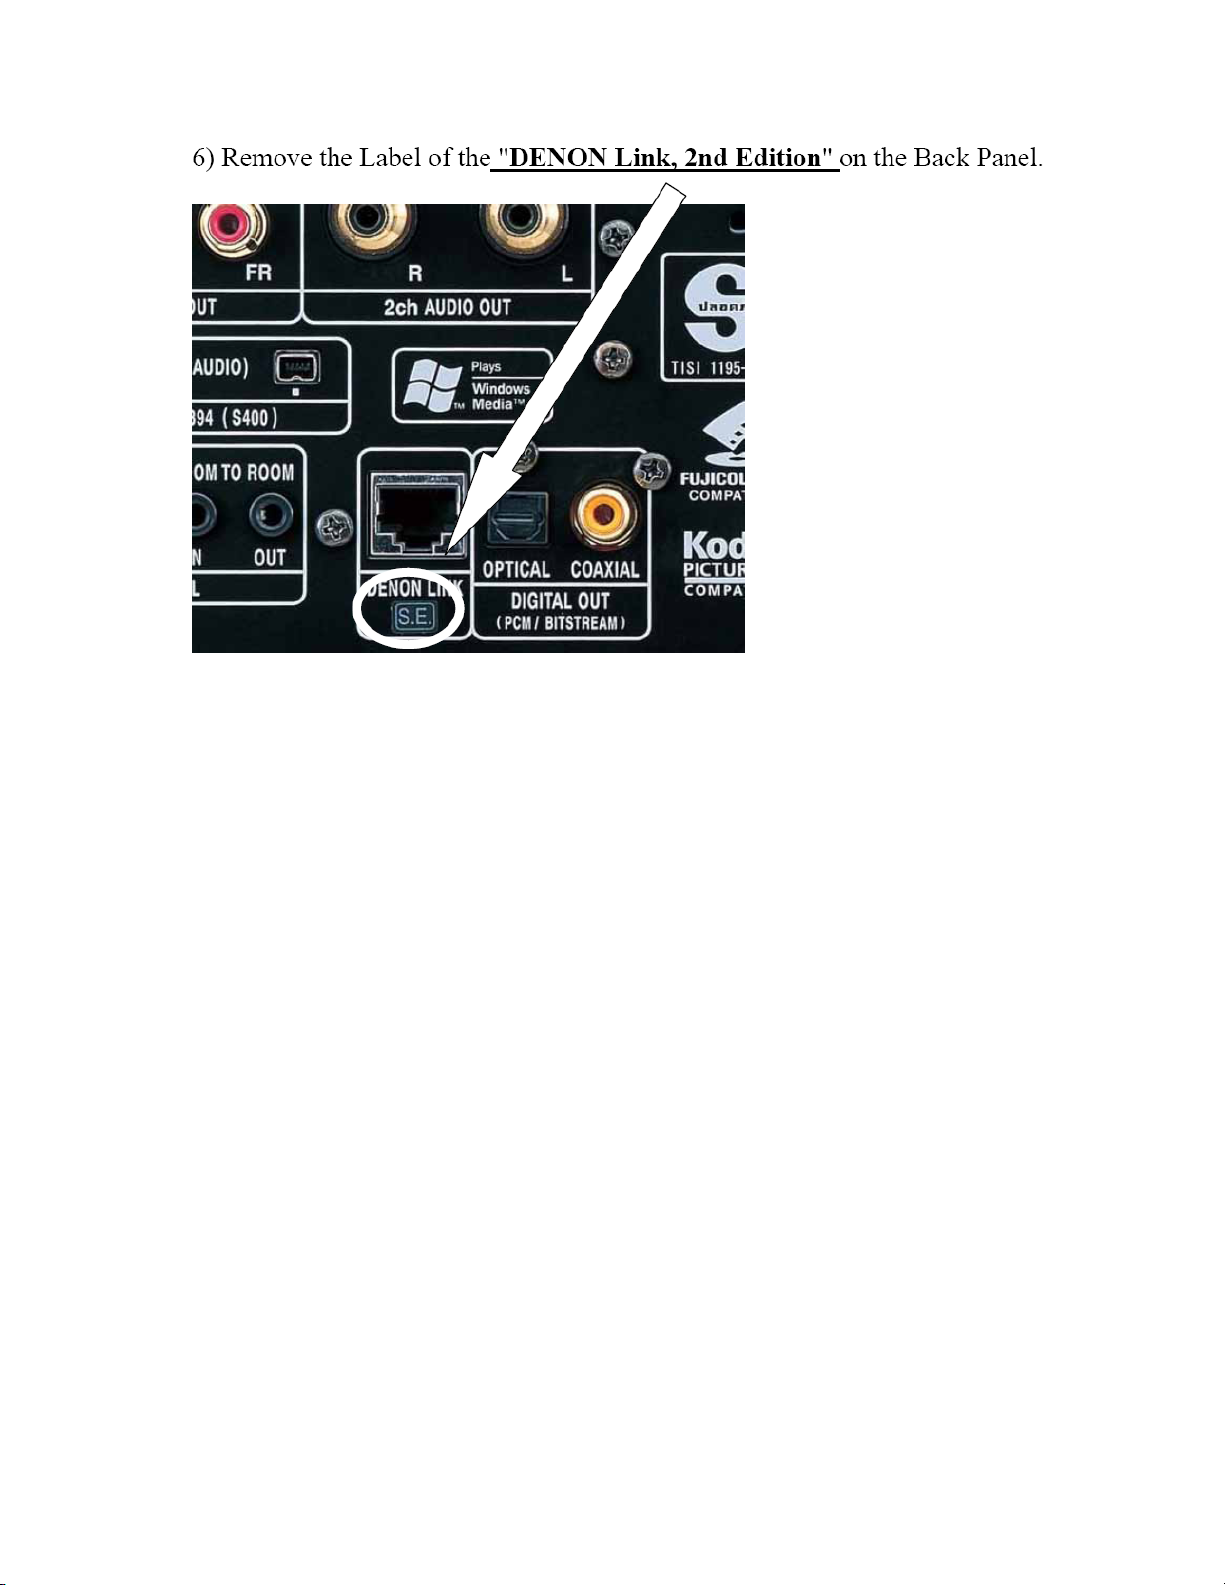
Subject: Upgrading DENON Link to the 3rd Edition.
Symptom: If your customer has not already updated the unit or is not able to
perform the update themselves perform the following.
Note: By upgrading the "DENON Link" to the 3rd Edition, the Digital
Transmission of the Super Audio CD becomes possible when the above model is
combined with amplifiers to which the 3rd Edition of the DENON Link has been
applied such as the AVR-5805, AVR-3805, etc.
Solution: Attention: The upgrading of the DENON Link to the 3rd Edition is
applicable only for those who have the amplifier that is conformable to the 3rd
Edition of DENON Link.
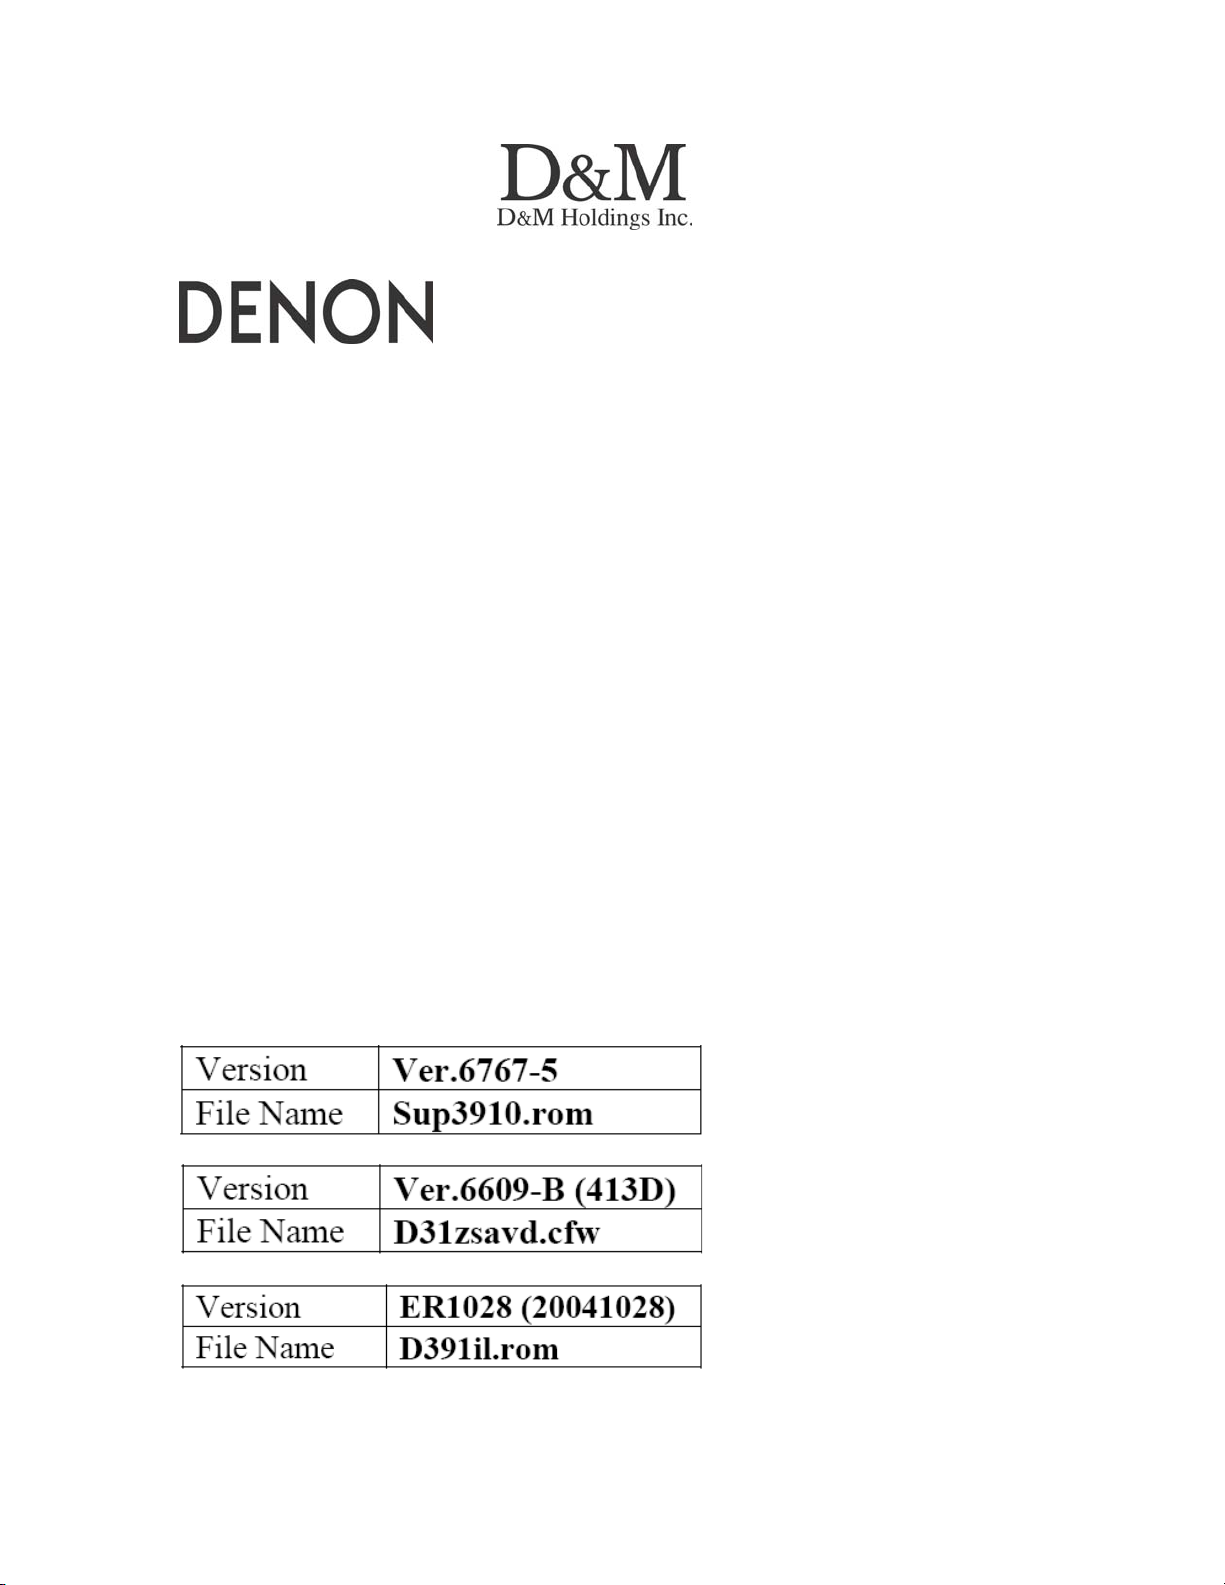
1) Supplied Program Files:
(a) For the System MICON:
(b) For the Back-end:
(c) For the IEEE1394:
______________________________________________________________________________________
The information contained in this document is intended for the exclusive use by DENON Authorized Service Centers and their
employees. This document may contain information that is privileged, confidential and may be protected from disclosure under
applicable laws and terms of the DENON Service Agreement. Any distribution, disclosure, dissemination or copying of this
document and the information it contains is prohibited. No responsibility will be accepted by DENON for any damage, injury or loss
resulting from the misuse of the information contained in this document.
CONFIDENTIALITY NOTICE:

2) Manual for the Rewriting Operation: 1 page (Letter size).
5-1: Before starting the Upgrade:
On the CD-R Discs for rewriting, please record the supplied program files for
System MICON, Back-end and IEEE1394 ROMs on the CD-R Discs separately,
and upgrade the System MICON, Back-end ROM and IEEE1394 ROM
respectively by means of recorded CD-R Discs.
• Please be sure to record the above program files on a blank CD-R Disc
individually and separately.
Note:
• When recording the files on the CD-R Discs, the format shall be "ISO9660" and
the Session shall be "CLOSE".
• Regarding the CD-R for rewriting the System MICON: The CD-R (Ver.6767-5)
for rewriting has been issued via OST-916, and we will issue it again. However,
you can use previously issued CD-R (Ver.6767-5) as it is.
• Regarding the CD-R for rewriting the Back-end ROM: The CD-R (Ver.ER1028
(20041028)) for rewriting the Back-end has been issued via OST-916, and we
will issue it again. However, you can use previously issued CD-R (Ver.ER1028)
as it is.
5-2: Upgrading procedures of the System MICON, Back-end ROM and
IEEE1394 ROM:
1) Upgrading procedures of the System MICON:
(a) Turn on the Power of the unit. Press the "OPEN/CLOSE" button and open
the Disc Tray.
(b) Set the CD-R Disc (Ver.6767-5 for upgrading the System MICON) to the
Disc Tray. Then, press the "OPEN/CLOSE" button.
• The Disc Tray closes and the upgrading starts automatically.
• After indicating the "LOADING" on the FL Display, the Power of the unit turns
off once and turns it on again automatically.
• After indicating "WRITING" on the FL Display, "COMPLETE" appears on the
Display.
(c) After the indication of the "COMPLETE", the Disc Tray opens automatically
upon completion of the upgrading. Take out the CD-R Disc from the Disc Tray.
(d) Turn off the Power of the unit once.
2) Upgrading the Back-end:
(a) Connect the Video Output terminal (Video or S-Video output) to a TV.
(b) Turn on the Power of the unit. Press "OPEN/CLOSE" button and open the
Disc Tray.
(c) Set the CD-R (Ver.6609-B for upgrading the Back-end) to the Disc Tray and
press the "OPEN/CLOSE" button.
______________________________________________________________________________________
The information contained in this document is intended for the exclusive use by DENON Authorized Service Centers and their
employees. This document may contain information that is privileged, confidential and may be protected from disclosure under
applicable laws and terms of the DENON Service Agreement. Any distribution, disclosure, dissemination or copying of this
document and the information it contains is prohibited. No responsibility will be accepted by DENON for any damage, injury or loss
resulting from the misuse of the information contained in this document.
CONFIDENTIALITY NOTICE:

• Disc Tray closes, "LOADING" appears on the FL Display and the upgrade
operation of the Software starts automatically.
• During the rewriting, "ERASE" and "WRITE" appear on the TV for
approximately one minute repeatedly, and "DONE" is indicated finally.
(d) The FL Display indicates "COMPLETE" and the Disc Tray opens
automatically. Take out the Disc from the Disc Tray.
(e) Turn off the Power of the unit once.
3) Upgrading the IEEE1394:
(a) Turn on the Power of the unit. Press the "OPEN/CLOSE" button to open the
Disc Tray.
(b) Set the CD-R (Ver.ER1028 (20041028)) for rewriting the IEEE1394 to the
Disc Tray, and press the "OPEN/CLOSE" button.
• First, the indication of "LOADING" appears on the FL Display. Then, "STOP"
"UPDATE" "ERASE" "WRITING" and "COMPLETE" appear successively.
(c) After indicating the "COMPLETE", the Disc Tray opens automatically upon
completion of the rewriting operation. Take out the Disc from the Disc Tray.
(d) Turn off the Power of the unit once.
4) Confirmation of the Versions:
(a) Turn off the Power of the unit once. While holding the "PLAY" and
"OPEN/CLOSE" buttons on the unit down simultaneously, turn on the Power of
the unit.
(b) When " >|| " mark was indicated on the FL Display, press numeral buttons
"3", "2", "6" and "5" on the Remote Control.
(c) The following Versions appear by turns every time the "MENU" button on the
Remote Control is pressed. Confirm the Versions.
• The indication of versions after upgrading:
(1) ESS: 6609-B (2) MAKE DAY: 413D (3) DRV: 030825
(4) SYSTEM: 6767-5 (5) DSP: 6770 (6) 1394: 20041028
Cautions during the Rewriting Operation:
• Please do not turn off the Power of the unit during the rewriting operation.
• If the display remained indicating "LOADING", etc., without turning into
"COMPLETE" during the rewriting operation, wait for more than five minutes after
closing the Disc Tray and turn off the Power of the unit. Then, turn on the Power
of the unit and start the rewriting operation from the beginning again.
5) Confirm the actual operation.
______________________________________________________________________________________
The information contained in this document is intended for the exclusive use by DENON Authorized Service Centers and their
employees. This document may contain information that is privileged, confidential and may be protected from disclosure under
applicable laws and terms of the DENON Service Agreement. Any distribution, disclosure, dissemination or copying of this
document and the information it contains is prohibited. No responsibility will be accepted by DENON for any damage, injury or loss
resulting from the misuse of the information contained in this document.
CONFIDENTIALITY NOTICE:
Serial Number Range:
(last 5 digits)
Black ~ 07550
Silver ~ 01600
______________________________________________________________________________________
The information contained in this document is intended for the exclusive use by DENON Authorized Service Centers and their
employees. This document may contain information that is privileged, confidential and may be protected from disclosure under
applicable laws and terms of the DENON Service Agreement. Any distribution, disclosure, dissemination or copying of this
document and the information it contains is prohibited. No responsibility will be accepted by DENON for any damage, injury or loss
resulting from the misuse of the information contained in this document.
CONFIDENTIALITY NOTICE:
 Loading...