

Canon PIXMA iP1500, PIXMA IP1000 Quick Start Manual

Quick Start Guide
Table of Contents
Preface 1
Shipping Materials 1
Introduction 1
Setting Up 2
Preparing the Printer 2
Connecting the Printer to the Computer 3
Installing the Print Head 4
Loading Paper 7
Installing the Printer Driver 8
Basic Operations 13
Printing with Windows 13
Printing with Macintosh 15
Print Head Maintenance 17
Appendix 19
Notes on Handling the USB Interface (for Windows Users) 19
For Further Details... 19
BE
QA7-3251-V01
Exif Print
This printer supports Exif Print.
Exif Print is a standard for enhancing the communication between digital cameras and printers. By
connecting to an Exif Print-compliant digital camera, the camera’s image data at the time of shooting is
used and optimized, yielding extremely high quality prints.
Canadian Radio Interference Regulations
This digital apparatus does not exceed the Class B limits for radio noise emissions from a digital
apparatus as set out in the interference-causing equipment standard entitled “Digital Apparatus,”
ICES-003 of the Industry Canada.
Cet appareil numérique respecte les limites de bruits radioélectriques applicables aux appareils
numériques de Classe B prescrites dans la norme sur le matériel brouilleur NMB-003 d'Industrie
Canada intitulée « Appareils numériques ».
International ENERGY STAR® Program
As an ENERGY STAR® Partner, Canon Inc. has determined that this product meets the ENERGY
STAR guidelines for efficiency.
The International ENERGY STAR
that promotes energy saving through the use of computer and other office equipment.
The program backs the development and dissemination of products with functions
that effectively reduce energy consumption. It is an open system in which business
can participate voluntarily. The targeted products are office equipment such as computers, monitors, printers, faxes and copiers.
Their standards and logos are uniform among participating nations.
®
Office Equipment Program is a global program
Power Requirements
Never use a power supply voltage other than that supplied in the country of purchase. Using the incorrect voltage could cause a fire or electric shock. The correct power supply voltages and frequencies are
as follows:
AC 110-120 V, 50/60 Hz
AC 220-240 V, 50/60 Hz
Printer Model: K10240
Preface
Shipping Materials
Thank you for purchasing a Canon Bubble Jet Printer.
Check that all the following items are in the box. If anything is missing or is damaged, contact your local
Canon sales representative.
Printer
Setup Software & User’s Guide CD-ROM
Quick Start Guide
Print Head
BCI-24 Black and BCI-24 Color Ink Tanks
Power Cord
* A USB cable should be purchased separately according to your computer. For details on cable
specifications, refer to page 3.
Introduction
This
Quick Start Guide
instructions indicated by these symbols.
uses the following symbols to indicate important information. Always observe the
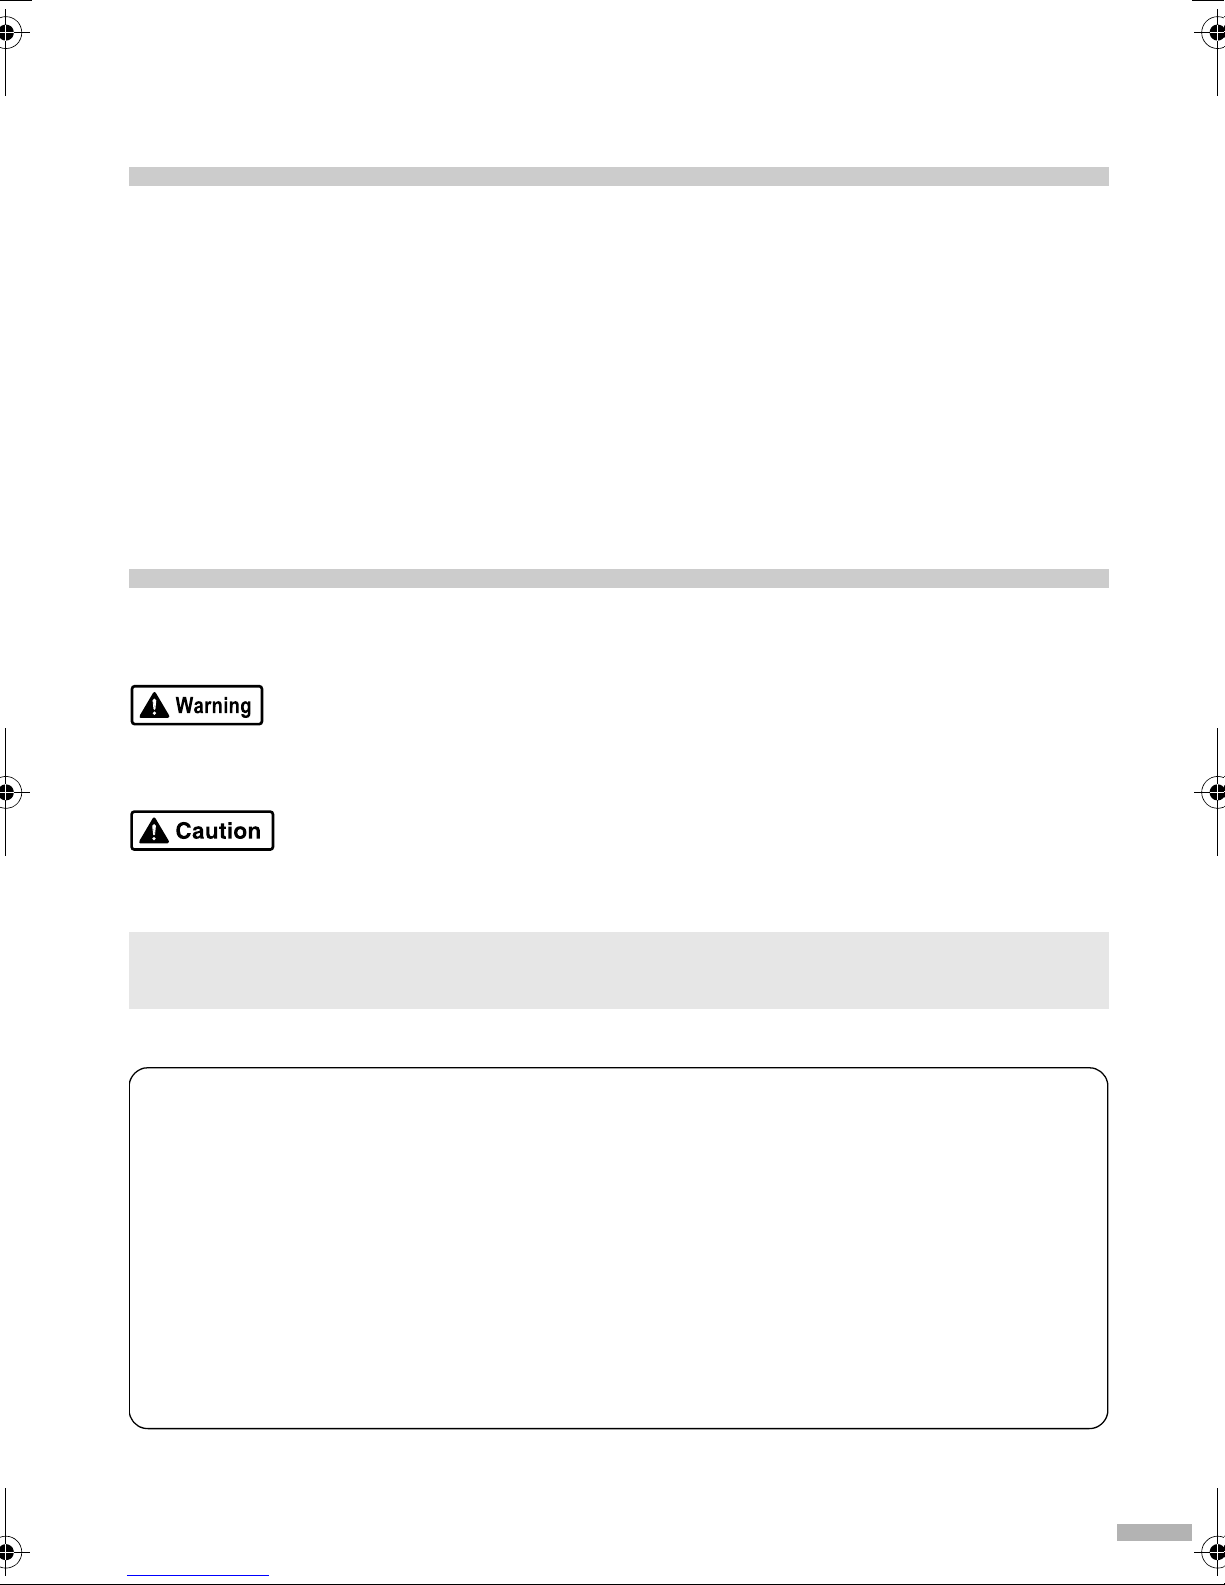
Instructions that, if ignored, could result in death or serious personal injury caused by incorrect
operation of the equipment. These must be observed for safe operation.
Instructions that, if ignored, could result in personal injury or material damage caused by incorrect
operation of the equipment. These must be observed for safe operation.
Also read the Safety Precautions in the
personal injury or damage to the printer.
Trademark Notices
• Canon® is a registered trademark of Canon Inc.
• PIXMA and BJ is a trademark of Canon Inc.
• Microsoft
countries.
• Apple, Mac, Macintosh are trademarks of Apple Computer, Inc., registered in the U.S. and other
countries.
• All other trademarks and registered trademarks appearing in this
their respective owners.
®
and Windows® are registered trademarks of Microsoft Corporation in the U.S. and other
User’s Guide
. Observe the warnings and cautions to avoid
Quick Start Guide
are the property of
Copyright ©2004 CANON INC.
All rights reserved. No part of this publication may be transmitted or copied in any form whatsoever
without the express written permission.
1
Setting Up
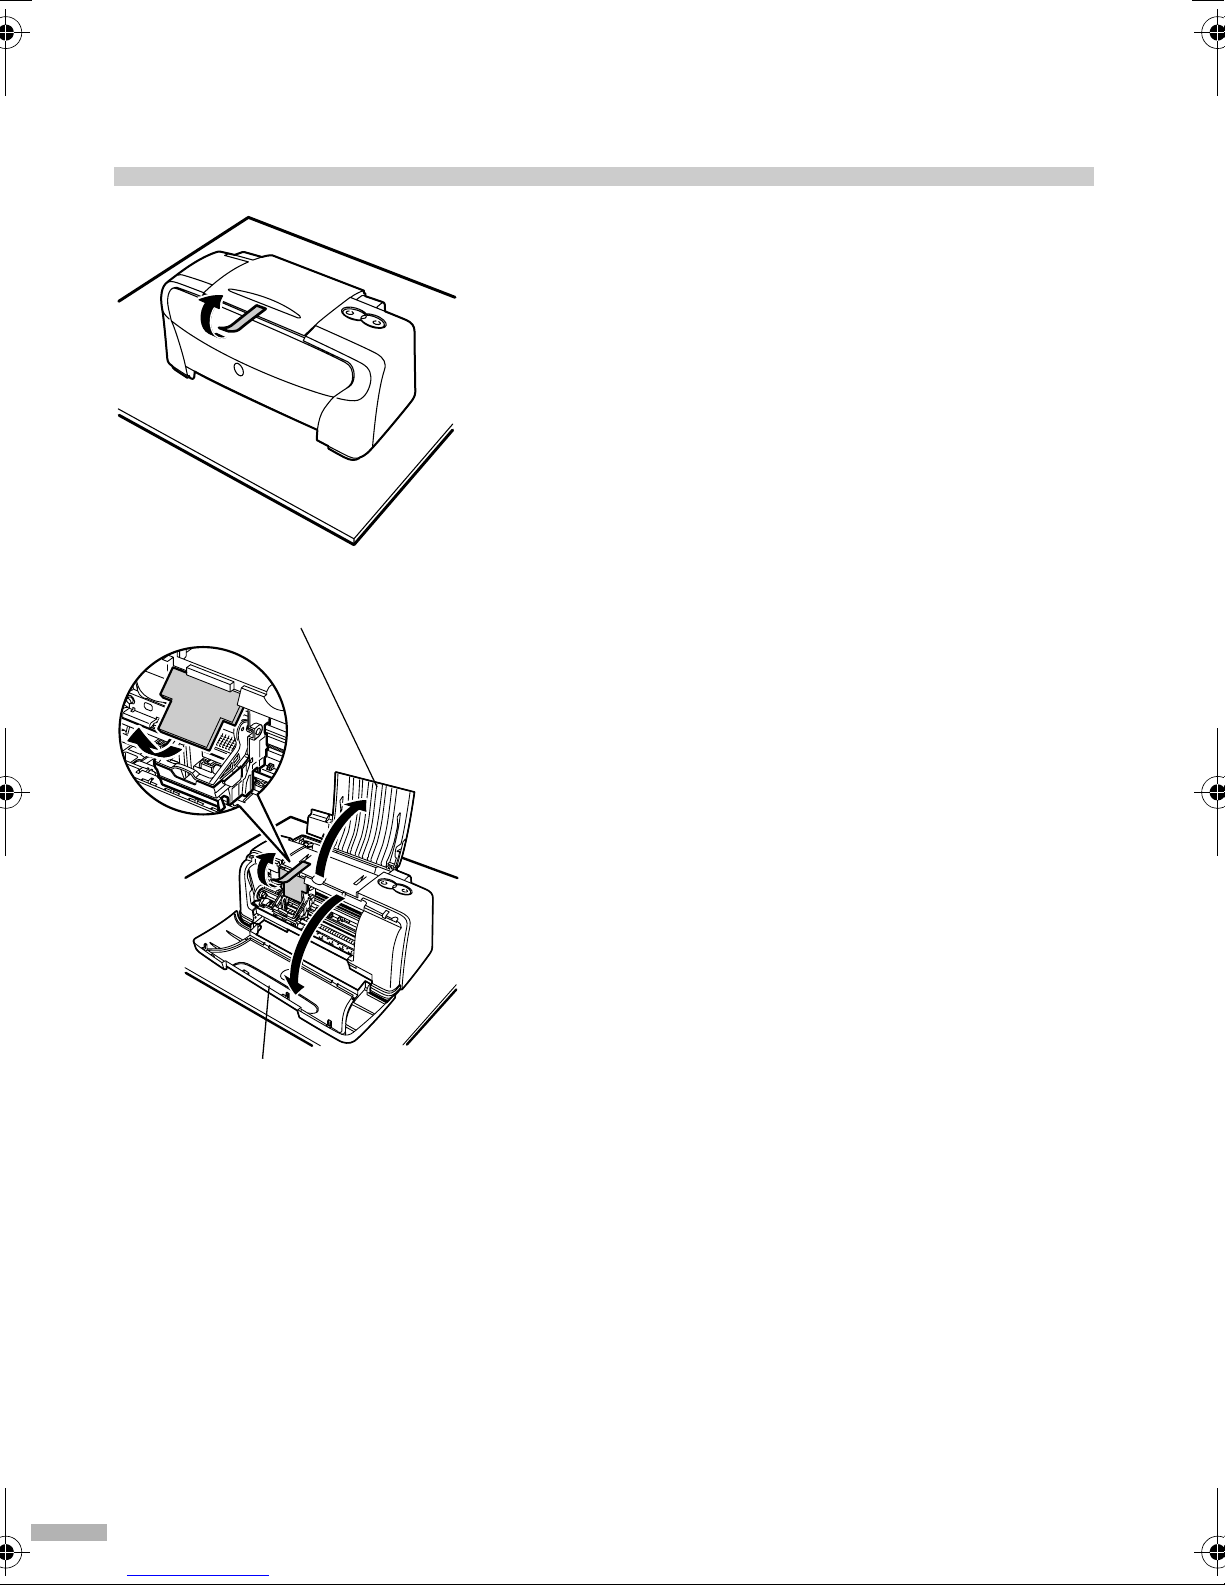
1 Preparing the Printer
1
Place the printer on a flat surface.
2
Remove the tape from the printer as
shown.
The tape position is subject to change.
Paper Support
Front Cover
3
Open the Paper Support and the Front
Cover. Remove the tape and the
shipping material.
4
Close the Front Cover.
2
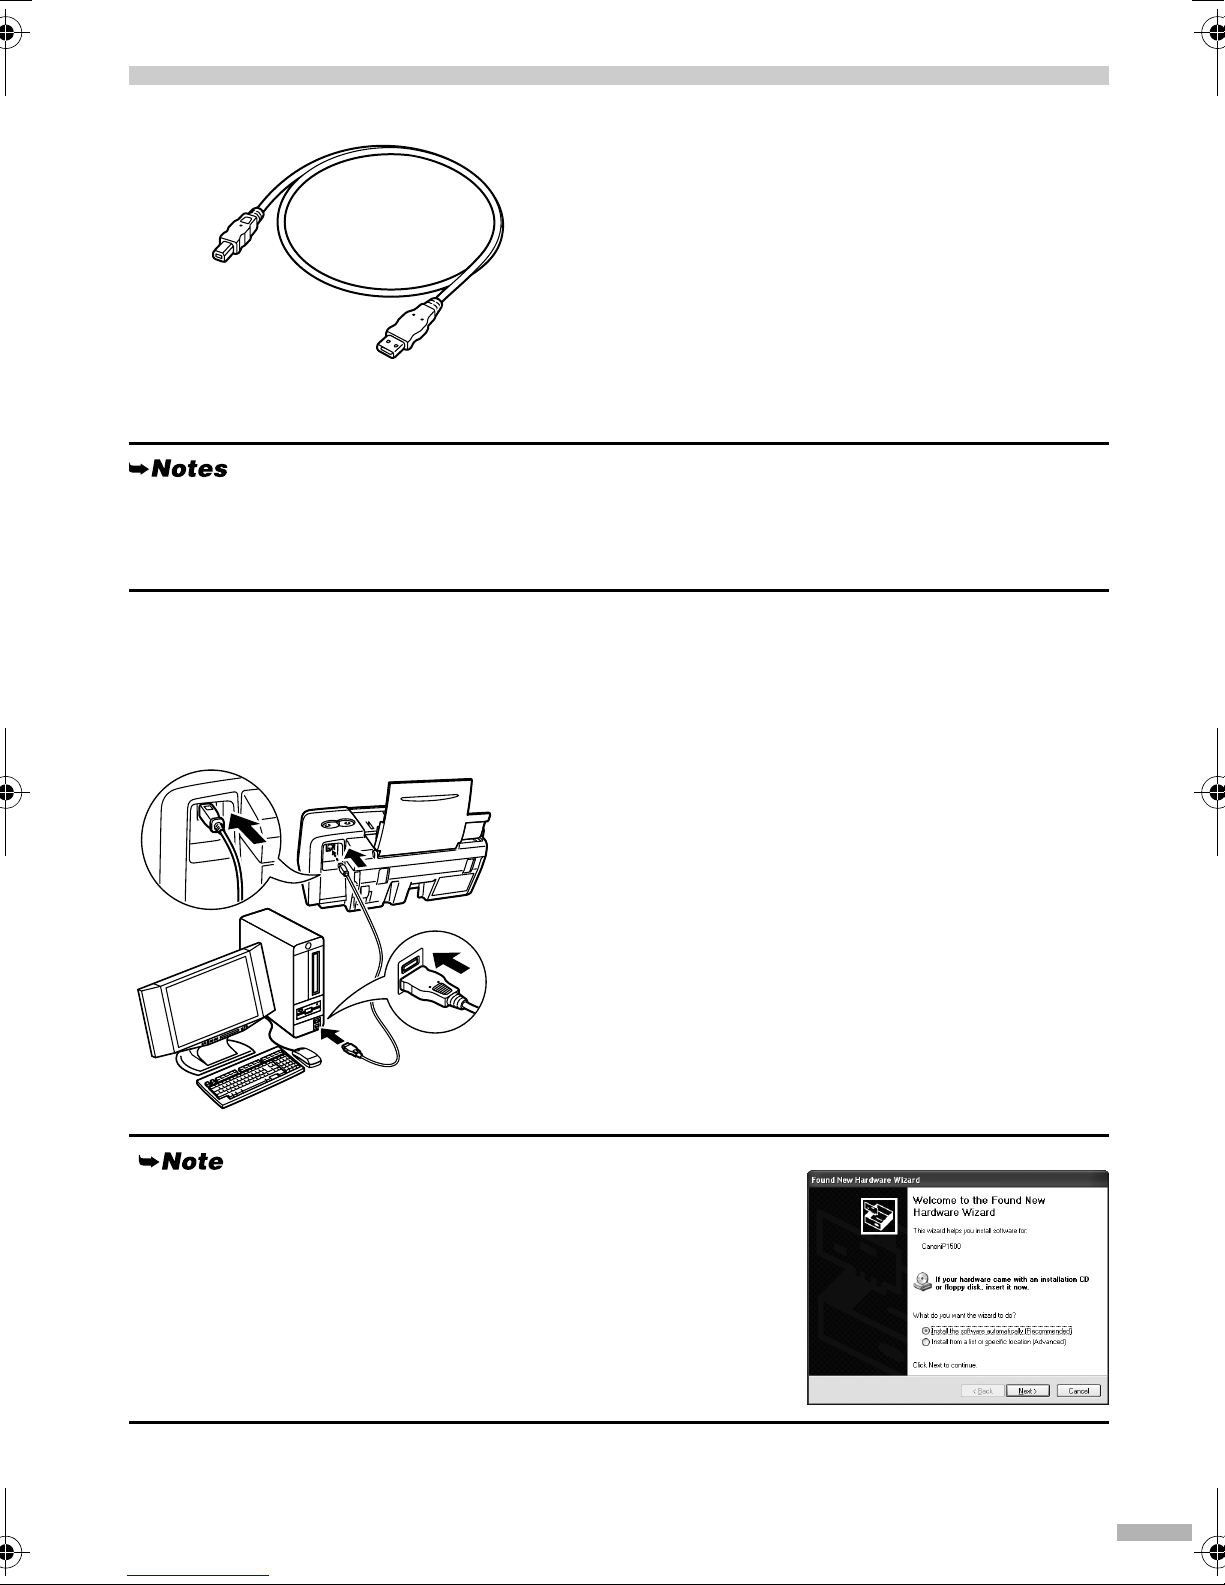
2 Connecting the Printer to the Computer
Use a USB cable.
Recommended: Canon or other computer manufacturer cable, up to 5 meters in length.
• If your computer has an earth connection, make sure that this is attached.
• If you do not intend to use the printer for a long period of time, unplug the power cord from the
power outlet after turning off the printer.
Follow the steps below to install the printer driver
correctly.
1
Ensure that the printer and the
computer are turned off.
2
Connect the cable.
If the Add New Hardware Wizard or Found New Hardware
Wizard screen appears when carrying out the following operations,
click Cancel and turn off the computer.
3
3 Installing the Print Head
• Never attempt to plug the power cord into the power outlet or unplug the power cord when your
hands are wet.
• Never damage, modify, stretch, or excessively bend or twist the power cord. Do not place heavy
objects on the power cord.
• Never use any power supply other than the standard power supply available in the country of
purchase. Using the incorrect voltage and frequency could cause a fire or electric shock.
• Always push the plug all the way into the power outlet.
Installing the Print Head
1
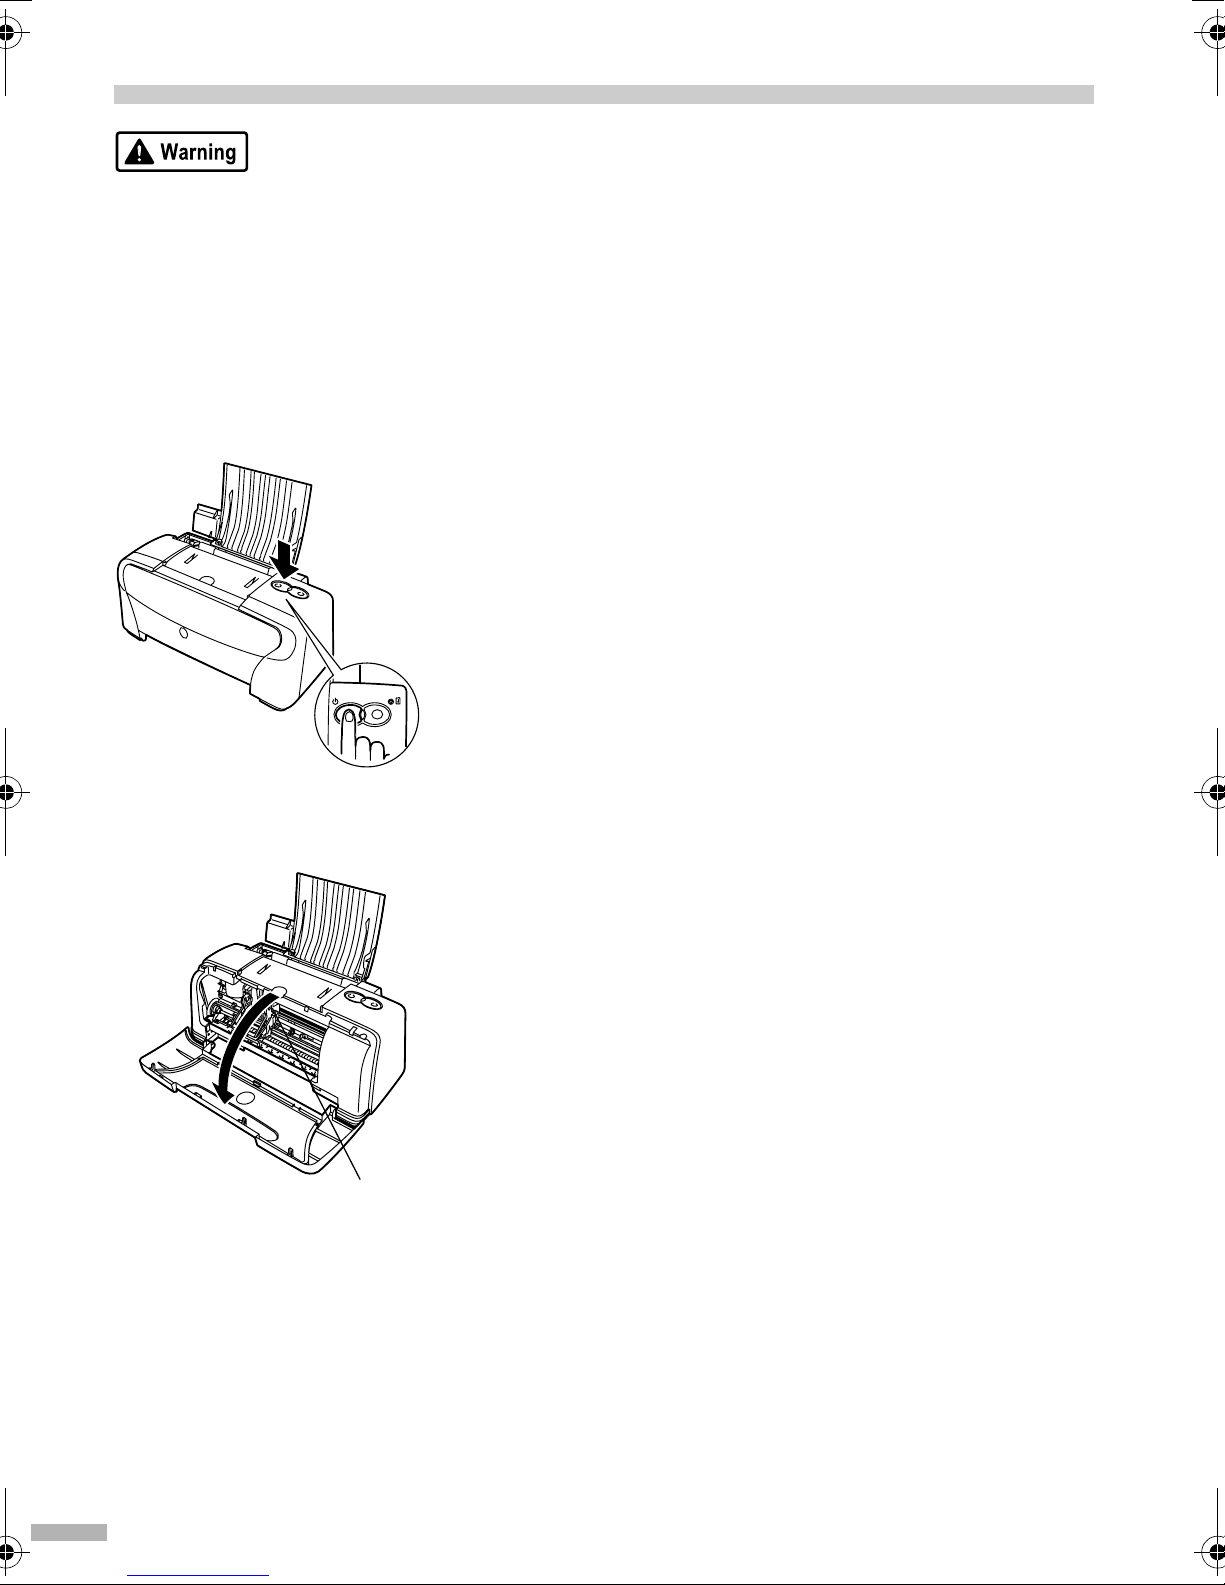
Plug the printer in.
2
Turn on the printer. Do NOT turn on the
computer yet.
The POWER lamp flashes and the printer begins to
operate. Wait until the POWER lamp remains fully lit.
ON
Print Head Holder
3
Open the Front Cover.
The Print Head Holder moves to the center.
4

Lock Lever
PrintHead
4
Raise the Lock Lever.
Do not touch internal parts other than the Lock Lever.
5
Remove the protective cap from the
Print Head.
Print Head
• Do not touch the Print
Head Nozzles or
electrical contacts.
• Do not attempt to
reattach the protective
cap once it has been
removed.
6
Place the Print Head in the holder.
Nozzles
electrical
contacts
7
Lock the Print Head into place by
lowering the lever.
Do not touch the Lock Lever once the Print Head has
been installed.
5
Installing the Ink Tanks
• For safety reasons, store ink tanks out of the reach of small children.
• Do not drop or shake ink tanks as this may cause the ink to leak out and stain your clothes and hands.
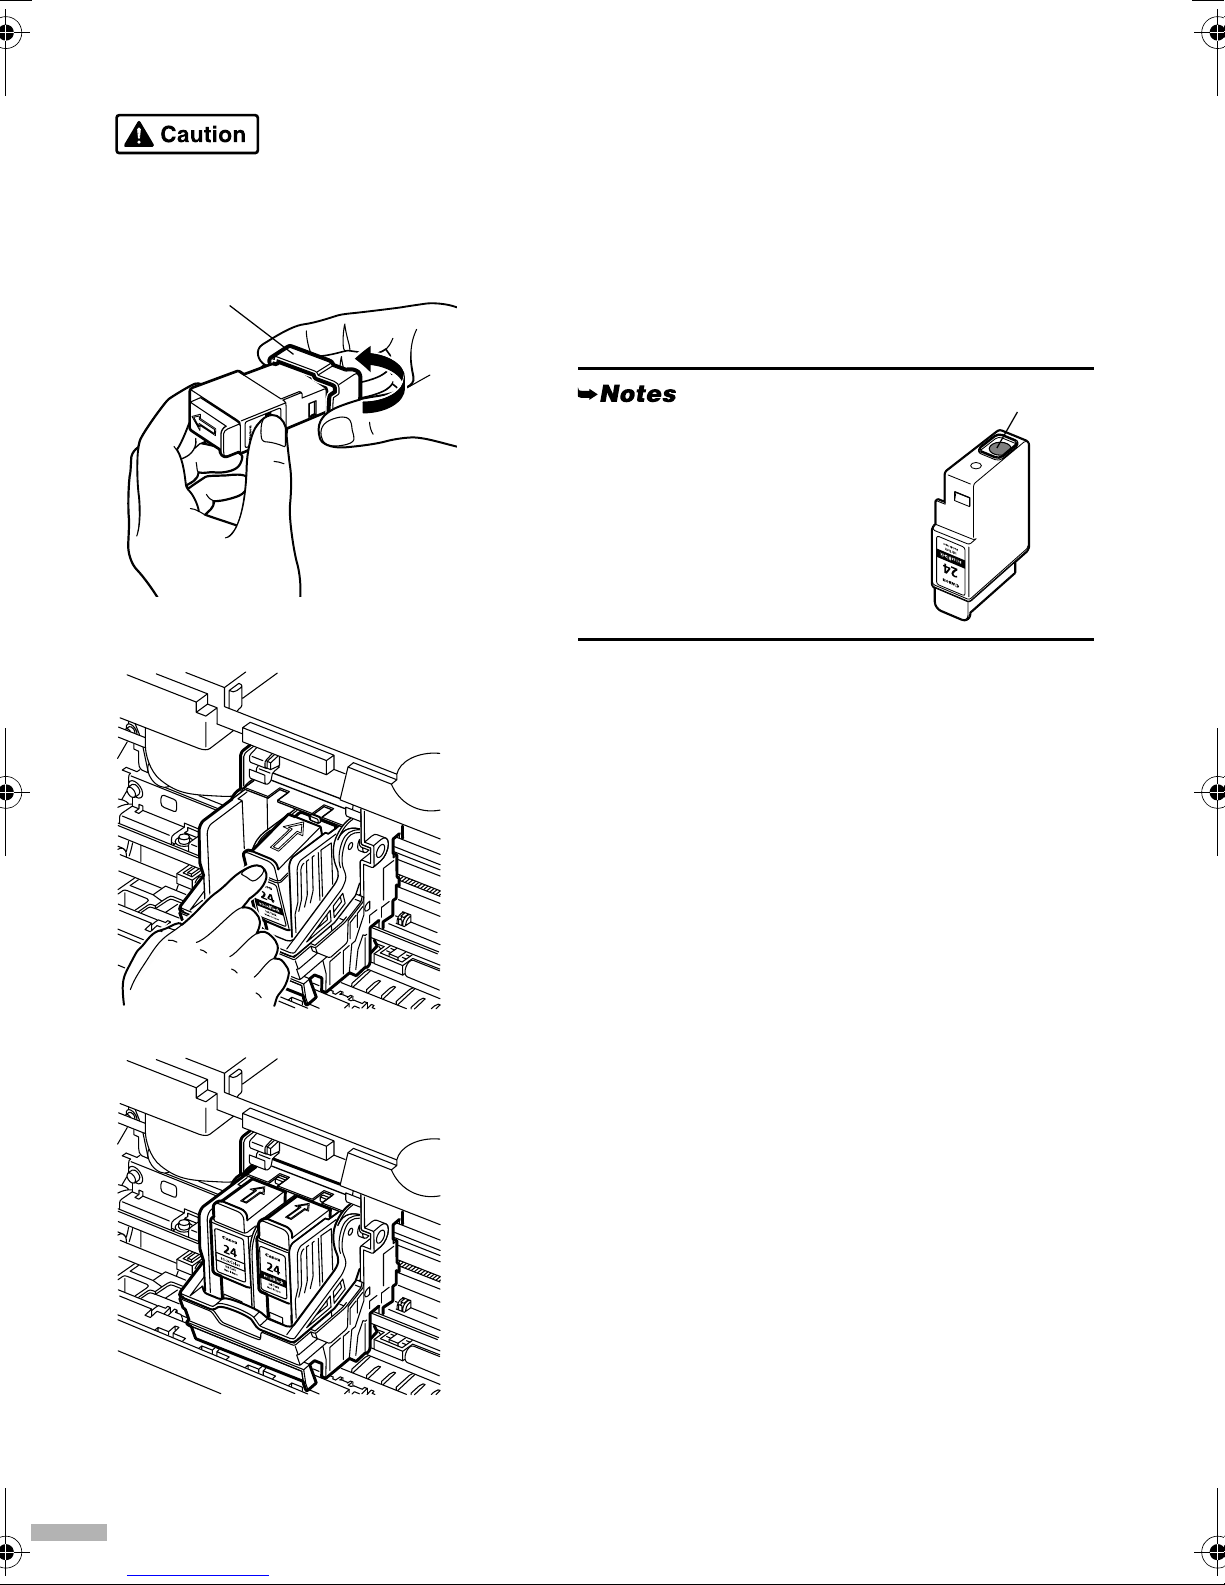
1
Take out the black ink tank.
protective cap
2
Hold the ink tank as shown in the
diagram and remove the protective cap.
• Do not touch the ink port.
• Do not attempt to reattach the
protective cap once it has
been removed.
3
Insert the black ink tank into the righthand slot.
4
Press the tab until it clicks into place.
ink port
6
5
Use the same procedure to install the
color ink tank in the left-hand slot.
6
Close the Front Cover.
Wait until the POWER lamp remains fully lit (about 60
seconds).
 Loading...