

BTC PCD1500 Quick Guide

封
面
英法德義西
PCD 1500
Camera Quick Guide
Version 1.1
PCD1500 Camera Quick Guide
3100560160 v.1.1
語言
-

封面內頁
The information in this document is subject to change without notice and does not represent a commitment
on the part of the vendor.
No warranty of representation, either expressed or implied, is made with respect to the quality, accuracy or
fitness for any particular purpose of this document. The manufacturer reserves the right to make changes to
the content of this document and/or the products associated with it at any time without obligation to notify
any person or organisation of such changes.
In no event will the manufacturer be liable for direct, indirect, special, incidental or consequential damages
arising out of the use or inability to use this product or documentation, even if advised of the possibility of
such damages.
Copyright © 2003. All rights reserved
IBM, PC/AT and PS/2 are registered trademarks of International Business Machines Corporation.
Microsoft, Windows, and Windows NT are registered trademarks of Microsoft Corporation in the United
States of America and/or other countries.
All other trademarks are trademarks of their respective holders.
g
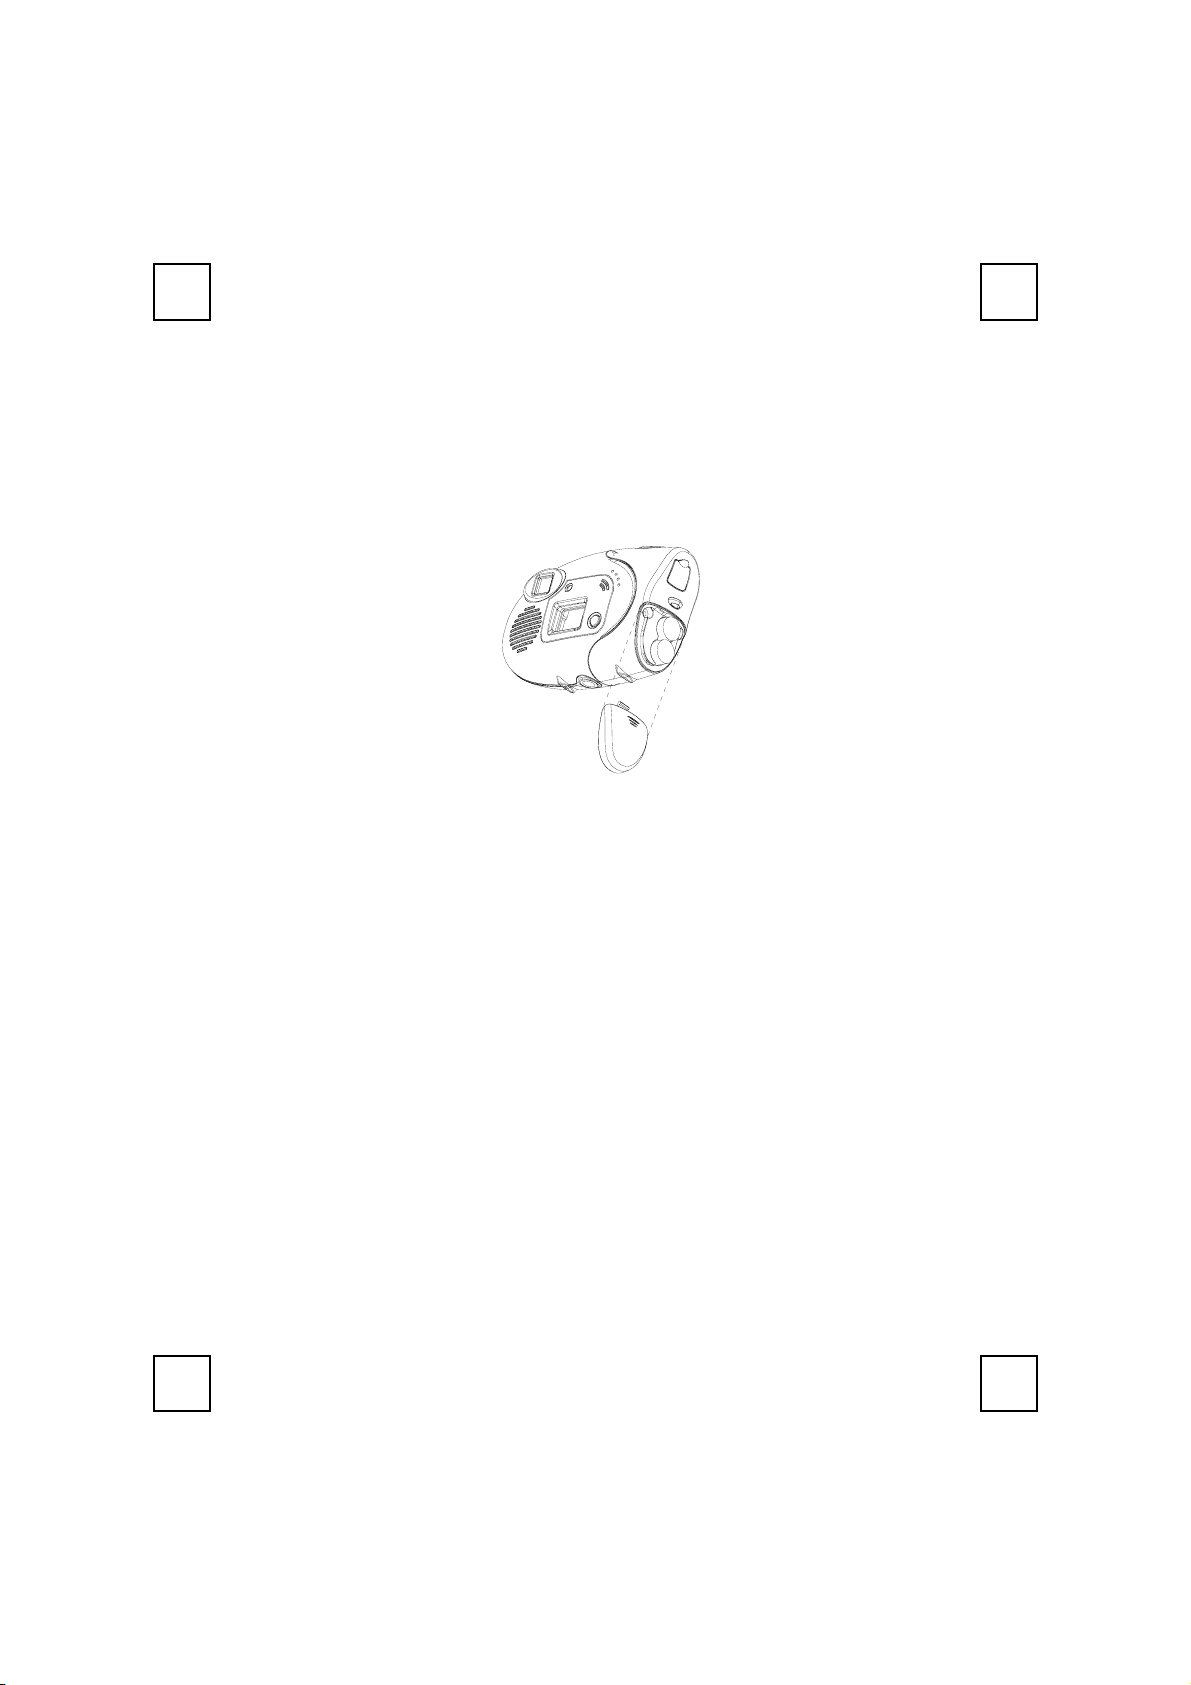
Congratulations on purchasing your new digital & PC camera (Optional). This
camera is an all-in-one pocket size digital and USB PC camera. You can take
digital pictures at once. Alternatively you can also hang up the camera to a
computer and use it as a PC camera for videoconferencing or capturing video
clips.
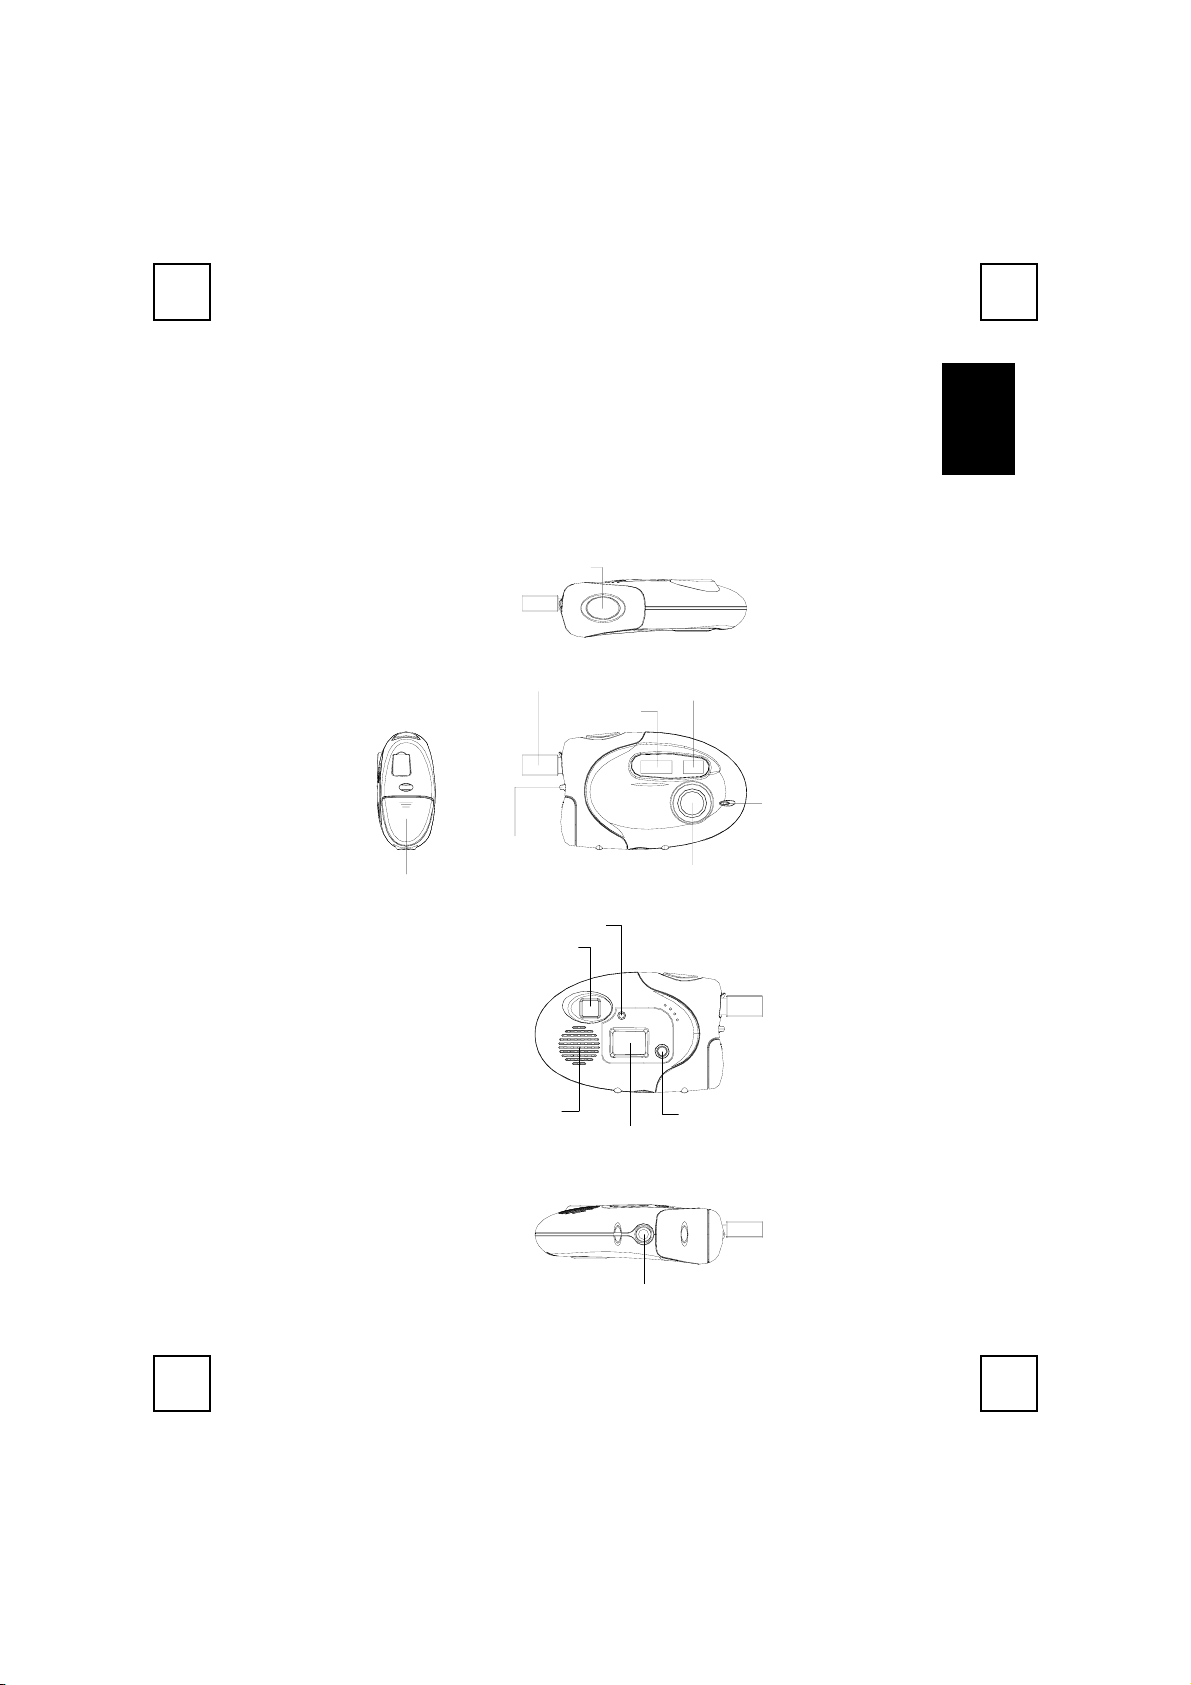
Getting to Know the Camera- PCD 1500
Snapshot button
USB connection
Flash light
Strap holder
Battery compartment
Flash light indicator
Viewfinder
Viewfinder
Timer light
Lens
En
lish
Speaker
Display panel
Stand Receptacle
Mode button
1

System Requirements
MicrosoftWindows98, WindowsME, Windows2000 or WindowsXP
operating system
Software Installation
Please note that you have to install the software BEFORE you connect the
camera into the USB port of your computer.
Step 1: Install Ulead Photo Express 4.0 SE
1. Insert the software CD into the CD-ROM drive of your computer.
2. Follow the on screen instruction to install the software. The software will
install automatically.
"
Note: If the software does not setup automatically, go to the Taskbar and
click Start, then click on Run and browse the SETUP.EXE
and click OK to install.
3. When all setup procedures are finished, the operating system does not
need to restart. The software is loaded when you see the software icon
shows on the screen.
Important: For more information on how to use the software, please refer
to the folder named “Manual” in the CD.
in the software CD
Step 2 : Install Digital Camera Driver-CamMaestro
In order to take great advantage of the camera, please note that you have to
install the driver named “CamMaestro” AFTER
application software in step 1.
1. Follow the on screen instruction to install the software. The software will
install automatically.
"
Note: If the software does not setup automatically, go to the Taskbar and
click Start, then click on Run and browse the SETUP.EXE
directory of the software CD and click OK to install.
2. When all setup procedures are finished, the operating system needs to
restart.
2
you have installed the camera
in the \Driver

g
Uninstallation
To Remove Camera Application Software:
Step 1: Click "Start" menu (on the left-bottom taskbar).
Step 2: Move cursor to "Programs" in "Start" menu and select “Control Panel”.
Step 3: Click on “Add/Remove Programs” in the Control Panel.
Step 4: Select “Ulead Photo Express 4.0 SE” and click on the remove icon.
Step 5: Click "Yes" to confirm you want to uninstall.
To Remove Camera Driver:
Step 1: Click "Start" menu (on the left-bottom taskbar).
Step 2: Move cursor to "Programs" in “Start” menu and select “Control Panel”.
Step 3: Click on “Add/Remove Programs” in the Control Panel.
Step 4: Select “CamMaestro” and click on the remove icon.
Step 5: Click "Yes" to confirm you want to uninstall.
En
lish
3
Getting Start
Insert or Change the Battery
Slide the compartment cover open and Insert/ change the 2 pcs of AAA alkaline
batteries. After inserting/ changing the batteries, you can immediately take the
great advantage of the camera.
" Make sure to power OFF the camera before you change the batteries.
Connect to PC
If you want the digital camera works as a PC camera, you just simply have to use
the USB connection cable that enclosed in the package to connect the camera to
you PC.
Camera Buttons
Mode Button
Snapshot Press Snapshot button once to take one image.
Press on the mode button to switch through High resolution
or Low resolution mode.
How to Take Pictures
Change modes
Take snapshots
4
Press on the mode button to cycle through High resolution
or Low resolution mode.
Press Snapshot button once to take a shot. Press and hold
Snapshot button to take video stream movie shots.

g
Camera Display Panel
Here is the list of all the icons that appear on the Camera Display Panel and
functions.
20 Image number for CIF.
OF Power on or power off status.
FA/Fo Flash strobe ON/ OFF.
Ct
AI
St Self-shot.
CL Clear the last image you took.
CA Clear all pictures in the camera memory.
Lr/Hr
CP/nP Compression mode and non-compression mode.
Continuous shot. You can take a series pictures on VGA mode by
pressing on the snapshot button.
Video recording, AVI file. You can use this function to take a video by
holding the snapshot button.
Low resolution or high resolution, QVGA and VGA.
For Low resolution mode, you can take pictures for 82 images. (max.)
For High resolution, you can take 20 images.
En
lish
F5/F6 50Hz and 60Hz.
Lo
Battery Low. Please download your pictures in memory first and then
change the batteries as soon as possible.
5

PCD 1500
Guide d'Utilisation Rapide
de votre appareil photo numérique
Version 1.1
(Français)
6
ç
Félicitations pour votre achat de ce nouvel appareil photo numérique & caméra
PC (Optionnel). Cet appareil photo est un appareil photo numérique au format de
poche et caméra PC USB tout-en-un. Vous pouvez prendre des images
numériques immédiatement. Vous pouvez également connecter votre appareil
photo à un ordinateur et l'utiliser comme une caméra PC de visioconférence ou
capturer des clips vidéo.
Fran
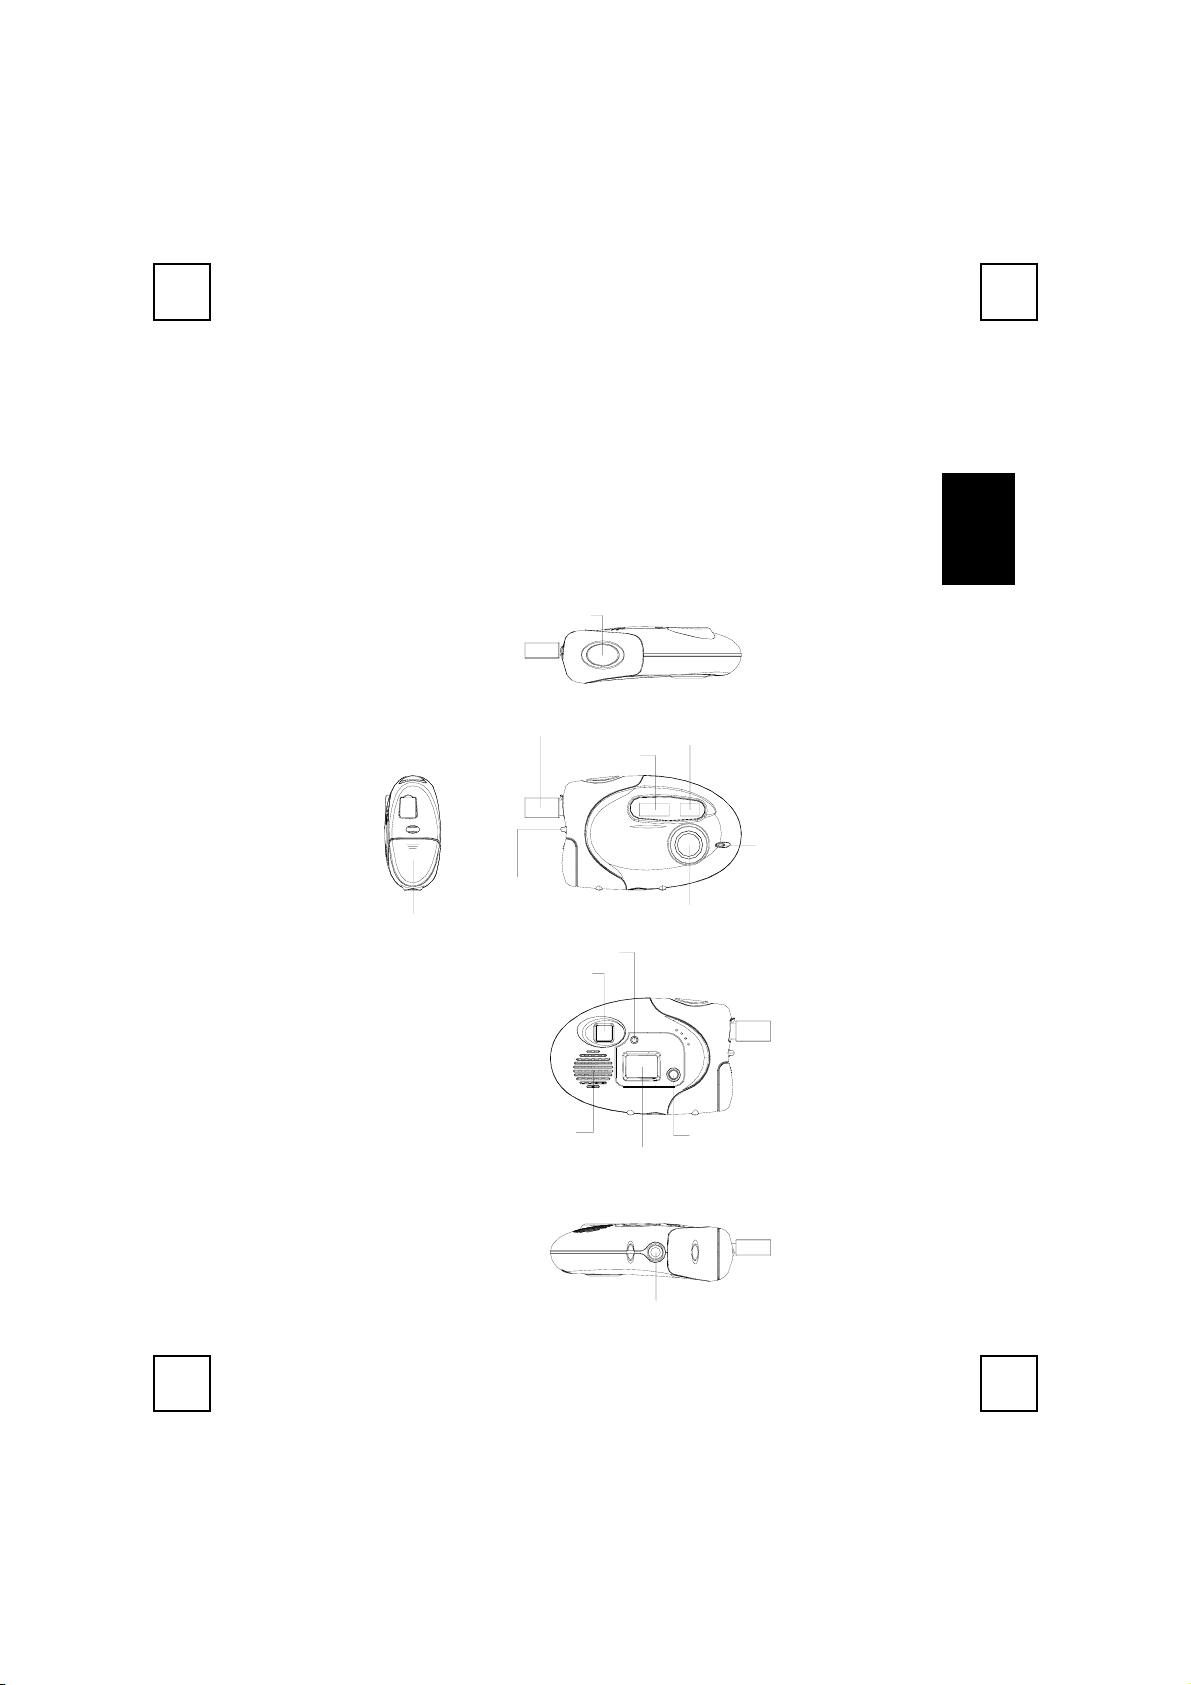
Faire connaissance avec votre appareil photoPCD 1500
Snapshot button
USB connection
Flash light
Strap holder
Battery compartment
Flash light indicator
Viewfinder
Viewfinder
Timer light
Lens
ais
Speaker
Display panel
Stand Receptacle
Mode button
7

Configuration Système Requise
Système d'Exploitation MicrosoftWindows98, WindowsME,
Windows2000 ou WindowsXP
Installation Logicielle
Veuillez noter que vous devrez installer le logiciel AVANT de connecter l'appareil
photo dans le port USB de votre ordinateur.
Etape 1: Installer Ulead Photo Express 4.0 SE
1. Insérez le CD des logiciels dans le lecteur de CD-ROM de votre ordinateur.
2. Suivez les instructions à l'écran pour installer le logiciel. Le logiciel
s'installera automatiquement.
"
Remarque: Si le logiciel ne se lance pas automatiquement, allez dans la
barre des tâches, cliquez sur Démarrer, puis cliquez sur Exécuter et
localisez SETUP.EXE
3. Lorsque toutes les procédures d'installation sont terminées, le système
d'exploitation n'aura pas besoin de redémarrer. Le logiciel est chargé
lorsque vous voyez l'icône du logiciel à l'écran.
Important: Pour plus d'informations sur la manière d'obtenir des
informations ou sur la façon d'utiliser le logiciel, veuillez
vous référer au dossier nommé “Manual/Manuel” sur le CD.
sur le CD des logiciels et cliquez sur OK pour installer.
Etape 2 : Installez le pilote de l'appareil photo
numérique-CamMaestro
Afin de profiter de tous les avantages de l'appareil photo numérique, veuillez
noter que vous devez installer le pilote nommé “CamMaestro” APRES
installé le logiciel de l'appareil photo à l'étape 1.
1. Suivez les instructions à l'écran pour installer le logiciel. Le logiciel
s'installera automatiquement.
"
Remarque: Si le logiciel ne se lance pas automatiquement, allez dans la
barre des tâches, cliquez sur Démarrer, puis cliquez sur Exécuter et
localisez SETUP.EXE
sur OK pour installer.
2. Lorsque toutes les procédures d'installation sont terminées, le système
d'exploitation doit être redémarré.
8
dans le répertoire \Driver du CD des logiciels et cliquez
avoir

ç
Désinstallation
Pour retirer le logiciel applicatif de votre appareil photo
numérique :
Step 1:
Step 2: Déplacez le curseur sur "Programmes" dans le menu "Démarrer" et
Cliquez sur "Démarrer" (à gauche dans la barre des tâches).
sélectionnez “Panneau de Configuration”.
Fran
ais
Step 3:
Step 4: Sélectionnez “Ulead Photo Express 4.0 SE” et cliquez sur l'icône
Step 5: Cliquez sur "Oui" pour confirmer la désinstallation.
Cliquez sur “Ajout/Suppression de Programmes” dans le panneau de
configuration.
suppression.
Pour retirer le pilote de l'Appareil Photo:
Step 1:
Step 2:
Step 3:
Step 4: Sélectionnez “CamMaestro” et cliquez sur l'icône suppression.
Step 5:
Cliquez sur le menu "Démarrer" (à gauche dans la barre des tâches).
Déplacez le curseur sur "Programmes" dans le menu "Démarrer" et
sélectionnez “Panneau de Configuration”.
Cliquez sur “Ajout/Suppression de Programmes” dans le panneau de
configuration.
Cliquez sur "Oui" pour confirmer la désinstallation.
9
 Loading...