

BTC PC390 User Manual

VP-EYE
Quick Operation Guide
Version 4.0
i

Table of Contents
USING VP-EYE A-1
Installation A-1
System requirements A-1
How to install software A-1
Getting started A-2
Application Panel settings A-2
Managing video data A-2
Monitoring a view (Video Monitor) A-4
Recording a Video E-Mail (Video E-Mail) A-5
Playing with your camera (Video Games) A-7
Gophers A-7
Black Jack A-8
Fishing A-8
Making a photo album (Photo EZ) A-9
Sending a greeting card (Photo Greeting Cards) A-10
Having fun with your photos (Photo Special Effects) A-11
Video Movie Studio A-12
Digital Movie Producer A-13
Appendix A-14
ii

USING VP-EYE
Installation
This software package contains many applications for capturing and processing your
videos and photos.
System requirements
• Pentium compatible processor, 200MHz
• USB port and USB camera or Video capture board
and composite video camera
• Compatible for Windows98SE/ME/2000/XP
• 640×480 high color display
• 200MB available hard disk space
• 16× CD-ROM drive
• Windows compatible sound system with speaker
and microphone
• Microsoft MAPI compliant email server
• Microsoft NetMeeting version 3.0
Copyright @ 2002 Meta Media, Inc. All rights reserved.
How to install software
Simply put the provided software CD into your CD drive. The setup software will
automatically start, prompting you through the steps to install the video and photo
software. You may enter the selection for the destination folder, the Start menu,
Programs group and other setup options. The setup process will copy the
applications to the destination folder. Note if Windows auto-run feature has been
turned off on your computer, you will need to start the Setup.exe application on the
software CD.
English
A-1

English
Getting started
All applications can be started from the Application Panel. The Application Panel
can be started by clicking on the VP-EYE icon or by using the Start menu. If you
are using the Start menu, select Programs followed by VP-EYE. Once the
Application Panel appears, there are ten applications to select from:
1. Video Monitor 6. Photo Greeting Cards
2. Video E-Mail 7. Photo Special Effects
3. Video Games 8. Photo EZ
4. Video Movie Studio 9. Browser
5. Digital Movie Producer 10. NetMeeting
*Your CD may not have some of the above programs due to the version of software
package
Application Panel settings
Click Settings button to access the Application Panel settings. Use the Settings
dialog to change the video driver, language, sound, start menu and auto-run options.
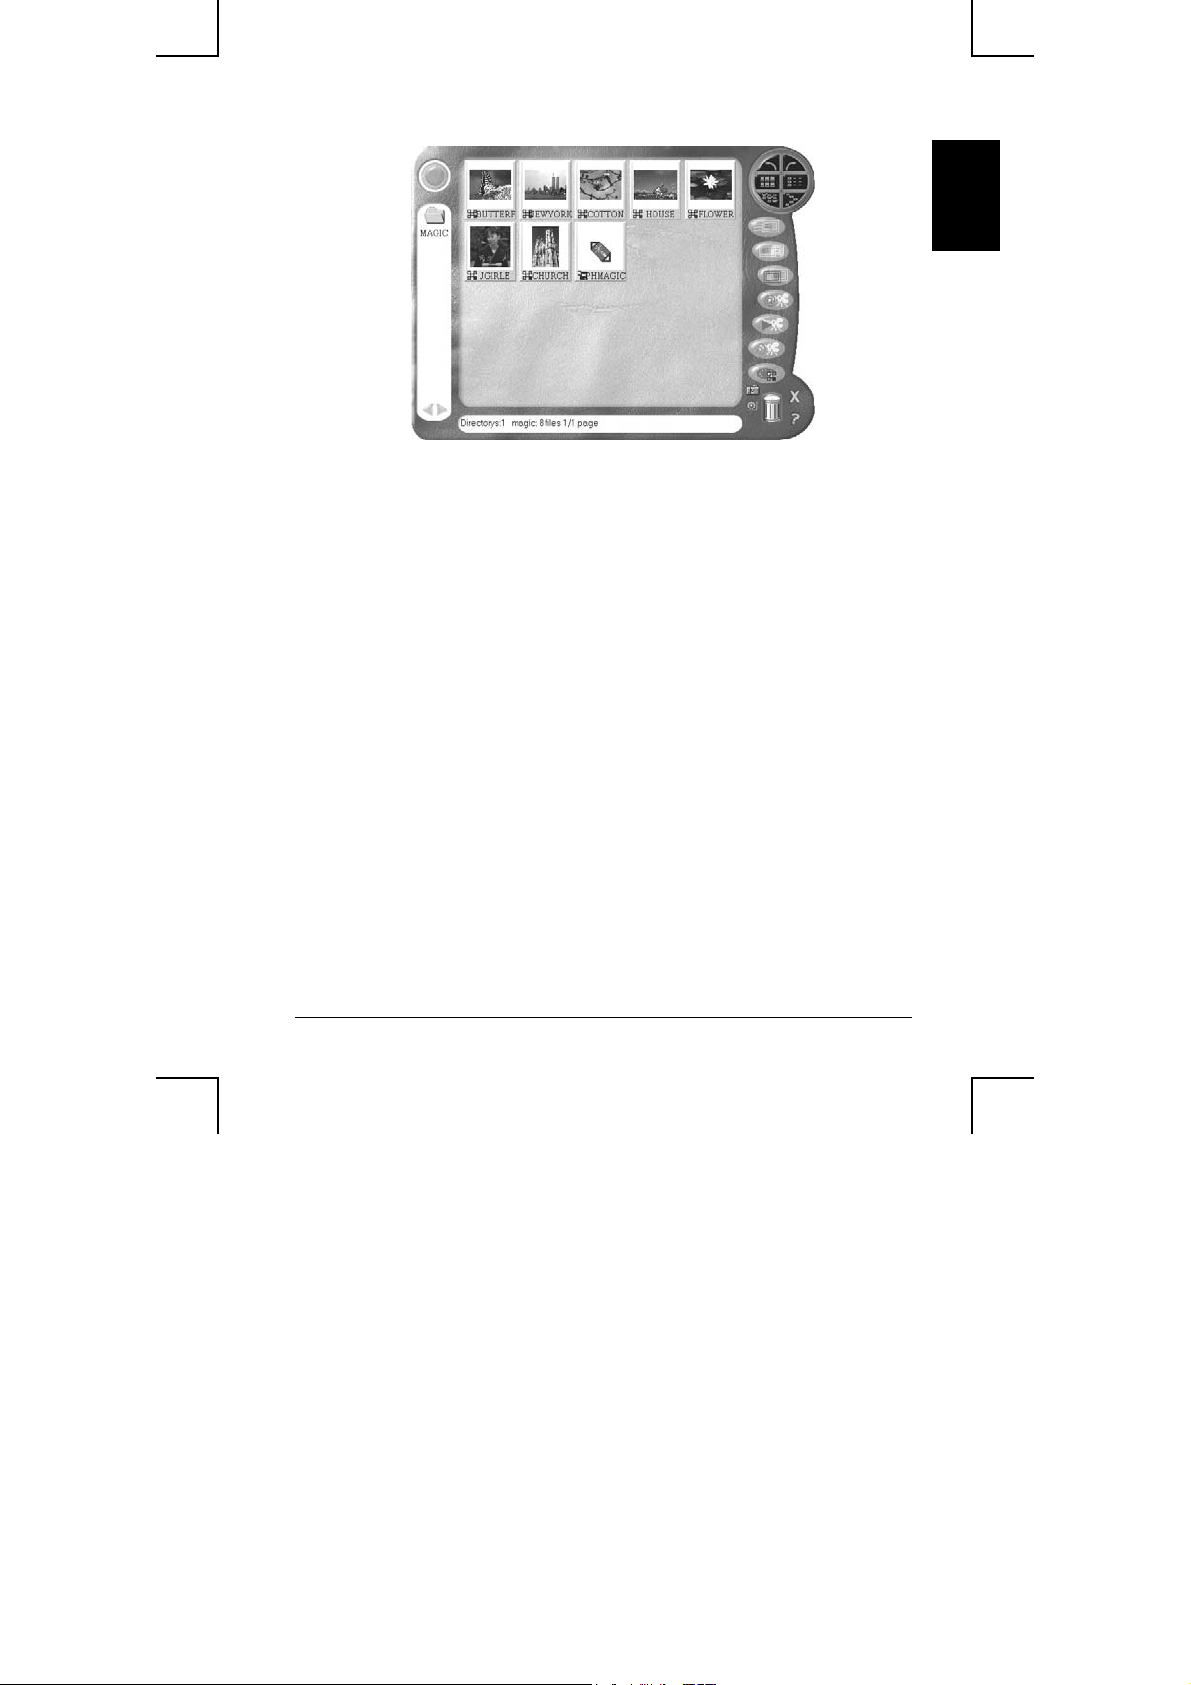
Managing video data
Click Browser button to start the Browser. Use the Browser to view, arrange,
remove, drag and drop, capture and sort video data within your video folders.
A-2
English
A-3
 Loading...