

Page 1
IMPORTANT:
The following procedure should be performed by a
user with Administrator privileges.
Otherwise, the administrator password may be
requested during the procedure. Type in the
password to continue the procedure.
READ BEFORE USE.
Vista Installation Instruction
and
Update to Quick Reference Guide
This information applies to the Ver. 7.02 or later.
■ Windows® Vista users
Windows® Vista users should perform the installation
according to the following information, “Step 1:
Installing the Software”. In addition, when updating
the software, perform the procedure described in
“Checking for the Latest Version of the Program” on
page 4 of this insert.
■ Windows® 2000 and XP users
Windows® 2000 and XP users should perform the
installation according to the procedure described in
the Quick Reference Guide.
However, the procedure described in “Step 2:
Installing the Driver for the Card Writer Module” in
the Quick Reference Guide is unnecessary. (The
card writer driver will be installed automatically
during the procedure described in “Step 1:
Installing the Software”.)
Step:1
Installing the Software
This section describes how to install the application
software.
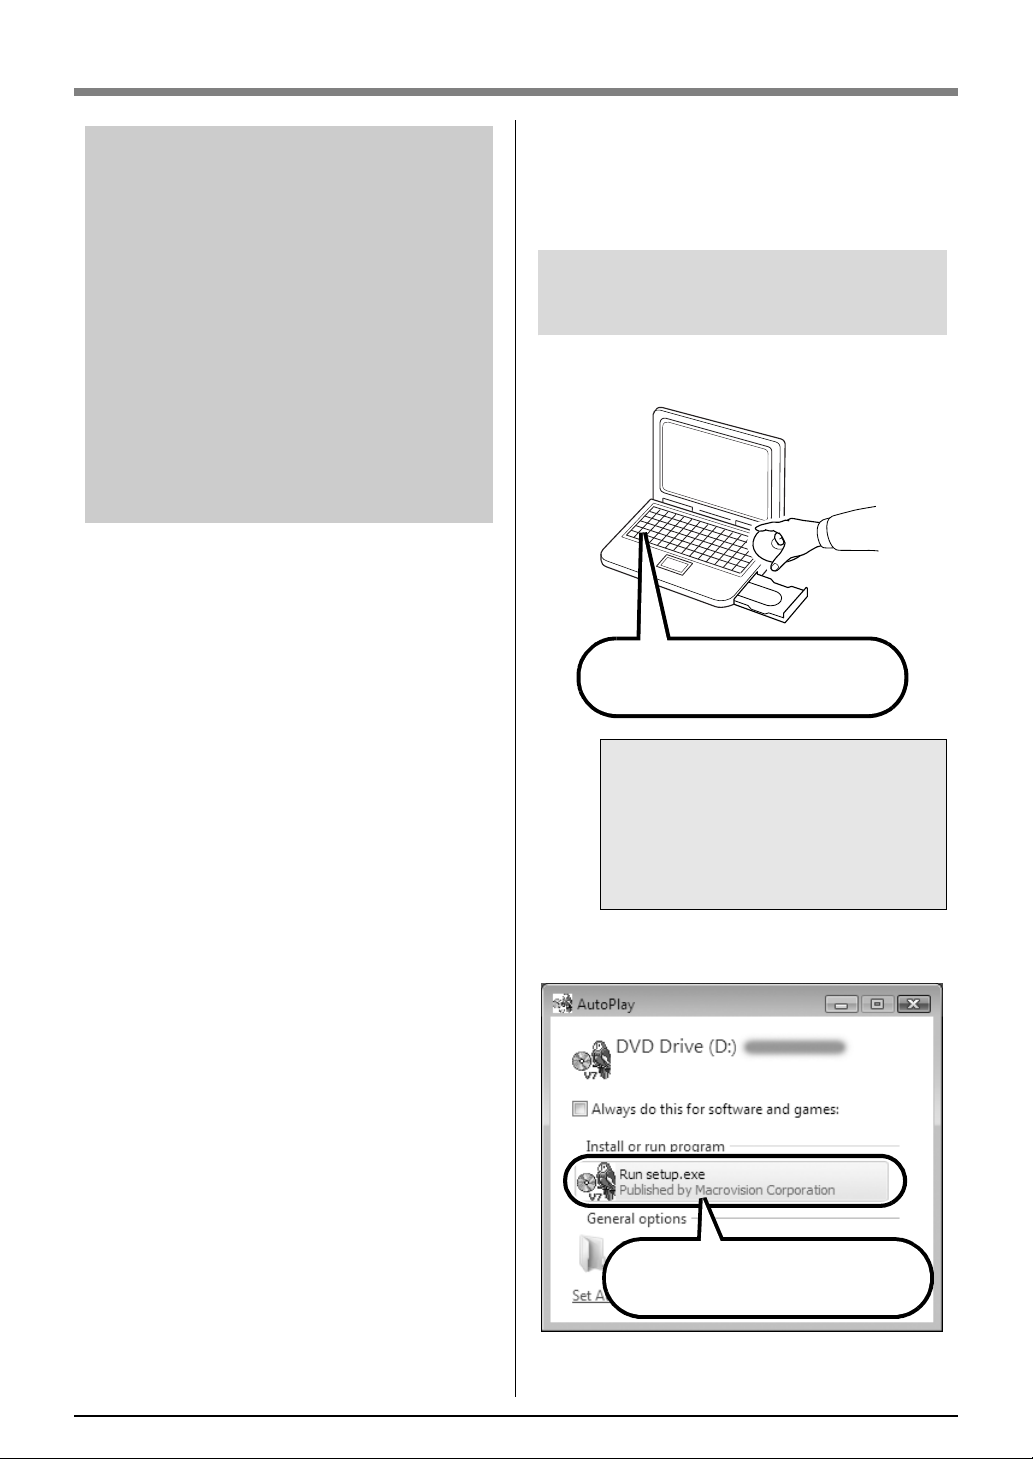
Insert the enclosed CD-ROM into the
computer’s CD-ROM drive.
a Note:
•If the installation is interrupted or not
performed as described, the software
will not be installed correctly.
•Before turning on the computer, be sure
to DISCONNECT the USB card writer
module.
→ After a short while, the Auto Play dialog
automatically appears.
Click Run setup.exe.
1
Page 2
b Memo:
If the Auto Play Dialog does not automatically
start up:
1) Click the Start button.
2) Click All Programs –> Accessories –>
Run.
♦
The Run dialog box appears.
3) Type in the full path to the installer, and
then click OK to start up the installer.
For example: D:\setup.exe (where "D:" is
the name of the CD/DVD drive)
→ The User Account Control dialog box
appears.
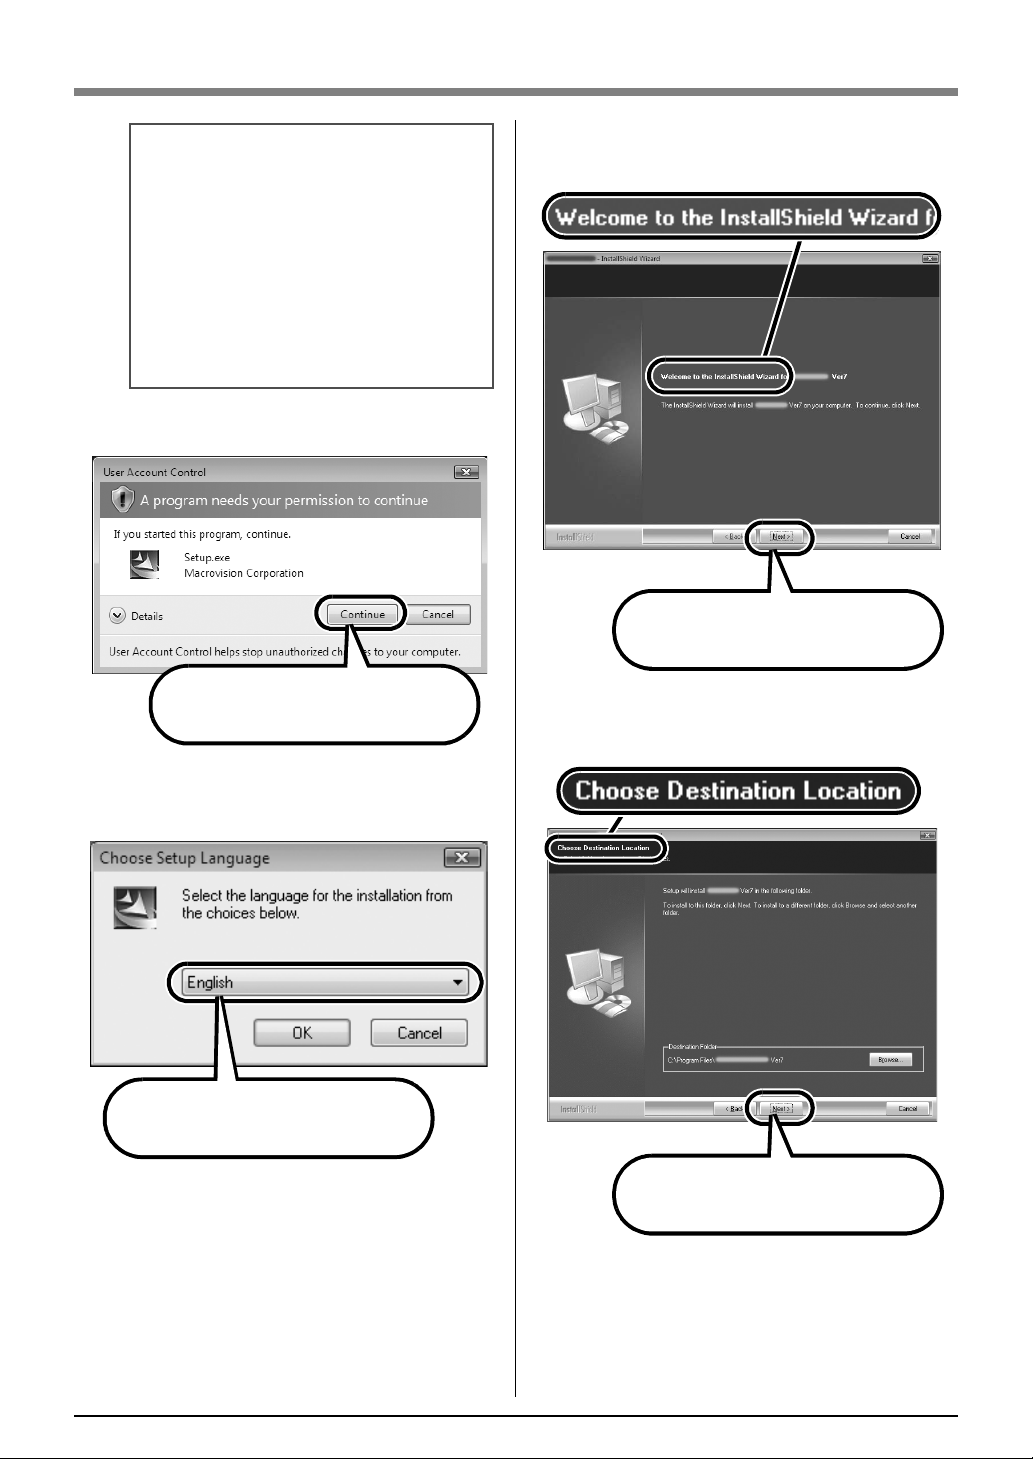
→ The InstallShield Wizard starts up, and the
first dialog box appears.
Click Next to continue with the
installation.
Click Continue.
→ After a short while, the Choose Setup
Language dialog box automatically
appears.
Select the desired language, and
then click OK.
→ A dialog box appears, allowing you to
select the folder where the software will be
installed.
Click Next to install the application
into the default folder.
2
Page 3

b Memo:
To install the application into a different
folder:
1) Click Browse.
2) In the Choose Folder dialog box that
appeared, select the drive and folder. (If
necessary, type in the name of a new
folder.)
3) Click OK.
♦
The Choose Destination Location
dialog box of the InstallShield Wizard
shows the selected folder.
4) Click Next to install the application into
the selected folder.
• To return to the previous step, click
Back
.
• To quit the installation, click
→ When the installation is completed, the
following dialog box appears.
Cancel
.
b Memo:
If the following dialog box appears, it is
necessary to restart the computer.
Click Finish to complete the
installation of the software.
a Note:
With this procedure, the card writer driver is
also installed automatically.
At this point the cardwriter may now be
connected to your computer. Check to make
sure each application starts up correctly.
Click Finish to restart the computer
and complete the installation of the
software.
3
Page 4

Checking for the Latest
Version of the Program
The software is checked to determine whether or not it
is the latest version.
*For details on “Check for Updates”, refer to the Quick
Reference Guide.
■ PRE-OPERATION
Follow the procedure described below to start up Layout
& Editing.
Start
From the
to select
Right-click
following pop-up menu, and then click
administrator
button, continue with the necessary steps
Layout & Editing
Layout & Editing
.
.
in the menu to display the
Run as
■ CHECK FOR UPDATES
Click
Help
in Layout & Editing, and then click
.
updates
If the message shown below appears, the latest
version of the software is not being used. Click Yes,
and then download the latest version of the software
from the Web site.
Check for
When the User Account Control dialog box appears,
click Allow.
■ POST-OPERATION
After downloading is finished, exit Layout & Editing
(and all Ver. 7 applications).
Then, start Layout & Editing again by right-clicking
Layout & Editing
administrator
in the left column.
This completes the update procedure.
in the menu, then clicking
as described under “PRE-OPERATION”
Run as
4
XE2022-001
 Loading...