


T2569BC
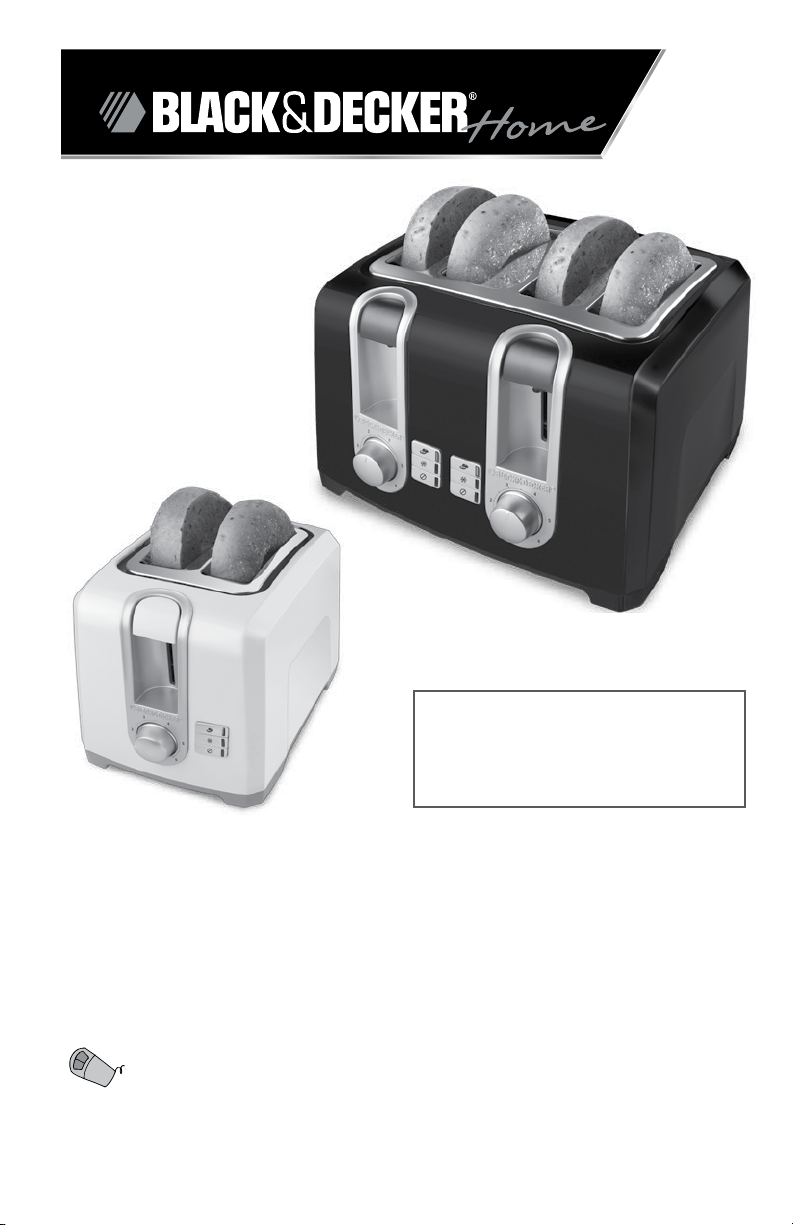
Toaster
Grille-pain
Register your product at
www.prodprotect.com/applica
and view the details for our latest
sweepstakes!
?
USA/Canada 1-800-231-9786
Mexico 01-800-714-2503
www.prodprotect.com/applica
Accessories/Parts
(USA/Canada)
1-800-738-0245
Models
Modèles
❍
T2569C
❍
T2569BC
❍
T4569C
❍
T4569BC
1

Please Read and Save this Use and Care Book
IMPORTANT SAFEGUARDS
When using electrical appliances, basic safety precautions should
always be followed, including the following:
❍ Read all instructions.
❍ Do not touch hot surfaces. Use handles or knobs.
❍ To protect against electrical shock do not immerse cord, plugs
or appliance in water or other liquid.
❍ Close supervision is necessary when any appliance is used by or
near children.
❍ Unplug from outlet when not in use and before cleaning. Allow
to cool before putting on or taking off parts, and before cleaning
the appliance.
❍ Do not operate any appliance with a damaged cord or plug, or
after the appliance malfunctions or has been damaged in any
manner. Return appliance to the nearest authorized service
facility for examination, repair or adjustment. Or, call the
appropriate toll-free number on the cover of this manual.
❍ The use of accessory attachments not recommended by the
appliance manufacturer may cause injuries.
❍ Do not use outdoors.
❍ Do not let cord hang over edge of table or counter, or touch hot
surfaces.
❍ Do not place on or near a hot gas or electric burner, or in a
heated oven.
❍ Extreme caution must be used when moving an appliance
containing hot oil or other hot liquids.
❍ Always attach plug to appliance first, then plug cord into the wall
outlet. To disconnect, turn any control to OFF, then remove plug
from wall outlet.
❍ Do not use appliance for other than intended use.
❍ Oversized foods, metal foil packages or utensils must not
be inserted in a toaster as they may involve a risk of fire or
electric shock.
❍ A fire may occur if toasters are covered or touching flammable
material, including curtains, draperies, walls and the like,
when in operation.
❍ Do not attempt to dislodge food when toaster is plugged in.
SAVE THESE INSTRUCTIONS.
This product is for household use only.
POLARIZED PLUG (120V Models Only)
This appliance has a polarized plug (one blade is wider than the other). To
reduce the risk of electric shock, this plug is intended to fit into a polarized
outlet only one way. If the plug does not fit fully into the outlet, reverse the
plug. If it still does not fit, contact a qualified electrician. Do not attempt to
modify the plug in any way.
ELECTRICAL CORD
a) A short power-supply cord (or detachable power-supply cord) is to be
provided to reduce the risk resulting from becoming entangled in or
tripping over a longer cord.
b) Longer detachable power-supply cords or extension cords are available
and may be used if care is exercised in their use.
c) If a long detachable power-supply cord or extension cord is used,
1) The marked electrical rating of the detachable power-supply cord
or extension cord should be at least as great as the electrical rating
of the appliance,
2) If the appliance is of the grounded type, the extension cord should be
a grounding-type 3-wire cord, and
3) The longer cord should be arranged so that it will not drape over the
countertop or tabletop where it can be pulled on by children or
tripped over.
Note: If the power supply cord is damaged, it should be replaced by qualified
personnel; In Latin America, by an authorized service center.
ENGLISH
2
3
Product may vary slightly from what is illustrated.
How to Use
This product is for household use only.
GETTING STARTED
• Unpack the unit and remove any packing materials or labels.
• Please go to www.prodprotect.com/applica to register your warranty.
• Wipe the toaster with a damp cloth and dry thoroughly.
• Insert slide-out crumb trays in place in the back of the unit, at the bottom.
• Plug the power cord into a standard wall outlet.
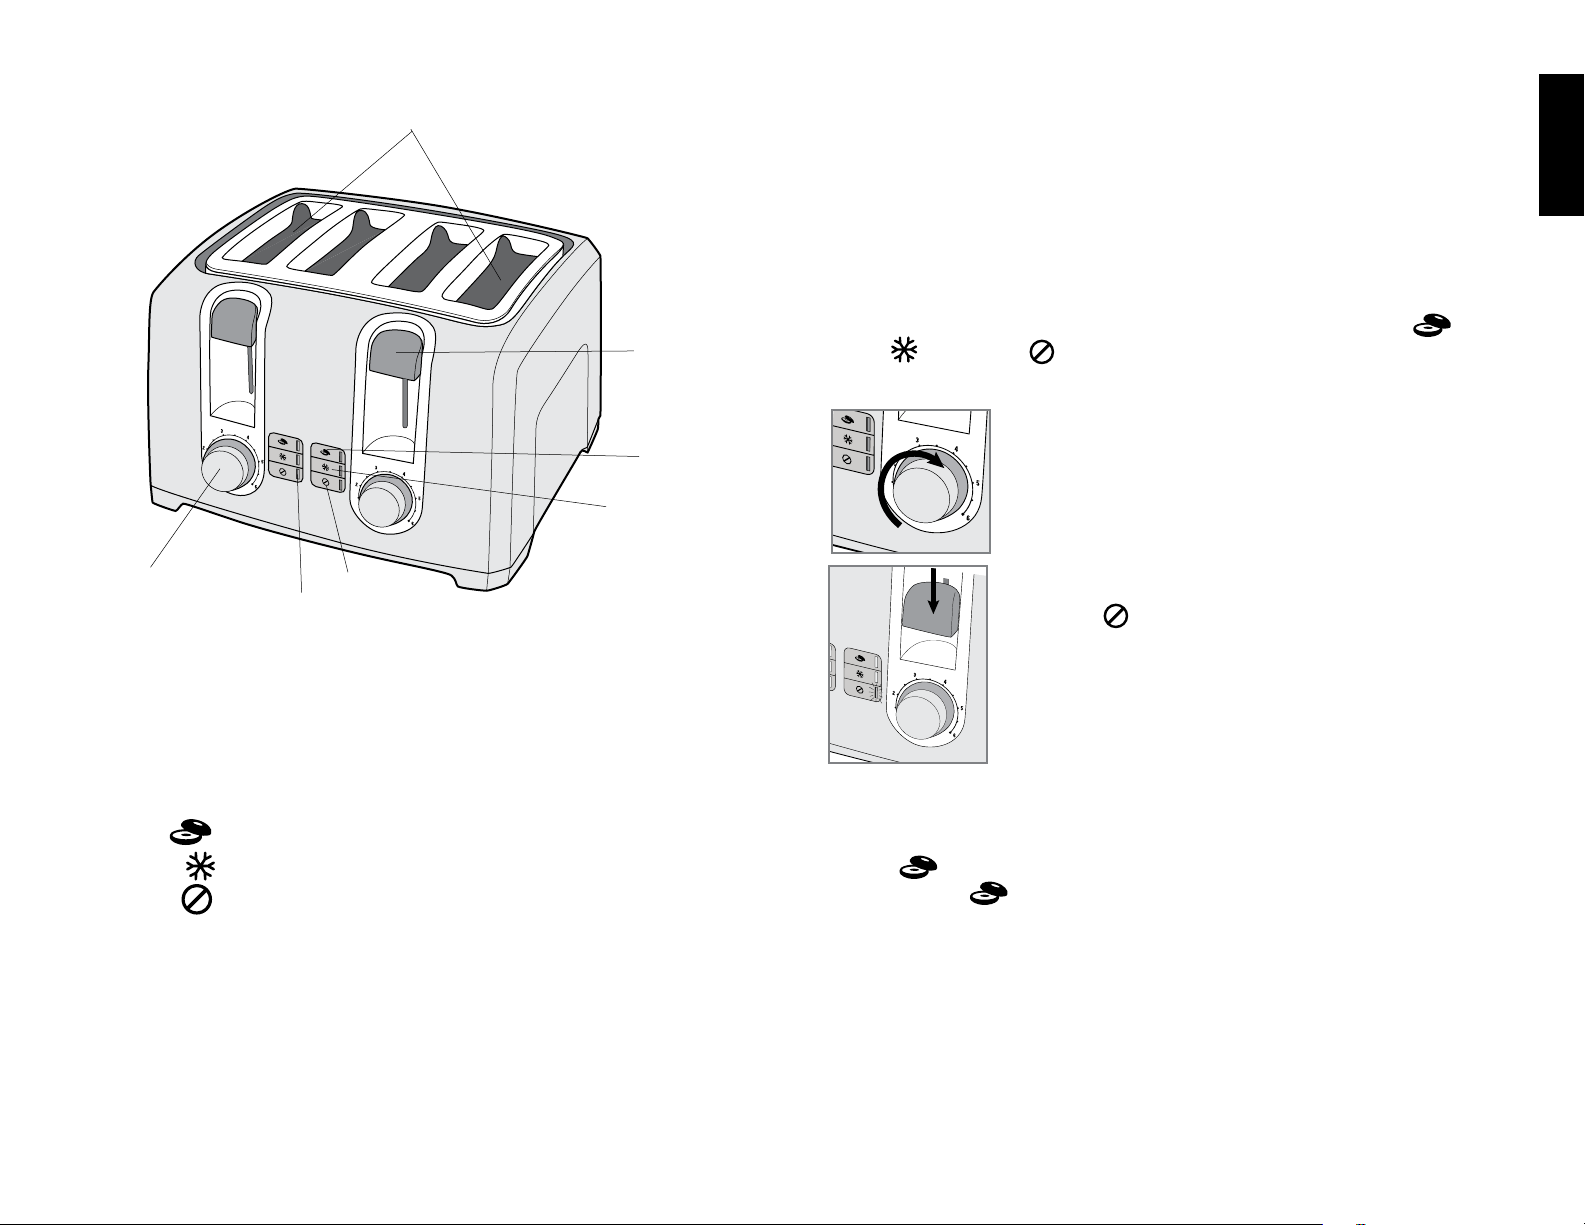
TOAST FUNCTION
Models T4569C and T4569BC only: Your toaster features two sets of
independent slots each with individual toast shade selectors, bagel ,
frozen and cancel buttons. Be sure to adjust each toast shade selector
individually so that you can toast two different kinds of foods (for example,
waffles on one side, bagels on the other) at once using different settings.
1. Adjust the toast shade selector to the desired setting
(1 to 6) (A). For first use, set the dial to setting 4. Adjust as
desired to suit your taste.
Tip: Toast thin slices on lower settings.
A
ENGLISH
1. Extra-wide slots with automatic adjusting guides
2. Toast lever
3. BAGEL
4. FROZEN
5. CANCEL
6. LED indicator light
7. Toast shade selector dial
† 8. Removable slide-out crumb trays (not shown)
Models T2569C, T2569BC (Part# T2560-01 White) (Part# T2560B-01 Black)
Model T4569C, T4569BC, (Part# T4560B-01 White) (Part# T4560B-01 Black)
9. Cord wrap (under unit)
Note: † indicates consumer replaceable/removable parts
button
button
button
2. Place bread slices or other foods in the slots and press
down the toast lever until it locks in place (B). The
CANCEL button automatically illuminates whenever
you press down the toast control lever and remains lit
until toasting cycle is finished, or until you press the
button.
• The bread guides will automatically adjust to hold thick or
B
thin slices in place.
• When toasting is done, the toast control lever goes up and
the unit shuts off.
Important: You must press down the toast control lever before selecting a
function. If not, the function will not be activated.
BAGEL FUNCTION
Use the BAGEL
warm on the outside.
function to toast bagels crispy on the cut side and gently
1. Insert cut bagel into the slots with cut side toward the inside of the toaster.
2. Adjust the toast shade selector to the desired setting (1 to 6).
4
5
3. Press down the toast lever until it locks in place then press
the BAGEL
toasting is done or until you press the CANCEL button.
Important: If you select the wrong button, you must press the
CANCEL button and then select the button you want.
C
FROZEN FUNCTION
D
Important: If you select the wrong button, you must press the CANCEL button
and then select the button you want after you press down the toast lever.
HELPFUL TIPS
• If food becomes jammed, unplug the cord and move the toast lever up and down
a few times to raise jammed food.
- Do not touch the metal area around the slots as it may be hot.
- Never use metal utensils to free food.
• To interrupt toasting at any time, press the CANCEL button.
• The bread guides will automatically adjust to hold thick or
thin slices in place.
• When toasting is done, the toast control lever goes up and
the unit shuts off.
1. Place food in the slots and press down the toast control lever
until it locks into the down position. The CANCEL button
illuminates until toasting is done or you press the button.
2. Press the FROZEN button (D). The button illuminates
until toasting is done or you press the CANCEL button.
When toasting is done, the toast control lever goes up and
the unit shuts off.
button (C). The button illuminates until
Care and Cleaning
This product contains no user serviceable parts. Refer service to qualified
service personnel.
CLEANING
Always unplug the cord from the electrical outlet and allow the toaster to
cool before cleaning. Do not immerse the toaster in water.
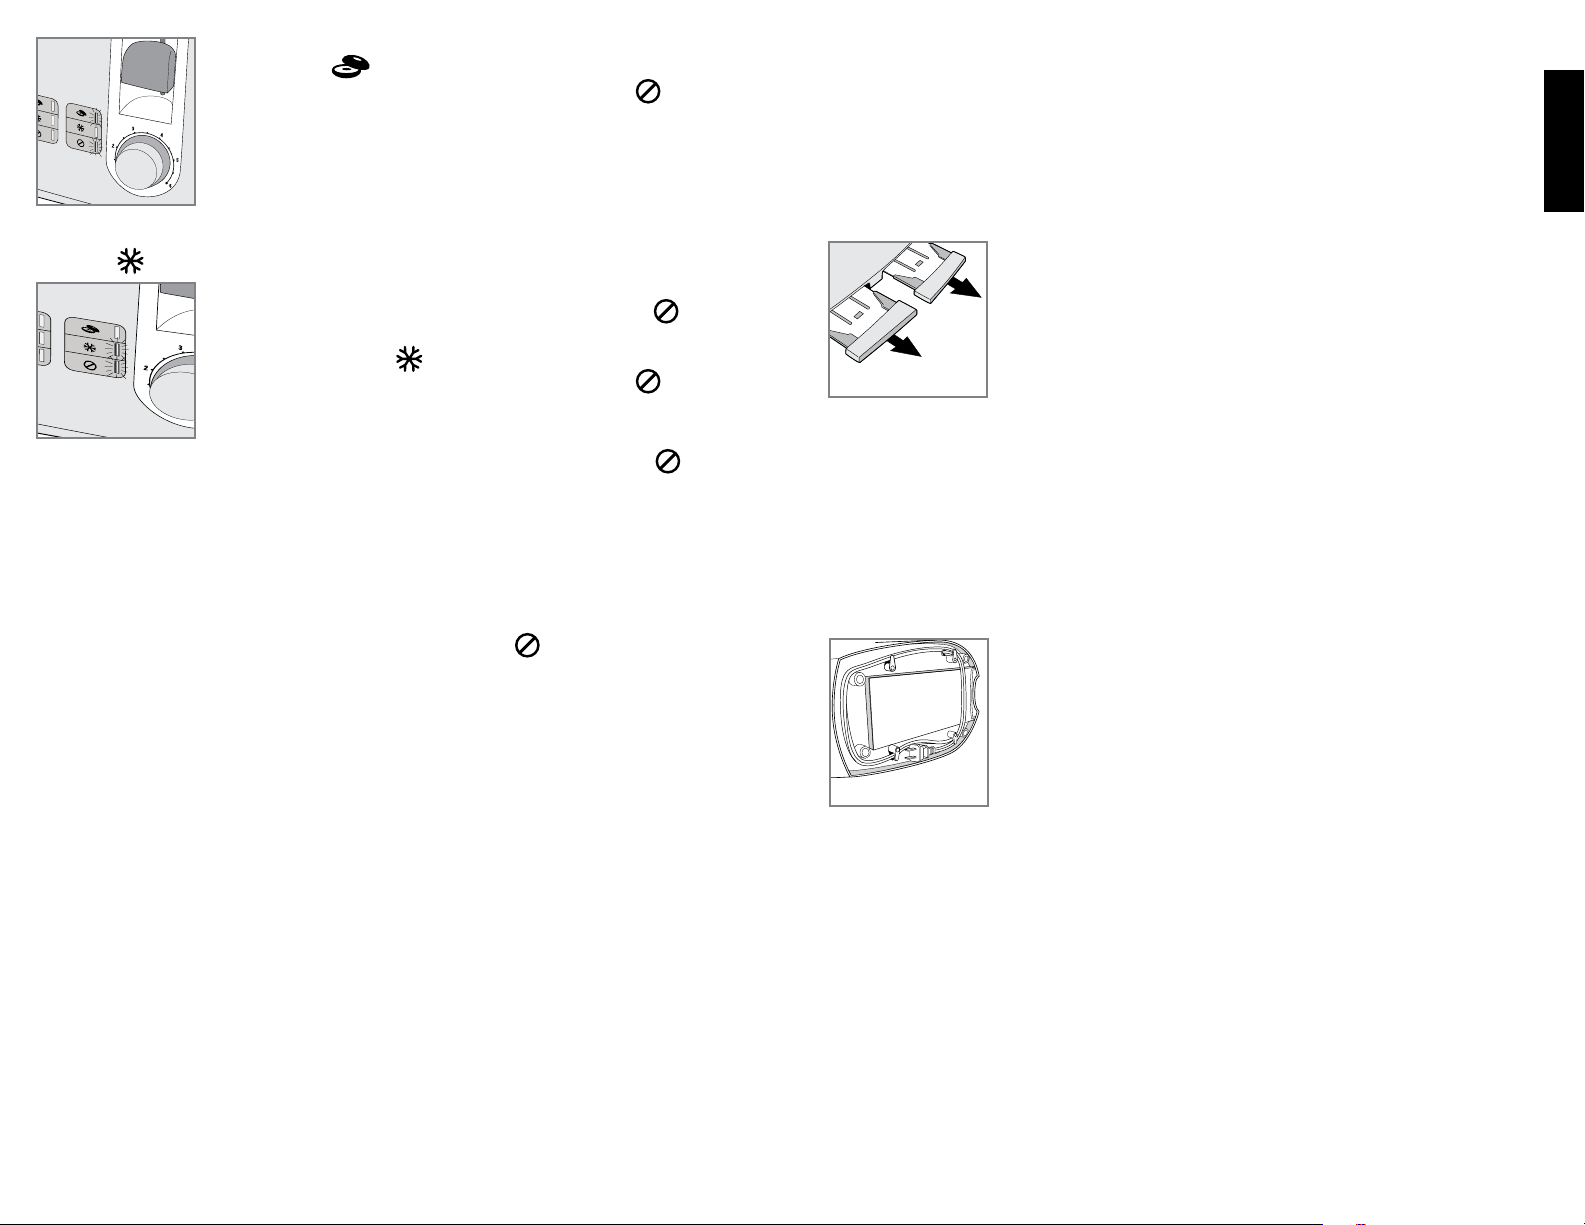
Crumb Trays
1. Grasp the handle(s) at the back of the toaster and slide out
the crumb tray(s) (E).
Note: Models T2569C and T2569BC have only one crumb tray.
2. Dispose of crumbs and wash the tray(s) in warm, sudsy
water. The tray(s) are not dishwasher safe. You can remove
E
Cleaning Outside Surfaces
The cool-touch exterior on the sides will not burn your hand if accidentally
touched. However, the metal top does get hot. Allow the toaster to cool
completely before cleaning.
• Wipe the exterior with a damp cloth or sponge and dry with a paper
towel.
• Do not use strong cleaners or abrasives that may scratch surfaces and
never spray cleaners directly onto the toaster.
STORAGE
stubborn spots using a nylon mesh pad.
3. Dry tray(s) thoroughly before sliding back into the toaster.
Use the cord wrap on the bottom of the toaster to
minimize clutter on you counter and for easy storage (F).
ENGLISH
F
6
7
 Loading...