

Avery Sport4 9493 User Manual
USB INSTALLATION GUIDE
Use these instructions to install the Microsoft Windows printer dri ver for the Monarch
Sierra Sport4™ 9493 printer and sen d data to the USB port. These instru ctions are written for
Microsoft Windows XP. Yo u must have a USB port and the proper cable to connect the
printer to your computer.
Connecting the Printer
Use these instructions to connec t the printer to the computer’s USB port
before installing the printer driver.
1. Use the designated USB cable to c onnect the USB port on the printer to
the USB port on your computer. Refer to the Operator’s Handbook
available on the Monarch® Documenta tion CD-ROM included with your
printer for more information.
2. Turn on the printer.
The computer acknowledges the ne w hardware.
Installing the Printer Driver
Use these instructions to inst all the 9493 printer’s Windows printe r driver.
Note: The screens may appear different ly on other Microsoft Windows versions .
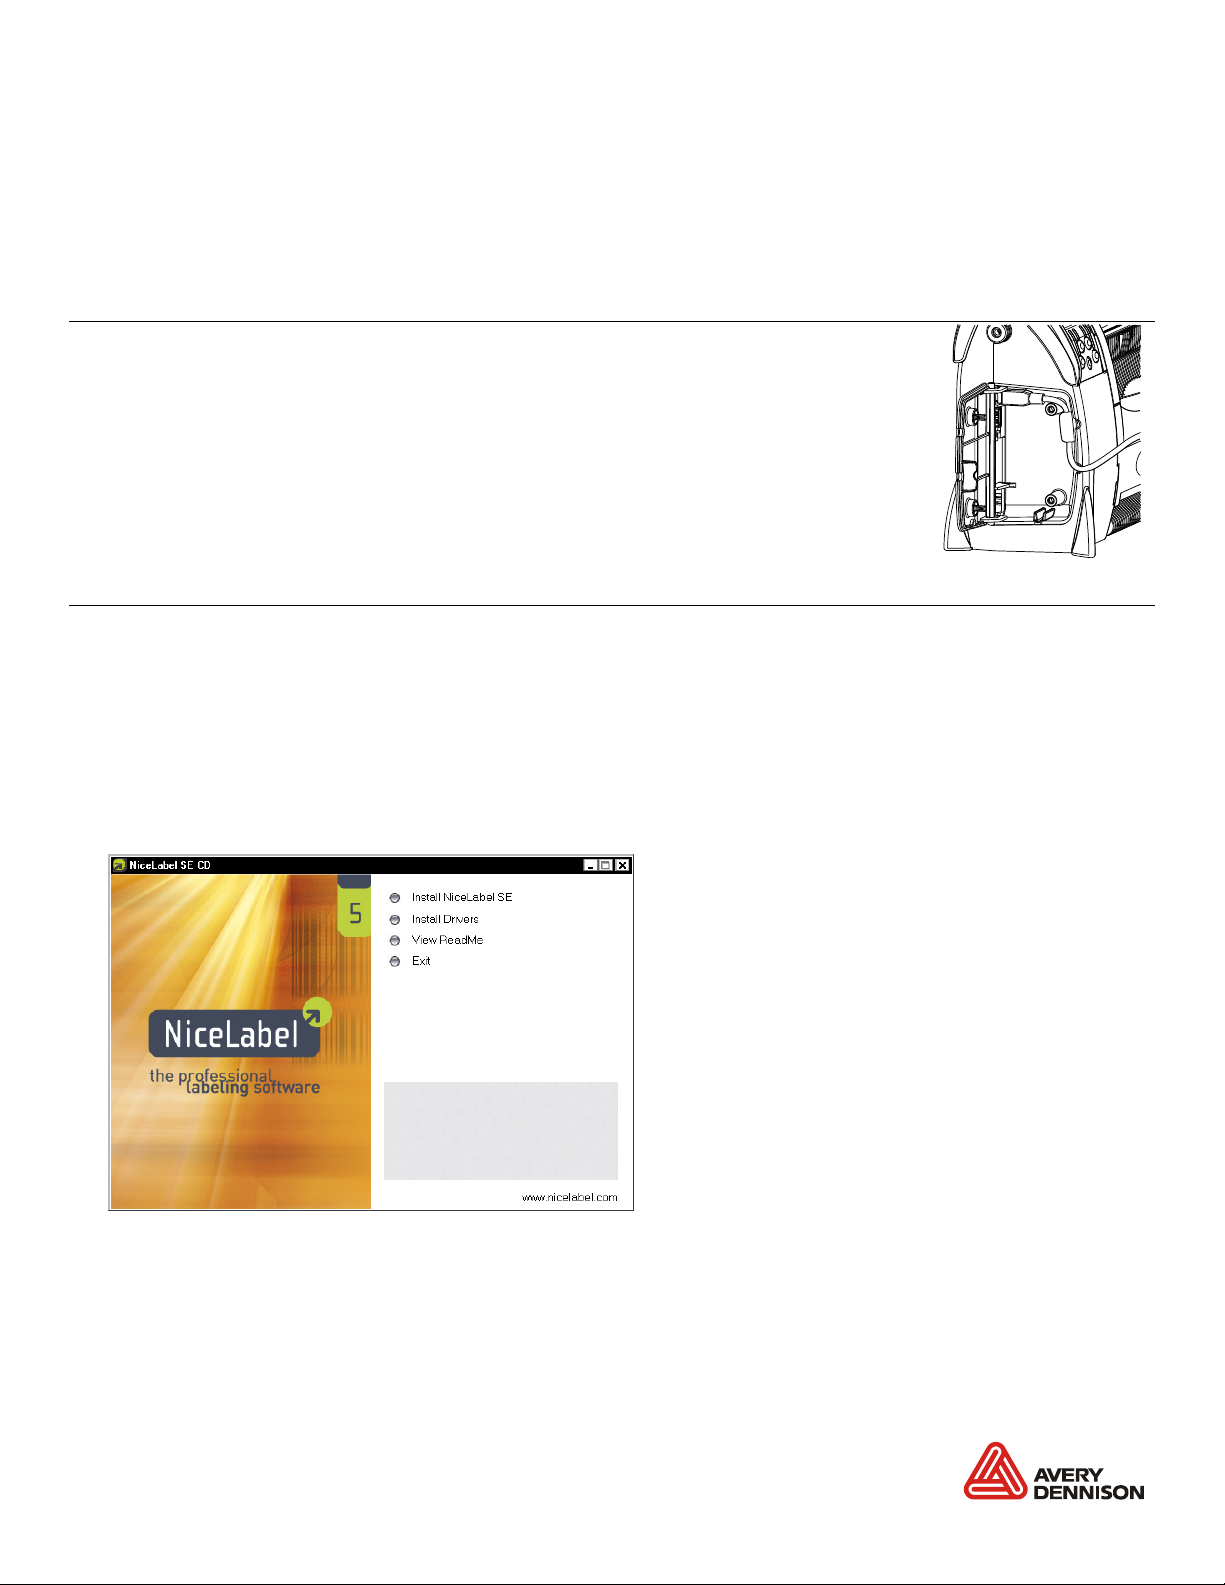
1. Insert the Monarch
computer's CD-ROM drive. The CD starts automatically. You can also download the latest
drivers from our Web site (www.monarch.com).
2. Select Drivers & Utilities.
3. Select NiceLabel & Windows Drivers, then click Run. If prompted to allow this so ftware
to run, click Run again. You see
Printer Documentation CD-ROM (included with your p rinter) into your
USB mini-B shown
4. Click Install Drivers.
5. Click Next>.
6. Select "I accept the terms in the license agreement" and click Next>.
Monarch®, Sierra Sport, and 9493 are trademarks of Avery Dennison Retail Information Services, LLC.
Avery Dennison is a trademark of Av ery Dennison Corpo ration.
NiceLabel® is a trademarks of Euro Plus d.o.o..
Microsoft®, Windows, and XP are tra demarks of Microsoft Corporation.
TC9493USBIG Rev. AA 3/09 2009 Avery Dennison Corporation. All rights reserved.
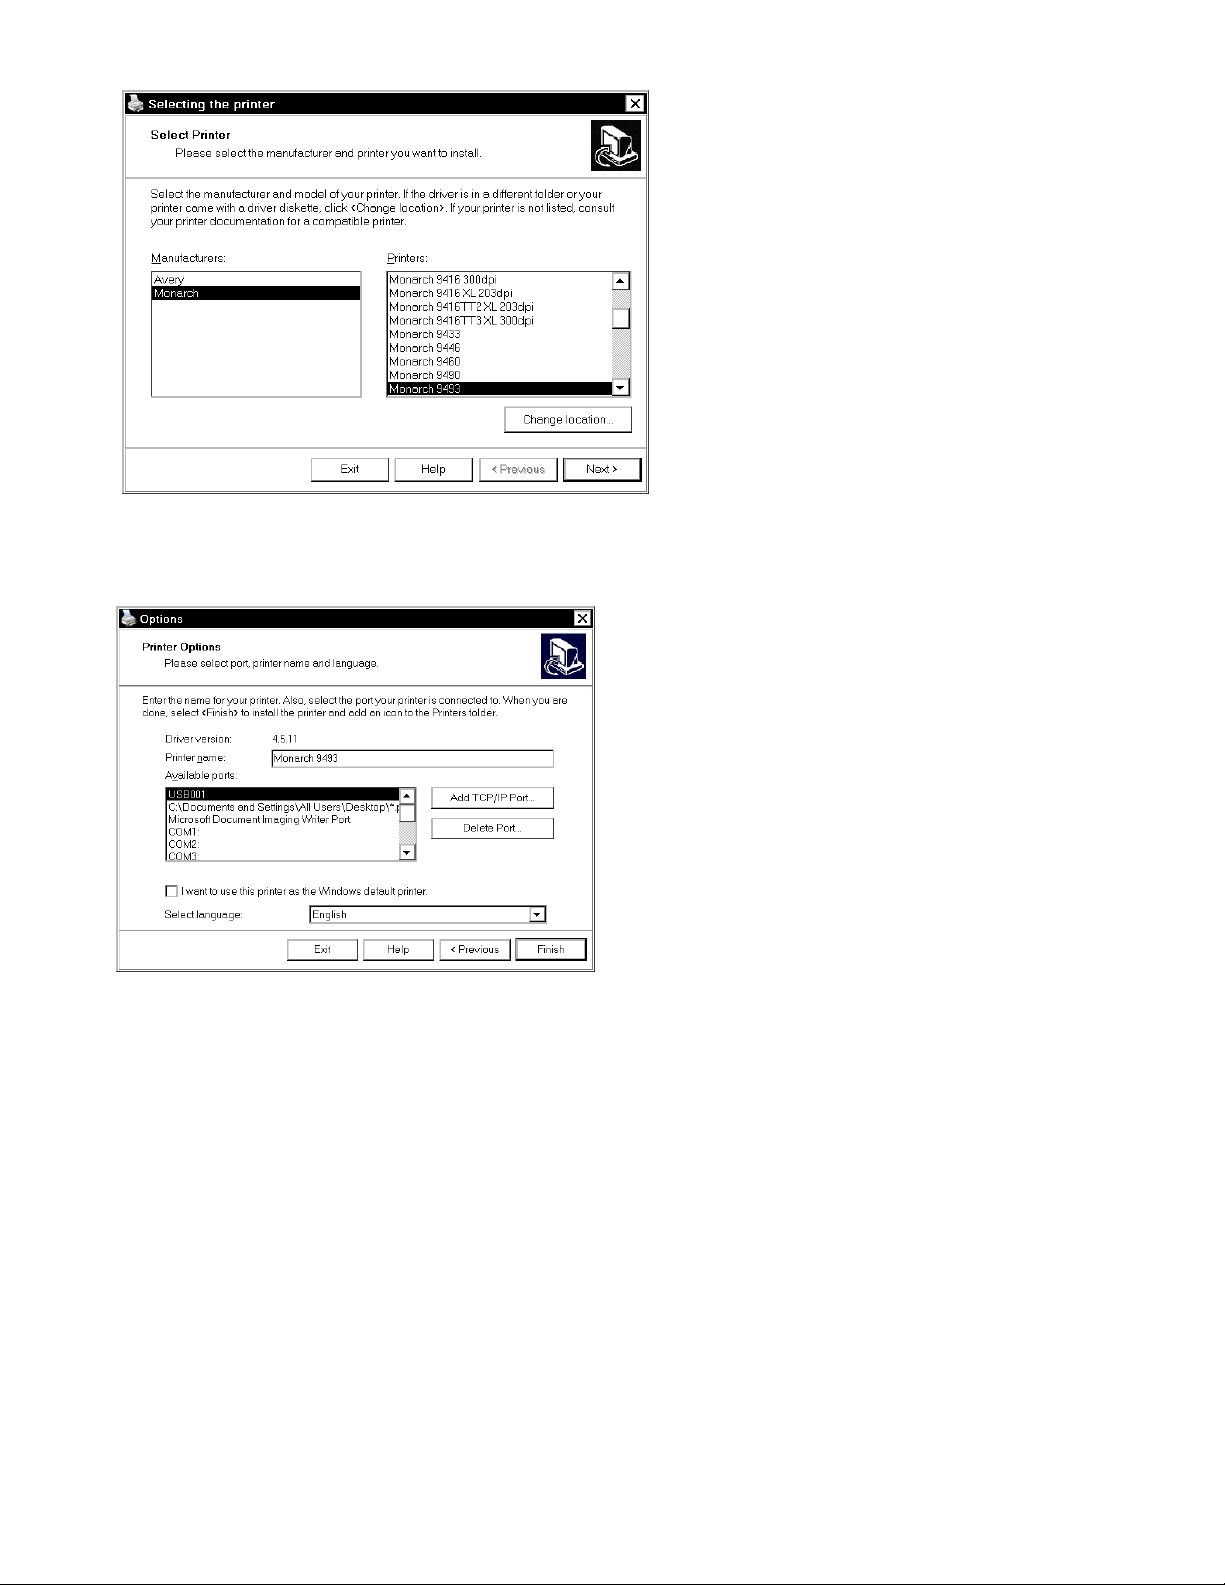
7. Select Monarch as the Manufacturer.
8. Scroll until you see Monarch 9493 under Printers, and click to select.
9. Click Next>.
10. Select the first available USB port, for example, USB001, then click Finish.
11. When the installation is complete, e xit NiceLabel.
The printer is now ready to receive data through the USB port .
2
 Loading...