

Avery Sport4 9493 Quick Reference

QUICK REFERENCE
This Quick Reference contains supply loading information and
general care and maintenance procedures for the Monarch® Sierra
Sport4™ 9493™ printer. For more deta iled information, refer to the
Operator’s Handbook available on our Web site
(w ww.monarch.com).
Using the Battery
You must charge the battery before using it for the first time.
Refer to the Operator’s Handbook for important batter y information.
1. Review the safety information in the Regulatory Compliance
document included with your printer.
2. Turn off the printer when you change batteries.
3. Lay the printer down so the back of the printer faces up.
4. Remove the plastic from a new battery.
5. Slide the battery into the battery well in the bottom of the
printer until it latc hes into place.
Latch
Monarch®, Sierra Sport, and 9493 are trademarks of Avery Dennison RIS, LLC.
TC9493QR Rev. AC 4/09 2008 Avery Dennison Corp.
All rights reserved.

To check the battery:
The battery status flashes briefly
when you turn on the printer. If the
printer is already on, press A under
P. Recharge the battery when the
line is closer to the E (empty)
instead of F (full). To return to
Ready mode, press A under r.
Using the Display and Buttons
P Turns the printer on and off.
A Four navigation buttons for selecting options on the display.
Display
Navigation
Buttons
2
Navigation
Buttons
On/Off
Button
Connecting the Communications Cable
1. Open the cable door on the side of the
printer by loosening the two screws
with a Phillips screwdriver.
2. Plug the DB9 connector into the DB9
serial port.
3. Place the cable in one of the cable
cavities.
4. Close the cable door and tighten the
screws.
A USB cable is also a vailable. Refer to the
Operator’s Handbook for more information .
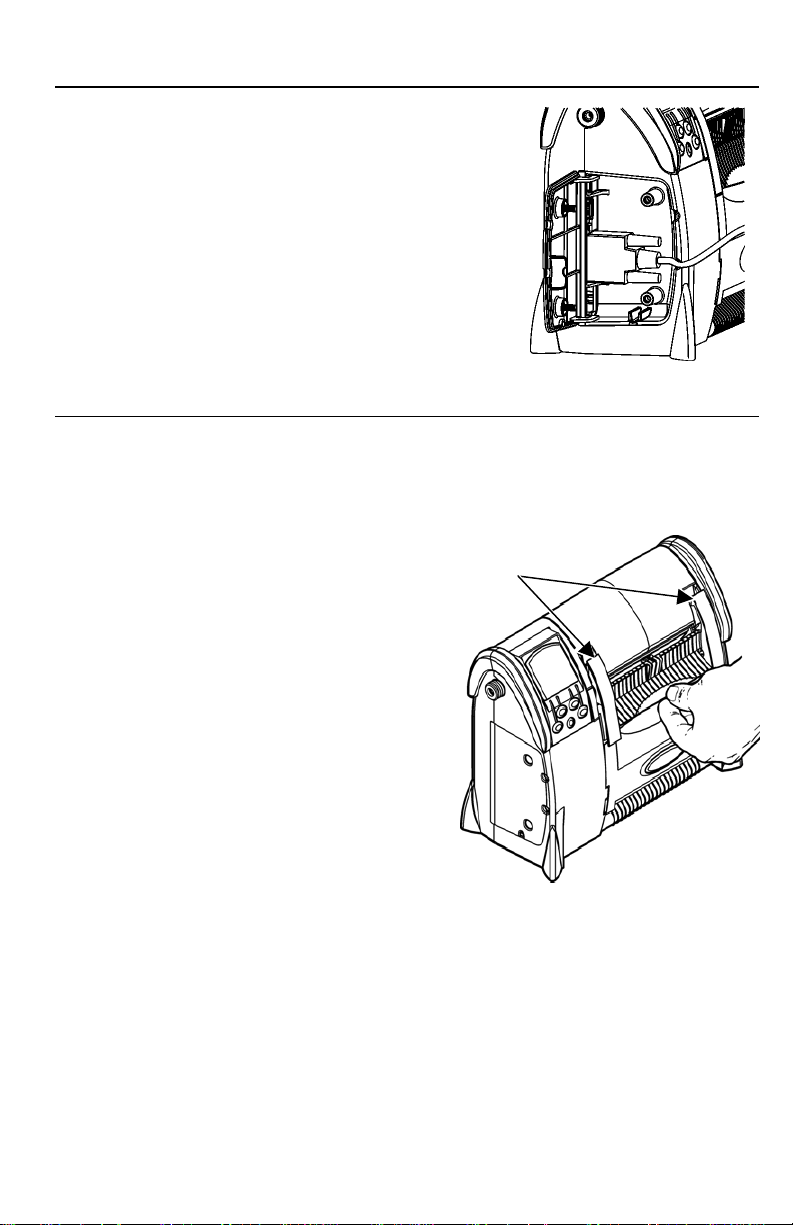
Opening and Closing the Printer
Before loading ribbon or supplies, you must ope n the printer.
Close the printer before printing.
To open the printer:
1. Insert your fingers into the
indent beneath the supply door
latch and lift.
2. Make sure the latch arms are
free of the ribbon cassette.
3. Tip the ribbon cassette back, if
necessary, to lower the supply
door.
To close the printer:
1. Tilt the ribbon cassette back if
necessary and raise the supply
door. Tilt the ribbon cassette
back down.
2. Lift the supply door latch. Make
sure the latch arms catch each
side of the ribbon cassette.
3. Push the supply door latch down
into place.
Latch Arms
3
 Loading...