

Page 1
User Guide
Electric Models with electronic control panel
GE407EL – GE417EL
GE409EL – GE419EL
GE807EL – GE817EL
GE809EL – GE819EL
Mod. GE817EL
Page 2
Before each start-up
Check if the appliance is connected to the electricity and water supply as indicated in the installation
manual.
For the models with manually water loading, pour the water into the water tray and then close the
drawer. It is recommended to check the water level during the work and add some when necessary.
Attention: The lack of water causes the overheating of the appliance with possible damage
and risks of fire.
In models with automatic water loading check if the drawer is closed. Its filling and its level control is
automatic.
Note: to guarantee the correct work is important that the appliance is laying horizontally. To level off
the appliance modify the height of the feet till the base is perfectly horizontal.
SUPPLY
As connected to the electricity supply, the appliance carries out the procedure of "start-up", which
lasts 15 seconds. On the lit display appears flashing "----" together with the symbol "r 2.1". At the end
of the procedure the appliance stays in “Standby” on the last used program and it is ready to be
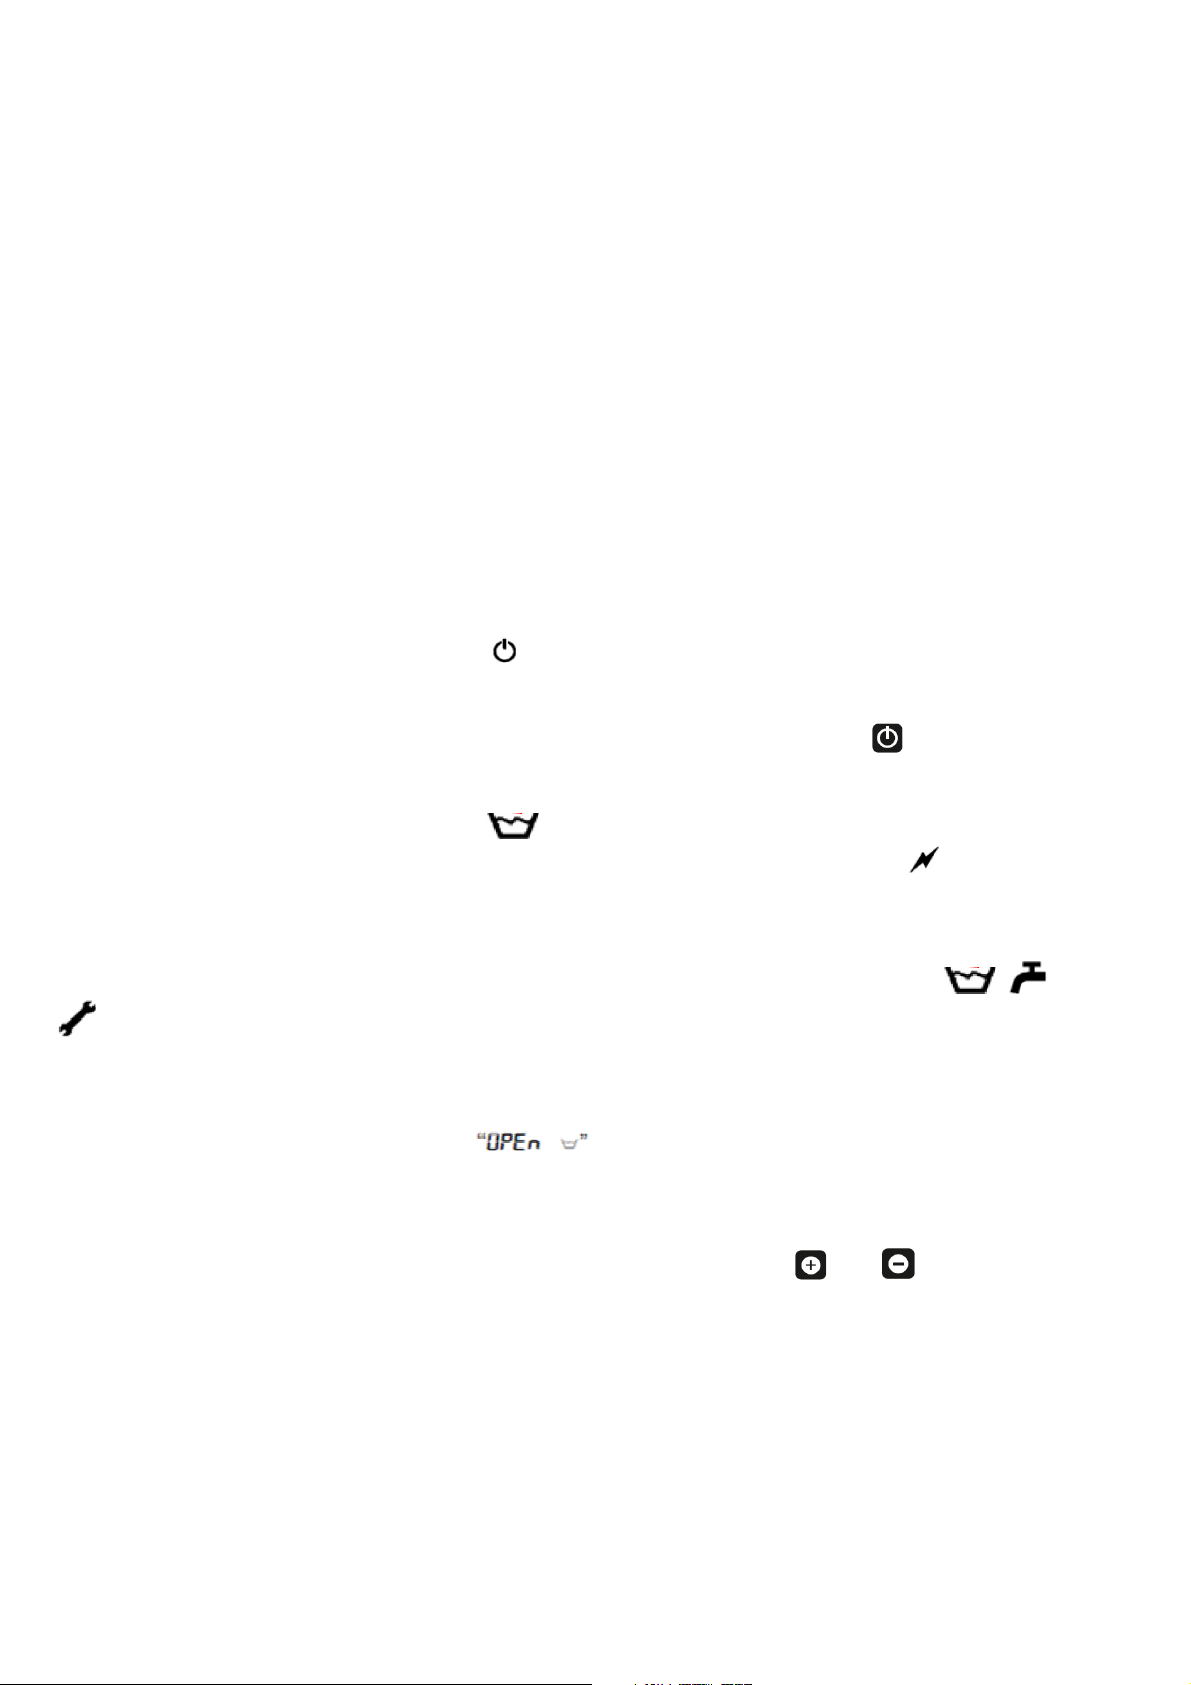
switched on (no lit back display and icon ) .
SWITCH ON AND START OF COOKING SECTION
To start up the heating of the equipment, press and keep pressed the button for 4 seconds. If
equipped with automatic water load, the appliance controls the water level inside the drawer before
heating the cooking surface, and, in case, leads to the necessary level. In this case, the icon of
loading water in the water tray appears “ “ flashing.
After that, the cooking surface is supplied and on the display appear the symbol and the
temperature level sets up (from L1 to L11).
Note: In models with automatic load of water, if within 2 minutes the water the water tray does not
reach the necessary level, the appliance will not work and on the display the icons " , and
" flash and "Err 1" appears to indicate the lack of water. For further information, see "Types of
anomalies".
Note: if the appliance is working and there is the opening of the drawer, the electrical resistances are
in standby and on the display appears with related acoustic sound. When the drawer is
closed, the appliance continues to work.
REGULATE THE TEMPERATURE
To regulate the temperature of the cooking surface press the buttons and and at the same
time select the desired level of temperature from L1 (minimum) to L11 (maximum).
Preheating: the equipment must be always preheated for a time span that varies from 10 to 20
minutes before starting the cooking operation. The necessary time to reach the cooking temperature
depends on the selected level temperature and on environment temperature.
Note: Before loading the food at the beginning of each cooking operation, it is recommended to
clean the cooking surface with appropriate accessories and use some oil on the surface.
Page 3

COOKING WITH CORE PROBE TEMPERATURE (if supplied)
cooking start up with core probe temperature
Follow the instructions to cook the food using the core probe temperature:
- put the connector of the core probe cable its clutch;
- press the button “Heart” (it enables/disables the core probe device). On the display appear
the detected temperature by the hatpin and the temperature level L (from L1 to L11);
- press “select” to see the core temperature to be selected;
- press the buttons and to set up the desired core temperature (from 30°C to 100°C)
- put the hatpin inside the food. Be careful that the head of the hatpin reaches the heart of the
product;.
- If the equipment is already on, start the preheating by the press of the button for 4
seconds;
- when the core probe temperature is reached, the equipment gives an acoustic sound and it
switches off.
Note: to start up a new cooking section (with or without core probe temperature) is necessary to
press for 4 seconds the button .
Select the desired temperature level
To regulate the temperature of the equipment press the button “select” till on the display the level
of temperature appears (from L1 to L11) then press the buttons and to select the desired
temperature level from L1 (minimum) to L11 (maximum).
Note: if the button “select” is pressed repeatedly, on the display appear alternately core probe
data (selected temperature and detected temperature) or the level of temperature L (from L1 to L11).
Note: before removing the connector of the core probe cable from the clutch, press the button “Heart”
to disable the core probe.
SWITCH OFF THE APPLIANCE
To switch off the appliance, press and keep pressed for some seconds the button When the
appliance is off, the back light of the display is off and appears the icon .
CLEANING
All parts of the equipment that touch the food can be removed to be cleaned. If there are internal
sides cover panels, they can be removed, too.
Attention: before cleaning the appliance disconnect it from the electricity supply and wait for the
cooling in order to avoid burns.
Note: to make easier the cleaning it is recommended to keep the equipment to about 50 °C.
Go on as follows:
- clean the upper cooking surface;
- lift the gridiron with the suitable tool and keep it lifted using the bar to clean, which is on the right ide
of the appliance
- complete the cleaning of the lower part of the gridiron;
- clean the internal sides of the grill
- clean the water tray
Page 4

- remove the "overflow" to download the water, but pay attention to keep the filter in the right position
- remove the rubbish from the drawer and clean the circular filter, which is around the overflow
- open the drawer and remove the water tray.
Moreover, with the automatic load of water do the following operation:
- remove the cover of water sensor
- clean the sensor compartment and the magnetic float
- reassemble the float, but be careful that the red part is up and the flat side is back.
- reassemble the cover of the magnetic float
- insert the water tray and close the drawer
- bottom 5 is inhibited with manually water loading appliances, whereas is on with automatic
water loading appliances. When it is pressed, it allow water to flow for 10 seconds. The buttom can
be used during the cleaning phase.
Note: the cleaning of the water drawer and of the magnetic float must be done every day, if the
equipment works everyday.
Note: DO NOT wash the appliance with direct high pressure water jets on electronic parts, on the
electrical components and on heating elements of the appliance (round gridiron).
CONTROL SCREEN
Note: Each cooking zone is independent and is regulated by the correspondent control panel
beneath it.
Page 5

(14). CODIFICATION OF ANOMALIES
In case of anomalies, the related error code is flashing displayed on the LCD display. There is the sign ERR.
on the top of the display, the error code on right lower and the icon L. The following scheme describes the
error codes for each anomalies.
Error
code
Err 1
Err 11
Err 12
Type of anomalies
Automatic load of water failed
If the phase of automatic load of water, which started after the closure of the clean
contact of level sensor, doesn't finish within the prefixed time of parameter n° 11, there
will be the instant stop of the system (switch off of the burner if on or miss switching if
off) and the display of error code (ERR 1) and of icons P, H and L. To allow the work of
the system is necessary to select OFF status and then ON status through the button
N°8 on control screen.
Anomalies to core probe (if supplied)
The failure of core probe, for example the disconnection or damage, causes the
instant stop of the burner followed by the display of the related error code. This
damage is detected and signaled only if the system was set up (button SW3) for the
use of core probe. In order to restore the right work of the system is necessary to
remove the failure condition or to use the application inhibiting the use of core probe
(see the paragraph 8.2 "Control screen LCD1.B80 150MM in user method" button N°
3)
Internal breakdown on board
In case that there are internal problems to the memory eeprom (Err 12) the immediate
stop of the burner occurs and the error code can be seen. In this case it is necessary to
substitute the board.
0pen P
Open water drawer
The 960 board has detected the failure of closing the water drawer, consequently it
reveals the opening of the drawer and if the burner is off, the board deactivates it,
otherwise if the burner is on, it will switch off.
Page 6

ARRIS CATERING EQUIPMENT SRL
35010 Cadoneghe (PADOVA) Italy
Via G .B .Tiepolo
Tel .
+39 049 8874557
www .arriscater
e-mail arr
is@arris-c-e.
,3B z .i .
Fax
+39 049 8874567
ingequipment.
it
it
 Loading...