

Page 1
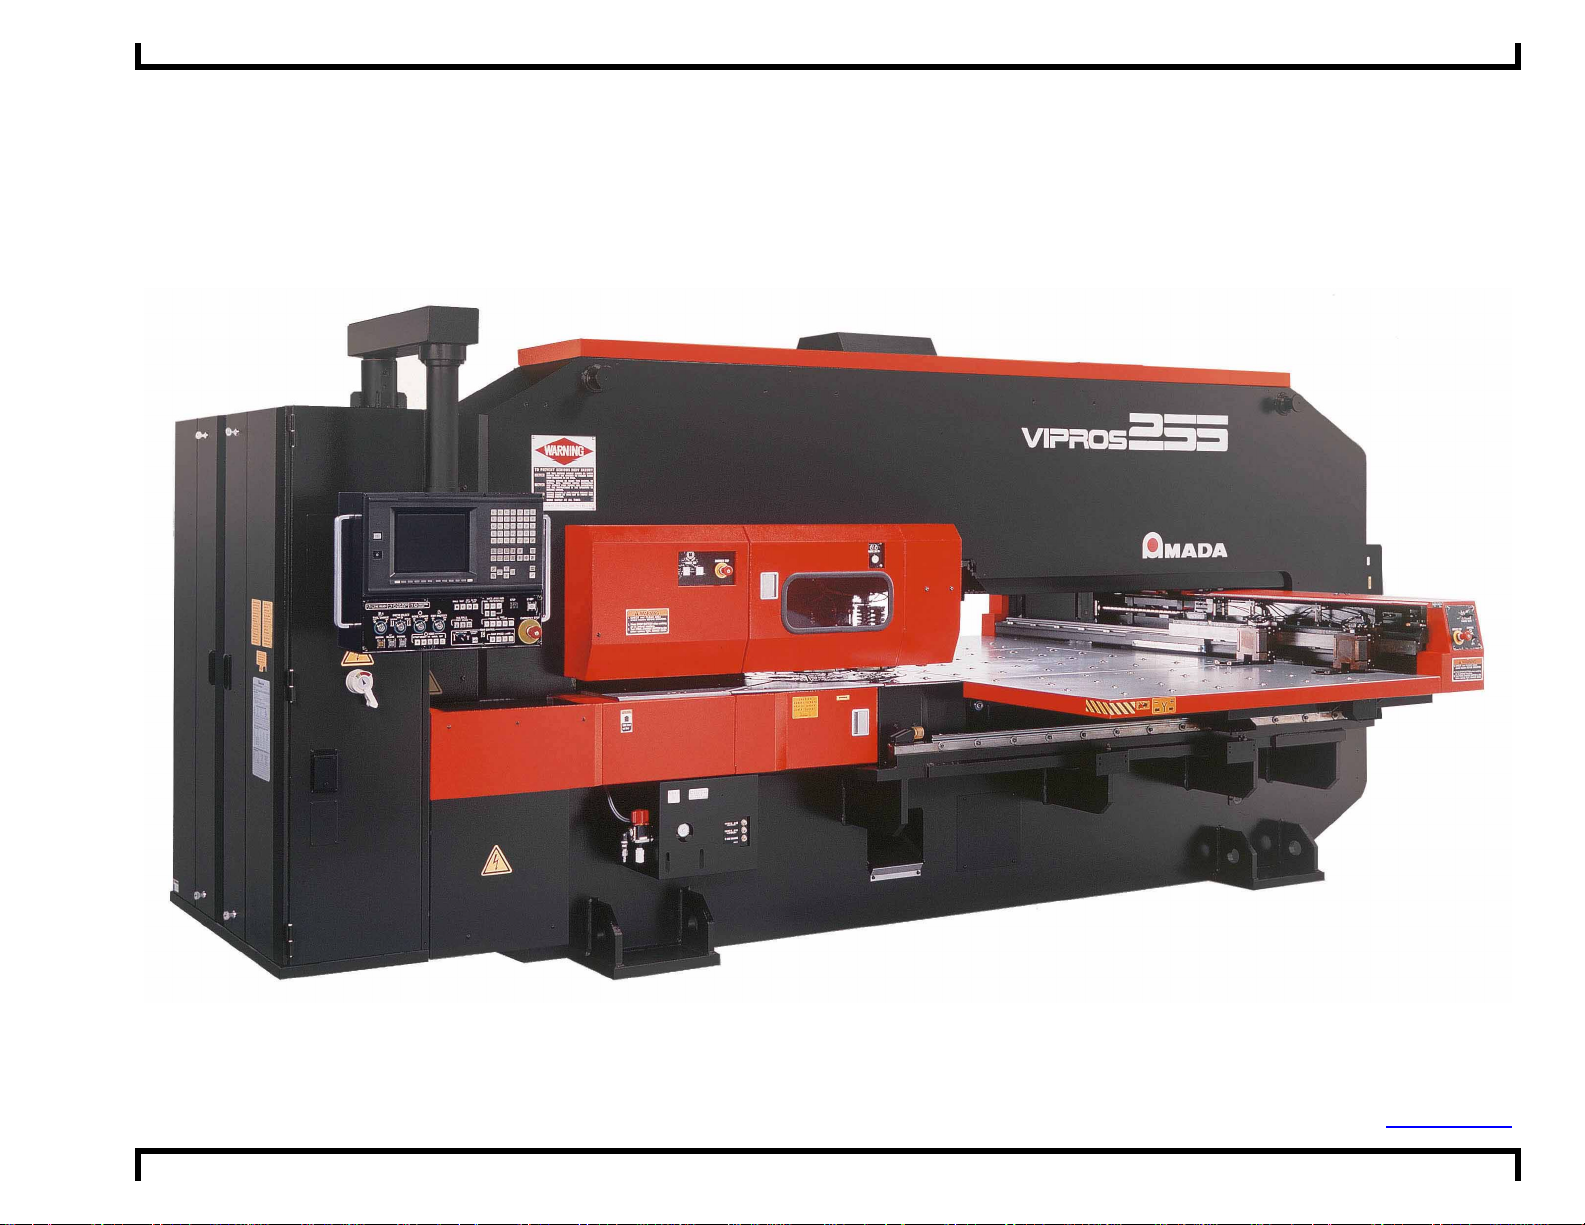
Vipros 255 Machine Programming Limits ©Amada America Inc.
Vipros 255 Machine Programming Limits
Amada America Inc.
7025 Firestone Blvd.
Buena Park, CA 90621
Phone: 714-739-2111
Fax: 714-739-4099
Email info@amada.com
Print Date 01/10/2001 Revision 4.0 Page 1 of 15
Page 2

Vipros 255 Machine Programming Limits ©Amada America Inc.
Table of Contents
Programmable Travel Limits.................................................................................................................................................3
Programmable Feed Rates...................................................................................................................................................4
Punching Mode................................................................................................................................................................4
Contouring Mode.............................................................................................................................................................4
Punch Confirmation Area / Punching Dead Zone..................................................................................................................5
Definitions........................................................................................................................................................................5
A Size (½") Station...........................................................................................................................................................6
A Size Track 200 Stations..........................................................................................................................................6
A Size Track 300 Stations..........................................................................................................................................7
B Size (1¼") Station.........................................................................................................................................................8
B Size Track 200 Stations (Auto Index only)..............................................................................................................8
B Size Track 300 Stations..........................................................................................................................................9
C Size (2") Station .........................................................................................................................................................10
C Size Track 200 Stations........................................................................................................................................10
C Size Track 200 Stations Auto Index......................................................................................................................11
D Size (3½") Station ......................................................................................................................................................12
D Size Track 200 Stations........................................................................................................................................12
Reposition Holddown Locations..........................................................................................................................................13
Material Clamp Location......................................................................................................................................................14
Turret Layout 31 station 3 A/I..............................................................................................................................................15
Print Date 01/10/2001 Revision 4.0 Page 2 of 15
Page 3
Vipros 255 Machine Programming Limits ©Amada America Inc.
Programmable Travel Limits
Y
Track 200
Track 300
0"
X
0"
Origin Statement
X-axis Origin Y-axis Origin
X-axis
Movable Distance
Y-axis Movable Distance
By Track Numbers
Center Track
200 Stations
Outer Track
300 Stations
47.638" 50.000" -.400" to 50.400" -.400" to 51.100" -1.900" to 49.600"
Print Date 01/10/2001 Revision 4.0 Page 3 of 15
Page 4

Vipros 255 Machine Programming Limits ©Amada America Inc.
Programmable Feed Rates
Punching Mode
F1 = 3,229. IPM
F2 = 2,421. IPM
F3 = 1,614. IPM
F4 = 807. IPM
Contouring Mode
G00 max. 3,149. IPM
G01 max. 300. IPM
G02 max. 300. IPM optional
G03 max. 300. IPM optional
Print Date 01/10/2001 Revision 4.0 Page 4 of 15
Page 5

Vipros 255 Machine Programming Limits ©Amada America Inc.
Punch Confirmation Area / Punching Dead Zone.
Definitions
Confirmation Zone = An area that when the confirmation switch is in the on position or it is the first run of the
part program the operator must confirm the punch by pressing the confirmation
pushbutton.
Punch Dead Zone = An area that the operator must confirm the punch by pressing the punch and confirmation
buttons. Punching in this area with standard tools may damage the material, material
clamp, tool, other machine components and may cause operator injury.
Y-Overtravel Zone = An area that exceeds the travel limits of the machine.
Print Date 01/10/2001 Revision 4.0 Page 5 of 15
Page 6

Vipros 255 Machine Programming Limits ©Amada America Inc.
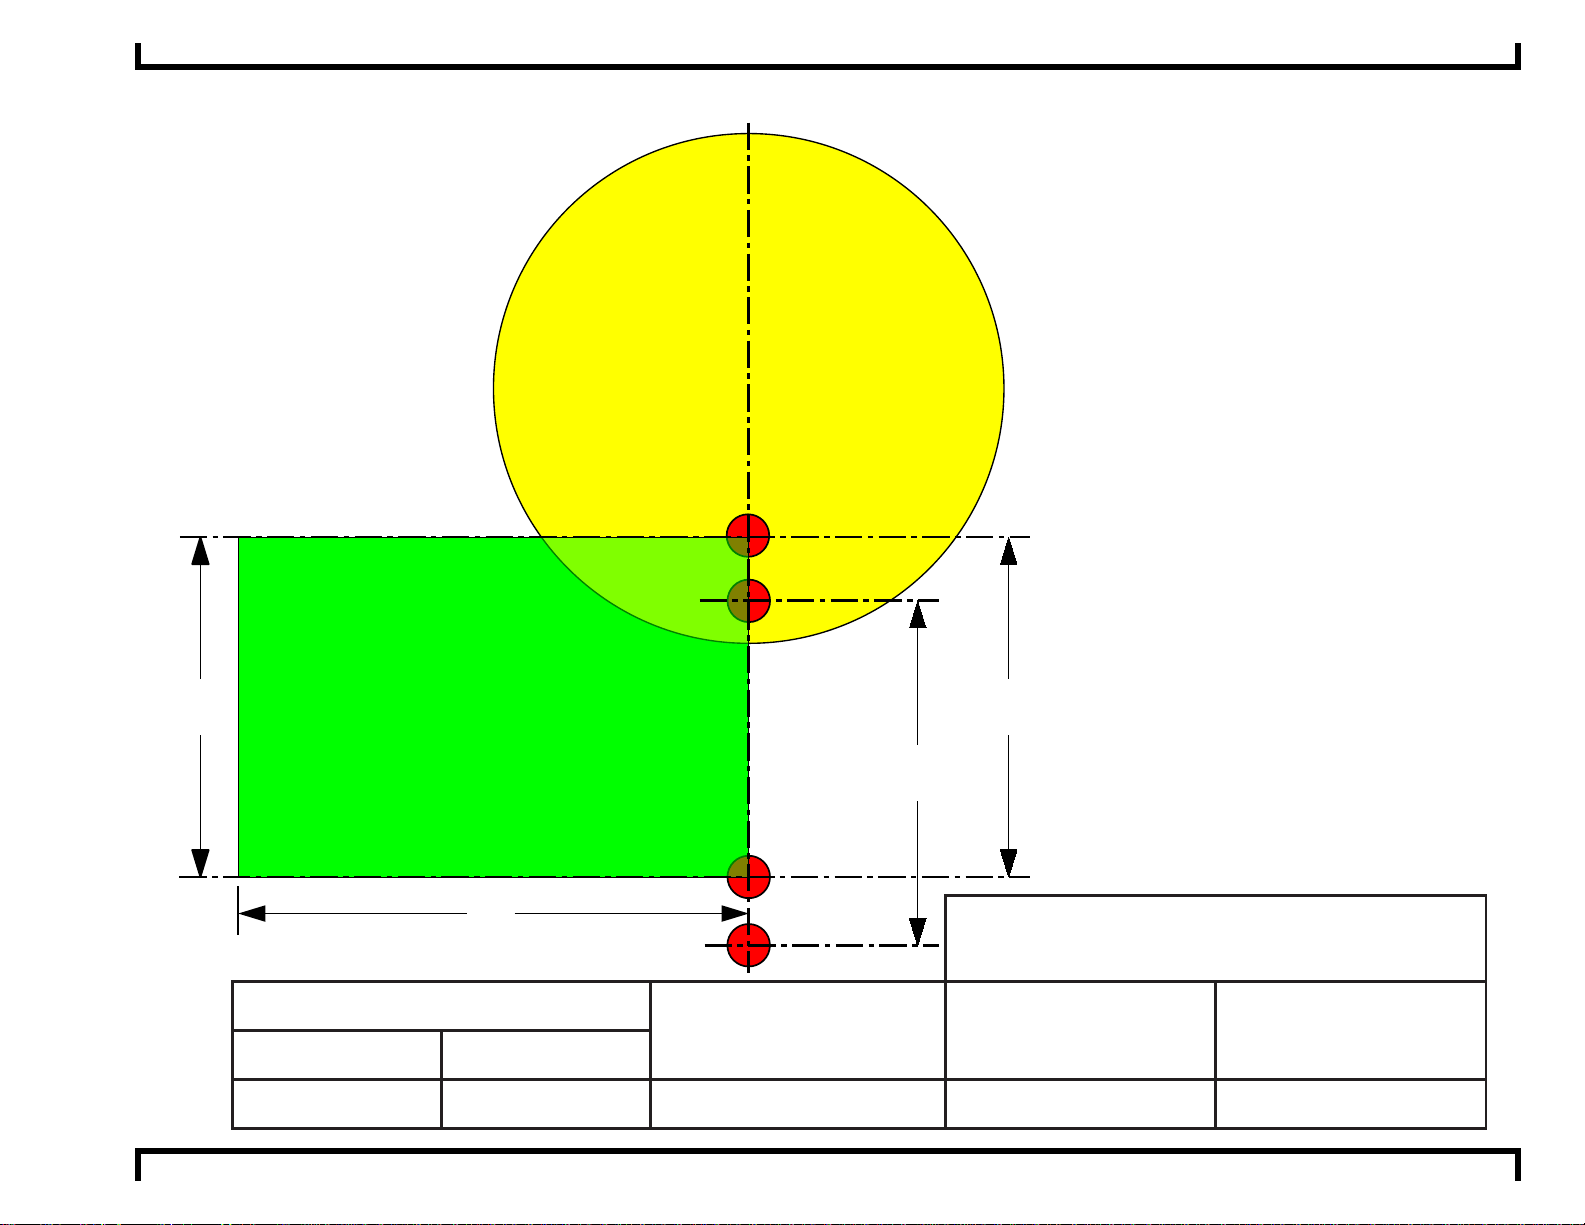
A Size (½") Station
A Size Track 200 Stations
Track 200 Station
Track 300 Station
2.9"
Turret
Confirmation Zone
Punch Dead Zone
Material
Clamp
2.75" 2.75"
1.2"
Edge of Material
7.1"7.1"
Material Clamp Centerline
Print Date 01/10/2001 Revision 4.0 Page 6 of 15
Page 7

Vipros 255 Machine Programming Limits ©Amada America Inc.
A Size Track 300 Stations
Track 200 Station
Track 300 Station
Confirmation Zone
Turret
Punch Dead Zone
Material
Clamp
1.2"
2.75"2.75"
7.1"7.1"
Material Clamp Centerline
1.3"
Edge of Material
Print Date 01/10/2001 Revision 4.0 Page 7 of 15
Page 8

Vipros 255 Machine Programming Limits ©Amada America Inc.
B Size (1¼") Station
B Size Track 200 Stations (Auto Index only)
Track 200 Station
Confirmation Zone
Turret
Punch Dead Zone
7.10"
3.30"
Material
Clamp
2.80"
1.60"
Edge of Material
3.30"
7.10"
Material Clamp Centerline
Print Date 01/10/2001 Revision 4.0 Page 8 of 15
Page 9

Vipros 255 Machine Programming Limits ©Amada America Inc.
B Size Track 300 Stations
Track 300 Station
Punch Dead Zone
Confirmation Zone
Turret
7.10"
3.30"
Material
Clamp
1.60"
Edge of Material
3.30"
7.10"
Material Clamp Centerline
Print Date 01/10/2001 Revision 4.0 Page 9 of 15
Page 10

Vipros 255 Machine Programming Limits ©Amada America Inc.
C Size (2") Station
C Size Track 200 Stations
Track 200 Station
Punch Dead Zone
2.80"
Turret
2.1"
Confirmation Zone
Material
Clamp
3.75"
Print Date 01/10/2001 Revision 4.0 Page 10 of 15
3.75"
7.10"7.10"
Material Clamp Centerline
Edge of Material
Page 11

Vipros 255 Machine Programming Limits ©Amada America Inc.
C Size Track 200 Stations Auto Index
Track 200 Station
Punch Dead Zone
2.80"
Confirmation Zone
Turret
3.75"
Material
Clamp
3.75"
2.1"
Edge of Material
7.10"7.10"
Material Clamp Centerline
Print Date 01/10/2001 Revision 4.0 Page 11 of 15
Page 12

Vipros 255 Machine Programming Limits ©Amada America Inc.
D Size (3½") Station
D Size Track 200 Stations
Track 200 Station
Confirmation Zone
2.9"
Turret
Punch Dead Zone
Material
Clamp
4.1"4.1"
6.85"
Material Clamp Centerline
Print Date 01/10/2001 Revision 4.0 Page 12 of 15
6.85"
Edge of Material
Page 13

Vipros 255 Machine Programming Limits ©Amada America Inc.
Reposition Holddown Locations
Y
Left
Holddown
Track 200
2.0"
Track 300
13.812"13.812"
Center of Tool
Track 300 Reposition Confirmation Zone
Track 200 Reposition Confirmation Zone
X
Right
Holddown
2.4"
4.0"
Print Date 01/10/2001 Revision 4.0 Page 13 of 15
Page 14

Vipros 255 Machine Programming Limits ©Amada America Inc.
Material Clamp Location
0.400"
Material Clamp
Centerline
Minimum
3.000"
Mimimum Spacing
1.575"
1.575"
Material Clamp
1
Material Clamp
5.525"
Centerline
Clamp Sensor
Material Clamp
Optional
Material Clamp
5.525"
Mimimum Spacing
Clamp Sensor
Material Clamp
Centerline
Maximum
47.000"
Y 0" Edge of Material
Clamp Sensor
Last
Print Date 01/10/2001 Revision 4.0 Page 14 of 15
Page 15

Vipros 255 Machine Programming Limits ©Amada America Inc.
Turret Layout 31 station 3 A/I
Print Date 01/10/2001 Revision 4.0 Page 15 of 15
 Loading...