

Page 1
14/08/2020
INSTALLATION INSTRUCTIONS
FOR FIBREGLASS POOLS
www.zodiac.com.au
Bolero ND Cleaner
INSTALLATION INSTRUCTIONS I INSTALLATION INSTRUCTIONS
Zodiac Lumipower Lights
For Fibreglass Pools
Page 2
14228 Luminare Fiberglass Light Installation V2
2
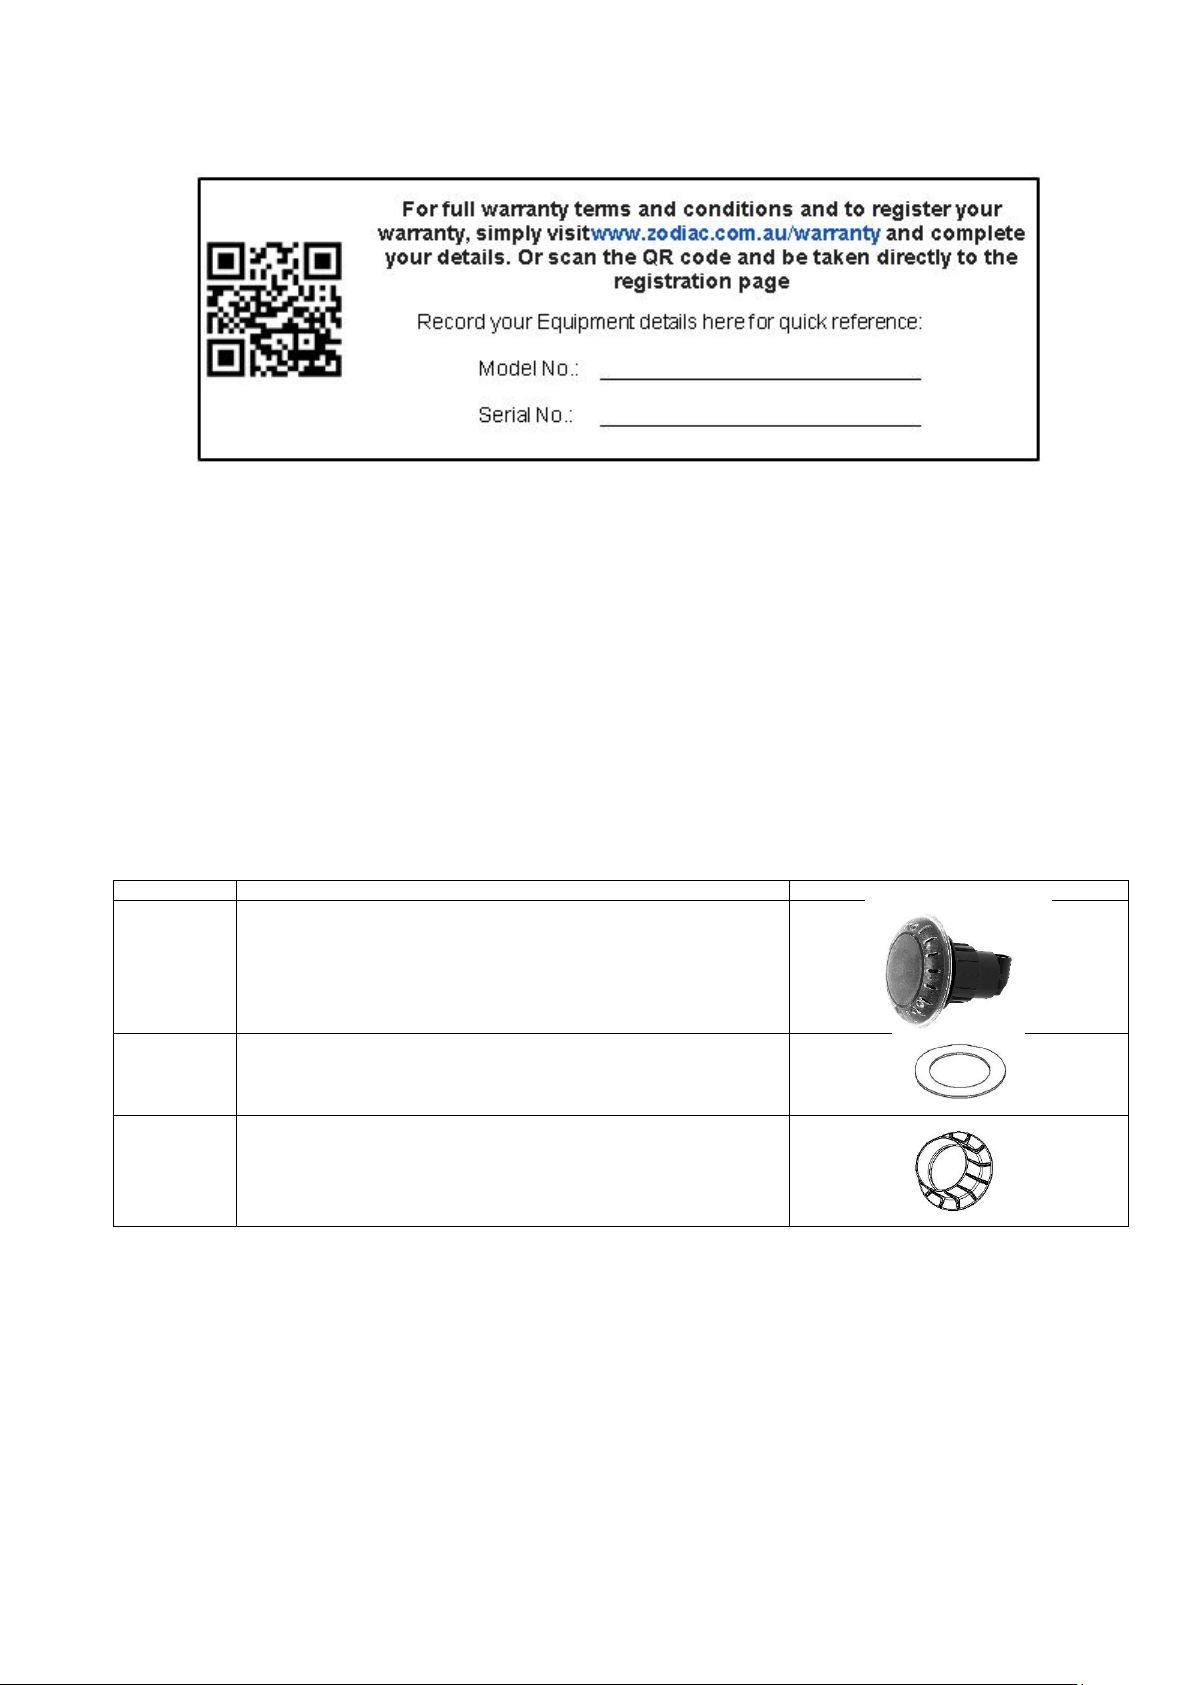
Kit Contents
Quantity
Item
1
Fiberglass Niche Assembly
Complete with 20, 35 or 50 m cable
1
Washer Alignment Niche
1
Nut Fiberglass Niche
Lumipower lights are supplied complete and ready to use.
All of the screws in this product are tightened to precise torques during the manufacturing process.
Please DO NOT tighten any screws as permanent product damage may result!
Technical Specifications
Lights and transformers must be installed in accordance to AS/NZS 3000:2007 standards.
Zodiac lighting transformers are recommended.
Light supply voltage: 12V AC
Temperature Range: 1°C to 40°C
Run dry Protection: Enabled (Lights will dim when run dry)
Page 3

14228 Luminare Fiberglass Light Installation V2
3
Installation Instructions
1. It is recommended that lights are installed 400 mm below the water surface. There is 1.2m of cable inside the
Niche to allow for servicing.
2. Before commencing work, confirm that the proposed light position is on a flat surface of the pool face and
that no ribs or protrusions that would interfere with the locknut, are protruding from the outside face of the
pool.
3. Use a 60mm hole saw to drill through the pool wall. Remove any debris that may catch on the cable or niche
or may affect the sealing.
4. Carefully feed the cable through the hole in the pool wall. You don’t need to uncoil the cable but you may
need to squeeze the ends of the cable slightly to allow it to pass through.
5. Run a bead of silicone around the back face of the niche. Ensure the silicone runs as one continuous line
approximately 10mm to 15mm in from the outer edge of the niche. Care needs to be taken so that no silicone
is squeezed out of this joint when the light is fitted to the pool face as this may affect servicing!
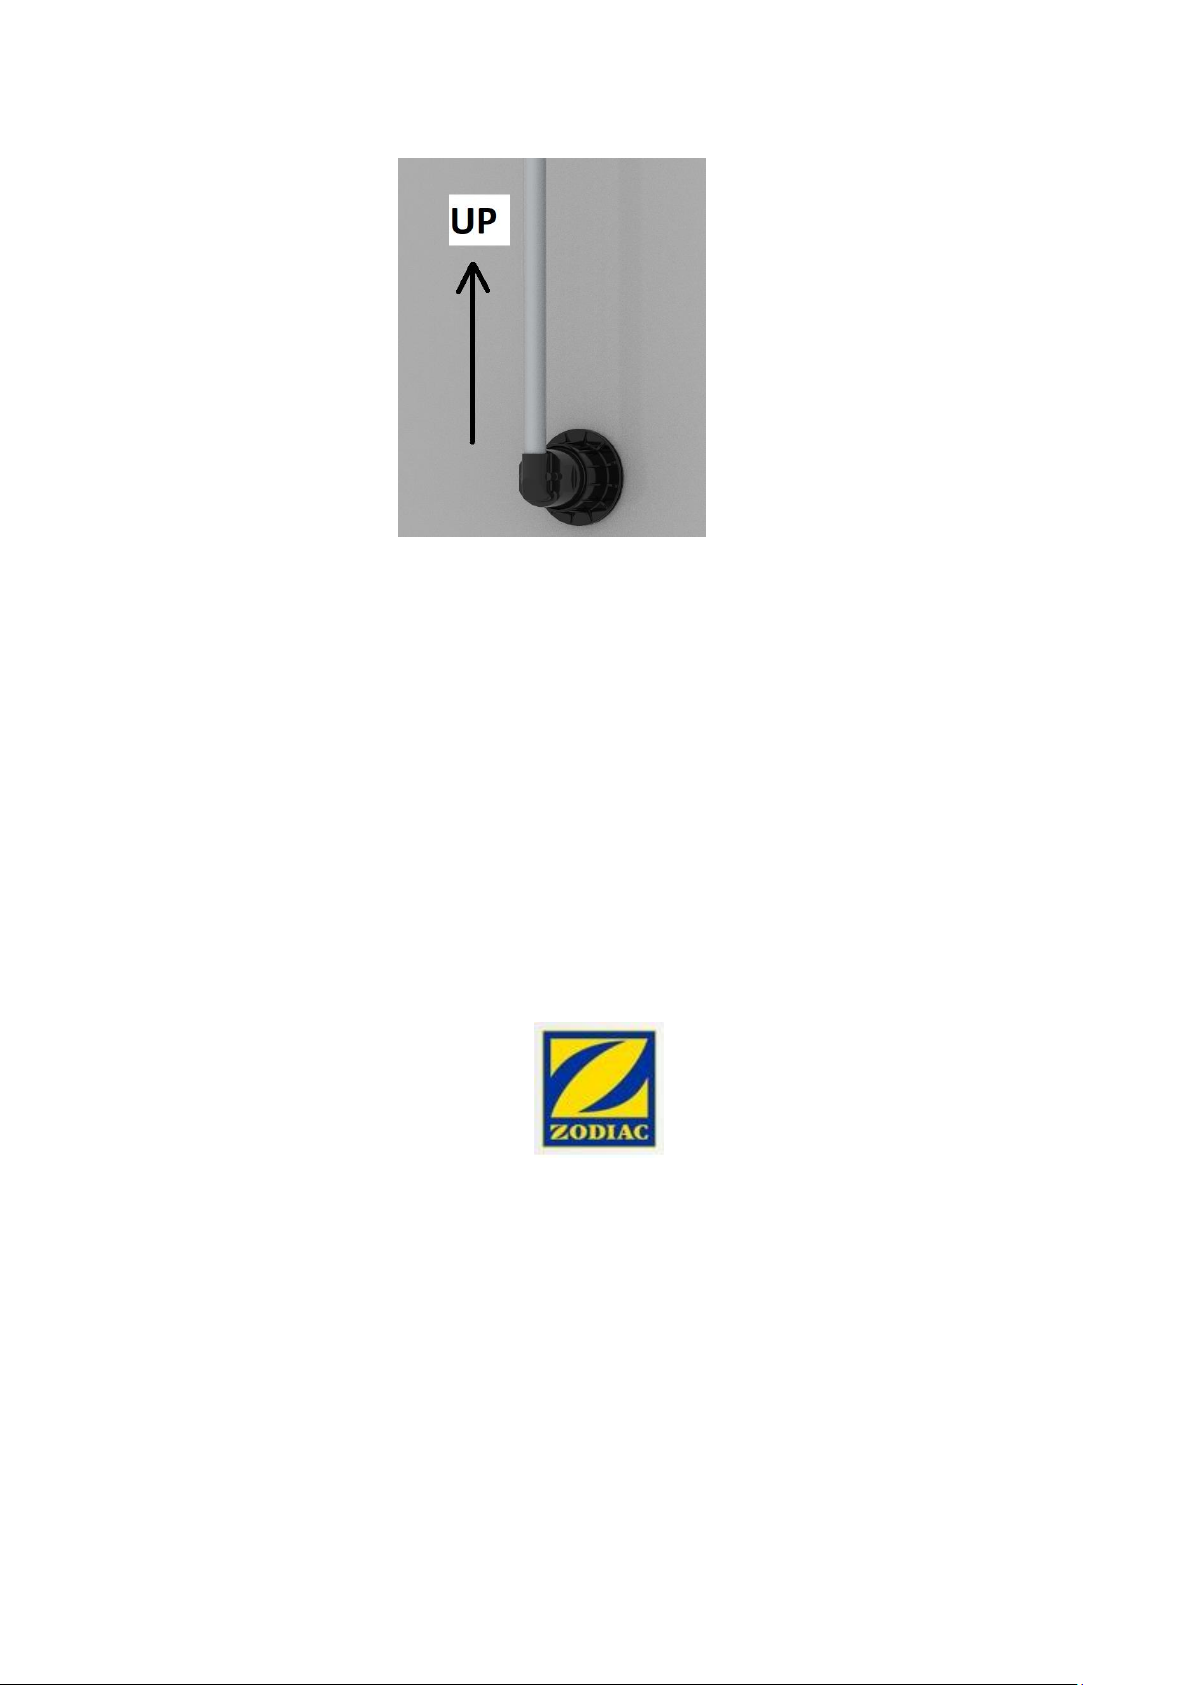
6. Fit the niche through the hole in the pool shell. Ensure the conduit connection point is facing upwards from
the niche.
7. From outside of the pool, feed the Washer and then the Nut (large face first) onto the cable. Again, there is no
need to uncoil the cable, but you may need to squeeze the ends of the cable slightly to allow it to pass
through. Ensure that the Nut and Washer are free of debris. (Leave the Nut and Washer on the cable for now)
8. Ensure that the niche is still in position against the pool wall (pull it towards yourself), ensure that conduit
connection point is still facing upwards and apply a heavier bead of silicone into the hole in
the pool wall. (Fill the area between the pool wall and the Niche and slightly onto the niche thread.).
9. Move the washer and nut up onto the Niche and begin to tighten the nut. Use a spanner to keep the conduit
connection point facing upwards and tighten the nut. (Hand Tighten Only!)
10. Zodiac recommend that a vertical length of conduit, finishing above the waterline, is glued into the conduit
connection point. (The internal design of the niche allows for a new cable to be pulled through in the future if
required).
Page 4
14228 Luminare Fiberglass Light Installation V2
4
11. Hold a piece of 20mm conduit under the lip of the pool and mark where this conduit meets the conduit
connection point. Cut the conduit to this mark. Uncoil the light cable and feed it through the conduit. Apply a
small amount of Type N PVC glue onto the conduit and fit it into the niche.
12. All Zodiac transformers are supplied with appropriate light cable connectors. The light cable can be
shortened before it is connected to the transformer.
13. For Multicolour lights refer to the supplied Operating Instructions for instructions on how to change colours
etc.
Zodiac is a registered trademark of Fluidra Group Australia Pty Ltd
ABN 87 002 641 965
CUSTOMER SERVICE CENTRE
Fluidra Group Australia
219 Woodpark Rd, Smithfield,
NSW. 2164 Australia
 Loading...