

Page 1

Summer Winter
O wrl or
• ASSEMBLY
=OPERATION
. MAINTENANCE
Thank you for purchasing an American-built product.
Spring
Fall
CONVERTIBLE
ROTARY
MOWER
Model E849
IMPORTANT!
Record the exact Model No, and Serial No,
which appear on the rear of your unit (on the
deck) in the space below. You must have these
numbers, along with the date of purchase, in
order to receive warranty or service.
MODEL NO.
SERIAL NO.
12 84[ 401 IIII!1111111
IMPORTANT:
Read Safety Rules and
Instructions Carefully
WARNING: This unit is equipped with an internal combustion engine and should not be used on or near any unimproved
forest-covered, brush-covered or grass-covered land unless the engine's exhaust system is equipped with a spark arrester
meeting applicable local or state laws (if any). If a spark arrester is used, it should be maintained in effective working order by
the operator.
In the State of California the above is required by law (Section 4442 of the California Public Resources Code). Other states may
have similar laws. Federal laws apply on federal lands. A spark arrester for the muffler is available through your nearest engine
authorized service dealer or contact the service department, P.O. Box 368022, Cleveland, Ohio 44136-9722.
PRINTED IN U.S.A.
FORM NO. 770-8833L
Page 2
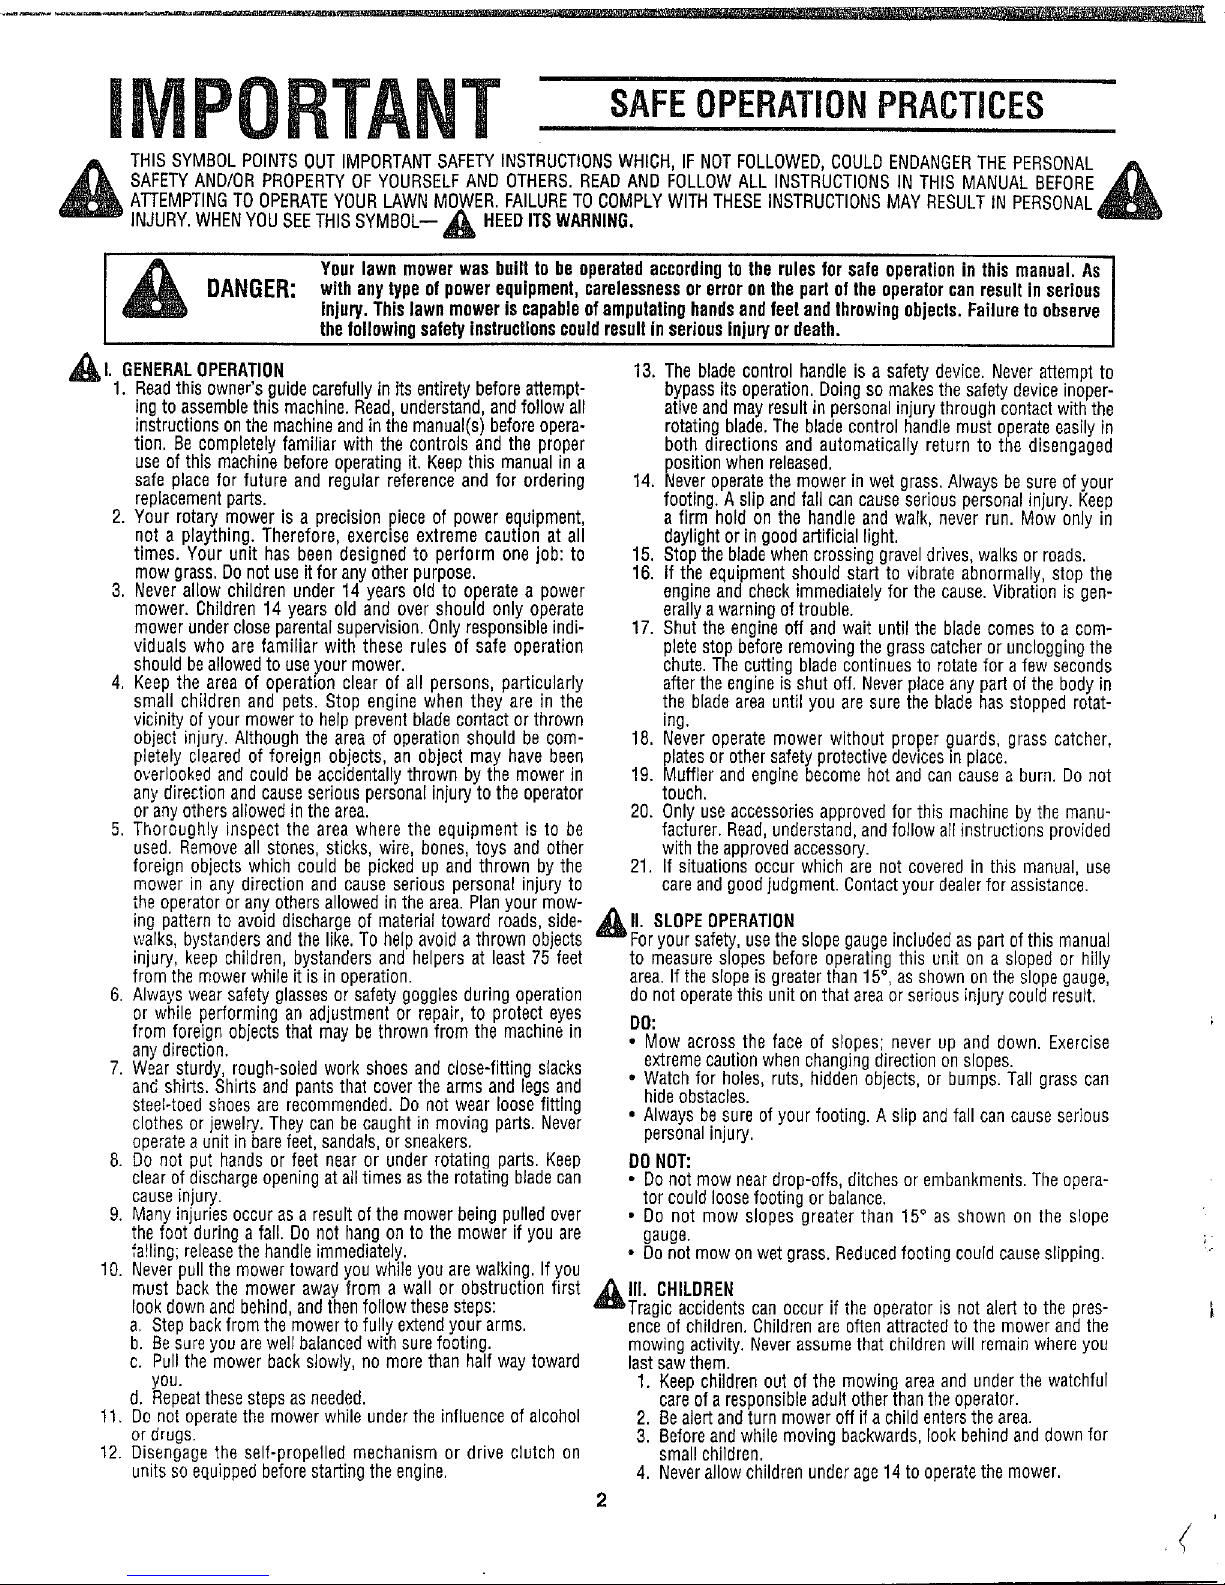
THIS SYMBOLPOINTSOUTIMPORTANTSAFETYINSTRUCTIONSWHICH,IFNOTFOLLOWED,COULDENDANGERTHE PERSONAL A
SAFETYAND/ORPROPERTYOF YOURSELFAND OTHERS.READAND FOLLOWALL INSTRUCTIONSIN THIS MANUAL BEFORE _J,j_
ATTEMPTINGTOOPERATEYOURLAWNMOWER.FAILURETO COMPLYWITHTHESEINSTRUCTIONSMAY RESULTtN PERSONAL
INJURY.WHENYOUSEETHISSYMBOL-- dt_ HEEDITSWARNING.
i
Y.awr--wasbuobG--acooherueor.eoperaonnthsm .A
DANGER: with anytypeofpowerequipment,carelessnessor erroron the partofthe operatorcanresultin sertous I
injury.Thislawn moweris capableofamputatinghandsandfeet andthrowingobjects.Failureto observe I
thefollowingsafetyinstructionscouldresultonseriousinjuryor death.. . I
_. OPERATION 13. The bladecontrol handle Is a safety device. Neverattempt to
1. Readthis owner's guide carefullyinits entirety before attempt- bypassits operation. Doingso makesthe safetydeviceinoper-
ingto assemblethis machine.Read,understand,and follow all
instructions on the machineand in the manual(s)before opera-
tion. Be completelyfamiliar with the controls and the proper
use of this machinebeforeoperatingit. Keepthis manual in a
safe place for future and regular reference and for ordering
replacementparts.
2. Your rotary mower is a precision piece of power equipment,
not a plaything. Therefore, exercise extreme caution at all
times. Your unit has been designed to perform one job: to
mow grass.Donot useitfor anyotherpurpose.
3. Never allow children under 14 years old to operate a power
mower. Children 14 years old and over should only operate
mowerunderclose parentalsupervision. Onlyresponsibleindi-
viduals who are familiar with these rules of safe operation
should beallowedto useyour mower.
4. Keepthe area of operation clear of all persons, particularly
small children and pets. Stop engine when they are in the
vicinity of your mowerto help prevent bladecontact or thrown
object injury. Although the area of operation should be com-
pletely cleared of foreign objects, an object may have been
overlookedand could be accidentallythrown by the mower in
any direction andcauseserious personalinjury to the operator
or anyothersallowedinthe area.
5. Thoroughly inspect the area where the equipment is to be
used. Removeall stones, sticks, wire, bones,toys and other
foreign objects which could be picked up and thrown by the
mower in any direction and cause serious personal injury to
the operator or anyothersallowed in the area.Planyour mow-
ing patternto avoid discharge of materialtoward roads, side-
walks, bystandersand the like. To help avoid athrown objects
injury, keep children, bystanders and helpers at least 75 feet
from the mowerwhile it is in operation.
6. Always wearsafetyglassesor safety gogglesduring operation
or while performing an adjustment or repair, to protect eyes
from foreign objectsthat may be thrown from the machinein
anydirection.
7. Wear sturdy, rough-soled work shoes and close-fitting slacks
and shirts. Shirts and pantsthat cover the arms and legsand
steel-toedshoesare recommended.Do not wear loose fitting
clothes or jewelry.Theycanbecaught in moving parts. Never
operatea unit in barefeet,sandals,or sneakers.
8. Do not put hands or feet near or under rotating parts. Keep
clearof dischargeopeningat all times asthe rotating bladecan
causeinjury.
9. Many injuries occur as a result of the mower being pulled over
the foot during a fall. Do not Ilangon to the mower if you are
fa!ling;releasethe handleimmediately.
10. Neverpull the mowertoward you while you are walking. If you
must back the mower away from a wall or obstruction first
lookdownandbehind,andthenfollow these steps:
a. Step backfromthe mowerto fully extendyour arms.
b. Besureyouarewell balancedwith surefooting.
c. Pullthe mower back slowly, no more than half way toward
you.
d. Repeatthesestepsasneeded.
11. Do not operatethe mowerwhile under the influenceof alcohol
or drugs.
12. Disengagethe self-propelled mechanism or drive clutch on
unitssoequippedbeforestartingthe engine.
ativeandmay result in personalinjury through contactwith the
rotating blade.The blade control handlemust operateeasilyin
both directions and automatically return to the disengaged
positionwhenreleased.
14. Neveroperatethe mower in wet grass.Alwaysbesure of your
footing. A slip and fall can causeserious personalinjury. Keep
a firm hold on the handle and wall never run. Mow only in
daylightor in goodartificial light.
15. Stopthe bladewhen crossinggraveldrives,walks or roads.
16. If the equipment should start to vibrate abnormally, stop the
engineand check immediatelyfor the cause.Vibration is gen-
erallya warning of trouble.
17. Shut the engine off and wait until the bladecomesto a com-
pletestop beforeremovingthe grasscatcheror uncloggingthe
chute.Thecutting bladecontinuesto rotatefor a few seconds
afterthe engineis shut off. Neverplaceany part of the body in
the bladearea until you are sure the bladehas stopped rotat-
ing.
18. Never operate mower without proper guards, grass catcher,
platesor othersafetyprotectivedevicesin place.
19. Muffler and engine becomehot and can causea burn. Do not
touch.
20. Only use accessoriesapprovedfor this machineby the manu-
facturer. Read,understand,andfollow all instructions provided
with theapprovedaccessory.
21. If situations occur which are not covered in this manual, use
careand goodjudgment. Contactyour dealerfor assistance.
_1_11. SLOPEOPERATION
Foryour safety,usethe slope gaugeincludedas part of this manual
to measureslopes before operating this unit on a sloped or hilly
area.If the slope is greater than 15°, as shown on the slopegauge,
do not operatethis unit on that areaorseriousinjury could result.
DO:
• Mow across the face of slopes; never up and down. Exercise
extremecaution whenchanging directiononslopes.
• Watch for holes, ruts, hidden objects, or bumps. Tall grass can
hideobstacles.
• Always be sure of your footing. A slip and fall can causeserious
personalinjury.
DONOT:
• Donot mow neardrop-offs, ditches or embankments.Theopera-
tor could loosefooting or balance.
• Do not mow slopes greater than 15° as shown on the slope
gauge.
• Donotmow onwetgrass. Reducedfooting could causeslipping.
_i II1. CHILDREN
Tragic accidentscan occur if the operator is not alert to the pres-
enceof children. Childrenare often attractedto the mower and the
mowing activity. Neverassumethat childrenwill remainwhereyou
lastsawthem.
1. Keepchildren out of the mowing areaand under the watchful
careof a responsibleadult otherthanthe operator.
2. Bealert andturn mower off if a child entersthe area.
3. Beforeandwhile moving backwards,lookbehindand down for
small children.
4. Neverallowchildrenunderage 14to operatethe mower.
2
Page 3

=
_IV,
.
3.
Use extreme care when approaching blind corners, shrubs,
trees,of other objects that may obscure your vision of a child
or hazard.
SERVICE
Use extreme care in handling gasoline and other fuels. They
areextremelyflammableandthe vaporsare explosive.
a. Useonlyanapprovedcontainer.
b. Never remove gas cap or add fuel while the engine is
running. Allow engineto cool at least two minutes before
refueling.
c. Replace gasoline cap securely and wipe off any spilled
gasolinebeforestarting the engineas it may causeafire or
explosion.
d. Extinguishall cigarettes,cigars, pipesandothersourcesof
ignition.
e. Never refuel machine indoors becauseflammable vapors
will accumulatein the area.
f. Never store the machine or fuel container inside where
there is an openflame or sparksuchasa gas water heater,
spaceheater,or furnace.
Neverrun an engineinsideadosed area.
To reduce fire hazard, keep mower free of grass, leaves, or
other debris build-up. Clean up oil or fuel spillage. Allow
mowerto cool at least5 minutes beforestoring.
4. Before cleaning, repairing, or inspecting, make certain the
bladeand all moving partshavestopped.Disconnectthe spark
plug wire, and keepthe wire awayfrom the spark plugto pre-
ventaccidentalstarting.
5. Check the blade and engine mounting bolts at frequent
intervals for proper tightness. Also, visually inspect blade for
damage(e.g., bent, cracked). Replacewith bladewhich meets
original equipmentspecifications.
6. Keepall nuts, bolts, and screwstight to be surethe equipment
is in safeworking condition.
7. Nevertamper with safety devices.Checktheir proper operation
regularly.
8. Afterstriking aforeign object,stopthe engine,removethe wire
from the spark plug, andthoroughly inspect the mower for any
damage.Repairthe damagebefore starting and operating the
mower.
9. Neverattempt to make a wheel or cutting height adjustment
whiletheengineis running.
10. Grass catcher components are subject to wear, damage and
deterioration, which could expose moving parts or allow
objects to be thrown. For safety protection, frequently check
components and replace with manufacturer's recommended
parts,whennecessary.
11. Mower blades are sharp and can cut. Wrap the blade(s) or
weargloves,and useextracaution whenservicingthem.
12. Do not change the engine governor setting or overspeedthe
engine.Excessiveenginespeedsaredangerous.
MANUAL
SAFETYLABEL
WARNING- YOURRESPONSIBILITY
II
UNPACKING
TOREMOVEUNITFROMCARTON
1. Remove staples, break glue on top flaps, or cut
tape at carton end and peel along top flap to
open carton.
2. Remove loose parts if included with unit (i.e.,
owner's manual, etc.
TOOLSREQUIREDFORASSEMBLY
(1) Pair of Pliers (not necessary, but helpful)
(1) 7/16" Wrench
3. Cut along dotted lines and lay carton down flat.
4. Remove packing material.
5. Roll or slide unit out of carton. Check carton
thoroughly for loose parts.
DISCONNECTSPARKPLUGWIRE
Before setting up your lawn mower, disconnect the
spark plug wire from the spark plug, and ground it
against the engine by attaching rubber boot to a bolt
on the engine. See figure 1.
FIGURE 1.
Rubber
Spark Plug
3
[,
Page 4

SET-UP INSTRUCTIONS
IMPORTANT: This unit is shipped WITHOUT
GASOLINE or OIL in the engine. Be certain to ser-
vice engine with gasoline and oil before operating
your mower.
NOTE: Reference to right or left hand side of the
mower is observed from the operating position,
HOWTOSET-UPYOURLAWNMOWER
(Refer to Illustration Below)
1. Remove any packing material which may be
between the upper and lower handles for shipping
.
purposes.
For shipping purposes your mower is set with the
wheels in the lowest cutting height position. Raise
the mower to the highest setting for assembly of
handle.
3. Remove the hairpin clips which are in the weld
pins on the handle mounting brackets.
4. Lift the handle assembly, and attach the handle
by placing the bottom holes in the lower handle
over the weld pins on the handle mounting
brackets. Make certain the lower handle is seated
securely into the handle mounting brackets.
5. Pull up on the upper handle to raise it into the
operating position. Tighten the hand knobs on
each side of the handle (carriage bolts must be
seated properly into the handle).
Rope
Guide
Upper Handle
Rope
Guide
Lower
Handle
Starter Rope
Rope
Guide
/
Mounting
Bracket
Rear
Discharge
Chute
NOTE: Your mower is shipped with the handle in the
higher height position. If you wish to lower the height of
the handle, refer to the Adjustment Section at this time.
6. Using a pair of pliers, squeeze one leg of the
lower handle against the handle mounting brack-
et. Insert the hairpin clip into the inner hole on
the weld pin. Repeat on other side.
7. The rope guide is attached to the right side of the
handle. Loosen the hex nut which secures the
rope guide.
8. With the spark plug wire disconnected and
grounded, hold the blade control handle against
the upper handle, and pull the starter rope out of
the engine. Release the blade control handle.
Slip the starter rope into the rope guide. Tighten
the hex nut.
9. Slip the starter rope into the rope guide on the
side of the rear catcher panel assembly.
10. Make certain all nuts and bolts are tightened
securely.
Blade
Handle
Hand
Rear
Catcher Panel
Assembly
Lower
Handle
Spark
Clip in
Inner Hole
Weld
Pin
Handle
Mounting
Bracket
FIGURE 2.
4
Page 5

Channelon,
Mower
Hookon
Frame
TOATTACHBAGTOMOWER
1. Hold the chute door on the catcher panel open as
shown in figure 3.
2. Slide the frame of the grass catcher down into the
channels on each side of the mower. The hooks
on the frame go over the panel on the discharge
chute. See figure 3.
To remove the grass catcher, lift the grass catcher
straight up.
FIGURE 3.
Chute
Deflector
Shoulder
Bolt
\ •
Wing Nut
TOCONVERTMOWERTOSIDEDISCHARGE
To convert your mower to a side discharge unit, pro-
ceed as follows•
1. Remove the rear discharge chute assembly by
removing two wing nuts. Lift up on the two bottom
corners of the discharge chute assembly, and
slide it off the deck.
.i"_ _ bolt inthe side of the deck. See figure 4.
2. Attach the side chute deflector by first placing it
over the rear bolt in the side of the deck. Then
slide the notch in the top of the deflector around
the shoulder bolt on top of the deck. Slide the
notch in the side of the deflector around the front
FIGURE 4.
Wing Nut
/
J
3. Secure the front of the chute deflector to the bolt
on the side of the deck with one wing nut. See
figure 4. Secure the back of the chute deflector in
the same manner. See figure 5.
Chute
Deflector
FIGURE 5.
Mulching Plug
FIGURE 6.
Shoulder Bolt
/
Nuts
TOCONVERTMOWERTOAMULCHER
To use your mower as a mulcher, proceed as follows.
1• Remove either the rear discharge chute assembly
or the side chute deflector from the mower as
instructed previously.
2_
Attach the mulching plug by first placing it over
the rear bolt in the side of the deck. Then slide
the notch in the top of the mulching plug around
the shoulder bolt on top of the deck. Slide the
notch in the side of the mulching plug around the
front bolt in side of the deck. Secure using two
wing nuts. See figure 6.
5
Page 6

Discharge
Chute
Assembly
Ribs
Shoulder
Bolt
Rear
Panel
REPLACINGTHEREARDISCHARGECHUTE
To replace the rear discharge chute assembly, pro-
ceed as follows.
Slide the ribs on the discharge chute assembly under
the flange on rear panel as you insert the side of the
-<--discharge chute under the two tabs. See figure 7.
The edge of the discharge chute assembly goes
under the shoulder bolt on deck. Push down on the
chute assembly, and slide the bottom corner slots
over the bolts on side of deck.
Press down on the discharge chute assembly and
secure with wing nuts. Make certain wing nuts are
seated properly.
WARNING: Never operate your unit with-
out either the s=de .chute deflector,
mulching plug or entire rear d scharge
chute and grass catcher assembly in
place.
FIGURE 7.
CONTROLS
Shift Lever Blade Control
Handle
Control
Pack
Lead
Recoil
Starter
Ignition
Switch Cap
FIGURE 8.
BLADECONTROLHANDLE
WARNING:.This control mechanism is a
safety dev,ce. Never attempt to bypass
its operations.
The blade control handle is located on the upper han-
dle of the mower. See figure 8. The blade control han-
dle must be depressed in order to operate the unit.
Release the blade control handle to stop the engine
and blade.
WARNING: The blade will be rotating
whenever the engine is running.
THROTTLECONTROL
The throttle control is located on the left side of the
upper handle. It is used to regulate the engine speed.
WARNING: The throttle control cannot be
used to stop the engine.
IGNITIONSWITCH
The ignition switch is located on the left side of the
handle panel. It is used for starting only. See figure 8.
RECOILSTARTER
The recoil starter handle is attached to the right side
of upper handle. See figure 8. Stand behind the unit in
the operating position to start the unit.
DRIVECLUTCHCONTROL
Squeezing the drive clutch control engages the drive
mechanism to the rear wheels. Releasing the clutch
control stops the rear wheels from driving. Release
the drive clutch control to slow down when negotiating
an obstacle, making a turn or stopping. See figure 8.
SHIFTLEVER
The six speed shift lever is located on the drive clutch
control housing on the upper handle. See figure 8.
This lever is used to select the operating speed of the
mower. Release the drive clutch control when
changing speeds.
IMPORTANT: Move the shift lever ONLY when the
eng,ne is running. Shifting the speeds with the
engine off can cause damage to the unit.
6
L
 Loading...