

Vodafone R201 Quick Start Manual
Quick Start Guide
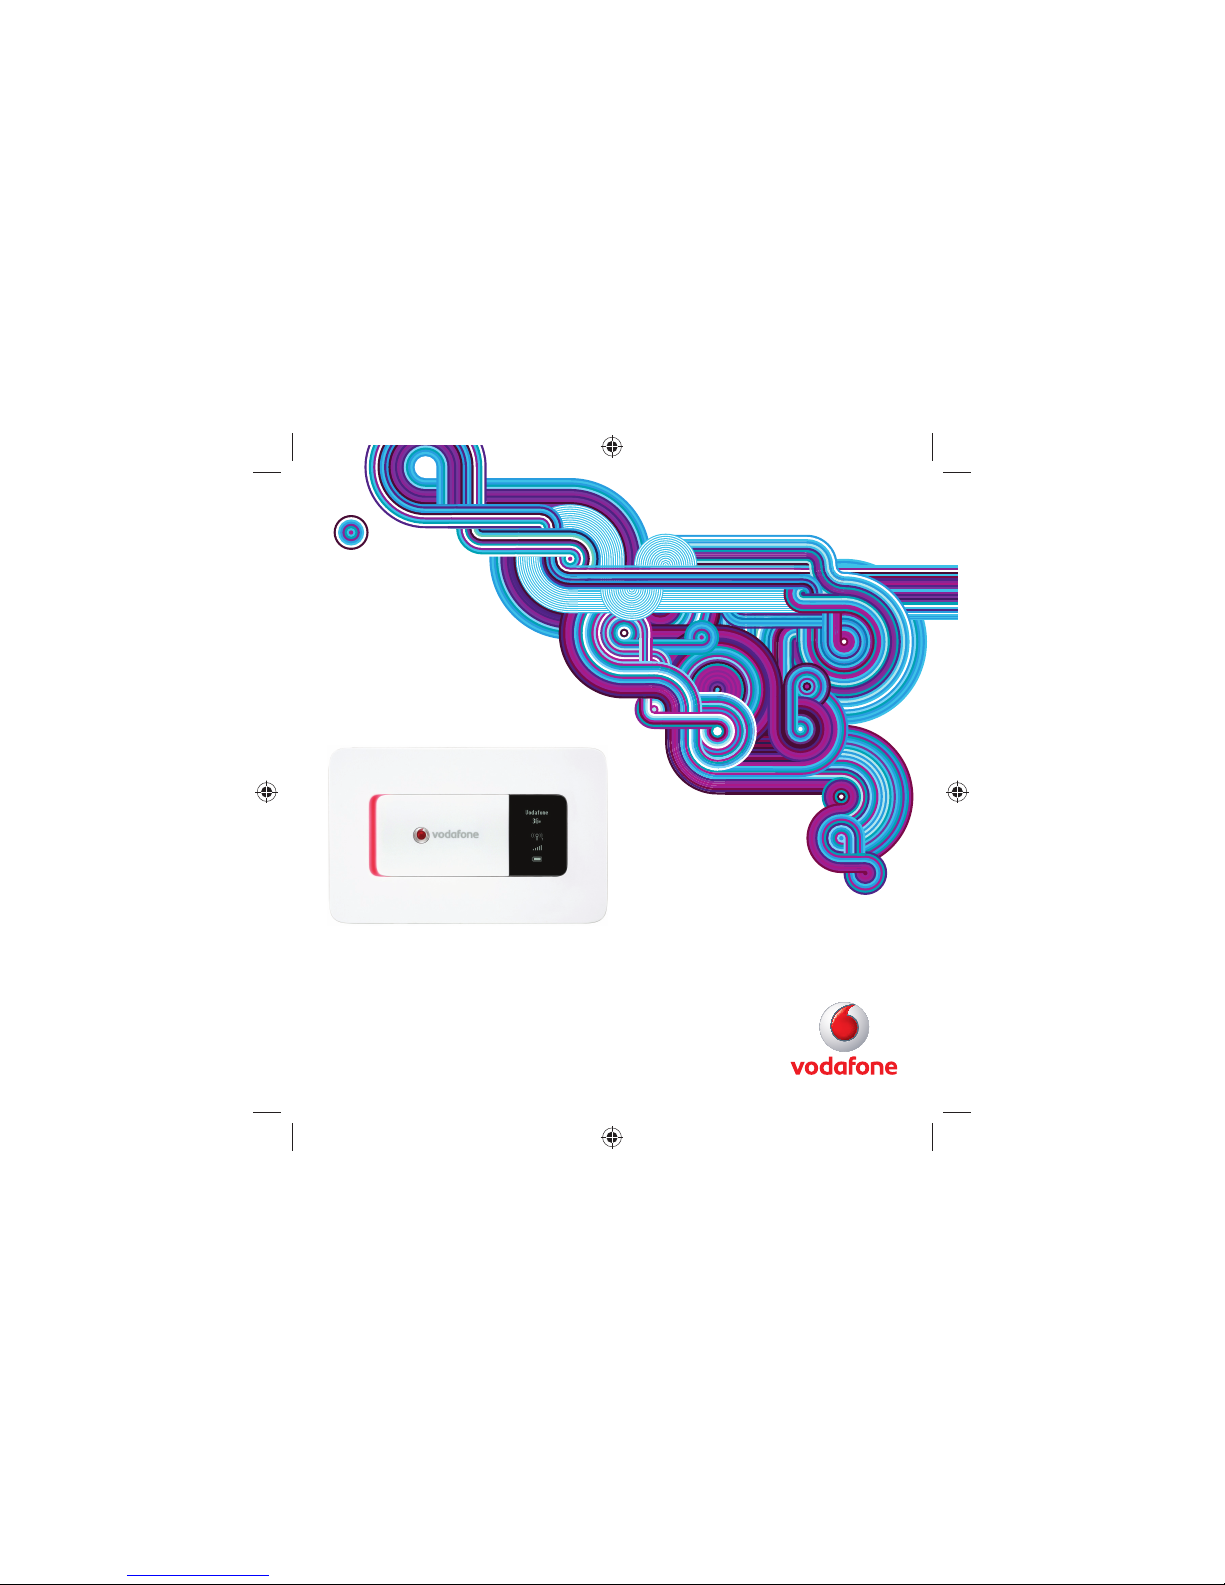
Vodafone Mobile Wi-Fi
Vodafone R201

2
Welcome
to the world of Vodafone Mobile Broadband
1 Introduction
2 Device Overview
3 Getting Started
7 Connecting To The Vodafone
Mobile Wi-Fi Device
8 Configuration
9 Web User Interface Information
10 Power Saving Modes
11 Battery Charging
12 Advanced Configuration

1
The Vodafone Mobile Wi-Fi R201 allows several Wi-Fi enabled
devices (for example PCs, mobile gaming devices, digital
music players) to share a secure mobile internet connection.
The device is battery, mains or USB powered, and this
fl exibility allows the device to be positioned for best mobile
coverage and then share this coverage between several
devices via Wi-Fi. Note: you will get better Wi-Fi performance
when the device is being charged compared to when it is
running from the battery.
The Vodafone R201 is DLNA Certifi ed, which is powered
by Twonky™. This allows the device to act as a Digital
Media Server, streaming music, videos and photos from a
MicroSDHC™ card (not included) to other DLNA-cer tifi ed
devices. It can also be confi gured as a shared network drive to
allow fi les to be shared among several Wi-Fi devices.
System Requirements
To use the Vodafone Mobile Wi-Fi R201 you need a device
with Wi-Fi capability (supporting WiFi 802.11 b/g) and an
internet browser for further device confi guration.
End User Licence Agreement (EULA )
Please ensure that you have read and accept the software
EULA for your countr y before using the Vodafone Mobile
Broadband soft ware or device. The EULA is available at the
following location:
www.support.vodafone.com/VodafoneMobileWiFi/R201
Introduction
d
2
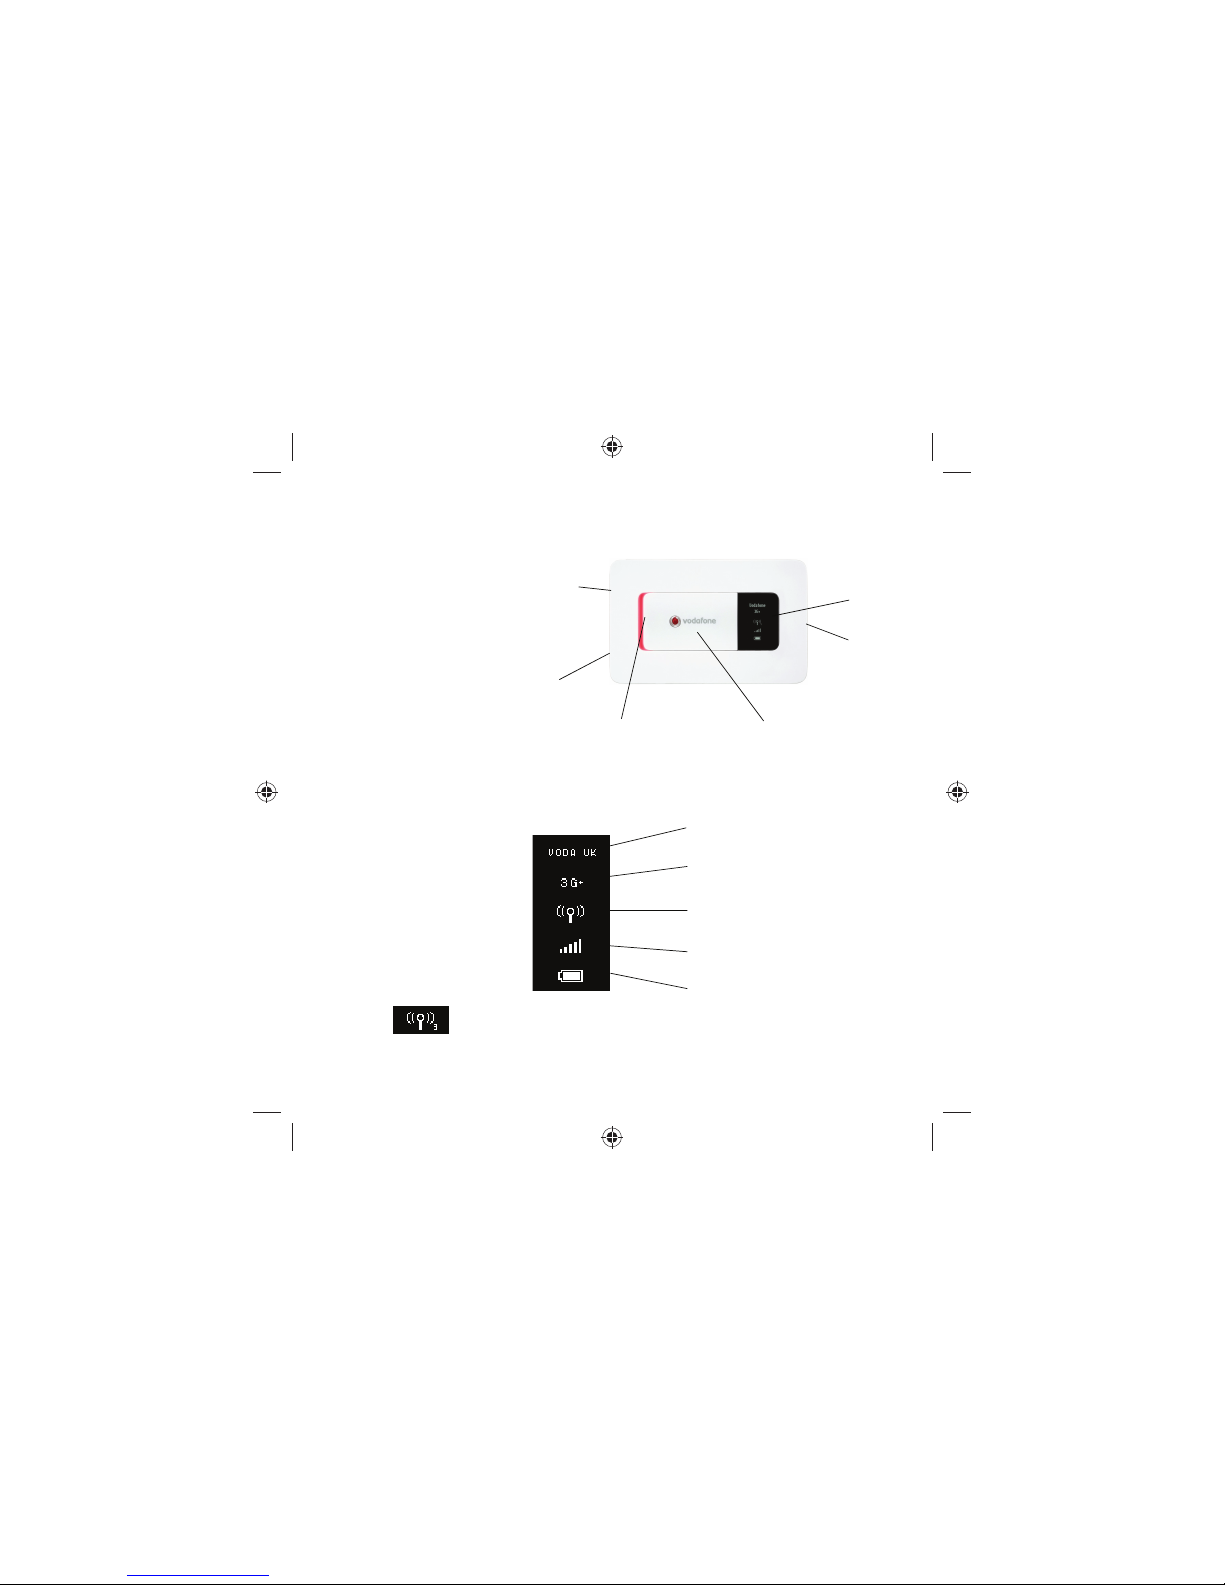
Device
Overview
Tip:
The Mobile Broadband
Connec tivity / Power LED
will be l it while the dev ice is
bootin g up.
It will fl ash every 2 seconds
when th e device is not
connec ted, and will fl ash every
10 seconds w hen the Vodafone
Mobile W i-Fi is in power save
(sleep) mode.
When the R201 is sw itched
off, the LED will be off, but if it
is still being charged, a large
battery charging icon will be
displ ayed on the Device Status
Screen.
Tip:
The Wi-Fi Connectivity icon will
also show the number of users
connec ted to the device, for
examp le 3 users.
Device Status Screen
Micro
USB slot
WPS / Dis play
button
Power / Mo bile
Broadband
Connectivity LED
Power s witch – sli de
right to s witch on
and le ft to sw itch of f
Device Status
Screen
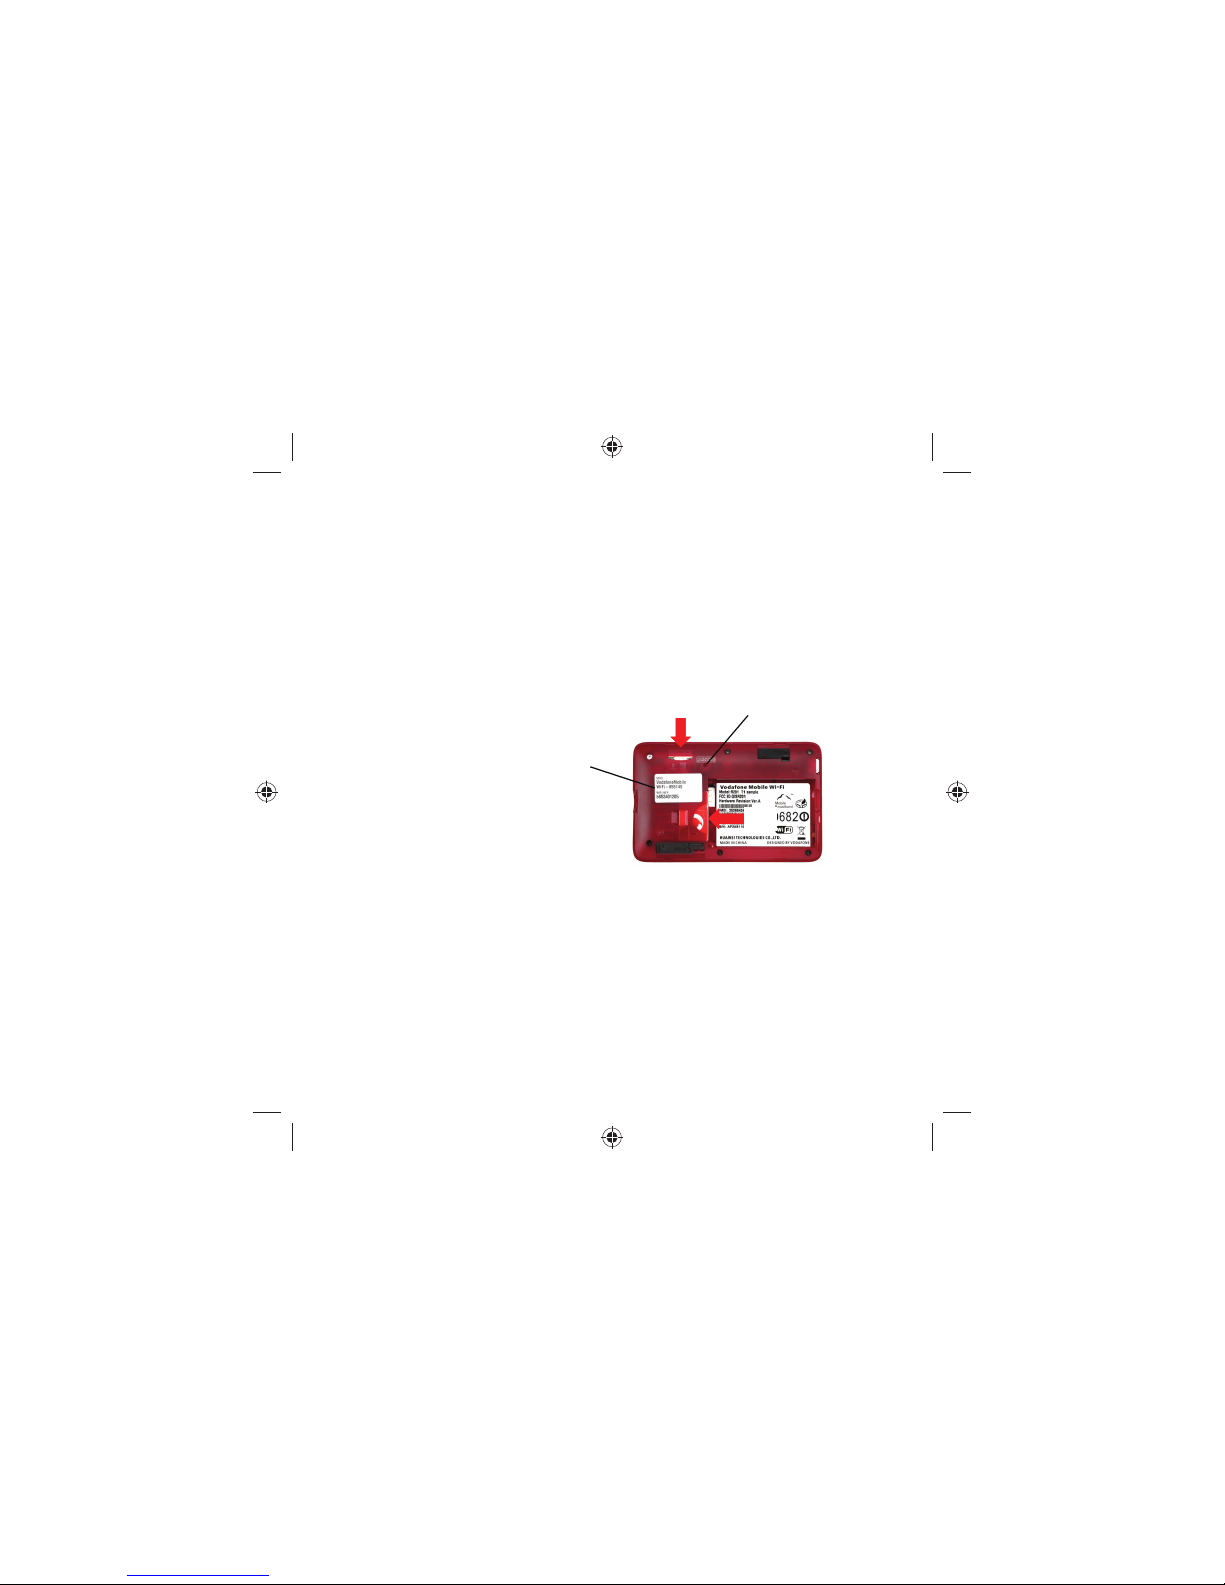
Back cover
release button
Mobile Broadband operator
3G conne ctivit y & SMS ‘mes sage wai ting’ (a n SMS
could in dicate you a re roami ng - see impo rtant
roaming indicator information on page 9)
Wi-F i connec tivit y & WPS
information
Mobile Broadband signal
strength
Battery charge
3
Getting Started
(1/4)
1. To prepare the Vodafone Mobile Wi-Fi R201, you
need to insert your SIM (and MicroSDHC card if you are
using one for fi le sharing and streaming) and inser t and
charge the batter y before use.
2. Press the back cover release button, unclip the back
of the device and insert the SIM and MicroSDHC card (if
used) as shown, then insert the battery.
Note: Before replacing the back cover please make
a note of your Wi-Fi security details which include a
secure network WPA2 Key and a Network Name (SSID).
The WPA2 Key and the SSID are unique to your device
and can be found on a label on the inside of the back
cover. These details will be needed if your PC operating
system does not support WPS (Wireless Protected
Setup) security. WPS is found in both Microsoft
®
Windows Vista™ SP2 and Windows
®
7.
Tip:
WPS securit y is an addition al
manual securi ty measure to
safeguard and simplif y access
to the Vodafone Mobile Wi-F i
by pressing the WPS button
when re quested by the
Windows Oper ating System
instea d of manually entering
the WPA2 Key. WPS is an
integr al part of both V ista and
Windows 7 oper ating systems.
For more information on WPS
confi guration please refer to
the Adv anced Confi guration
Guide.
Insert
MicroSDHC
card
Factor y
reset
button
SSID and
WPA2 Key
Insert
SIM
 Loading...