


Table of Contents
Before Connection ......................................................................................................................2
For your safety ..............................................................................................................................2
Precautions ...................................................................................................................................2
Connection ................................................................................................................................. 4
Connecting the TV ........................................................................................................................ 4
Connecting the Antenna...............................................................................................................5
Connecting Control Cable............................................................................................................5
Connecting the Speakers ............................................................................................................. 6
Connecting Assistance Equipment ..............................................................................................6
Connecting Coaxial ...................................................................................................................... 7
Connecting the iPod Dock............................................................................................................7
Connecting the Headphone ......................................................................................................... 8
Connecting the AC Power Cord...................................................................................................8
Installation of Batteries in the Remote Control .......................................................................... 8
Control Section ........................................................................................................................... 9
DVD Player ...................................................................................................................................9
Amplifier ........................................................................................................................................9
Remote Control .......................................................................................................................... 10
Normal playing ......................................................................................................................... 11
Use the Discs ..............................................................................................................................11
Playing Picture CD disc ............................................................................................................. 16
Use the USB .............................................................................................................................. 17
Playing an iPod portable player ............................................................................................... 17
Listening to Radio Broadcasts ................................................................................................. 18
RDS (Radio Data System) Reception....................................................................................... 19
Clock/Timer Functions ............................................................................................................. 19
Setting the Clock........................................................................................................................ 19
Setting the Daily Timer .............................................................................................................. 20
Setting the Sleep Timer ............................................................................................................. 21
DVD Menu Options .................................................................................................................. 22
Menu function setup .................................................................................................................. 22
General Setup Page .................................................................................................................. 22
Audio Setup Page ...................................................................................................................... 23
Video Setup Page ...................................................................................................................... 23
Preference Page ........................................................................................................................ 25
Password Setup Page ............................................................................................................... 26
Protect the Disc ....................................................................................................................... 27
Troubleshooting ........................................................................................................................ 27
Specification ............................................................................................................................ 28
1
Before ConnectionBefore Connection
Before Connection
Before ConnectionBefore Connection
Thank you for purchasing this DVD 2.0 channel component system, in order to fully utilize this
system, please read this instruction book carefully before use it.
For your safetyFor your safety
For your safety
For your safetyFor your safety
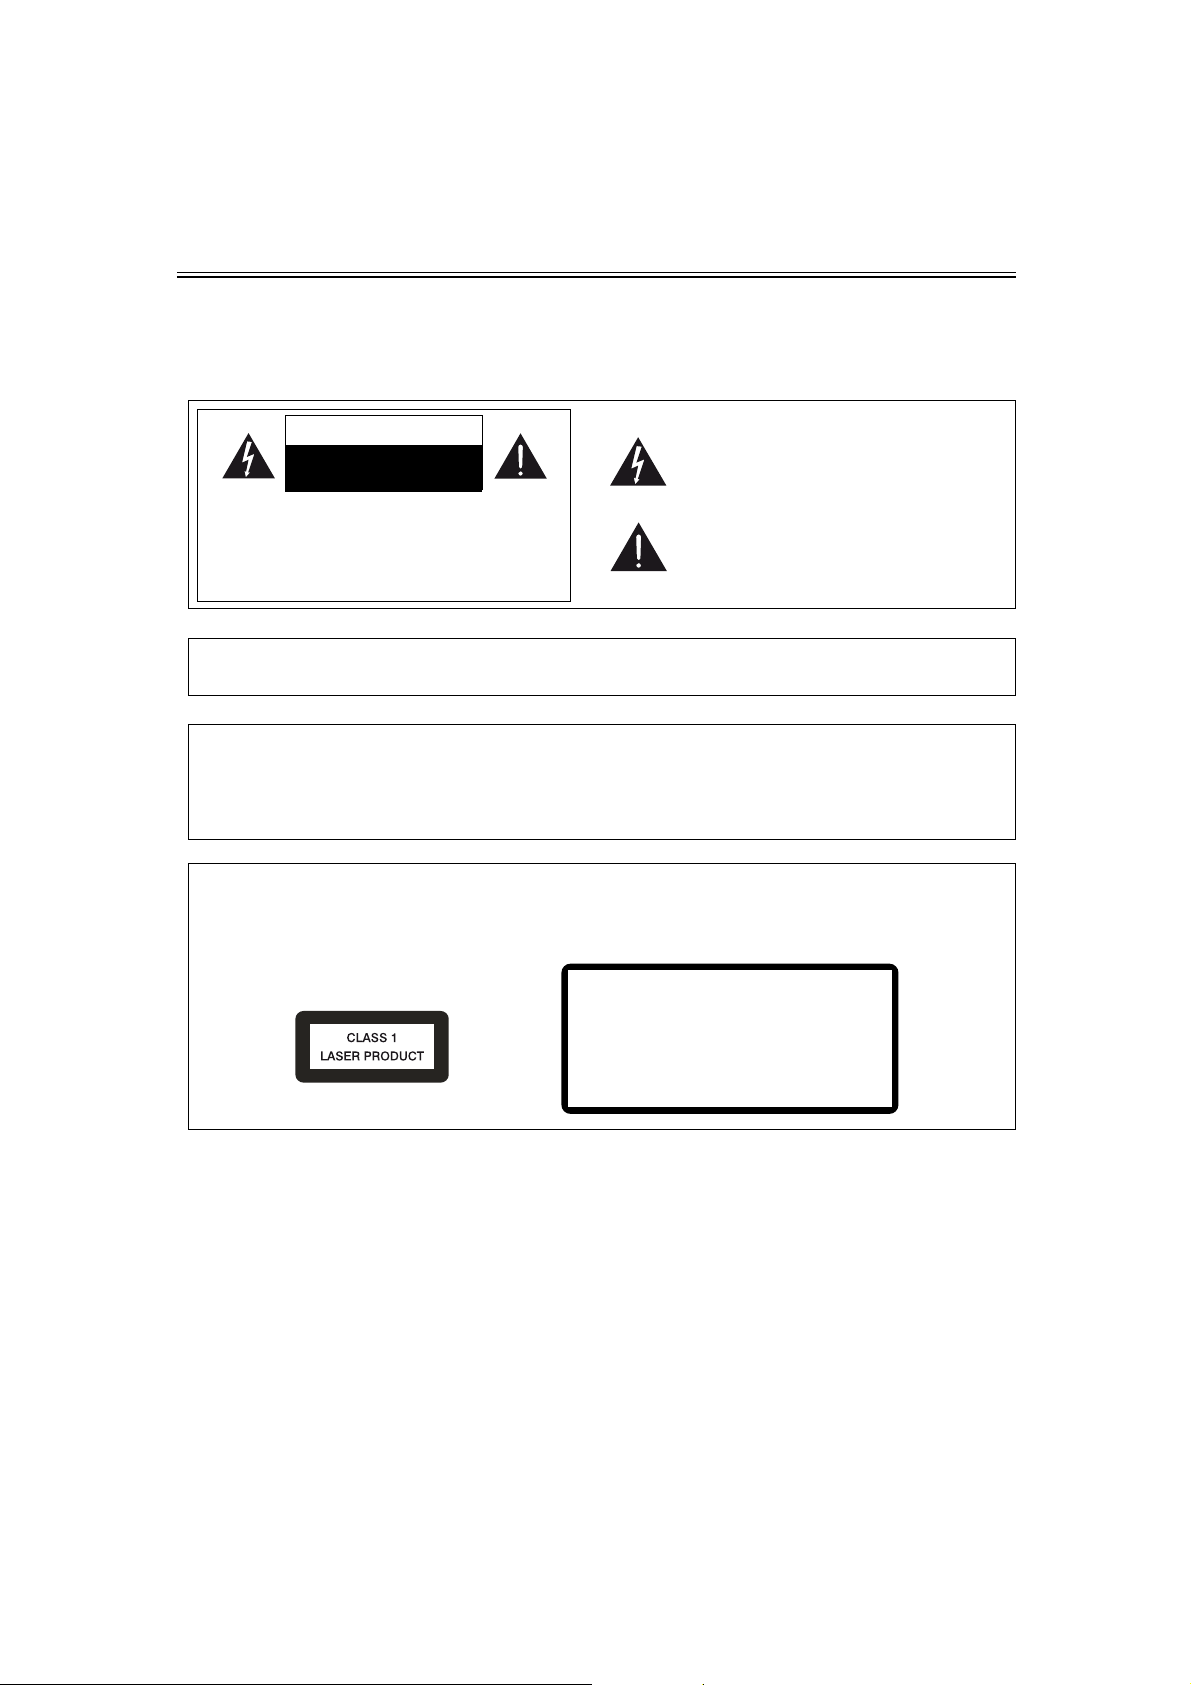
CAUTION
RISK OF ELECTRIC SHOCK
DO NOT OPEN
CAUTION:
TO REDUCE THE RISK OF ELECTRIC SHOCK, DO
NOT REMOVE COVER. NO USER SERVICEABLE
PARTS INSIDE, R EFER SERVICING TO QUALIFIED
SERVICE PERSONNEL.
Caution:Caution:
Caution:
Caution:Caution:
This symbol indicates that dangerous voltage constituting a risk of electric shock is present within this unit.
This symbol indicates that there are
important operating and maintenance
instructions in the literature accompanying this unit.
To prevent fire or shock hazard, do not expose this equipment to rain or moisture.
Power RequirementPower Requirement
Power Requirement
Power RequirementPower Requirement
Because the power requirement of electrical products is different in various places, before you
use this product, make sure that the power requirement of the product matches your household
power.
Laser ProductLaser Product
Laser Product
Laser ProductLaser Product
This product is equipped with low power laser equipment inside. For your safety, don’t take
apart any covers or try to take apart the product inside. Please contact an authorized service
person for repairing.
Caution:Caution:
Caution:
Caution:Caution:
This product is equipped with low power
laser equipment inside, for your safety, do
not open the laser radiation protective
equipment. Don’t look at the laser radiation
when the equipment is operating.
PrecautionsPrecautions
Precautions
PrecautionsPrecautions
1. Before operating this system, check the voltage of this system to see if it is identical with
the voltage of your local power supply.
2. Unplug the system from the wall outlet if it is not used for a long time. To disconnect
the cord, pull it out by grasping the plug.
3. To avoid electric shock, do not open the cabinet.
4. There is no user serviceable parts inside. In case of system failure, unplug the power
cord and consult your dealer.
5. Do not place this unit on an unstable cart or sloping surface. Ensure good ventilation
surrounding the product. To prevent fire, do not cover the ventilation of the apparatus
with news papers, tablecloths, curtains, etc.
2

6. To prevent fire or shock hazard, do not place objects filled with liquids, such as vases, on
the apparatus. And don’t place lighted candles on the apparatus.
7. To prevent fire or shock hazard, do not expose this equipment to hot places, rain,
moisture or dust.
8. Do not use this product near water, for example near a bath tub, wash bowl, kitchen sink, or
laundry tub; in a wet basement; or near a swimming pool and the like.
9. Do not place this unit close to strong magnetic field.
10.Do not place this unit close to dampness, or the moisture will affect the life of the
laser head.
11. If the unit is brought directly from a cold to a warm location, or is placed in a very damp
room, moisture may condense on the lens inside the player. Should this occur, the unit will
not operate properly. Remove the disc and leave the unit turned on for about an hour until
the moisture evaporates.
12.Should any solid object or liquid fall into the unit, unplug the system and have it checked
by qualified personnel before operating it again.
13.Unplug this product from the wall outlet before cleaning. Do not use liquid cleaners or aerosol
cleaners. Use a damp cloth for cleaning.
14.Do not use attachments not recommended by the product manufacturer as they may cause
hazards.
15.Batteries shall not be exposed to excessive heat such as sunshine, fire or the like.
16.Where the mains plug or a appliance coupler is used as the disconnect device, the disconnect
device shall remain readily operable.
3

ConnectionConnection
Connection
ConnectionConnection
Caution:Caution:
Caution: Please turn off all the equipment power before connecting.
Caution:Caution:
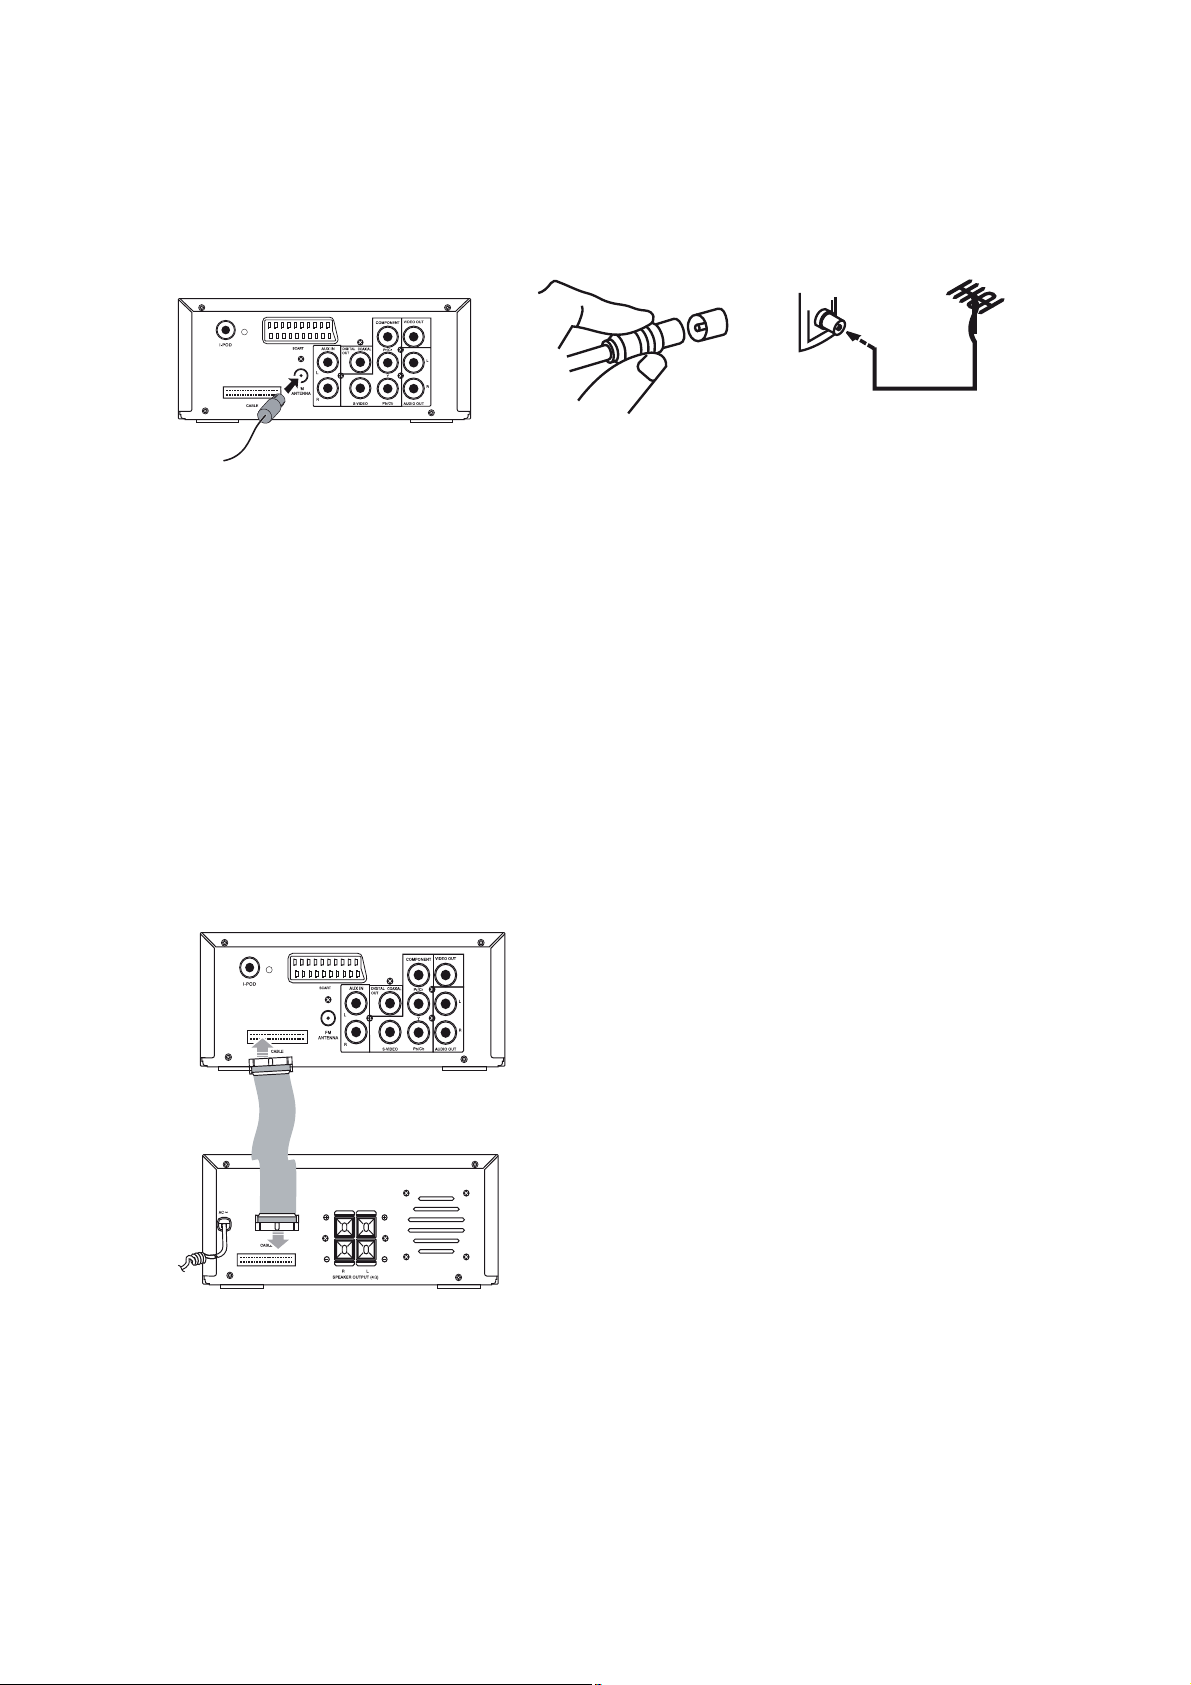
Connecting the TVConnecting the TV
Connecting the TV
Connecting the TVConnecting the TV
Terminal board for the DVD player
-/01
TV
1. This DVD player has video output mode, you can choose it to connect with the TV terminal.
2. If your TV has component input terminal, then you can use the signal connecting cable to
connect with the DVD player’s component output terminal. By doing so, the picture will be
more clear.
3. Use a S-Video cable to connect the unit to the S-Video input of a suitably equipped television.
Use this connection in preference to a composite.
4. Use a SCART cable to connect the unit to a SCART compatible television.
Caution: To avoid affecting the picture output, do not connect video, component, SCART and
S-Video at the same time.
4
Connecting the AntennaConnecting the Antenna
Connecting the Antenna
Connecting the AntennaConnecting the Antenna
-/0
1. Using the supplied wire Antenna.
2. Using the coaxial type connector .
A 75Ohm antenna with coaxial type connector should be connected to the FM 75 ohm coaxial
terminal.
3. If reception is poor, connect the outside antenna.
Note: Note:
Note: Before attaching a 75 ohm coaxial lead (the kind with a round wire going to an outside
Note: Note:
antenna), disconnect the supplied FM wire antenna.
Caution:Caution:
Caution: To avoid noise, keep antennas away from the system, the connecting cord and the AC
Caution:Caution:
cord.
Connecting Control CableConnecting Control Cable
Connecting Control Cable
Connecting Control CableConnecting Control Cable
Terminal board for the DVD player
Terminal board for the Amplifier
Connect signal line between the DVD Player and
the Amplifier back board.
5

Connecting the SpeakersConnecting the Speakers
Connecting the Speakers
Connecting the SpeakersConnecting the Speakers
Connect the speaker cords between the terminals as shown below.
Connect the cords with a gold line to the (+) (L) (R) terminals and cords with a silver line to the (-)
terminals.
Terminal board for the Amplifier
Right Speaker Box Back View Left Speaker Box Back View
Connection precautionsConnection precautions
Connection precautions
Connection precautionsConnection precautions
1. This unit has a high power output and wide dynamic range. If speakers other than those
supplied are used, they must be chosen according to speaker specification, or the speakers
can be damaged.
2. Before connecting or removing mains power, please turn off the power on the unit and turn
the volume to minimum or it may damage the speakers.
Connecting Assistance EquipmentConnecting Assistance Equipment
Connecting Assistance Equipment
Connecting Assistance EquipmentConnecting Assistance Equipment
Terminal board for the DVD player
Auxiliary Equipment
1. This unit has one groups of AUX IN terminal, you can use signal line to connect this unit’s
AUX IN terminal and assistance equipment’s audio output terminals respectively, then you
can hear the sound sources.
Auxiliary Equipment
6
2. This unit also has one group of audio output terminals, you can use signal line to connect this
unit’s audio output terminal and assistance equipment’s audio input terminal respectively,
then you can output the outer sound sauces to other assistance equipment.
Caution:Caution:
Caution: Press the function select button
Caution:Caution:
FUNCTIONFUNCTION
FUNCTION on the Amplifier to select AUX
FUNCTIONFUNCTION
function.
When you are connecting AUX audio terminals, please press this function button.
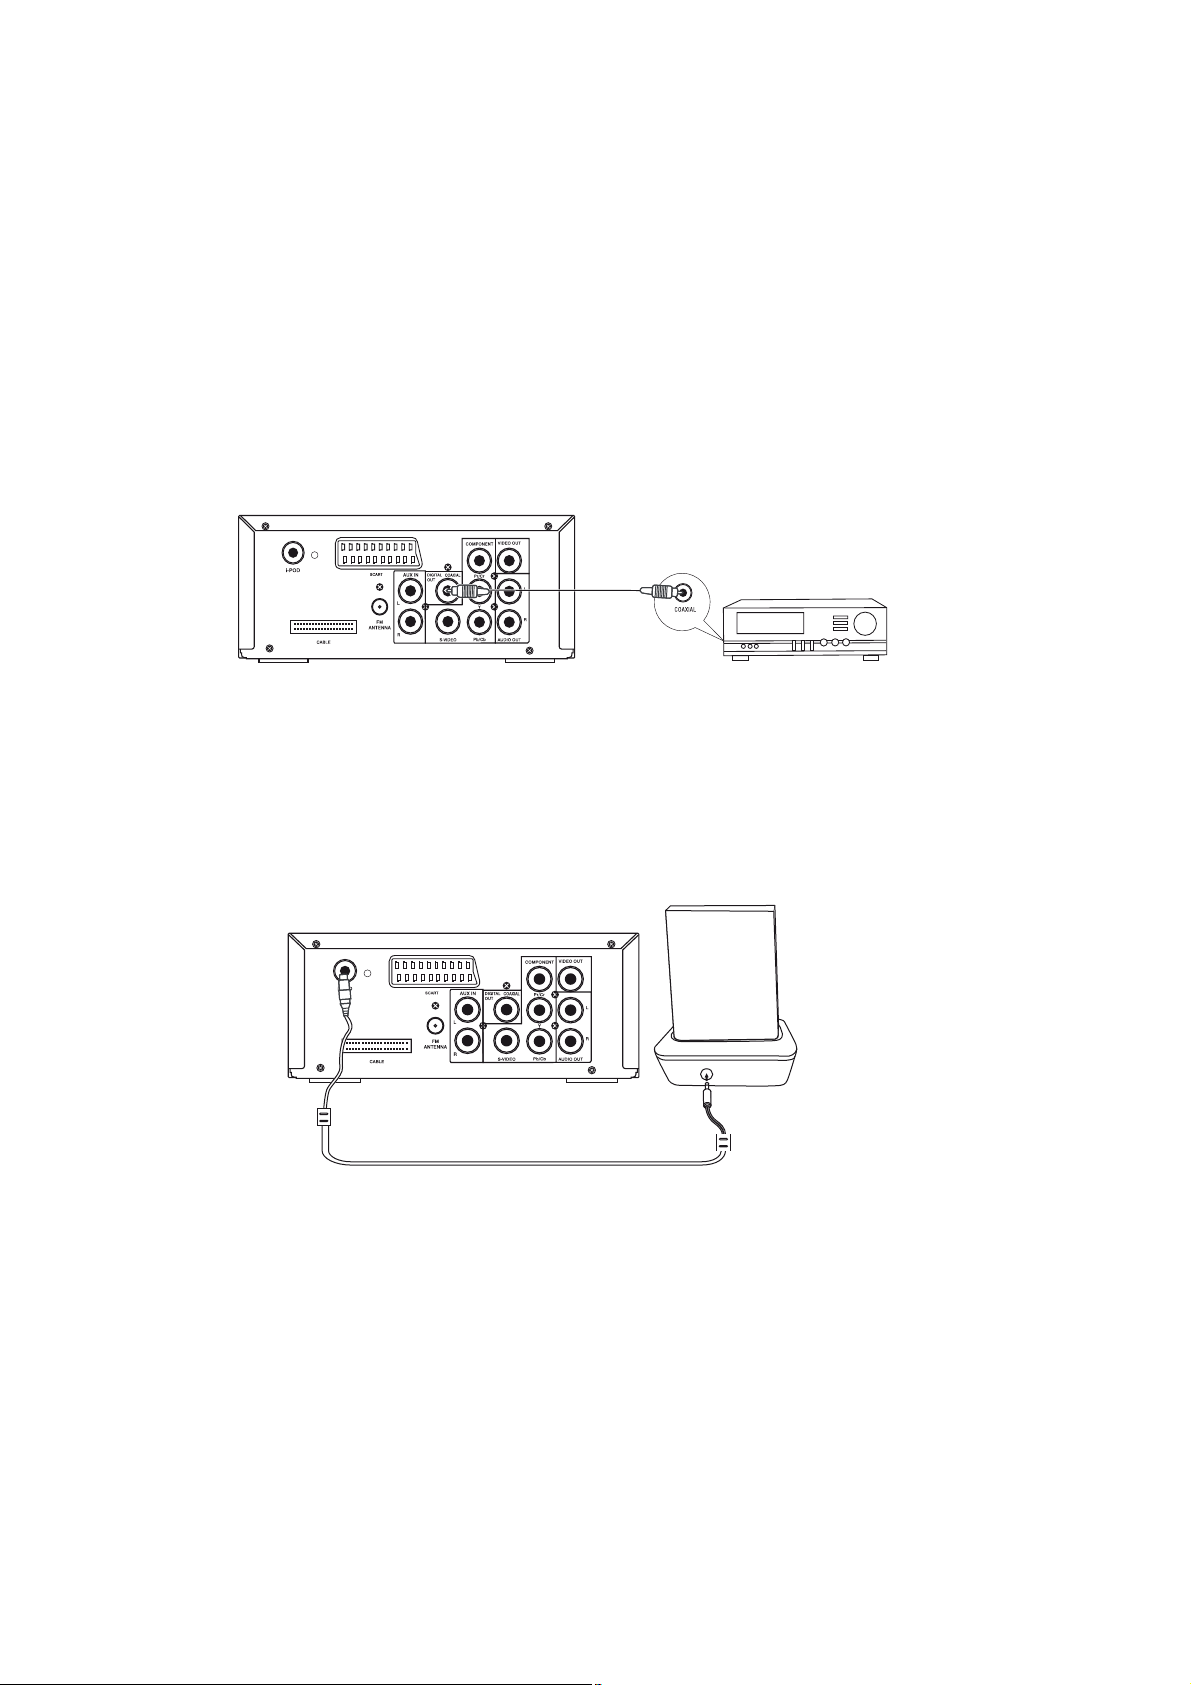
Connecting CoaxialConnecting Coaxial
Connecting Coaxial
Connecting CoaxialConnecting Coaxial
Terminal board for the DVD player
Auxiliary Equipment
Use coaxial fibre cable to connect the DVD player's coaxial fibre output jack with other amplifier's
coaxial fibre input jack, for superior digital sound effects .
Connecting the iPod DockConnecting the iPod Dock
Connecting the iPod Dock
Connecting the iPod DockConnecting the iPod Dock
iPod Portable Player
DVD Play’s Terminal Board
Docking Cable
Use the docking cable to connect the DVD player and the iPod player.
Docking Cradle
7
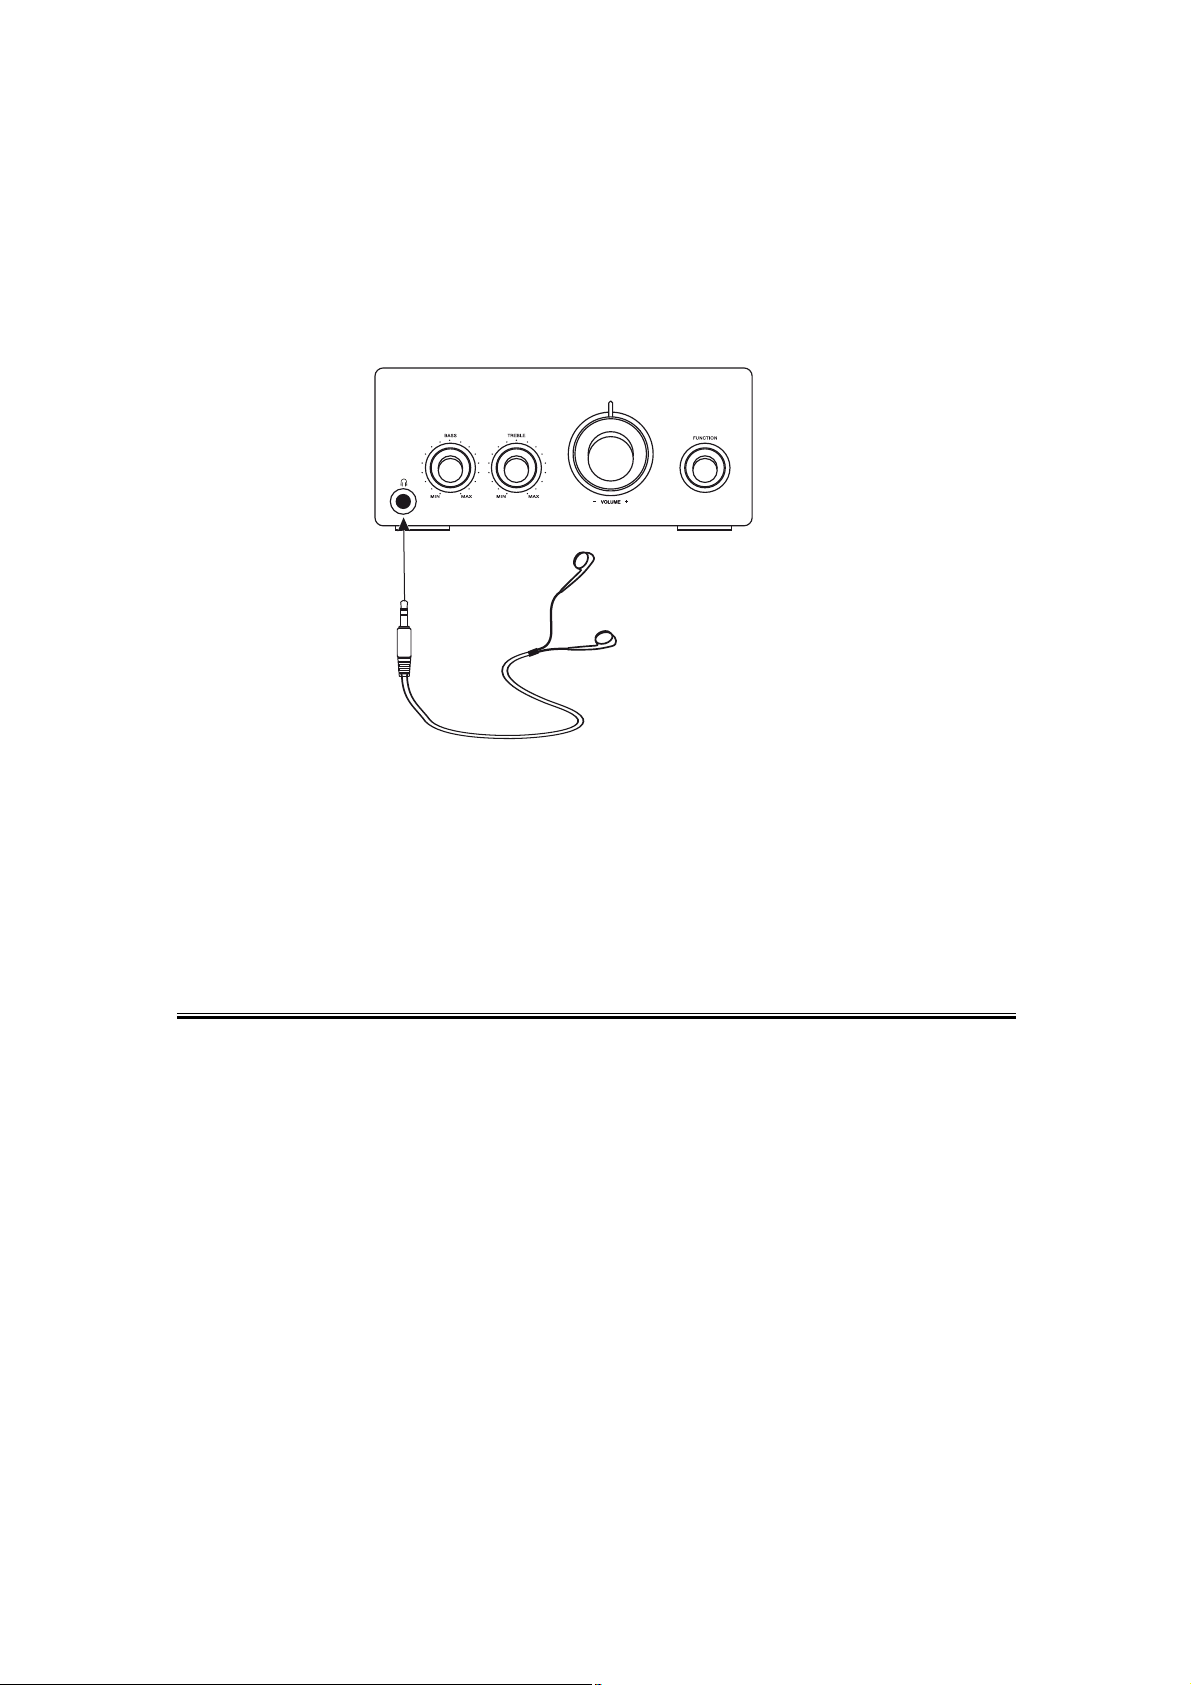
Connecting the HeadphoneConnecting the Headphone
Connecting the Headphone
Connecting the HeadphoneConnecting the Headphone
Connect a pair of headphones to the phone jack. No sound comes out of the speakers.
Note:Note:
Note:Be sure to turn down the volume before connecting or putting on headphones.
Note:Note:
Amplifier
Headphone
Connecting the AC Power CordConnecting the AC Power Cord
Connecting the AC Power Cord
Connecting the AC Power CordConnecting the AC Power Cord
Insert the AC power cord into a wall outlet, and your system is at your command!
Caution: Caution:
Caution: Be sure to unplug the power cord from the outlet when going away or the system is
Caution: Caution:
not in use for an extended period of time.
Installation of Batteries in the Remote ControlInstallation of Batteries in the Remote Control
Installation of Batteries in the Remote Control
Installation of Batteries in the Remote ControlInstallation of Batteries in the Remote Control
1. Remove the battery compartment cover.
2. Insert two batteries (size AAA) correctly, so that the + and - polarities match the polarity
diagrams in the battery compartment.
* About half a year of normal operation can be expected when using normal batteries.
* When the batteries are exhausted, the commander can no longer operate the system.
Replace both batteries at the same time with new ones.
* Do not use an old battery with a new one.
* Do not use different types of batteries together.
* When the unit is not used for a long period of time, remove the batteries to avoid damage
caused by battery leakage and corrosion.
8

CC
ontrol Sectionontrol Section
C
ontrol Section
CC
ontrol Sectionontrol Section
DVD PlayerDVD Player
DVD Player
DVD PlayerDVD Player
..
1
. Standby Button
..
2. Clock Button
3. Mode Button
4. USB Jack
5. IR Sensor
6. VFD Display Lens
7. Fast Forward Button (
Fast Backward Button (
Next Button(
Previous Button(
Play/Pause Button (BF)
8. Eject Button(K)
9. Stop Button(
10. Power Control Cable Socket
11. SCART Output Terminal
12. Coaxial Fibre Output Terminal
13. Component Output Terminal
14. Video Output Terminal
15. Audio Output Terminal
16. S-Video Output Terminal
17. AUX Input Terminal
18. FM Antenna
19. i-POD Socket
GG
G )
GG
LL
L)
LL
HH
H)
HH
C)
D)
AmplifierAmplifier
Amplifier
AmplifierAmplifier
1. Headphone Terminal
2. Bass Control Knob
3. Treble Control Knob
4. Volume Control Knob
5. Function Select Button
6. AC Power Cord
7. Power Control Cable Socket
8. L&R Speaker Output Terminals
9
 Loading...