


DPF 7901
Table of contents
 Loading...

1
Non contractual document subject to change in case of typographical errors (Mktg0609)
ENGLISH
DIGITAL PICTURE FRAME INSTRUCTIONS
TELEFUNKEN STYLE SERIES
(DPF 7901, DPF 7331, DPF 9321, DPF 10331)
I. Learn about and install your frame ........................................................ 2
1. Box contents ...................................................................................................................... 2
1. Frame diagrams ................................................................................................................. 2
2. Installation ........................................................................................................................... 3
II. Use your frame .......................................................................................... 3
1. Selecting a language ......................................................................................................... 3
2. Reading a memory card or a USB key .......................................................................... 3
3. Copying photos to the internal memory ........................................................................ 4
4. Deleting photos .................................................................................................................. 5
III. Selecting the type of files to play ........................................................... 6
1. Photos ................................................................................................................................. 6
2. Videos (only on DPF 7911, DPF 7331, DPF 9331, DPF 10331) ................................. 6
3. Music (only on DPF 7911, DPF 7331, DPF 9331, DPF 10331) .................................. 6
IV. Settings ...................................................................................................... 7
1. Photo settings .................................................................................................................... 7
2. Calendar settings ............................................................................................................... 9
3. Video settings (only on DPF 7911, DPF 7331, DPF 9331, DPF 10331) .................. 11
4. Music settings (only on DPF 7911, DPF 7331, DPF 9331, DPF 10331) ................. 12
5. System settings ............................................................................................................... 13
V. Connecting to a computer .................................................................... 14
VI.
Safety instructions .................................................................................. 15
VII.
Warranty ................................................................................................... 16
VIII.
Specifications .................................................................................... 18

2
Non contractual document subject to change in case of typographical errors (Mktg0609)
ENGLISH
I. Learn about and install your frame
Thank you for your recent purchase of a TELEFUNKEN "STYLE Series" digital photo frame. Before
using your device, please consult these operating instructions and keep them so you may refer to them
later on.
1. Box contents
- 1 digital photo frame
- 1 AC adaptor
- 1 remote control
- 1 dust cloth
1. Frame diagrams
Settings
On/Off
Volume
"Up" key
"Right" key
"Down" key
Stop
Slideshow
"Left" key
Copy/Delete
Rotate
Exit
Zoom
Mute
Control buttons
On/Off button
Wall hanger
Adjustable stand
Mini USB port
USB port
SD/MMC card port
XD card port
MS, MSPro, MS Duo, MS Pro
Duo card port
Power input plug
3
Non contractual document subject to change in case of typographical errors (Mktg0609)
ENGLISH
2. Installation
- Take your frame and its accessories out of their packaging.
- Remove the plastic film protecting the front of the frame.
- Pull the plastic tab protecting the contacts in the remote control.
- Stand the frame in the desired location, pulling the adjustable stand towards you (see diagram
above).
- Connect the electrical cord to the frame in the space provided.
Plug your frame into an outlet. Your frame will start up automatically.
II. Use your frame
1. Selecting a language
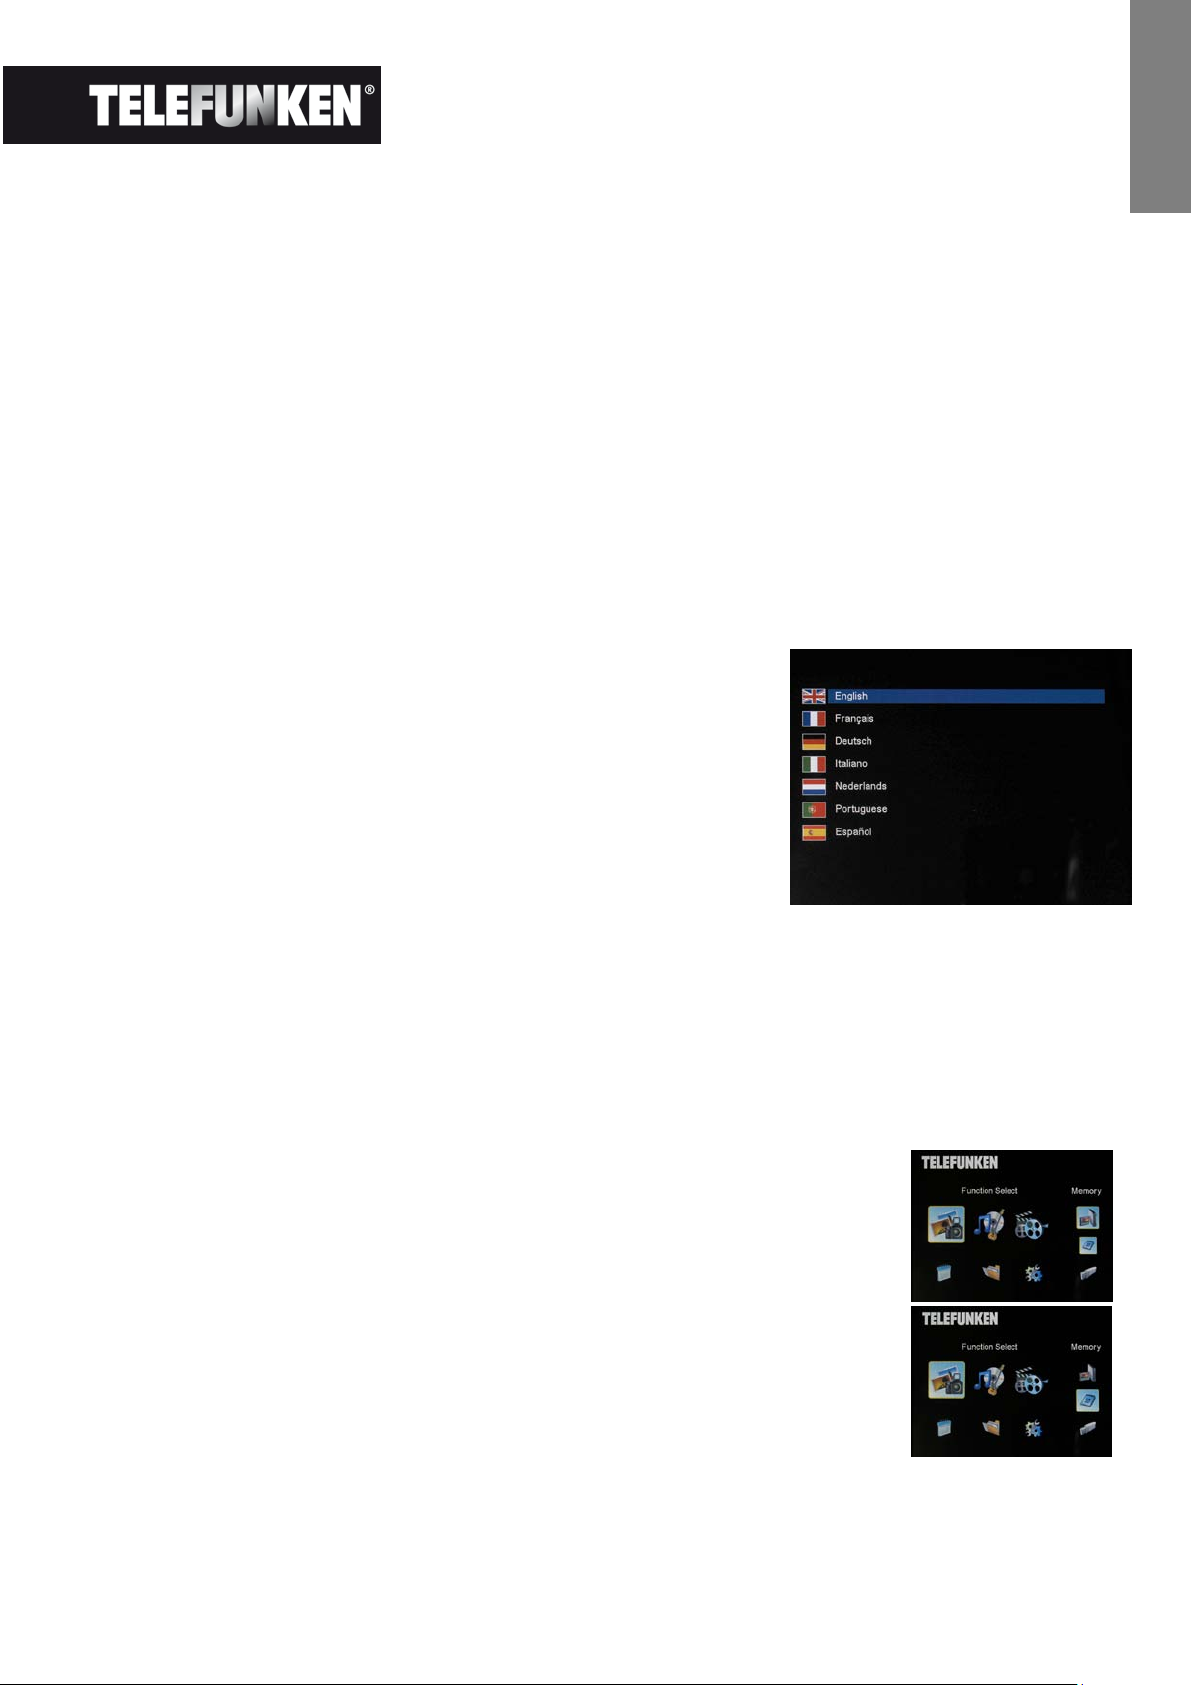
During its first use, the frame will display an initial screen allowing
you to choose the language.
- Select your language using the arrow keys on the remote
control, then press "ENTER".
Once you have selected your language, your frame will begin to
read the photos contained in its internal memory.
2. Reading a memory card or a USB key
If your frame is off:
- Insert your card or USB key in the space provided.
- Switch on your frame: The slideshow will automatically play the contents of your memory card
or USB key.
If your frame is on:
- Press the "Exit" key on your remote as many times as necessary for the
mode selection screen to come up
- Using the “Up /Down” keys on your remote, select the card or key you
want to read (The top icon for internal memory, or the icons for memory
card or USB key)
Press the “Enter” key on your remote to confirm your choice, then the
“Slideshow” key to launch the slideshow.
If your media (memory card, USB key or built-in memory) contains music and if
you want to play a musical slideshow, press the ”Enter” key during the
slideshow. The digital frame will display “Slide with music”.
4
Non contractual document subject to change in case of typographical errors (Mktg0609)
ENGLISH
3. Copying photos to the internal memory
There are two methods for copying images from your memory card to the frame's internal memory.
- Copy your photos from the file manager
If you use this method, you can only copy files one at a time, and you will not be able to resize them to
the frame's resolution.
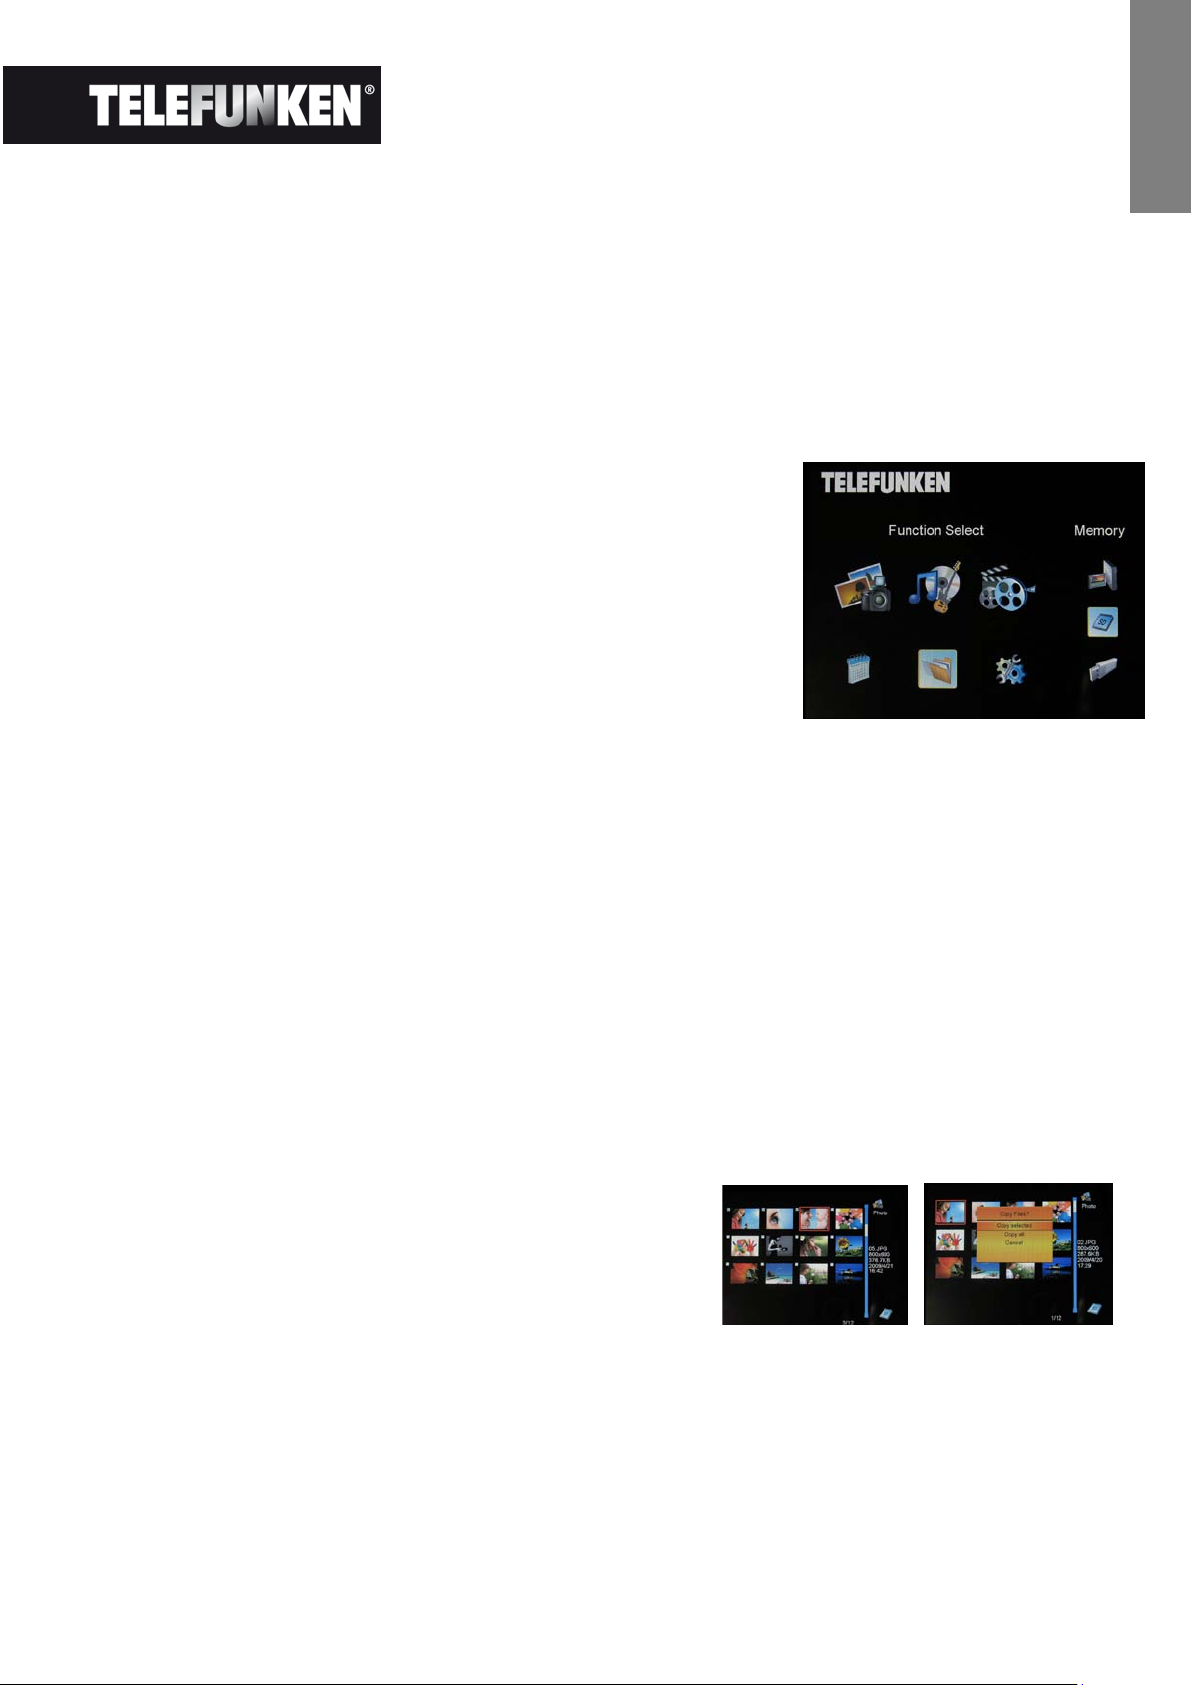
- Press the "Exit" key on your remote as many times as necessary for the mode selection screen
to come up .
- Using the "Left/Right" keys on the remote, select the "Files"
icon and press "Enter".
- Select the photo (or music or video file for versions 7911,
7331, 9331 & 10331) using the "Up/Down" keys on the
remote, and press the "Copy/Del" key. The screen will
display "Copy file? YES/NO". Choose the desired option and
press "Enter". Your file has been copied.
- Copy your photos from the thumbnail mode
Using this method, you can copy all or a selection of photos, with the ability to resize them to the
frame's resolution in order to optimize internal memory capacity.
1. Press the "Exit" key on your remote as many times as necessary for the mode selection screen
to come up.
2. Select the removable medium (memory card or USB key) storing the photos to be copied using
the "Up/Down" keys on the remote. Press "Enter".
3. Using the "Left/Right" keys, select photo mode and press "Enter". The slideshow will then
launch.
4. Press the "Exit" key on the remote to access the thumbnails.
5. Press the "Copy/Del" key. The screen will display "Copy files?" Select "Yes" and press
"Enter".
6. The thumbnails will again be displayed, with a small
white square in the upper right corner of each. Select
the photos to be copied using the "Left/Right -
Up/Down" keys on the remote, pressing "Enter" for
each photo you wish to select. The small white
square then shows a tick mark for each image you select. (If you choose “Copy all”, all the
white squares show a tick mark)
5
Non contractual document subject to change in case of typographical errors (Mktg0609)
ENGLISH
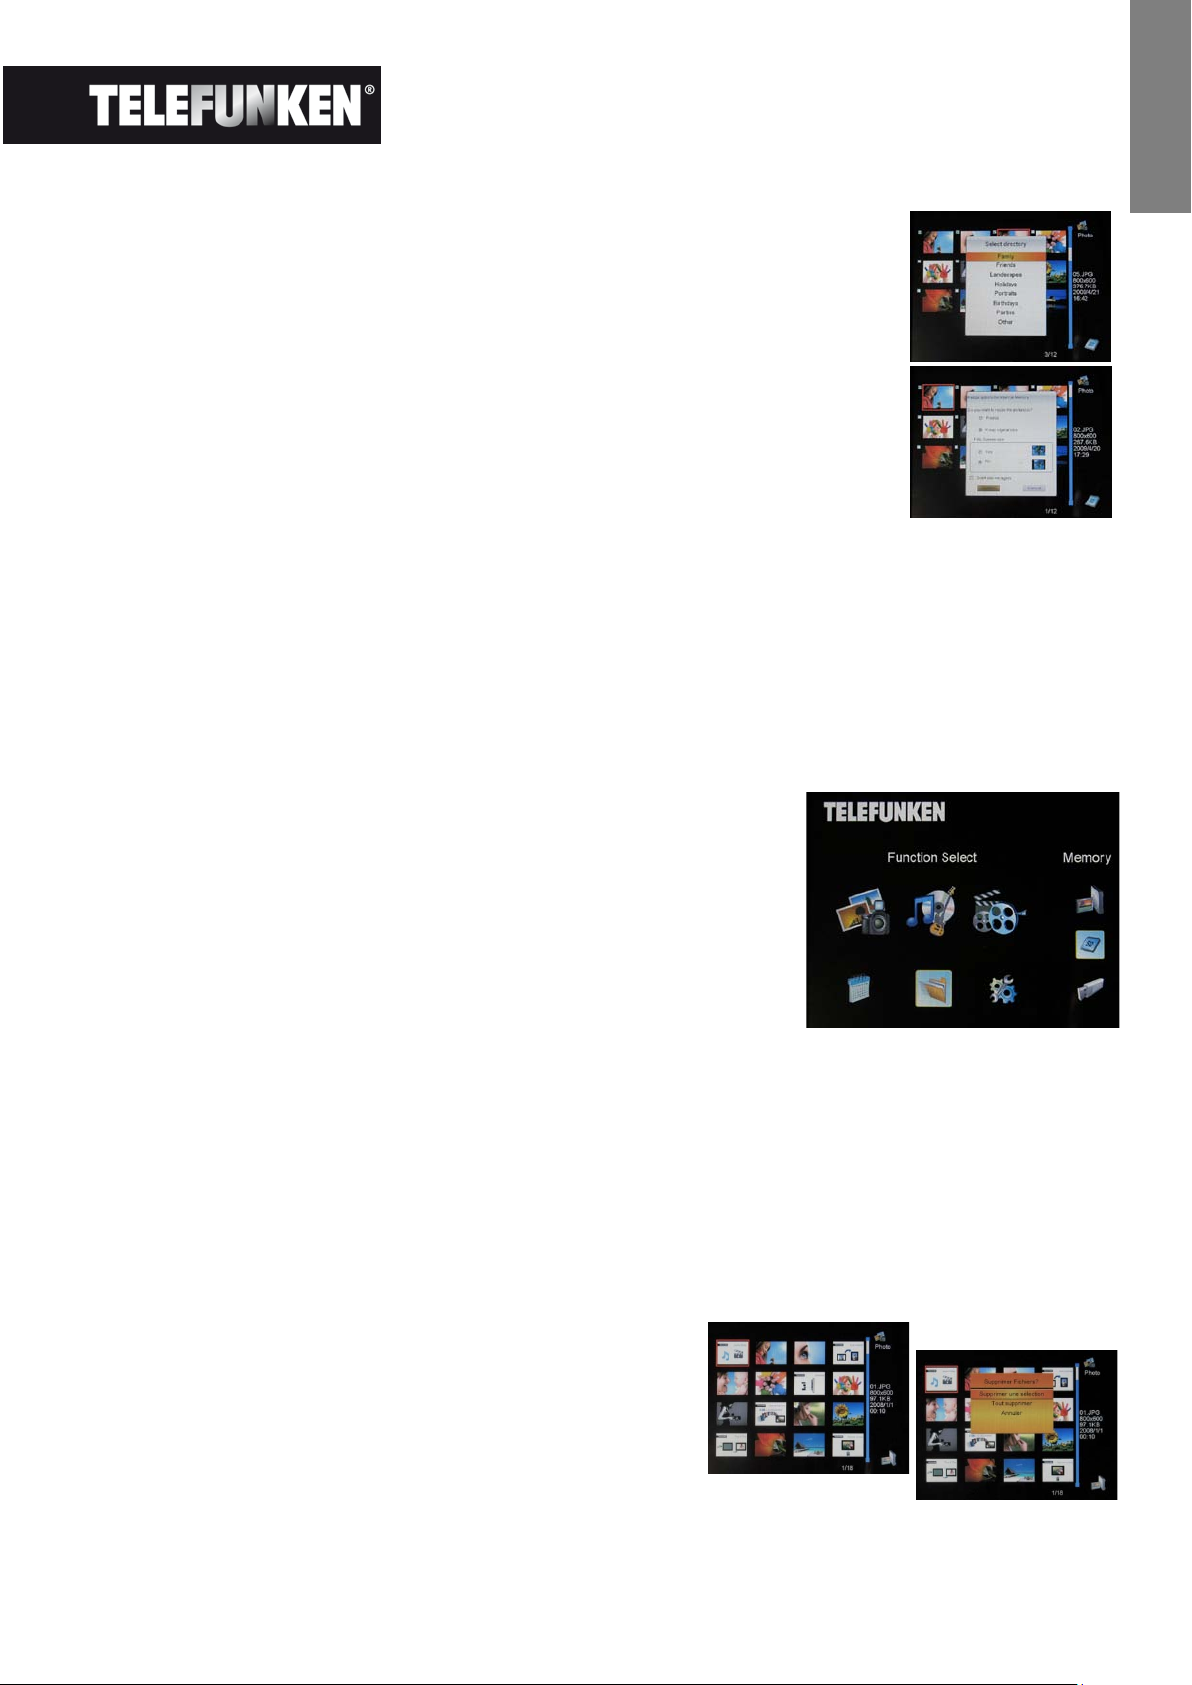
7. Press the "Copy/Del" key. Next, select the directory into which you
want to copy your images, then press "Enter"
8. The screen will show a dialog box asking you if you want to resize your
images. (To automatically resize all your photos without passing through
this screen, see p. 9.)
9. Select the desired option using the "Up/Down" keys on the remote and
confirm the choice by selecting "Confirm". Press "Enter". Your photos
are now copied into the internal memory and sized to the frame's
resolution
4. Deleting photos
You can delete photos that are in your frame's internal memory.
- Delete your photos from the file manager
If you use this method, you can only delete one file at a time.
1. Press the "Exit" key on your remote as many times as
necessary for the mode selection screen to come up
2. Using the "Left/Right" keys on the remote, select the "Files"
icon and press "Enter".
3. Select the photo (or music or video file for versions 7911,
7331, 9331, 10331) using the "Up/Down" keys on the remote,
and press the "Copy/Del" key. The screen will display
"Delete file? YES/NO". Choose the desired option and press
"Enter". Your file has been deleted.
- Delete your photos from the thumbnail mode
With this method, you can delete all or a selection of photos in the internal memory.
1. Press the "Exit" key on your remote as many times as necessary for the mode selection screen
to come up.
2. Select the internal memory using the "Up/Down" keys on the remote. Press "Enter".
3. Using the "Left/Right" keys, select the photo mode and press "Enter". The slideshow will then
launch.
4. Press the "Exit" key on the remote to access the
thumbnails.
5. Press the "Copy/Del" key. The screen will display
"Delete?" Select "Yes" and press "Enter".
6. The thumbnails will again be displayed, with a small
white square in the upper right corner of each. Select the photos to be
Loading...