

Page 1

houston
mission controller
VST Studio Controller
User Guide
Page 2

The information in this document is subject to change without notice and does
not represent a commitment on the part of Steinberg Media Technologies AG.
The software that comes with this hardware is subject to a License Agreement
and may not be copied to other media except as specifically allowed in the
License Agreement. No part of this publication may be copied, reproduced or
otherwise transmitted or recorded, for any purpose, without prior written permission by Steinberg Media Technologies AG.
All product and company names are ™ or ® trademarks of their respective
owners.
© Steinberg Media Technologies AG, 2003.
All rights reserved.
Operation Manual by d.popow@musicandtext.com
Page 3
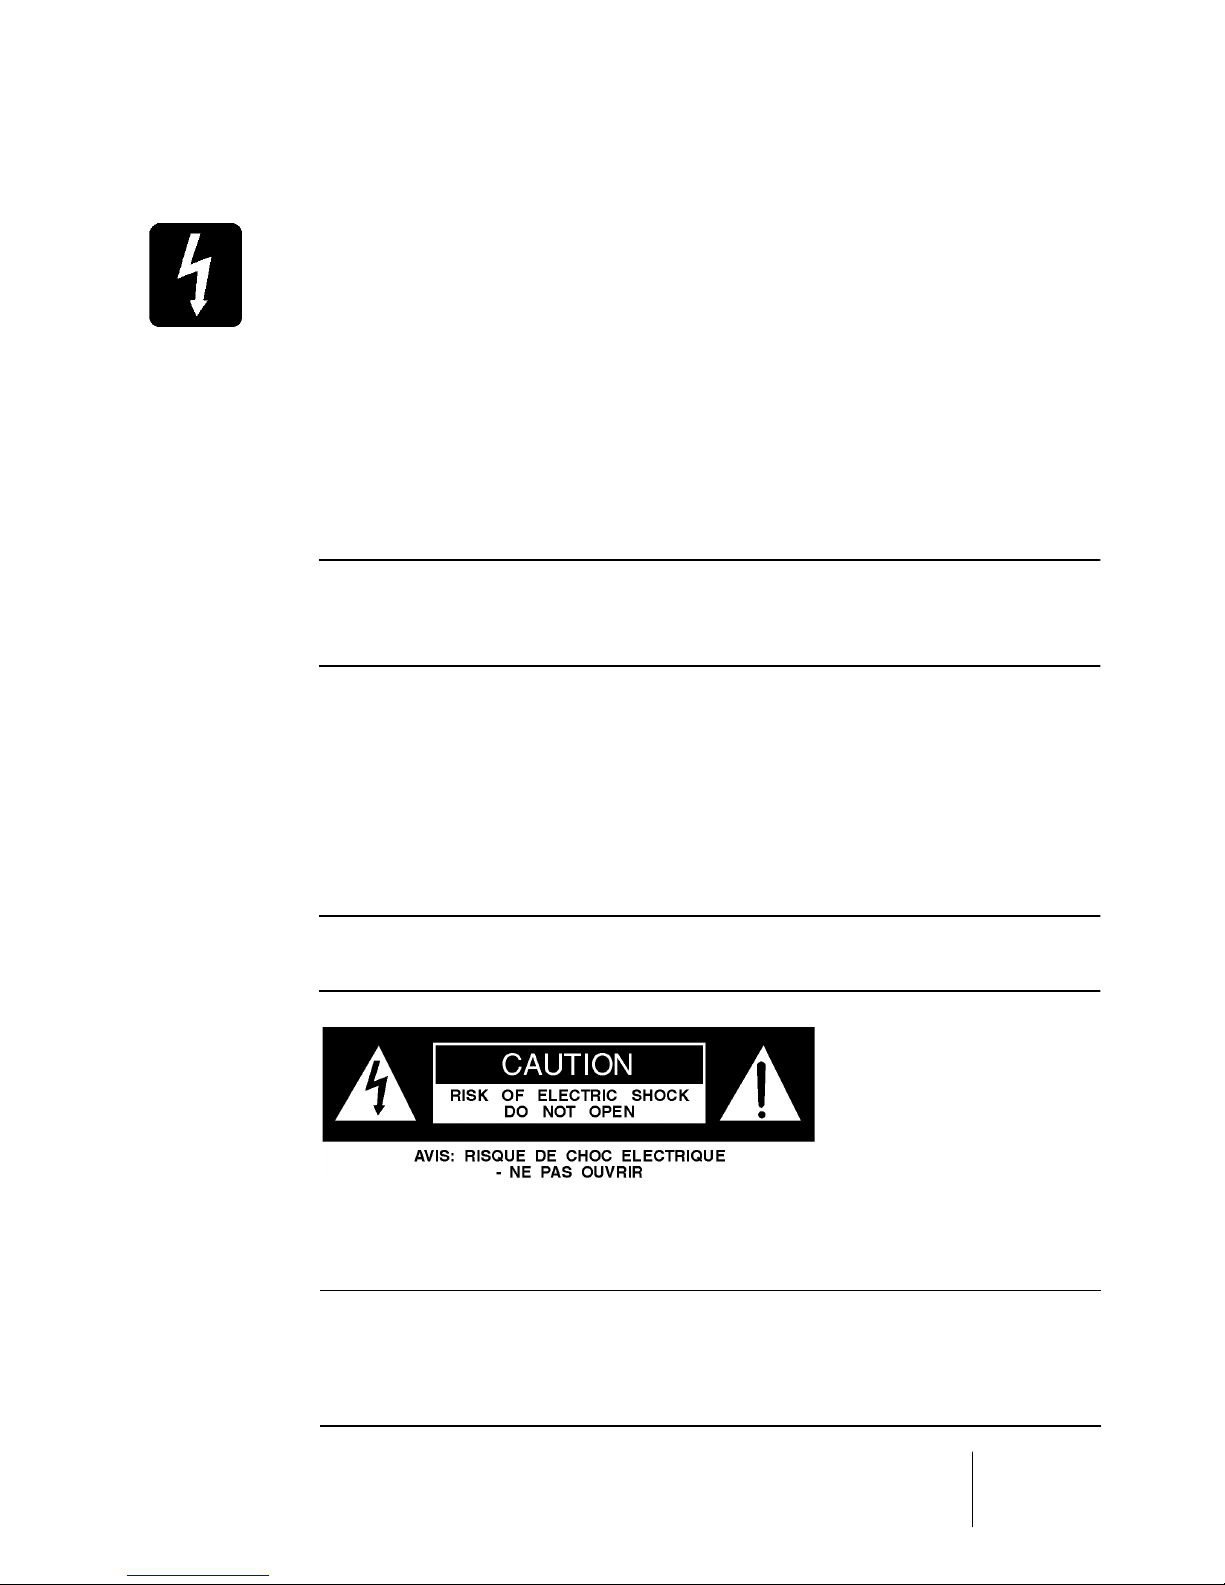
IMPORTANT SAFETY INSTRUCTIONS
CAUTION – To avoid the risk of fire, replace the mains fuse only with
the correct type and value fuse, as marked on the rear panel.
ATTENTION – AFIN DE REDUIRE LE RISQUE DE FEU REMPLACER
SEULEMENT AVEC FUSIBLE DE MEME TYPE.
REPLACING MAINS FUSE: Switch the ON/OFF switch to the OFF position. Remove the mains lead from the connector. Use a small screwdriver to prise the fuse carrier from its location in the connector. Check
the fuse and replace if necessary; also check that the voltage selection
is correct for the mains supply level before switching the unit ON again.
❐
If the mains fuse fails repeatedly this may be because an electrical
safety hazard exists. The unit must be taken out of service and referred
to the Steinberg dealer from where the equipment was purchased.
THIS UNIT MUST BE EARTHED: Under no circumstances should the
mains earth be disconnected from the mains lead.
ATTENTION: CET APPAREIL DOIT ETRE BRANCHE A LA TERRE.
This unit is capable of operating over a range of mains voltages, as
marked on the rear panel.
❐
It is important to ensure that the correct mains fuse is fitted before
switching on the unit.
The wires in the mains lead are coloured in accordance with the
following code:
Earth: Green and Yellow (Green/Yellow - US)
Neutral: Blue (White - US)
Live: Brown (Black - US)
Houston
IMPORTANT SAFETY INSTRUCTIONS 3
Page 4
As the colours of the wires in the mains lead may not correspond with
the coloured markings identifying the terminals in your plug, proceed
as follows:
• The wire that is coloured Green and Yellow must be connected to the terminal
in the plug which is marked with the letter E or by the earth symbol.
• The wire which is coloured Blue must be connected to the terminal in the plug
which is marked with the letter N.
• The wire which is coloured Brown must be connected to the terminal in the
plug which is marked with the letter L.
❐
Ensure that these colour codings are followed carefully in the event of
the plug being changed.
PLEASE READ THE IMPORTANT SAFETY INSTRUCTIONS IN THIS
MANUAL!
Houston
4 IMPORTANT SAFETY INSTRUCTIONS
Page 5

Table of Contents
Page 6

3 IMPORTANT SAFETY
27 The Houston User
INSTRUCTIONS
7 Warranty Terms and
Important Hints
8
9
Warranty
About Important Hints and
Safety Instructions
11 Introduction
12
13
What is Houston?
Requirements
15 Connecting and
Starting Up
16
17
Connecting Houston to the
rest of the world
Starting Up
Interface – The Details
28
30
33
33
34
35
36
36
The Control Strip and the
Modes
Using the Modes
Song
Edit
The Fader section
Fader Options
The Number Pad
Number Pad Options
39 CE Declaration of
Conformity
41 WARNINGS
19 The Houston User
Interface –
A brief Overview
20
21
22
22
23
24
24
25
Fader section
Control Strip
The Function Matrix
Song and Edit buttons
Windows and Markers
buttons
Number Pad
Functions, Data and Cursor
buttons
Transport Controls and Jog
Dial
Houston
6 Table of Contents
Page 7

1
Warranty Terms and Important
Hints
Page 8

Warranty
Based on the following terms, Steinberg grants a warranty for the
technical components used in this device:
1.
The warranty period is a one year, beginning with the date of purchase
from an authorized dealer.
2.
The warranty includes the removal of defects of production and material as well as the exchange of parts by Steinberg. It does not include
damage caused by poor means of transport, external force or damage
caused by non-observance of the instructions in the operation manual.
3.
The warranty includes the removal of discovered production or material
defects by repair or exchange of the defective parts. Claims beyond
those described here, especially compensation claims, can not be asserted within the framework of this warranty.
4.
A warranty claim can only be accepted, if the warranty card and a
proof for the purchase of the device are in your possession and if the
device bears the original model identification plate and the correct serial number.
5.
The device may only be opened or repaired by an authorized Steinberg
representation, otherwise the warranty becomes void.
6.
This warranty does not restrict your other legal rights.
Please read this before you send in a device for repair
• Please find the address of the Steinberg distributor responsible for product
service on your Product Registration Pass.
• You must obtain an RMA number from the responsible Steinberg distributor
prior to sending in a faulty device.
• For logistical reasons, we can not accept devices that you send in without an
RMA number. These are returned to you at your expense.
• When sending in a device, please make sure that you also send in its Warranty
Card, fully filled in, a description of the malfunction and a copy of the invoice.
• Devices that arrive without a description of the malfunction need more extensive testing. This results in additional costs for which we must charge you.
• We are sorry, but if you send in a device for repair and it turns out that it is
fault-free, we do still have to charge you with a service flat rate.
Houston
1 – 8 Warranty Terms and Important Hints
Page 9
About Important Hints and Safety Instructions
Safety Symbol Guide
For your own safety and to avoid invalidation of the warranty all text
marked with these Symbols should be read carefully.
Cautions
Must be followed carefully to avoid bodily injury.
Warnings
Must be observed to avoid damage to your equipment.
Notes
Contains important information and useful tips on the operation
of your equipment.
IMPORTANT
Please read this manual carefully before connecting your
equipment to the mains for the first time.
Houston
Warranty Terms and Important Hints 1 – 9
Page 10

Houston
1 – 10 Warranty Terms and Important Hints
Page 11

2
Introduction
Page 12

What is Houston?
Houston is a remote controller for the VST Studio. It features nine 100mm
touch sensitive motorized faders, eight rotary encoders with LED position
indicators and a matrix of buttons, to bring all aspects of the VST Studio
to within easy reach. Additionally it possesses a large LCD display, transport controls and a jog & scrub wheel, a numeric keypad for entering values, and for selecting set-ups and marker positions.
Houston has been designed for total hands-on mixing, without having
to use the mouse or PC keyboard. It provides access to potentially every parameter available in VST windows. Houston uses an
or
one-for-all
layout:
• Both the display and related rotary encoders show the same parameter for all
eight channels or eight related parameters for one channel.
• The illuminated function matrix clearly indicates the current display mode so
that all basic VST parameters are only one button push away.
• If a set of related parameters require more than a set of eight controls, the
page up and page down buttons let you quickly jump to the additional parameters. The context of the selected function group remains the same, which lets
you quickly find the required parameters.
• Apart from accessing the controls of the mixer, parameters for the VST audio
effects plug-ins and VST Instruments can be displayed, edited and automated
from Houston's controls.
• Houston supports the Cubase VST mixer views and window sets. It is possible to open and close windows completely remotely, and to change the currently addressed set of eight channels. These can be any of the VST audio
channels regardless of whether they are audio, group or synthesizer channels
or the output busses.
all-for-one
Houston is a compact desktop unit with built in mains power supply.
It connects by either MIDI or USB connections to the host computer.
It has been designed to complement both keyboard and mouse as the
ultimate controller for the virtual studio.
Houston
2 – 12 Introduction
Page 13

Requirements
To be able to use Houston, you need Cubase VST version 5.0 r5,
Nuendo version 1.51 or a later version that supports the Houston
hardware.
In the Houston box, you will find a CD-ROM with versions of Cubase
VST and Nuendo that support Houston. Please use these software
versions if they are newer than the one you currently have.
Your computer must be equipped with MIDI In and Out sockets (either
on a built-in card or on a connected interface).
You will also need the necessary standard MIDI cables.
Houston
Introduction 2 – 13
Page 14

Houston
2 – 14 Introduction
Page 15

3
Connecting and Starting Up
Page 16

Connecting Houston to the rest of the world
Houston rear panel
Here’s what must be done to connect Houston to the “outside world”:
1.
Connect the correct end of the power cable to Houston’s “Auto-Range
Input”.
It is the biggest socket there is on Houston’s rear panel.
The Auto Range Input
2.
Then connect the other end of the power cable to a suitable A/C wall
outlet.
Houston adapts to a wide range of different standard voltages between 90V and 240V
A/C and 50/60 Hz.
3.
Using a standard MIDI cable, connect Houston’s MIDI In socket to the
MIDI Out socket on your computer. That is, connect it to the sound
card or MIDI interface, built-in or external.
To ensure proper communication, you definitely need one exclusive MIDI Input/Output
pair.
The MIDI ports
4.
Using a standard MIDI cable, connect Houston’s MIDI Out socket to
the MIDI In socket on your computer.
That’s all there is to connect.
Houston
3 – 16 Connecting and Starting Up
Page 17

Starting Up
1.
Make sure that you use a host application that is capable of supporting Houston.
In the Houston box, you will find a CD-ROM with versions of Cubase VST and Nuendo
that support Houston. Please use these software versions if they are newer than the
one you currently have.
2.
Press Houston’s Power button, located on the rear panel.
The LC display will light up and the motor faders will be positioned to default values.
3.
Start your computer and your host application.
If this is the first time that you use Houston, you will have to setup your host application
to recognize Houston.
4.
In Cubase VST, this is for instance done by selecting “Setup” from the
Remote Setup sub-menu on the Options menu.
The VST Remote dialog will appear.
5.
Select “Steinberg Houston” in the Remote pop-up.
Other VST compatible host applications might need different Remote setup procedures. Please read the corresponding sections in their product documentation.
•
If you have connected Houston via MIDI, select the MIDI ports that you
wish to use for data transfer between Houston and Cubase VST in the
VST Remote dialog’s MIDI Input and MIDI Output pop-up menus.
❐
To ensure proper communication, please make sure that Houston can
exclusively use one MIDI Input/Output pair.
Houston
Connecting and Starting Up 3 – 17
Page 18

Houston
3 – 18 Connecting and Starting Up
Page 19

4
The Houston User Interface –
A brief Overview
Page 20

The Houston user interface is subdivided into the following sections:
Fader section
The Fader section
On Houston’s lower left side you find the Fader section with the nine
motorized faders.
To the right of these, there is a number of option buttons that let you
switch between the different target faders within your host application
(channel, group, instrument busses) and select Fader Sets that you
have built by creating Mixer Views in Cubase VST
The 8 and 8 buttons are used to jump back and forth between
the available sets of eight channels each.
The buttons to the left of the faders let you activate your host application’s automation modes, activate/deactivate the fader motors, etc.
There are three switches above each fader, one to select, one to mute
and one to solo the corresponding channel. To the left of these
switches, two more switches let you defeat all mute settings or all solo
settings in one go.
Find more information on the fader section on page 34.
Houston
4 – 20 The Houston User Interface – A brief Overview
Page 21

Control Strip
The Control Strip consists of an LC display and – above it – eight dials,
both located on Houston’s upper left side.
The Control Strip
The dials are soft-controls. That is, each dial can be used to control
many different functions. The currently selected and addressed function is shown on the LCD. The lower half of the display usually shows
the names of the channels that are currently assigned to the faders.
The dials P1 to P8 have built-in LED Rings that show their current setting for the function that the dial currently controls.
The LCD normally displays the currently selected function of the control, but whenever you change a dial setting, its absolute value is displayed while you change it and for few seconds after, or until another
control is changed.
Next to the LCD, you find the Page Up and Down buttons as well as
the More button. These are used to toggle between or show the available values if a parameter group uses more than one parameter page.
The Control Strip is shared by Fader Set mode, Selected Channel
and Global mode. These modes are described on page 28.
❐
The Control Strip always either shows data from the Fader Set Mode,
from the Selected Channel Mode or from the Global Mode. It never
shows all three at the same time.
Houston
The Houston User Interface – A brief Overview 4 – 21
Page 22

The Function Matrix
The Function Matrix
The Function Matrix consist of many buttons and is subdivided into
three sections. It is located above the Control Strip.
This is where you select the available modes and functions.
❐
If you want to make the most of your Houston mission controller, it is absolutely necessary that you understand the concept of the Function Matrix. See “The Control Strip and the Modes“ on page 28.
Song and Edit buttons
The Song and Edit buttons
These buttons can be found to the right of the Control Strip. You can
use the The Song buttons to save a Song or revert to the last version
that you have saved previously.
The Edit buttons let you undo your last action or redo the last undo,
cancel in windows and confirm or deny certain actions. Find more information on page 33.
Houston
4 – 22 The Houston User Interface – A brief Overview
Page 23

Windows and Markers buttons
The Windows and Markers buttons
These buttons are located to the right of the Select, Mute and Solo
buttons.
• The four Windows buttons let you select different Window views within your
host application:
Button Description
Windows Sets Press this to be able to select a Windows set in your host application
by inputting a number on the Number Pad.
Main Press this to open your host application’s main window.
Edit Press this to open your host application’s editor window for the cur-
rently selected Events.
Studio Press this to open your host application’s Mixer window.
• Use the Markers buttons to jump to the next Marker, delete or generate Markers:
Button Description
Jump Press this, then press a number on the Number Pad to jump to a Lo-
cator/Marker position in your host application.
Capture Press this to define the current Song Position in your host application
as a Locator/Marker position.
Delete Press this, then press a number on the Number Pad to delete a Loca-
tor/Marker position.
Houston
The Houston User Interface – A brief Overview 4 – 23
Page 24

Number Pad
This is a general purpose pad.
• It lets you select a Marker after pressing one of the Marker buttons (Jump/
Capture/Delete).
• It lets you select a Fader Set after pressing the Fader Set button.
• If supported by your host application, it lets you select a User function after
pressing the Function button.
• It lets you select a Window Set after pressing the Windows/Sets button.
Functions, Data and Cursor buttons
The Functions, Data and Cursor buttons
When you press one of these buttons, you can use the buttons on the
Number Pad to execute the corresponding function. This is similar to
selecting a Windows set, a Fader set or Locator/Marker positions.
First you press one of these buttons, then you can enter a value or
start an action via the Number Pad:
Button Description
Functions The Functions button lets you select a User function by number, see
above. Your host application must support this function.
Data If you press Data, you can enter a new value for the last adjusted parame-
ter via the Number Pad.
Cursor If you have pressed the Cursor button, you can use the Arrow buttons on
the Number Pad to carry out the same actions that you can also carry out
by pressing the cursor keys on your computer keyboard. When Cubase’s
Arrange window is active, you could e.g. press the arrow downwards button to select the Track below the currently active one.
❐
For exact information on what functions are available, please check the
electronic documentation (the Acrobat document that you have received
with Houston or can download from www.steinberg.net).
Houston
4 – 24 The Houston User Interface – A brief Overview
Page 25

Transport Controls and Jog Dial
The Transport controls and the Jog Dial
The Transport controls double up for the Transport controls in your
host application and the Jog Dial is used to quickly change the Song
Position.
Arm
In some host applications, this can used in conjunction with the Track
Select buttons to activate a record enable mode.
Houston
The Houston User Interface – A brief Overview 4 – 25
Page 26

Houston
4 – 26 The Houston User Interface – A brief Overview
Page 27

5
The Houston User Interface –
The Details
Page 28

The Control Strip and the Modes
Houston’s three operating modes are Fader Set mode, Selected
Channel mode and Global mode.
Understanding the Mode concept and the Control Strip is very
important.
Fader Set Mode
In Fader Set Mode, the Control Strip dials all do the same job for each
of the eight channels in the current Fader Group. This best relates to
the idea of viewing eight controls horizontally on a standard analog mixing desk. They would all be doing the same thing, being Aux Send #1
or the Pan control etc.
The actual parameter group that all the channels share is selected by
the buttons above the Control Strip in the Fader Set section of the
Function Matrix.
By pressing one of these buttons, all the channels that make up this
fader group will use the Control Strip to perform that job.
❐
Each Fader Set parameter group and its parameters (that appear in the
LC display) are described in a separate Adobe Acrobat (pdf) document.
Selected Channel mode
There is also a Selected Channel mode where the Control Strip controls actually all control different parameter groups. But all refer to one
selected channel.
The available (Selected Channel) functions can be selected in the
Function Matrix above the Control Strip. Selected Channel mode can
best be compared to the idea of looking at the vertical controls that
make up one channel strip on an analog mixing console.
For each selected parameter group, be it either for a selected channel
or a fader group, there is also a pair of page up and page down buttons. These are only used when there are secondary parameters to
display in any of the particular modes.
Houston
5 – 28 The Houston User Interface – The Details
Page 29

As some pages contain more data than fits in one line, the More button lets you see the rest.
❐
Each Selected Channel parameter group and its parameters (that appear in the LC display) are described in a separate Adobe Acrobat (pdf)
document.
Global mode
Global mode consists of four different parameter groups:
• Send Master mode lets you simultaneously control the send levels of up to
eight currently loaded Send effects. The current levels can be made visible in
the Control Strip LC display and changed using the Control Strip dials.
• Send Effects mode can be used to set the parameters of any of the currently active Send effects. If the effect lets you access many parameters, use the Page
buttons to the right of the Control Strip LC to switch between pages.
• In Master Effects mode, you can select the currently active Master Insert effects
and edit them.
• VST Instruments mode lets you access all parameters that each currently active VST Instrument makes available for external control.
Houston
The Houston User Interface – The Details 5 – 29
Page 30

Using the Modes
Fader Set Mode
• Fader Set mode becomes active, when you select any of the available
buttons in the Fader Set section.
In this mode, t
be used to change the same kind of parameter (e.g. EQ1 Gain) for all channels of the currently selected fader set (e.g. channels 9 to 16).
Example:
Say, you want to change the EQ1 Gain on some of the channels 9 to
16.
1. In the Fader Set section of the Function Matrix, press the EQ1 button
so that it lights up.
Now, Fader Set mode is active. The LC display top line shows EQ1, Gain and Page 1
of 5. The bottom line lists the channels of the currently active fader set.
he Control Strip’s LCD area and the eight associated dials can
2. If necessary, use the
8 and 8
buttons at the bottom of the Hous-
ton user interface to select the desired fader set (9 to 16).
3. Now use the appropriate dial to set the desired value (e.g. P2 if you
wish to change the EQ1 Gain on Channel 10 or P4 if you want to
change Channel 12).
The upper line of the LC display will momentarily show all EQ1 Gain values of this
fader set.
Let’s assume that you do now wish to slightly adjust the Frequency or
Q value of any of the edited EQs.
4. Simply use the Page
buttons to select Frequency or Q. Then
use the dials, same as before.
The upper line of the LC display will momentarily show all EQ1 Frequency or Q values
of this fader set.
Now let’s assume that you wish to change the level of the FX Send 1.
5. Press the FX Send 1 button in the Fader Set section, select the de-
sired fader set and change the value by turning the corresponding dial.
Houston
5 – 30 The Houston User Interface – The Details
Page 31

Selected Channel Mode
• Selected Channel mode becomes active, when you select any of the
available buttons in the Selected Channel section.
In this mode, t
used to change a parameter group (e.g. some of the eight Aux Send Levels) for
one selected channel (e.g. channel 2).
Example:
Say, you want to change the Aux Send Levels 3 and 4 for channel 2.
he Control Strip’s LCD area and the eight associated dials can be
1. Use the
8 and 8
buttons at the bottom of the Houston user inter-
face to select the desired fader set (1 to 8).
2. Press the Select button of the channel that you wish to edit.
You must press the second Select button from the left to select channel 2.
3. In the Selected Channel section of the Function Matrix, press the Aux
button so that it lights up.
Now, Selected Channel mode is active. The LC display top line shows Level1 through
8 and the bottom line says Aux, Chan: Ch 2, Page 1 of 4.
4. Now use the appropriate dials to set the desired values (e.g. P3 and
P4 to change the Aux Send Levels 3 and 4).
The upper line of the LC display will momentarily show all Level values of this parameter set.
Let’s assume that you do now wish to disable the FX Send 3 (e.g. because you think that the effect does not really fit the sound).
5. Simply use the Page
buttons to select the Enable parameter for
the eight Aux Sends that are available for channel 2. Then use the dials, same as before.
The upper line of the LC display will momentarily show the On/Off status of all eight
Aux Sends that can be fed by channel 2.
Now let’s assume that you wish to change the stereo panorama setting of the channel 2.
6. In the Selected Channel section (not the Fader Set section!), press
the Pan button. Then select the appropriate dial and change the value.
❐
To make sure you address the desired channel always check which Select
button is active and which channel number is displayed in the LC display.
Houston
The Houston User Interface – The Details 5 – 31
Page 32

Global Mode
• Global mode becomes active, when you select any of the available
buttons in the Global Mode section.
T
he Control Strip’s LCD area and the eight associated dials are used to set
the parameters available
in each of the sub-modes that you select this way
.
• You can use the Page
buttons to access any parameters that
are not currently visible.
Summary
The LCD area and the eight associated dials can either be used to
change the same kind of parameter for all channels, or a parameter
group for one selected channel.
If you ever have used a conventional mixing desk, you can think of it
like this:
• In Selected Channel mode – thus when a single selected channel is
addressed – the eight dials on Houston would control a vertical segment (one channel) of the mixing desk.
• In Fader Set mode – thus when a set of channels is addressed – the
eight controls represent a horizontal part (for instance the EQ1 controls on eight channels) of the mixing desk.
• In Global mode, the selected sub-mode governs what’s controlled by
the Control Strip dials.
To switch between the modes.
• Press a button in the Function Matrix above the Control Strip area.
Houston
5 – 32 The Houston User Interface – The Details
Page 33

Song
Save
Pushing this button tells the Host application to save the current Song.
Revert
Pushing this button tells the Host application to revert to the last
saved version of this Song.
Edit
Undo/Redo
Pressing Undo will undo your last action. You can also “Undo the Undo”
by pressing the Redo button.
Yes, No and Cancel
You can use these buttons to confirm, deny or cancel actions in open
dialogs and windows.
Houston
The Houston User Interface – The Details 5 – 33
Page 34

The Fader section
In its lower left part, Houston has nine 100mm touch sensitive motorized faders.
• The first eight faders can be assigned to any group of eight faders (channel,
group, bus or instrument faders) within your host application.
• The ninth fader controls the Master output in your host application.
As all faders are motorized, the physical fader handles will be repositioned, when you change a fader position on the screen. Also, if you
change the position of a physical fader on Houston, its counterpart in
the host application will reflect the change.
Select, Mute and Solo
There are three rows of switches above the faders. These are used to
select a channel for editing in Selected Channel mode, mute or solo it.
• If you press a Select switch, the corresponding channel is selected as
the target for editing action.
Every channel on Houston has a Select switch. When this is pressed the focus of editing changes to this channel. When another select button is pressed, the first becomes
deselected. There is always one selected channel. If a Fader Set is chosen where the
selected channel does not exist, the first channel in that group gets selected.
• To mute or solo a channel, press the corresponding Mute or Solo
button.
You can mute or solo several channels simultaneously.
• Use the Mute Defeat and Solo Defeat buttons to disable all Mute or
Solo settings in one go.
Houston
5 – 34 The Houston User Interface – The Details
Page 35

Fader Options
The Fader option buttons are located to the right of the fader section.
Here’s what the button do:
Option Description
Sets Activates Fader Set mode. Using the Number Pad, you select a Cubase
Mixer View.
Normal Assigns the first eight audio channels to the Houston faders.
Instruments Assigns the first 8 Rewire or VST instrument channels to the Houston
faders.
Groups Assigns the first 8 Groups audio channels to the Houston faders.
Busses Assigns the first 8 Busses’ output faders to the Houston faders.
8 and 8
Assign the next 8 channels to the Houston faders.
Motors
If this button is lit, the Houston faders are moved by motors when they
receive automation data from the host application or when you move a
fader on-screen.
When you disable the function (the button is dark), you disable moving fader activity.
Read/Write mode
When Houston is used in conjunction with certain host applications,
these buttons activate automation Read and/or Write modes.
Houston
The Houston User Interface – The Details 5 – 35
Page 36

The Number Pad
Concept
The Number Pad and the Option buttons that surround it let you edit
many different parameters. The Number Pad buttons are usually used
to input numerical values. So, in order to tell Houston which parameter it should change, you must first select an Option key. Using the
number buttons can be compared with a TV remote control:
• To send a single-digit number, you only need to press one of the number buttons. If you wish to send a double-digit number, you must press the 10’s button first to enable a decade to be entered before entering a single-digit.
• The Zap button can be used to move between the last two set values. The actual result depends on the option you have selected.
Number Pad Options
The “Windows” option buttons are located to the left of the Number
Pad.
Option Description
Sets Activates Window Set mode where you can select a Windows set by
inputting its number via the Number Pad.
Main This brings your host application’s primary window to the front (e.g.
the Arrange window in Cubase VST).
Edit Depending on what type of Event you have currently selected, this
brings the host application’s corresponding editor to the front.
Studio This brings the application’s studio windows to the front (e.g. the VST
Mixer window in Cubase VST).
Houston
5 – 36 The Houston User Interface – The Details
Page 37

The “Markers” option buttons are located to the left of the Number
Pad, below the “Windows” options.
Option Description
Jump Activates Jump mode where you can jump to any Marker or Locator by
Capture This grabs the current Song Position and saves it as a Locator/Marker
Delete This lets you delete a Locator/Marker by inputting its number via the
❐
The Markers 1 and 2 are always the Left and Right Locators/Markers.
Functions
Pressing the functions button puts the number pad in Functions mode
and you can use the numeric keypad to access different functions of
the host application.
inputting its number via the Number Pad.
position.
Number Pad.
Data
❐
Functions 1, 0 und 3 are assigned to cut/copy/paste. If you are working with Cubase VST 5.2, in this mode you can access 100 user configurable functions.
Pressing Data places the Number Pad in Data mode where you can
input any number by pushing the corresponding buttons on the Number Pad. You must confirm your input by pushing the Enter button.
Zap is active and toggles between the last two values. Target for data
entry is always the last edited value, i.e. what was last changed with a
Control Strip dial.
For exact information on what functions are available, please check the
electronic documentation (the Acrobat document that you have received
with Houston or can download from www.steinberg.net).
Houston
The Houston User Interface – The Details 5 – 37
Page 38

Cursor
In Cursor mode, the arrows on the Number Pad are active. What the
application does with these values depends on the functions that are
usually addressed by pushing the cursor arrows on your computer
keyboard (in Cubase VST, pushing the arrow up or down keys while
the Arrrange window is open e.g. lets you jump to the previous or the
next Track).
Jog Wheel / Jog button
The wheel is used for moving the Song position in the host application. The Jog button is reserved for future use.
Houston
5 – 38 The Houston User Interface – The Details
Page 39

6
CE Declaration of Conformity
Page 40

We, Steinberg Media Technologies AG
Neuer Hoeltigbaum 22-32, D-22143 Hamburg
herewith confirm that the product:
Type: USB/MIDI Remote Controller
Model: Houston mission controller
meets the requirements of the council of the European communities
as specified by the following norms (or normative documents)
EN55103-1 Emission
EN55103-2 Immunity
Relating to electromagnetic compatibility
(Council Directive 73/23/EEC and 89/336/EEC)
EN60065 Safety
Houston
6 – 40 CE Declaration of Conformity
Page 41

WARNINGS
• Read these instructions. Keep these instructions. Heed all warnings. Follow
all instructions.
• This unit contains no user serviceable parts. Refer all servicing to a qualified
service engineer, through the appropriate Steinberg dealer.
• Do not use this apparatus near water.
• Clean only with a damp cloth.
• Do not block any of the ventilation openings. Install in accordance with the
manufacturers instructions.
• Do not install near any heat sources such as radiators, heat resistors, stoves,
or other apparatus (including amplifiers) that produce heat.
• Do not defeat the safety purpose of the polarized or grounding-type plug. A
polarized plug has two blades with one wider than the other. A grounding type
plug has two blades and a third grounding prong. The wide blade or the third
prong is provided for your safety. When the provided plug does not fit into
your outlet, consult an electrician for replacement of the obsolete outlet.
• Protect the power cord from being walked on or pinched particularly at plugs,
convenience receptacles and the point where they exit from the apparatus.
• Only use attachments/accessories specified by the manufacturer.
• Unplug this apparatus during lightning storms or when unused for long periods of time.
• Refer all servicing to qualified service personnel. Servicing is required when
the apparatus has been damaged in any way such as power-supply cord or
plug is damaged., liquid has been spilled or objects have fallen into the apparatus, the apparatus has been exposed to rain or moisture, does not operate
normally or has been dropped.
• It is recommended that Steinberg or its authorized agents should carry out all
maintenance and service on the product. Steinberg cannot accept any liability
whatsoever for any loss or damage caused by service, maintenance or repair
by unauthorized personnel.
❐
Use only with a cart, stand, hood, bracket or table specified by the manufacturer or sold with the apparatus. When a cart is used, use caution when
moving the cart apparatus combination to avoid injury from tip-over.
• This device has an inrush current of 2 Amps peak.
Houston
WARNINGS 41
 Loading...