

Sony XR-C101, XR-C100 Installation Manual
FM/AM
FM/MW/LW
Cassette Car
Stereo
Installation/Connections
Installation/Connexions
Montage/Aansluitingen
3-856-659-11 (1)
XR-C100
XR-C101
Sony Corporation 1996
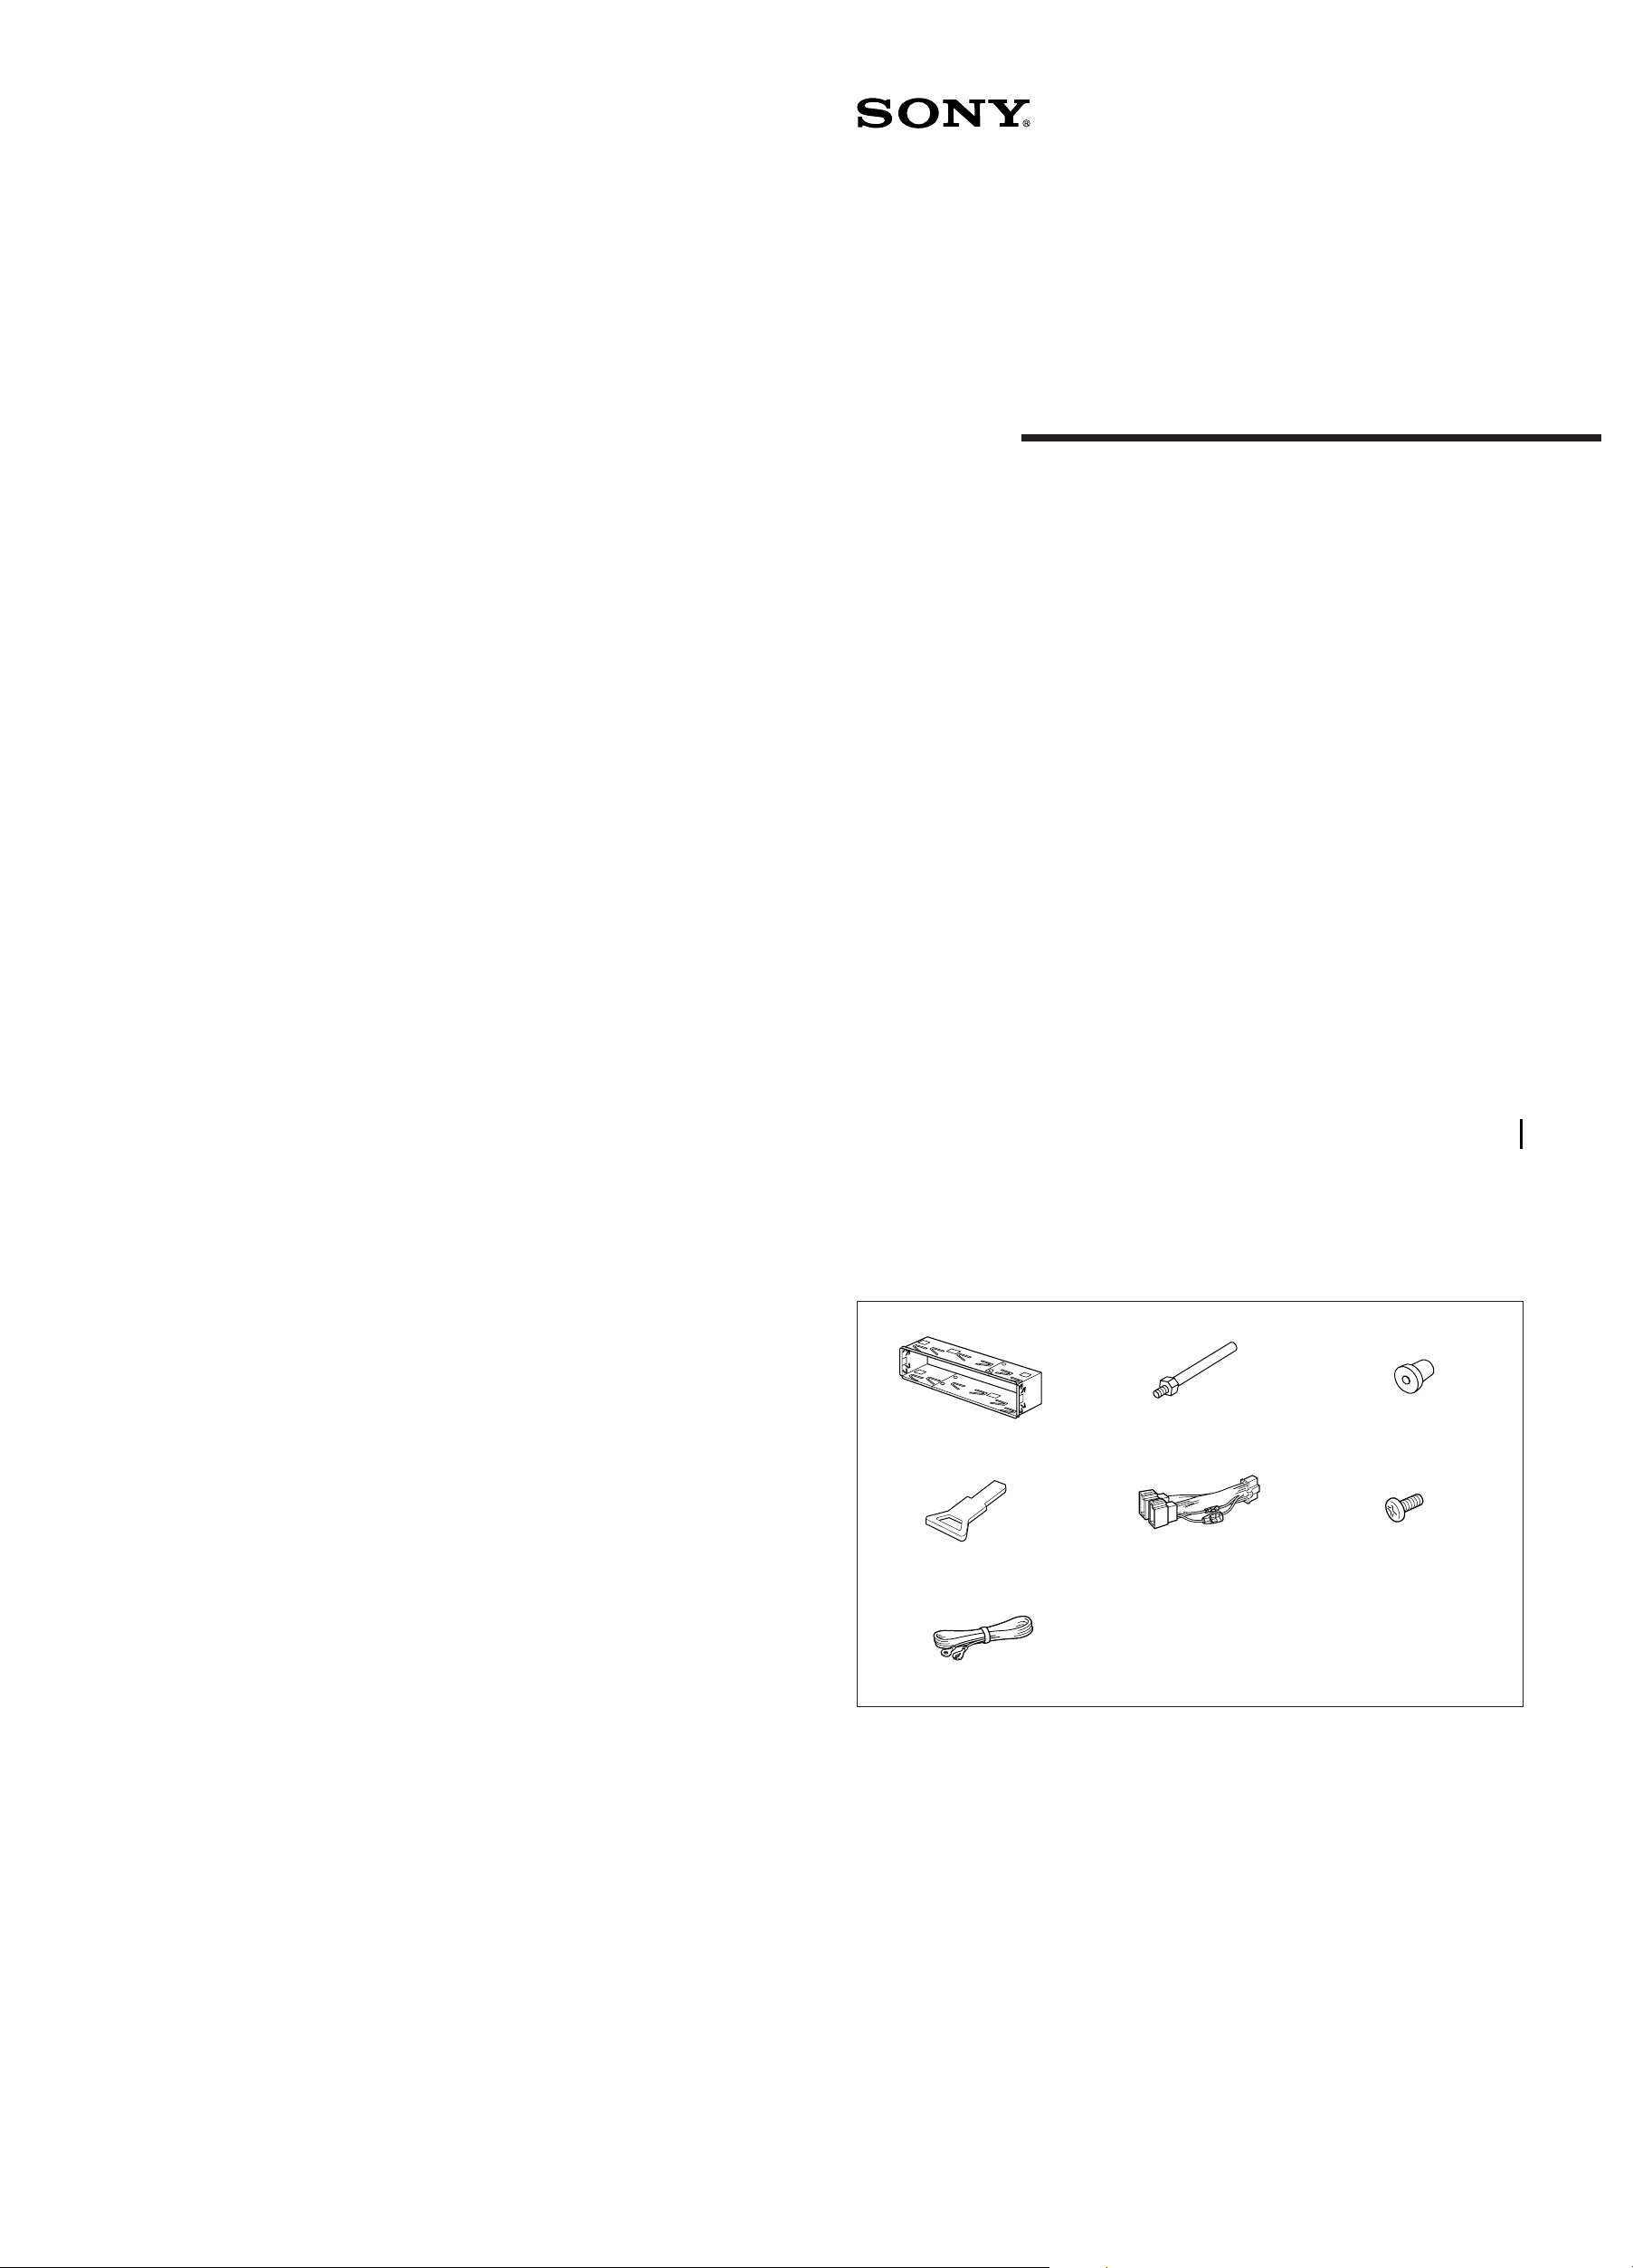
Parts for Installation and Connection
Pièces de montage et de raccordement
Onderdelen voor installatie en aansluiting
The numbers in the list are keyed to those in the instructions.
Les numéros de la liste correspondent à ceux des instructions.
De nummers in de afbeelding verwijzen naar die in de montage-aanwijzingen.
× 1
2
3
× 1
1
456
× 1
× 1 × 1 × 1
7
× 1
The release key 4 is used for dismounting the unit. See the operating instructions manual for details.
La clé de déverrouillage 4 est nécessaire pour démonter l’appareil. Consulter le mode d’emploi pour
plus de détails.
De ontgrendelsleutel 4 dient om het apparaat te verwijderen. Zie de gebruiksaanwijzing voor meer
details.
Installation
Installation
Montage
Precautions
• Choose the installation location carefully so that the unit does not
hamper the driver during driving.
• Avoid installing the unit where it would be subject to high
temperatures, such as from direct sunlight or hot air from the heater,
or where it would be subject to dust, dirt or excessive vibration.
• Use only the supplied mounting hardware for a safe and secure
installation.
Mounting angle adjustment
Adjust the mounting angle to less than 20°.
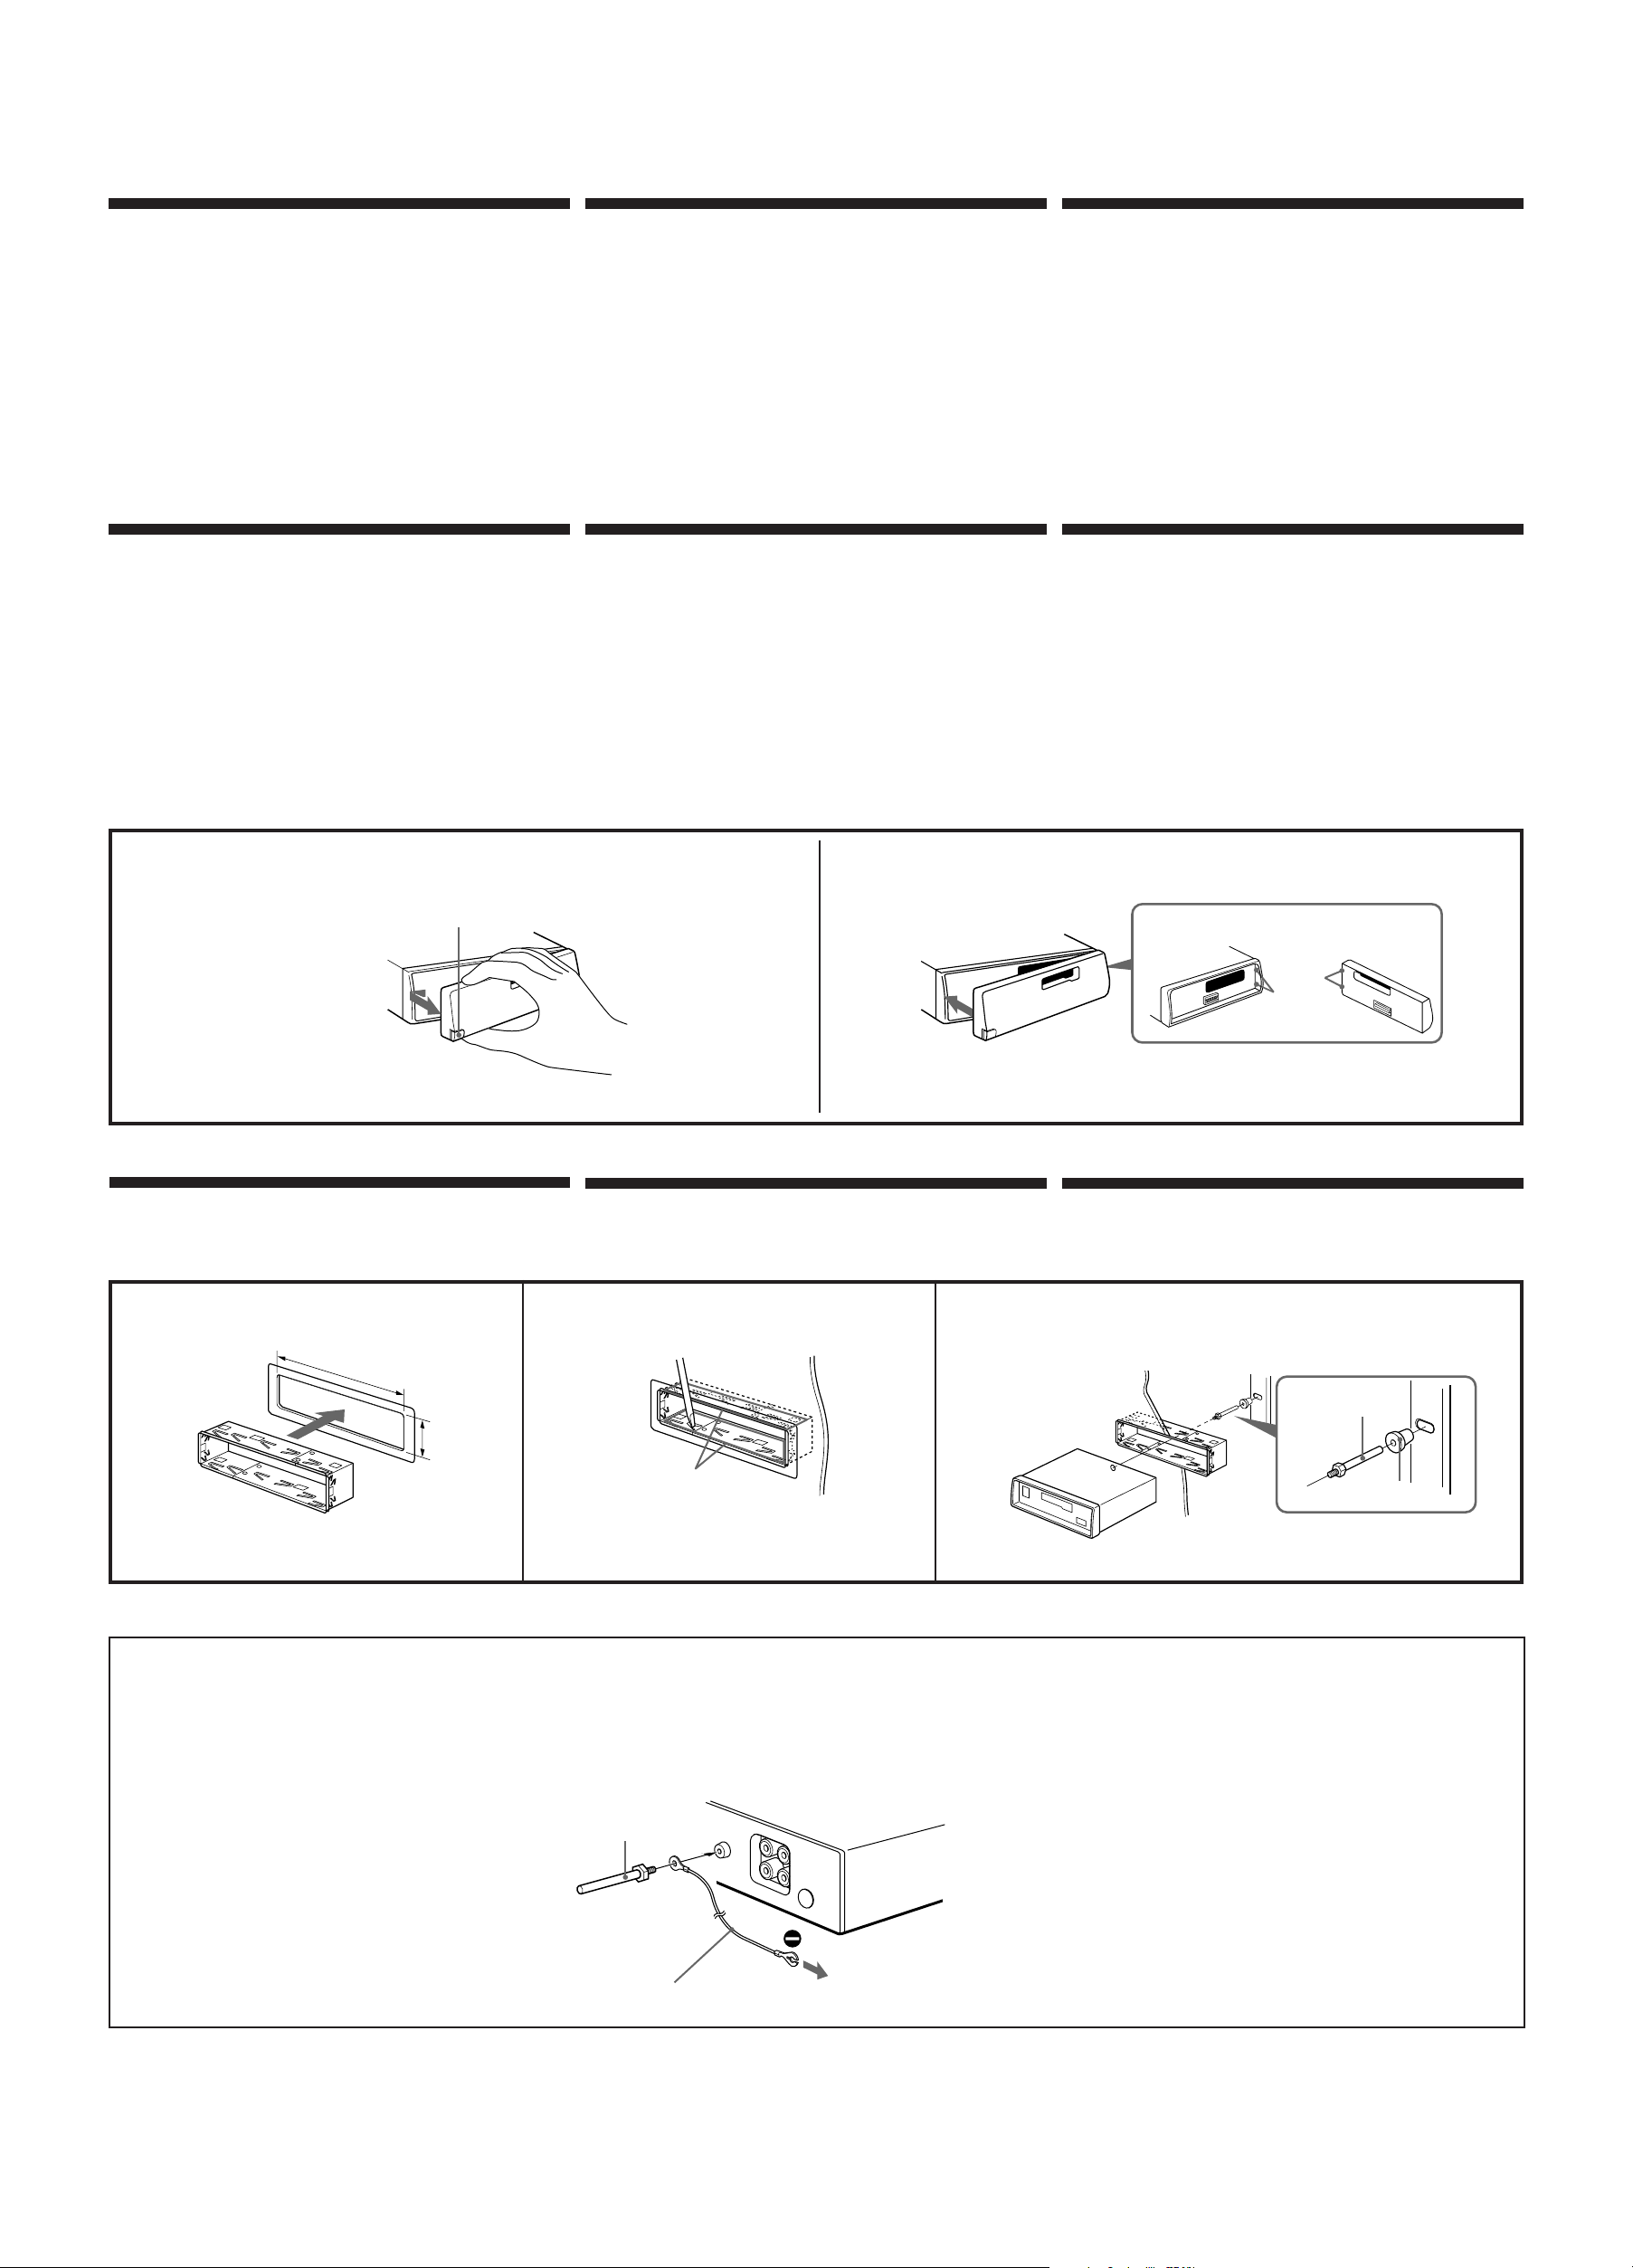
How to Detach and Attach the Front Panel
Before installing the unit, detach the front panel.
To detach
Press the RELEASE button to open up the front panel. Then slide the
front panel a little to the left, and pull it off towards you.
To attach
Align the parts A and B, and push the front panel until it clicks.
Précautions
• Choisir soigneusement l’emplacement de l’installation, pour que
l’appareil ne gêne pas la conduite.
• Eviter d’installer l’appareil dans un endroit exposé à des températures
élevées, comme en plein soleil ou à proximité d’une bouche d’air
chaud, ou à de la poussière, saleté ou vibrations violentes.
• Pour garantir un montage sûr, n’utiliser que le matériel fourni.
Réglage de l’angle de montage
Ajuster l’inclinaison à un angle inférieur à 20°.
Retrait et pose de la façade
Avant d’installer l’appareil, déposer la façade.
Retrait
Appuyer sur la touche RELEASE pour ouvrir la façade. Faites-la ensuite
glisser légèrement vers la gauche et enlevez-la en tirant vers vous.
Pose
Aligner les points A et B, puis pousser la façade jusqu’au déclic.
Voorzorgsmaatregelen
• Installeer het apparaat op een plaats waar het u niet hindert tijdens
het rijden.
• Installeer het apparaat niet op plaatsen waar het blootgesteld wordt
aan hoge temperaturen zoals van direct zonlicht of de warme
luchtstroom van de auto-verwarming, aan sterke trillingen, of waar
het in contact komt met veel stof of vuil.
• Gebruik voor het veilig en stevig monteren van het apparaat
uitsluitend de bijgeleverde montage-onderdelen.
Maximale montagehoek
Installeer het apparaat nooit onder een hoek van meer dan 20° met het
horizontale vlak.
Verwijderen en bevestigen van het
afneembare voorpaneel
Verwijder, alvorens met het installeren te beginnen, het
afneembare voorpaneel.
Verwijderen
Druk op de RELEASE toets om het voorpaneel te openen. Schuif het
voorpaneel vervolgens een beetje naar links en verwijder het paneel
door het naar u toe te trekken.
To detach
Retrait
Verwijderen
Mounting Example
Installation in the dashboard
RELEASE button
Touche RELEASE
RELEASE toets
Exemple de montage
Installation dans le tableau de bord
Bevestigen
Breng de delen A en B op één lijn en druk het voorpaneel aan totdat
dit vastklikt.
To attach
Pose
Aanbrengen
A
B
Montagevoorbeeld
Montage in het dashboard
123
182 mm
53 mm
1
Note for Connecting
If there is alternator noise (a whining sound when raising engine
speed), earth the master unit by connecting it to a metal point of the
car with the supplied chassis earth cord 7. Connect the ground cord
to the master unit with part 2 as shown in the illustration. (In case
you do not use part 2, take screw 6 instead.)
Bend these claws, if necessary.
Si nécessaire, plier ces griffes.
Buig indien nodig deze lipjes om.
Remarque sur le raccordement
Si l’alternateur génère des interférences (pleurage lorsque le
régime moteur augmente), reliez l’appareil principal à la masse en
le raccordant à un point métallique de la voiture au moyen du fil
de masse pour châssis 7 fourni. Raccordez le fil de masse à
l’appareil principal au moyen de la pièce 2 comme indiqué dans
l’illustration. (Si vous n’utilisez pas la pièce 2, utilisez la pièce 6.)
Dashboard
Tableau de bord
Dashboard
Opmerking over aansluiting
Wanneer de alternator storing veroorzaakt (een gierend geluid dat
samen met het motortoerental toeneemt), moet het hoofdtoestel
worden geaard door het met behulp van de meegeleverde
chassisaardingskabel 7 aan te sluiten op een metalen gedeelte van
de wagen. Sluit de aardingskabel op het hoofdtoestel aan met
behulp van onderdeel 2 zoals op de tekening aangegeven. (Indien
u onderdeel 2 niet gebruikt, gebruik dan schroef 6 in plaats
daarvan.)
Fire wall
Paroi ignifuge
Brandschot
2
2
3
7
to a metal point of the car
à un point métallique de la voiture
naar metalen gedeelte van de wagen
 Loading...