

Sony PXW-X400, PXW-X580 Upgrade Manual
PXW-X400 / X580
Introduction
This document describes the procedure for upgrading the
PXW-X400/X580 to the latest version (V3.02).
First save the upgrade data to an SD card, and then use the
menu to perform the upgrade.
For details on using menus, refer to the operation
manual.
Before Upgrading
Note
If the camcorder is running V1.00 or V1.10, first
upgrade to V2.0 0 before proceeding further. You can
check the version number using Maintenance >Version
>Number in setup menu.
For details about upgrading to
V2.00,refer to the V2.00 version upgrade guide (4-688215-11)in the “PXW-X400_X580_Ver-UpGuide(V2.00).
zip”folder.
About the upgrade procedure
The following steps are required in order to upgrade
firmware.
A
Upgrade the firmware of the camcorder.
B
Upgrade the proxy recording and wireless
LAN connection functions.
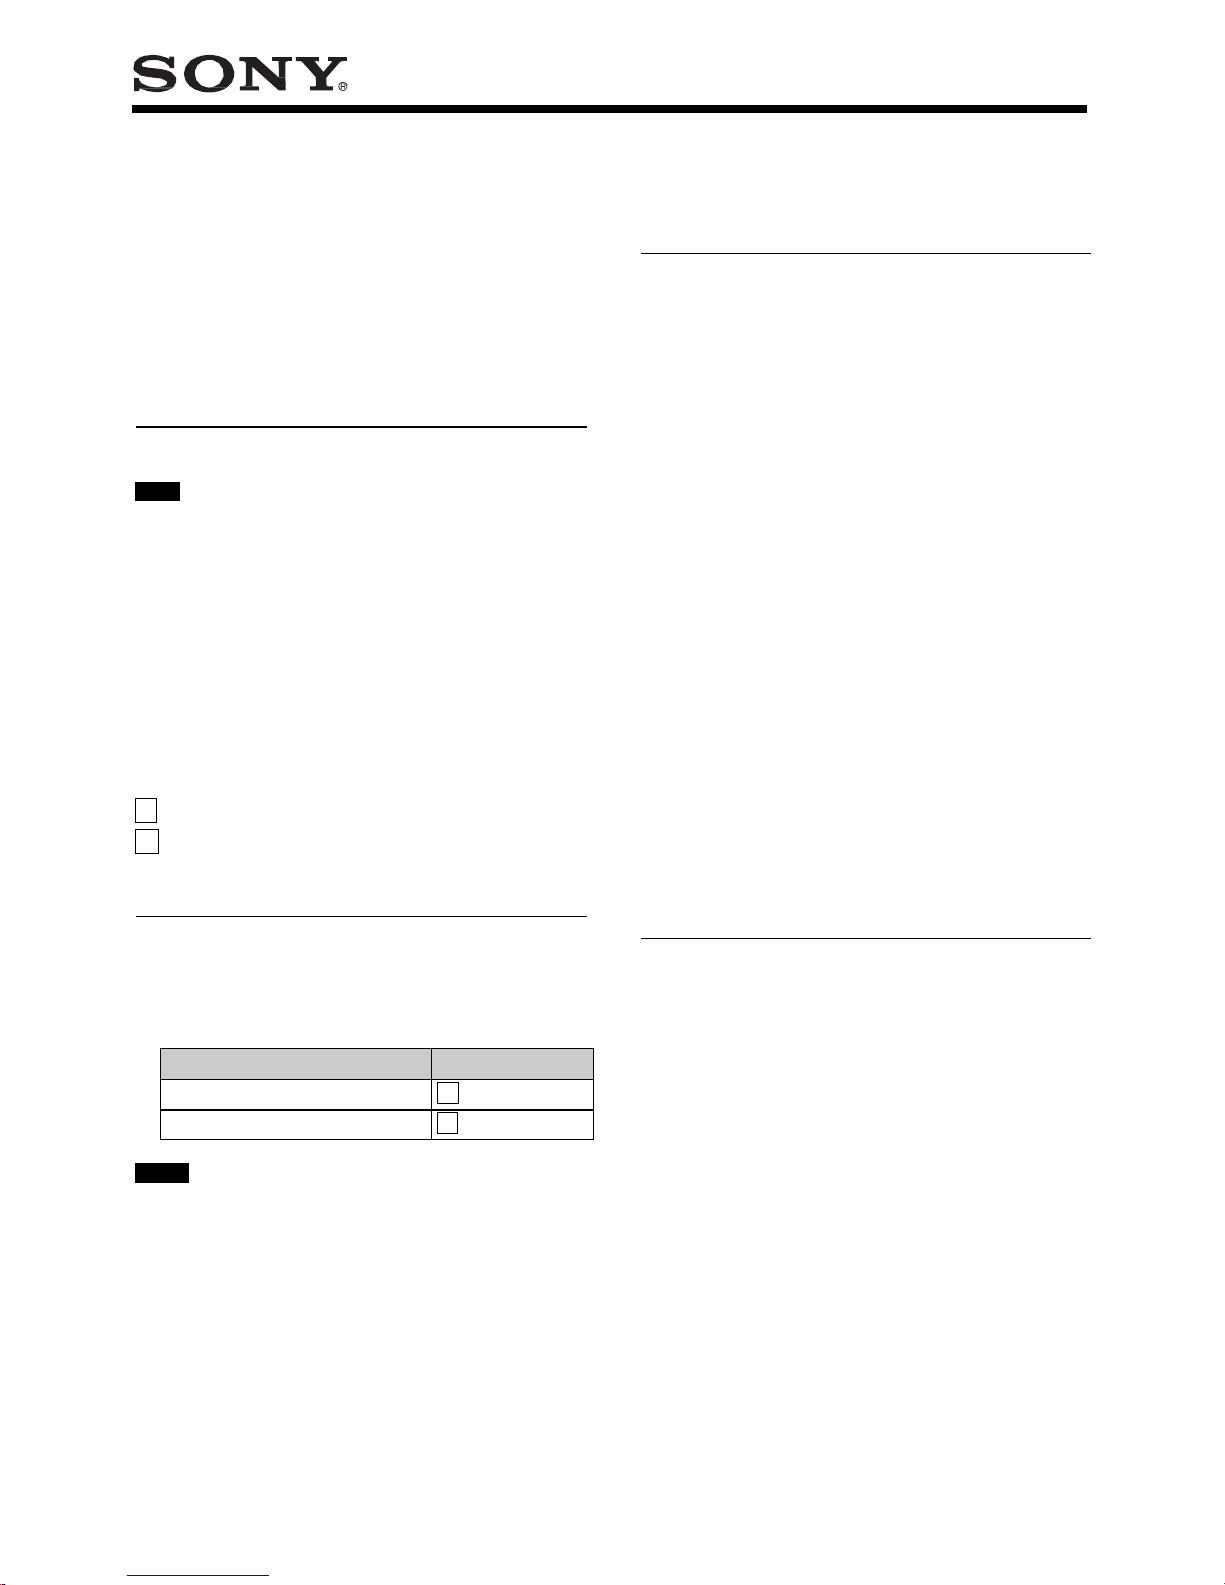
About the Required SD Cards
Prepare two SD cards, described in the following table.
Each SD card should only be used in the corresponding
procedure shown.
Notes
• For details about supported SD cards, refer to the
Operation M an ua l.
• Always use SD cards that are formatted using the
format functi on of the camcorder.
Getting Started
Notes on Performing Upgrade
• For details about obtaining the upgrade files, contact
your Sony dealer.
• Be sure to use the AC adaptor (AC-DN10 or ACDN2B) when performing the upgrade. If a battery pack
is attached at the same time, upgrading is still supported
if the AC power supply is interrupted.
• If the Streaming function is enabled, you cannot
upgrade. Please disable the function before start
upgrading procedure. You can check the current
setting below;
– Maintenance >Streaming >Setting
– Maintenance >Network Client Mode >Setting
• Do not do any of the following while performing the
upgrade. Doing so could interrupt the upgrade process,
and cause a malfunction.
– Eject or insert the upgrade SD card
– Turn the power off
• Disconnect connected devices (such as USB wireless
LAN module (IFU-WLM3), SDI, HDMI, microphone,
viewfinder, and lens) and eject any media in the SxS
memory card slots before upgrading.
• Check the operation of the camcorder before using the
camcorder after upgrading.
For details about using the camcorder, refer to the
operation manual.
Checking the Current Version
Display Maintenance >Version >Number in the setup
menu.
© 20 17 Sony Corporation
SD card type
Procedure
Upgrade SD Card
A
PROXY SD Card
B
2
Performing the Upgrade
A Upgrading the Firmware of the
Camdorder
Note
Always use the upgrade SD card.
Step1 Download the ZIP file containing the
upgrade files from the upgrade file
download site, and
save it to a desired
location on the computer.
Note
Check the model name and version number of the
ZIP file to ensure the correct file is downloaded.
Step 2
Format a UTILITY SD card using the format
function of the camcorder.
Note
Format the SD card on the camcorder that is to be
upgraded.
Step 3
Expanding the ZIP file will display two upgrade
files (files with “.bin” file name extension).
Upgrade files contained in the ZIP file:
PXW-X400_X580_V302_6_2017-0203_15-49-46_firmware_SSB.bin
Copy file to the root directory on the SD card,
and then perform steps 4 to 9.
After the upgrade operation is completed, delete
file A from the SD card.
Note
Do not save multiple versions of the upgrade files
on the SD card. Do not save any data other than
the upgrade files above on the SD card. The
upgrade may fail if there are files other than the
upgrade file on the SD card.
Next, perform the upgrade.
Step 4
Attach an AC adaptor to the camcorder, and
connect it to an AC power supply.
Step 5
Turn the camcorder on to start the camcorder.
Step 6
Insert the SD card containing the firmware
updater program data file into the UTILITY SD
card slot on the right-hand side of the camcorder.
Step 7
Select Maintenance >Version >Version Up in the
setup menu, and select [Execute].
A “Please use the AC adapter, Upgrade
Version?”
confirmation screen appears.
Step 8
Select [Execute].
The upgrade begins.
There are two phases to the upgrade, “Phase 1”
→
“Phase 2.”
• In Phase 1, the upgrade file on the SD card is
saved on the camcorder.
• In Phase 2, the upgrade is performed using the
upgrade file saved on the camcorder.
During the upgrade, the REC lamp flashes, and
the message “Version Upgrade Elapsed Time
XX:YY:ZZ Executing... **%” appears in the
viewfinder and on the LCD monitor.
(XX:YY:ZZ: Elapsed time for each phase, **%:
Progress status for each phase)
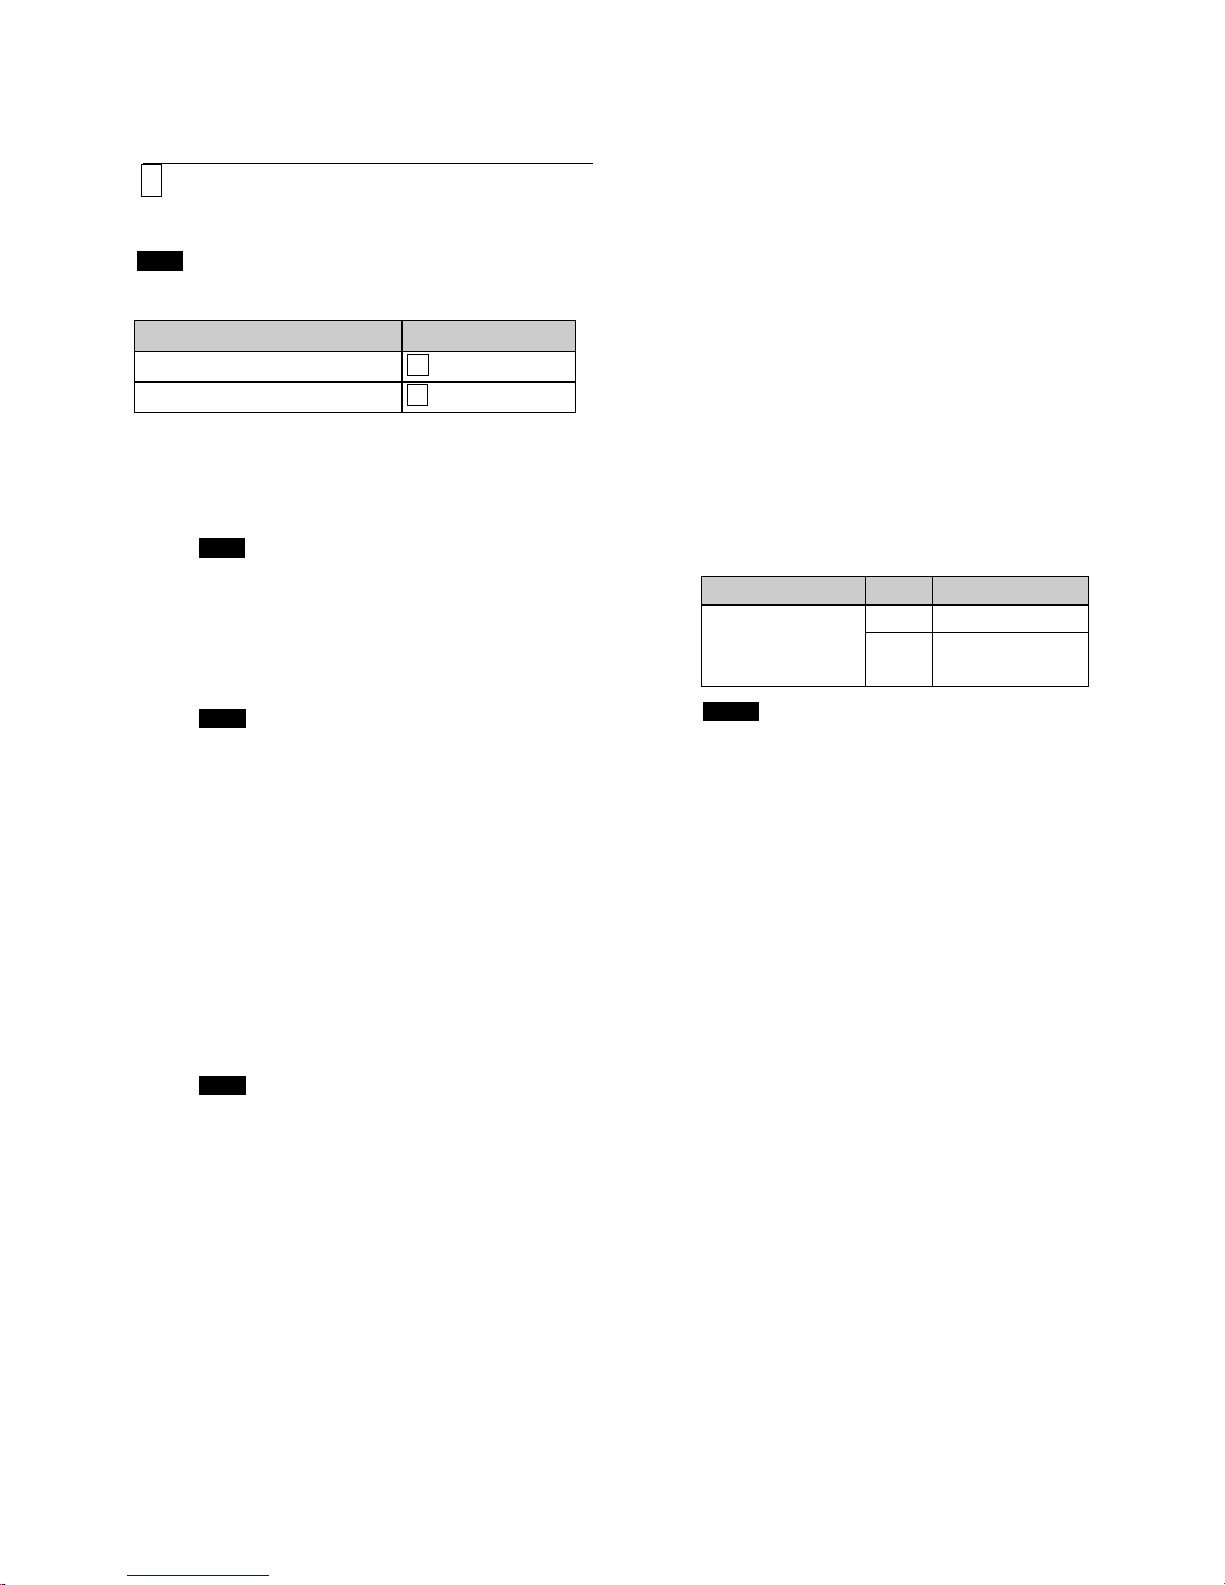
Below are shown the approximate time each
phase takes.
Data to write
Phase
Approximate time
PXW-
X400_X580_V302_6_
2017-02-03_15-49-
46_firmware_SSB.bin
Phase 1
About 5 minutes
Phase 2
About 17 minutes
Notes
• During the switchover between Phase 1 and 2,
the message disappears and the camcorder
restarts, but the upgrade process is still
ongoing. Do not turn off the power.
• Do not perform any unnecessary actions while
performing the upgrade (such as removing the
SD card or turning the camcorder off). Doing
so could interrupt the upgrade process, and
cause a malfunction.
• If an error occurs during the upgrade process,
the REC lamp flashes at 4 Hz (four times per
second). For details about handling errors, see
“Resolving Errors.”
• If the upgrade process has not completed after
30 minutes have elapsed in Phase 1 or 60
minutes have elapsed in Phase 2, disconnect
and reconnect the AC adaptor. After the
camcorder restarts normally, perform the
procedure again from step 1.
• The progress status displayed in the viewfinder
and on the LCD monitor, and the flashing of the
REC lamp, may occasionally be delayed during
the upgrade process.
Step 9
When the “Version Upgrade, Done” message
appears, restart the camcorder.
Step 10 Check the version number using Maintenance
>Version >Number in the setup menu.
Make sure that the version is now the latest
version. If the displayed number is not the latest
version, check the preliminary steps and upgrade
procedures, and perform the upgrade process
again.
SD card type
Procedure
Upgrade SD Card
A
PROXY SD Card
B
 Loading...