

Pioneer PDP-434PC, PDP-504PC, PDP-434PE, PDP-504PE, PDP-434PG Repair tips
...
Pioneer Plasma
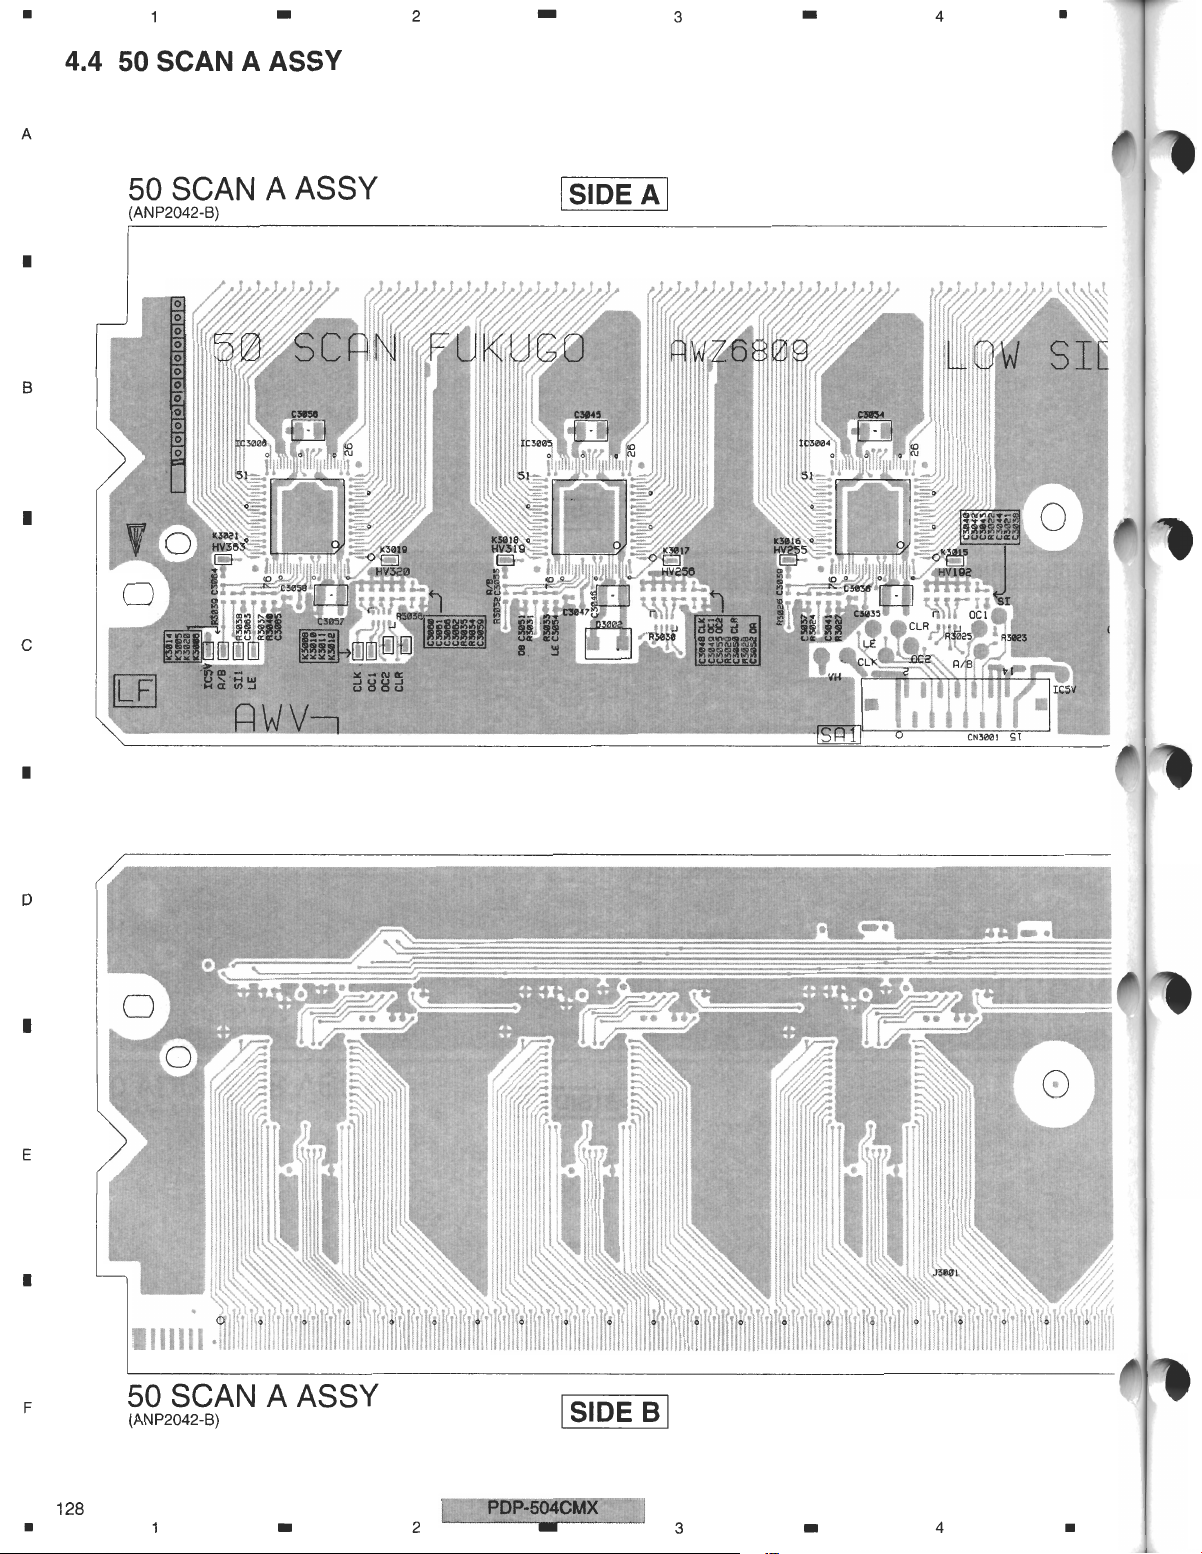
Scan Board & IC Troubleshooting
Scan IC Removal & Reinstallation Guide
Technical Training Department
1925 E. Dominguez Street
Long Beach, CA 90810


Contents
Topic Page
Checking drives and
Scan IC’s
Removing and
reinstalling scan IC’s
using nozzle type
soldering station
Removing and
reinstalling scan IC’s
using Chipquick
Removing blue glue
from scan IC’s
4~5
6
7
8~10
Blue glue model list 11
3
4
Checking drives and scan ICs
Use static precautions. Do not operate with any connectors unplugged.
Replacing scan ICs in home is NOT recommended.
If scan board is disconnected, be sure to isolate buss bar also. Discharge all scan board
connections including buss before reconnecting.
Unplug power connector from X or Y drive. Perform diode check with DVM from Vsus to ground.
Should check as a diode. If Y drive shorted, next unplug Scan PCBs. If short goes away, check
Scan ICs. If still shorted, replace drive.
With Scan PCB unplugged, perform diode check from Vh to Psus (buss bar). Should check as a
diode. If shorted, check resistance from Vh and Gndh (buss bar) to HVxxx (each IC has 2 test
pads). Should measure 3 to 5 meg ohm (varies by DVM). Remove IC (see SK-D04003) that
measures different from others and recheck. If all check the same, but Vh is still shorted, you
must check all 64 HV pins of each IC. Remove side rail and 32 feed throughs are accessible near
the panel connection. If nothing shows up, loosen Scan PCB and flip over to access all 64
connections.
Psus, Gndh
Vh
HVxxx
 Loading...