

Page 1
Nero Scout Manual
Nero AG
Page 2
Copyright and Trademark Information
The manual for Nero Scout and all of its contents are protected by copyright and are the
property of Nero AG. All rights reserved. This manual contains material that is protected by
internationally valid copyright. No part of this manual may be reproduced, transmitted or
transcribed without the express written permission of Nero AG.
Nero AG rejects any claims that transcend the clauses of the guarantee rights. Nero AG
does not assume any liability for the correctness of the Nero Scout manual. The contents of
the supplied software and/or the manual may be changed without prior notice.
All trade names and trademarks are the property of their respective owners.
The trademarks mentioned here are named for information purposes only.
Copyright © 2007 Nero AG and its licensors. All rights reserved.
REV 1.0, SW 3.2.2.0
Page 3
Contents
Contents
1 Start Successfully! 4
1.1 About Nero Scout 4
1.2 About the manual 5
2 Working with Nero Scout 6
2.1 Starting and enabling Nero Scout 6
2.2 Defining general options 7
2.3 Indexing 8
2.3.1 Folders 9
2.3.2 Adding folders 10
2.3.3 Selecting file types 11
2.3.4 Importing Apple® iTunes library 12
2.4 Internet Services 13
2.4.1 Dialog window 14
2.4.2 Creating a subscription 15
2.4.3 Deleting a subscription 15
3 Index 16
4 Contact 17
Nero Scout
Page 4

Start Successfully!
1 Start Successfully!
1.1 About Nero Scout
Nero Scout is a database program which indexes and catalogs all media files on your
computer and makes the database available to all programs in the Nero product package.
Nero Scout is integrated in the following Nero applications:
Nero Burning ROM
Nero Express
Nero Vision
Nero SoundTrax
Nero WaveEditor
Nero Home
Nero MediaHome
Nero ShowTime
Nero Recode
Nero PhotoSnap
Nero PhotoSnap Viewer
Nero Scout is of particular significance for Nero Home, since file searches using Nero H
find and display only
Scout enabled.
cataloged files. We therefore recommend that you always leave Nero
ome
Databases created by other media players catalog only the files that belong to the respective
program. Nero Scout, on the other hand, makes its universal da
playback programs.
®
Nero Scout creates an entry in Windows
overview available. The structure of the Windows
artist, year of release, etc., is created in the Nero Scout entry.
Explorer so that you always have a complete
®
Media® Player library, with details such as
tabase available to all
Nero Scout 4
Page 5
Start Successfully!
1.2 About the manual
This manual is intended for all users who want to learn how to use Nero Scout. It is processbased and explains how to achieve a specific objective on a step-by-step basis.
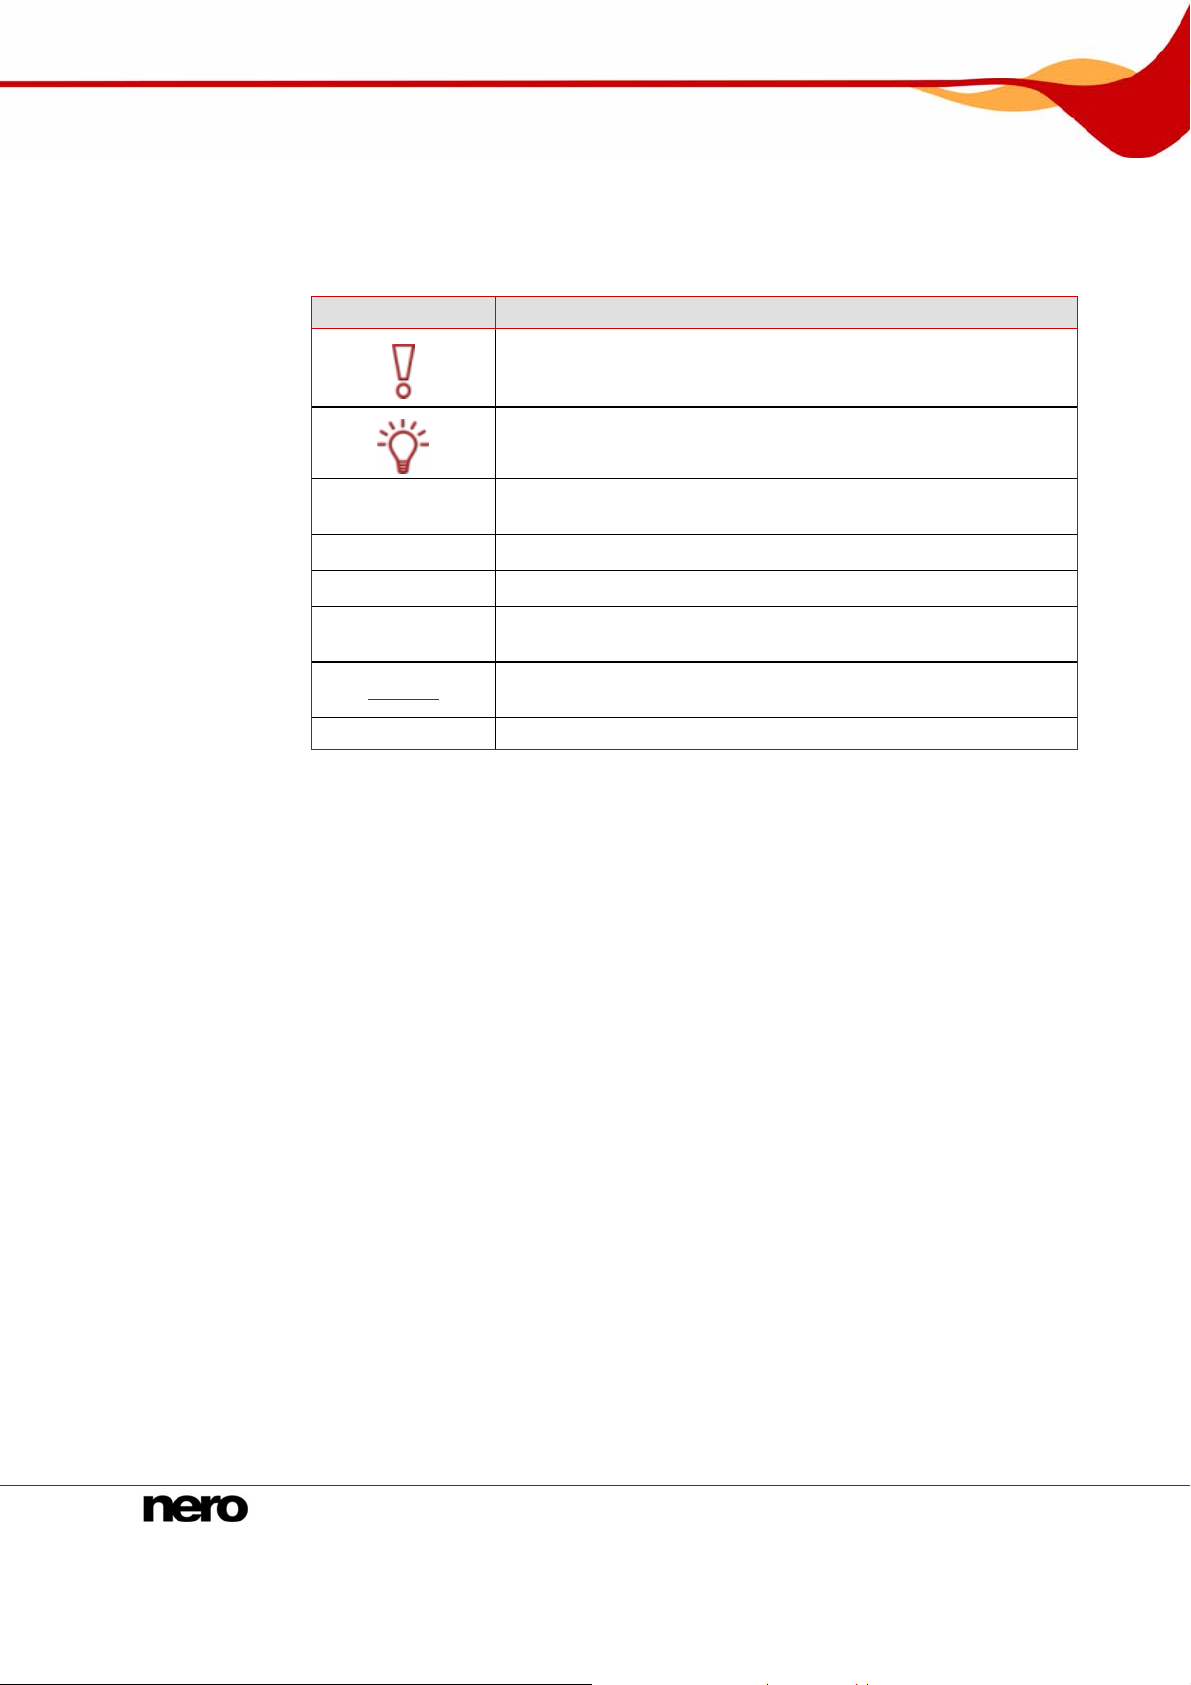
To make the best use of this manual, please note the following conventions:
Symbol Meaning
1. Start …
Æ
Î
OK
Chapter
[…] Indicates keyboard shortcuts for entering commands.
Indicates warnings, preconditions or instructions that have to be
Indicates warnings, requirements, or notice messages that have
to be precisely followed. .
Indicates additional information or advice.
A number at the beginning of a line indicates a prompt for
action. Carry out these actions in the order specified.
Indicates an intermediate result.
Indicates a result.
Indicates text passages or buttons that appear in the program
interface. They are shown in bold face.
Indicates references to other chapters. These links are
underlined in red.
Nero Scout 5
Page 6
Working with Nero Scout
2 Working with Nero Scout
2.1 Starting and enabling Nero Scout
In Nero Scout you can define which folders and files are to be indexed.
If Nero Scout is not enabled, proceed as follows:
1. Select Start > All Programs > Nero 8 Premium > Nero Toolkit > Nero Scout.
Æ The Nero Scout Options window opens.
Fig. 1: Nero Scout Options window, General navigation item
2. Check the Enable Nero Scout box.
Î You have enabled Nero Scout. You can now proceed to change the general options
Defining general options).
(see
Nero Scout 6
Page 7

Working with Nero Scout
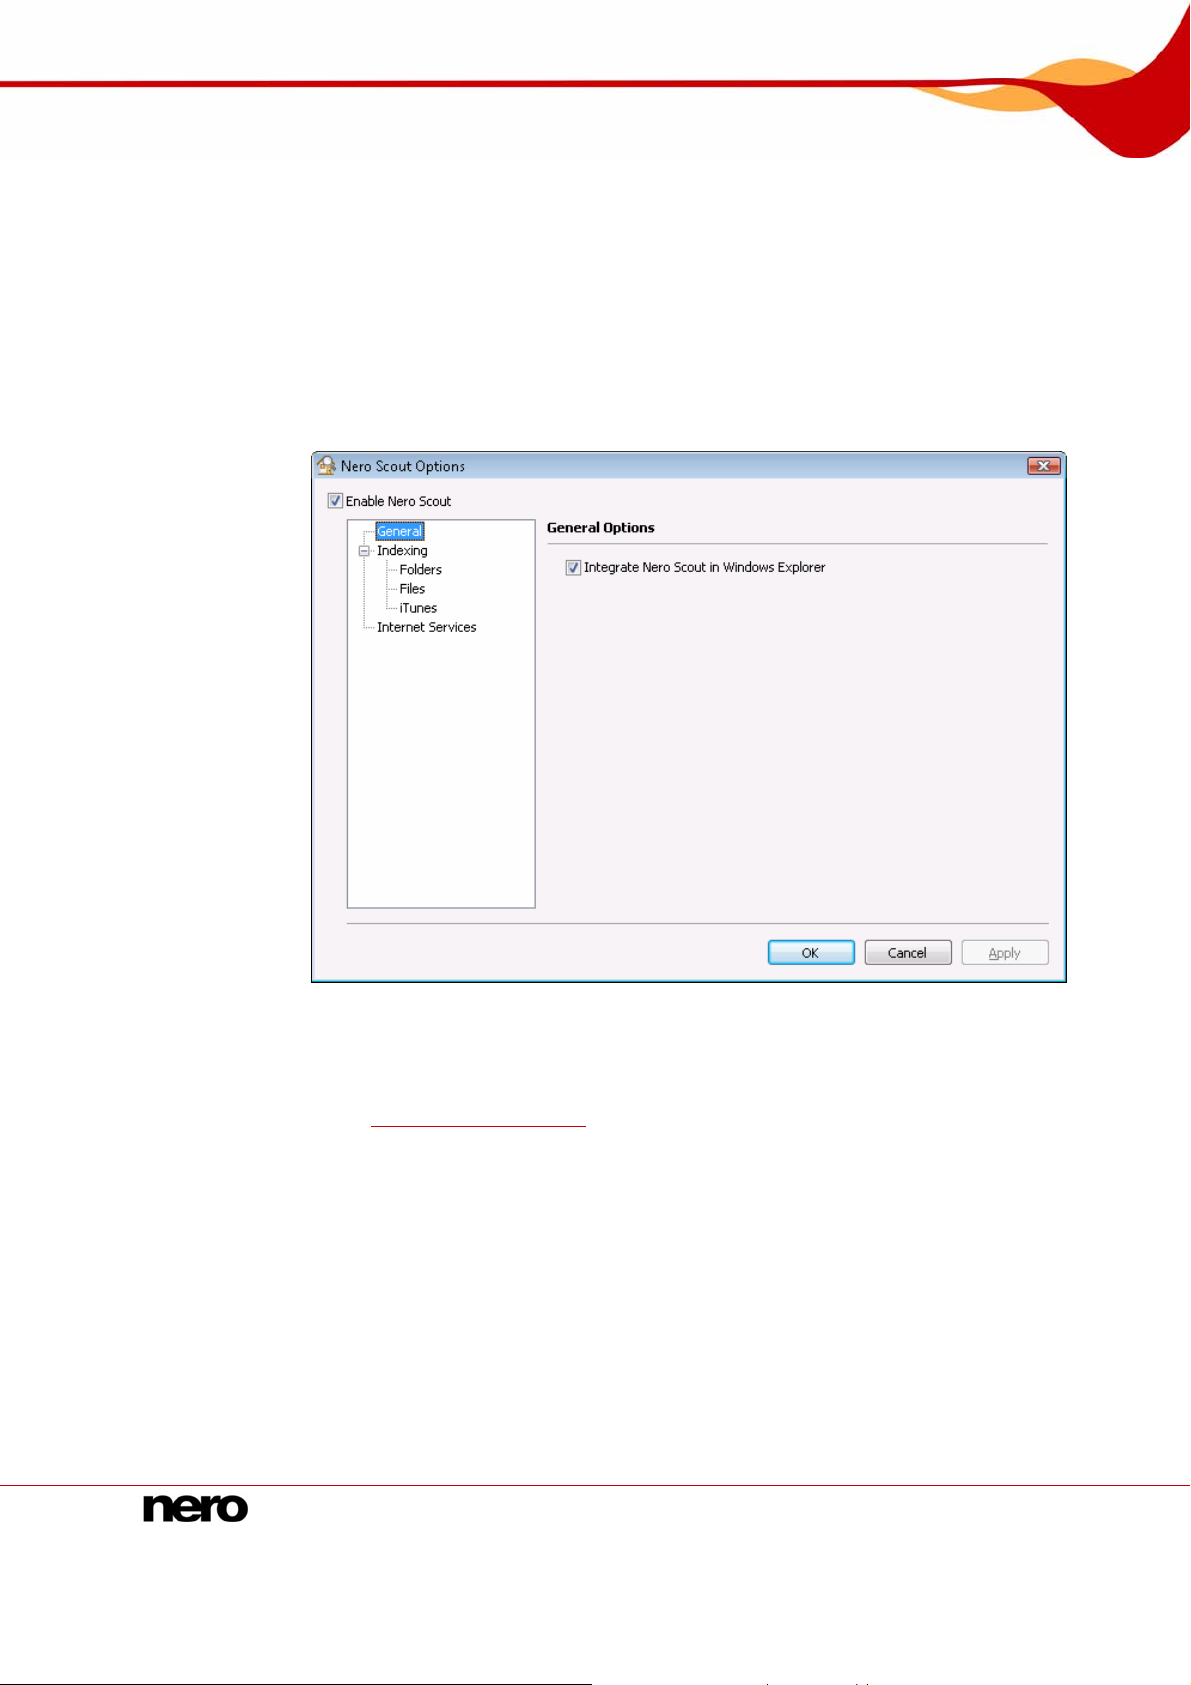
2.2 Defining general options
Under General Options you define whether Nero Scout is displayed in Windows Explorer.
Proceed as follows:
1. Click General in the navigation tree.
Fig. 2: Nero Scout Options window, General navigation item
2. If you want to show Nero Scout as a separate folder in Windows Explorer, check the
Integrate Nero Scout in Windows Explorer check box.
3. Click the Apply button.
Î You have changed the general options in line with your requirements. You can now
continue to define settings for indexing purposes (see
Indexing).
Nero Scout 7
Page 8

Working with Nero Scout
2.3 Indexing
The Indexing entry in the navigation tree offers you an overview of the already indexed files.
There you see how many files have already been indexed and the status of the indexing
process. You can also rescan all media to update the index.
By default, Nero Scout indexes the “My documents“ folder. You can manually add folders
that you also want indexed.
Fig. 3: Nero Scout Options window, Indexing navigation item
The following configuration options are available in the Indexing entry on the right-hand side
of the window:
Index now
button
Disable
button
Time
combo-box
Rescan all media
button
Scan in battery
Starts indexing.
Stops indexing for the time specified in the combo box.
Selects the time span to pause indexing.
Checks the entire index for newly added and removed files
and updates the index accordingly.
Continues indexing also in battery mode.
mode
button
This option is meaningful only if you work with a laptop.
Nero Scout 8
Page 9

Working with Nero Scout
Reduced battery operating period!
Indexing in battery mode can shorten the battery operating period of your laptop because
the processor is required to perform more calculations.
2.3.1 Folders
The Folders option in the navigation tree gives you an overview of the indexable folders.
Here you can manually select the folders and subfolders you want to index.
By default, Nero Scout indexes the “My documents“ folder. You can manually add folders
that you also want indexed.
Fig. 4: Nero Scout Options window, Folder navigation item
The following setting options are available in the Folders entry on the right side of the
window:
Local folders to be
watched by Nero
Scout
navigation tree
Rescan Folder
button
Select All
button
Clear All
button
Nero Scout 9
Displays the indexable folders and subfolders. The check boxes
can have the three following states:
The folder will not be indexed.
The selected folder will be indexed but not its subfolders.
The folder and all of its subfolders will be indexed.
Checks the selected folders for newly added and removed files
and updates the index accordingly.
Selects all folders shown in the folder tree.
Removes the checks from all selected folders in the folder tree.
Page 10

Working with Nero Scout
2.3.2 Adding folders
You can use Nero Scout to define specific folders to be indexed.
To add more folders to be indexed, proceed as follows:
1. Click Indexing > Folder in the navigation tree.
Fig. 5: Nero Scout Options window, Folders navigation item
2. Check the folders you want to index in the folder structure on the right-hand side.
You can select a folder and all its subfolders or just the one folder you want. Click the
check box once to mark the folder you want. Double-clicking marks the folder and all of its
subfolders.
3. Click the Apply button.
Î You have added the folders you want to index. You can now add file formats for
indexing (see Selecting file types
).
Nero Scout 10
Page 11

Working with Nero Scout
2.3.3 Selecting file types
Nero Scout allows you to select the file types you want to index.
Proceed as follows:
1. Click Indexing > Files in the navigation tree.
Fig. 6:Nero Scout Options window, Files navigation item
2. To index all file formats, select the All option button.
3. If you only want to index certain file formats:
1. Select the Selected option button.
Æ The check boxes are enabled.
2. Check the boxes for the formats you want.
4.
If you want to exclude file types from indexing, in the Exclude the Following File Types
from Indexing input field enter the endings (files extensions) of the file types you do not
ant to be indexed.
w
The file extensions must always start with a dot and mus
extensio
ns with a semicolon. For example: ".exe; .dat".
5. If you want to return the settings to their original state, click the Re
6. Apply button.
When you have finished selecting folders, click the
t be separated from the other
store Defaults button.
Î You have selected files for indexing.
Nero Scout 11
Page 12

Working with Nero Scout
2.3.4 Importing Apple® iTunes library
If you have Apple® iTunes installed on your computer, you can import the Apple iTunes
library into Nero Scout. Nero Scout then indexes the Apple® iTunes media files.
To import the Apple
®
iTunes library, proceed as follows:
1. Click Indexing > Apple® iTunes in the navigation tree.
Fig. 7: Nero Scout Options window, Apple® iTunes navigation item
2. Click the Import Apple® iTunes Library button.
Æ A progress bar informs you of the progress of the import.
Indexing the library
After importing the Apple® iTunes library into Nero Scout, the files still have to be indexed.
Depending on the size of the library, this may take a while. The files are fully available to
you only after indexing is completed.
3. To follow the progress of indexing, click Indexing in the navigation tree.
Î Indexing of the Apple
You have imported the library into Nero Scout and indexed it.
®
iTunes library is completed when the indexing status shows Idle.
Nero Scout 12
Page 13

Working with Nero Scout
2.4 Internet Services
In the Internet Services entry in the navigation tree, you can enter, save, and update the
URLs (uniform resource locators) of the following media:
Web radios
Web TV
Audio casts
Video casts
Image casts
You can
there.
select these Internet services in Nero Home or Nero ShowTime and use them
Fig. 8: Nero Scout Options window, Internet Services navigation item
Th s and bu d
e following tab
sid w:
e of the windo
Web Rad
tab
Web TV
tab
Audio Casts
tab
Nero Scout 13
io
ttons are available in the Internet Services entry on the right-han
Displays the subscribed web radio stations, their URLs, and the
update status.
Displays the subscribed web TV stations, their URLs, and the
update status.
Displays the subscribed audio casts, their URLs and th
status. An audio cast is a series of audio contributions on the
Internet that you can subscribe to using a news feed.
e update
Page 14

Working with Nero Scout
Video Casts
tab
Image Casts
tab
Subscribe
button
Displays the subscribed video casts, their URLs and the update
status.
A video cast is a series of video contributions in the Internet that
you can subscribe to using a news feed.
Displays the subscribed image casts, their URLs and the
update status.
An image cast is a series of images on the Internet that you
can subscribe to using a news feed.
Opens the Dialog window. A new subscription can be created
there on the tab (see
Creating a subscription).
Unsubscribe
button
2.4.1 Dialog window
In the Dialog window you can create a new entry for Internet Services.
The following setting options are available:
Category
combo box
Title
input field
URL
text box
Automatically
(recommended)
option button
Once a day
option button
Never (only
manual)
option field
Update Now
button
Deletes a subscription from the active tab.
Fig. 9: Dialog window, Web Radio drop-down menu
Provides the subscription categories and therefore the tabs on
which the subscription appears for selection.
Defines the name of the subscription.
Defines the URL of the subscription.
Automatically updates the subscription.
Updates the subscription once each day.
Updates the subscription only when an update is manually
initiated.
Initiates the update manually.
Nero Scout 14
Page 15

Working with Nero Scout
2.4.2 Creating a subscription
To create a subscription on one of the tabs, proceed as follows:
1. Click the Internet Services entry in the navigation tree.
2. Click the Subscribe button on the right-hand side of the window.
Æ The Dialog window appears.
3. Select the desired category for the subscription in the Category drop-down menu.
4.
Enter the name of the subscription in the Title text box.
5. Enter the URL of the subscription in the URL text box.
Specify the frequency with wh
6. ich the subscription is to be updated using the option buttons
in the Update Interval area.
7. To update the subscri
8.
2.4.3 Deleti
1. Click the Internet Services entry in th
2. Select the subscription to be deleted.
3. ght-hand side of the window.
ption immediately, click the Update now button.
Click the OK button.
Î You have created a subscription on a tab.
ng a subscription
To delete a subscription from one of the tabs, proceed as
e navigation tree.
Click the Unsubscribe button on the ri
Î You have deleted a subscription.
follows:
Nero Scout 15
Page 16

Index
3 Index
A
About Nero Scout 4
Apple® iTunes library, import 12
I
Internet Services 13
M
C
Contact 17
Conventions, manual 5
F
File types, select 11
Folders, add 10
Manual, conventions 5
N
Nero Scout
Options 6
Nero Scout, enabling 6
S
G
General options, define 7
Subscription
create 15
delete 15
Nero Scout 16
Page 17

Contact
4 Contact
Nero Scout is a Nero AG product.
www.nero.com
Nero AG
Im Stoeckmaedle 13-15 Web: www.nero.com
76307 Karlsbad Help: http://support.nero.com
Germany Fax: +49 724 892 8499
Nero Inc.
330 N. Brand Blvd., Ste 800 Web: www.nero.com
Glendale, CA 91203-2335 Help: http://support.nero.com
USA Fax: (818) 956 7094
E-mail:
US-CustomerSupport@nero.com
Nero KK
Rover Center-kita 8F-B, 1-2-2 Nakagawa-chuou, Web: www.nero.com
Tsuzuki-ku, Yokohama, Kanagawa Help: http://support.nero.com
Japan 224-0003
Copyright © 2007 Nero AG and its licensors. All rights reserved.
Nero Scout 17
 Loading...