

Page 1
How to create a basic DVD Movie using NeroVision Express 2
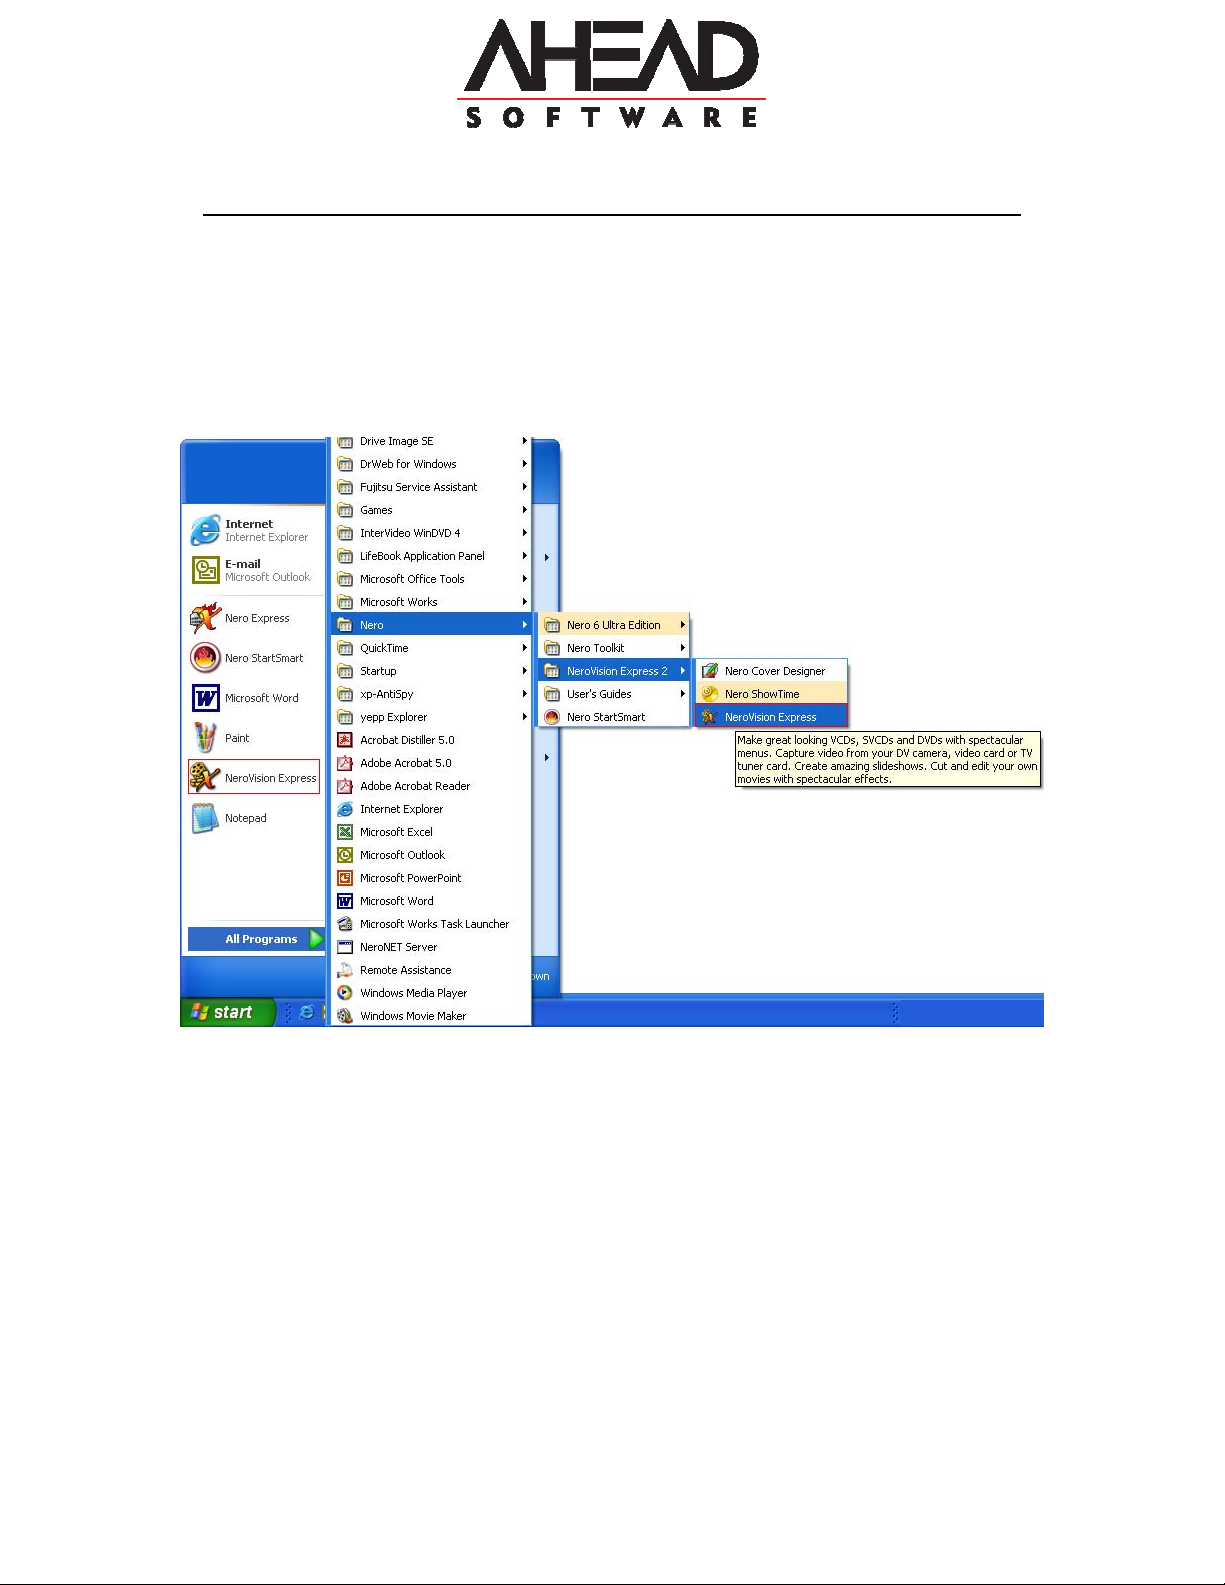
1. First to launch NeroVision Express 2: Go to Start->All Programs->Nero-
>NeroVision Express 2->NeroVision Express. Or you can just go to
Start->NeroVision Express
Page 2
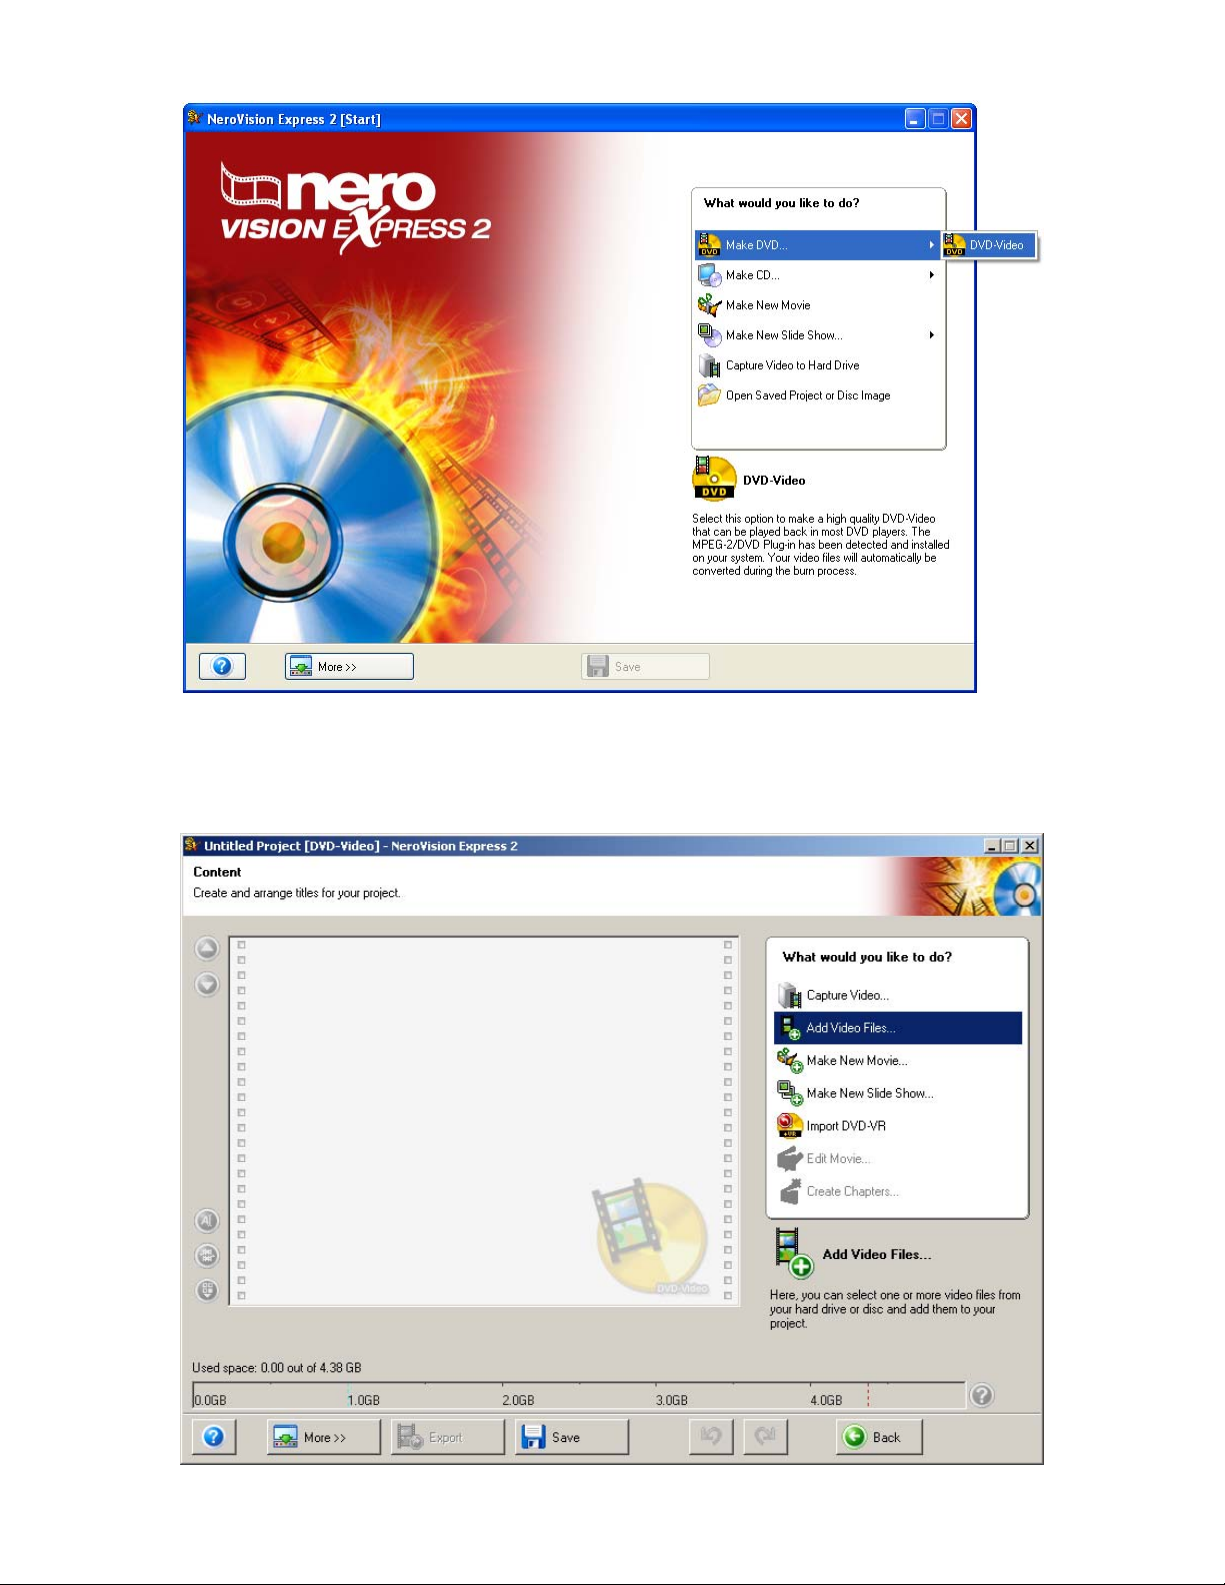
2. This brings up the NeroVision Express 2 Main Window. Select
Make DVD->DVD-Video.
3. This brings up the ‘Content’ window. From here you can add Video Files, or
Capture video directly. Click on ‘Add Video Files’.
Page 3
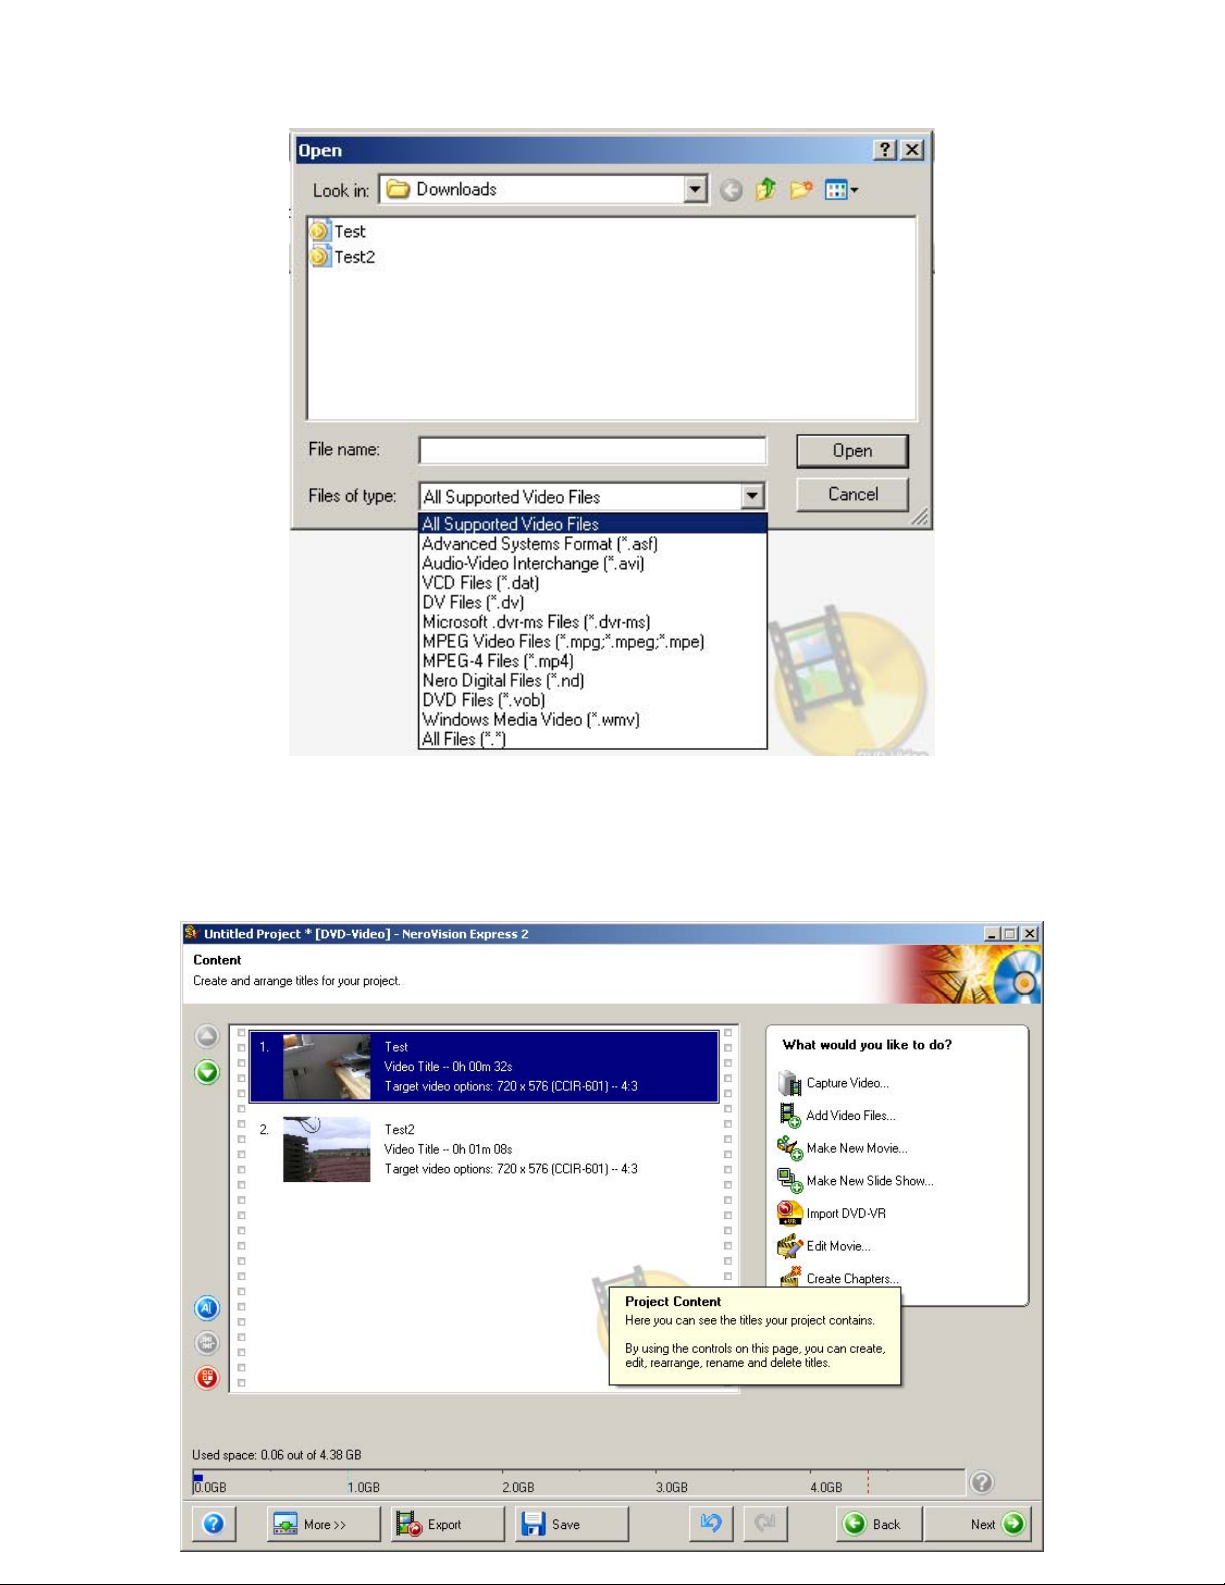
4. This brings up the below window. Use this window to select your Video files
for this project. The Video files must be in a supported format such as AVI,
MPEG, MPG, MPE, DV, VOB, and DAT.
5. This brings us back to the ‘Content’ window. Here you can choose to Edit
the video you have selected, you can Create Chapters, or you can Merge
videos.
Page 4
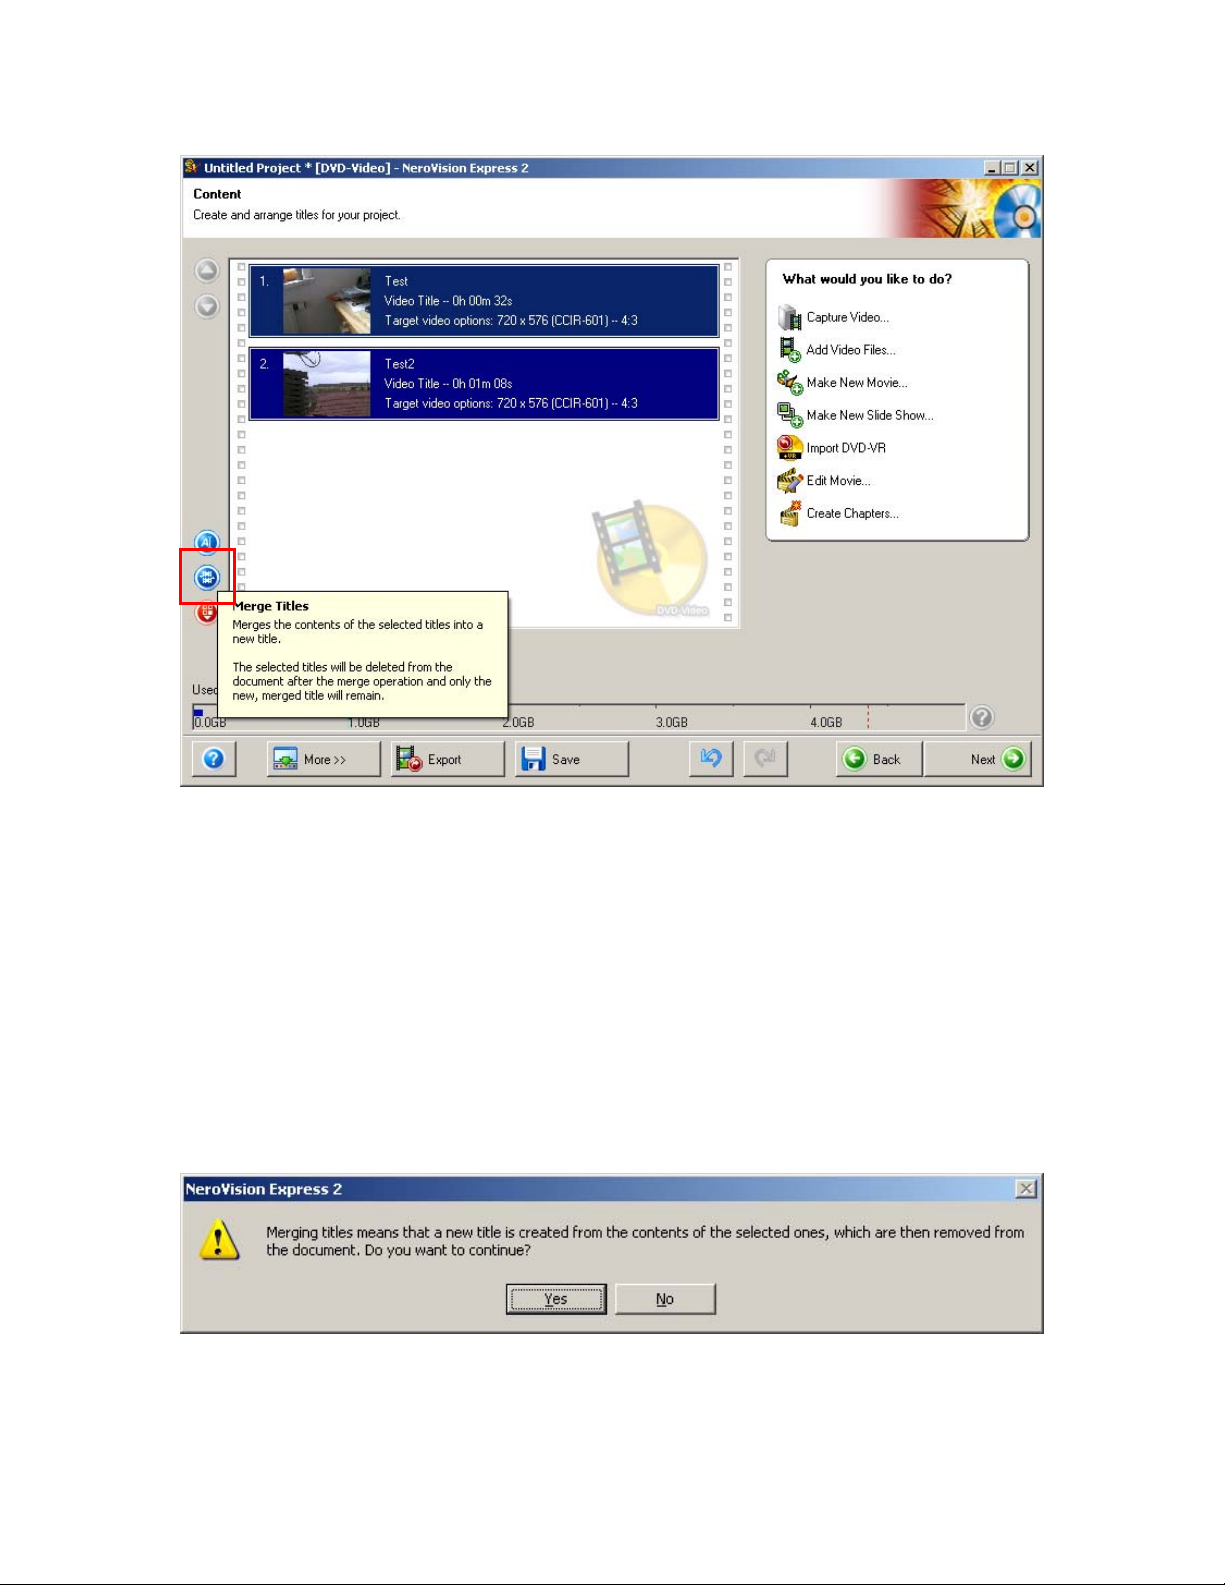
6. First let’s merge our two selected Videos. You must highlight or select both
Videos as seen below, and then click on the ‘Merge’ button in the bottom left
corner of the window.
7. As soon as you begin the merge of the two video clips, you will get this
warning message to inform you what will occur when the two videos merge
into one video. Click ‘Yes’ to continue with the merge. (Note: This does not
affect the original video files in anyway.)
Page 5

8. As you can see below, the two videos have merged into one. Now it’s time
to make your changes to the video. Click on the thumbnail in the window to
highlight it.
9. Now select ‘Edit Movie’.
Page 6

10. This brings up the ‘Project’ window. Click on the Transitions button located
in the top right of the window.
11. Now simply select any of the transition options, such as ‘3D – Exploding
Cubes’, and drag and drop into the Storyboard window as seen below.
Page 7

12. Once you have all your transitions selected, click on ‘Next’ to continue.
13. This brings you back to the ‘Content’ window. Now we are ready to set up
our chapters. Click on ‘Create Chapters’.
Page 8

14. This brings up the ‘Create Chapters’ window. You have a few options on
how to create a chapter. The simplest way is to use the ‘Auto Detect
Chapters’ feature. To do this, just click on the button highlighted with the red
box in the picture below.
15. You can control the sensitivity, the higher the sensitivity the more chapters
there will likely be. You can also change the minimum chapter length.
Page 9

16. You can also manually enter in the chapters. Just click anywhere in the
movie and then click on the ‘Add Chapter’ button. The ‘Add Chapter’ button
in the picture below is shown with a red box around it. You can also move
the chapters around by clicking on them and then dragging them to the point
you desire. Once you have added all your chapters, click on ‘Next’ to
continue.
17. This brings you back to the ‘Content’ window. We are now ready to move on
to creating the Menu. Click on ‘Next’ to continue.
Page 10

18. This brings us to the ‘Create Menu’ window. Use the drop down box next to
‘Select a menu template:’ and select from a number of preset menu themes.
19. You can change the Font, Header/Footer text, Shadow effect, as well as
manually move the layout of the chapters if you do not like the preset
template. Just click on the Chapter 1 button in the display window and move
to the location of your desire.
Page 11

20. This window shows the buttons moved to a new location in the Menu, which
was done manually.
21. As you can see from this picture, it’s very easy to change buttons to one of
many preset options available.
Page 12

22. Now that we have the Menu prepared to our liking, we now click on ‘Next’ to
move on to the next step.
23. This brings us to the ‘Preview’ window. Here you can use your mouse or the
remote control feature in this window to preview the movie you have
created. If you detect any changes you need to make, you would go back at
this point and make them. If all looks fine, click on ‘Next’ to continue.
Page 13

24. This brings us to the final ‘Burn Options’ window. Here you will select what
model DVD Recorder and/or Image Recorder to burn too, or choose to write
to your Hard Drive as VOB, IFO, and BUP files. And then just click on the
‘Burn’ button to begin the write process.
25. This starts the Encoding and burning process. This could take some time,
depending on the source file size.
 Loading...