How it Works
Log In / Sign Up
Buy Points
How it Works
FAQ
Contact Us
Questions and Suggestions
Users
NEC
Loading...
P
P401-TMX4
P401-TMX4D
2
P401W
9
P402
6
P402-AVT
3
P402-PC-CRE
2
P402-TMX4D
P402-TMX4P
P403
9
P403-AVT
2
P403-PC
6
P403 PG
2
P403 SST
P404
4
P404 PG
P420X
14
P42XC10
6
P42XP10
P42XP10-BK
4
P451W
8
P451X
6
P452H
6
P452W
6
P461
9
P461-AVT
2
P461 - MultiSync - 46"" LCD Flat Panel Display
P461-TMX4D
P462
6
P462-4YR-RR
P462-5YR-RR
P462-AVT
3
P462-PC-CRE
2
P462-TMX4D
P462-TMX4P
P463
11
P463-AVT
2
P463-PC
6
P463 SST
P474U
3
P474W
3
P484
7
P484 MG
P484 PG
P501X
8
P501XG
2
P502H
8
P502HL
6
P502HL-2
5
P502W
8
P502WL
5
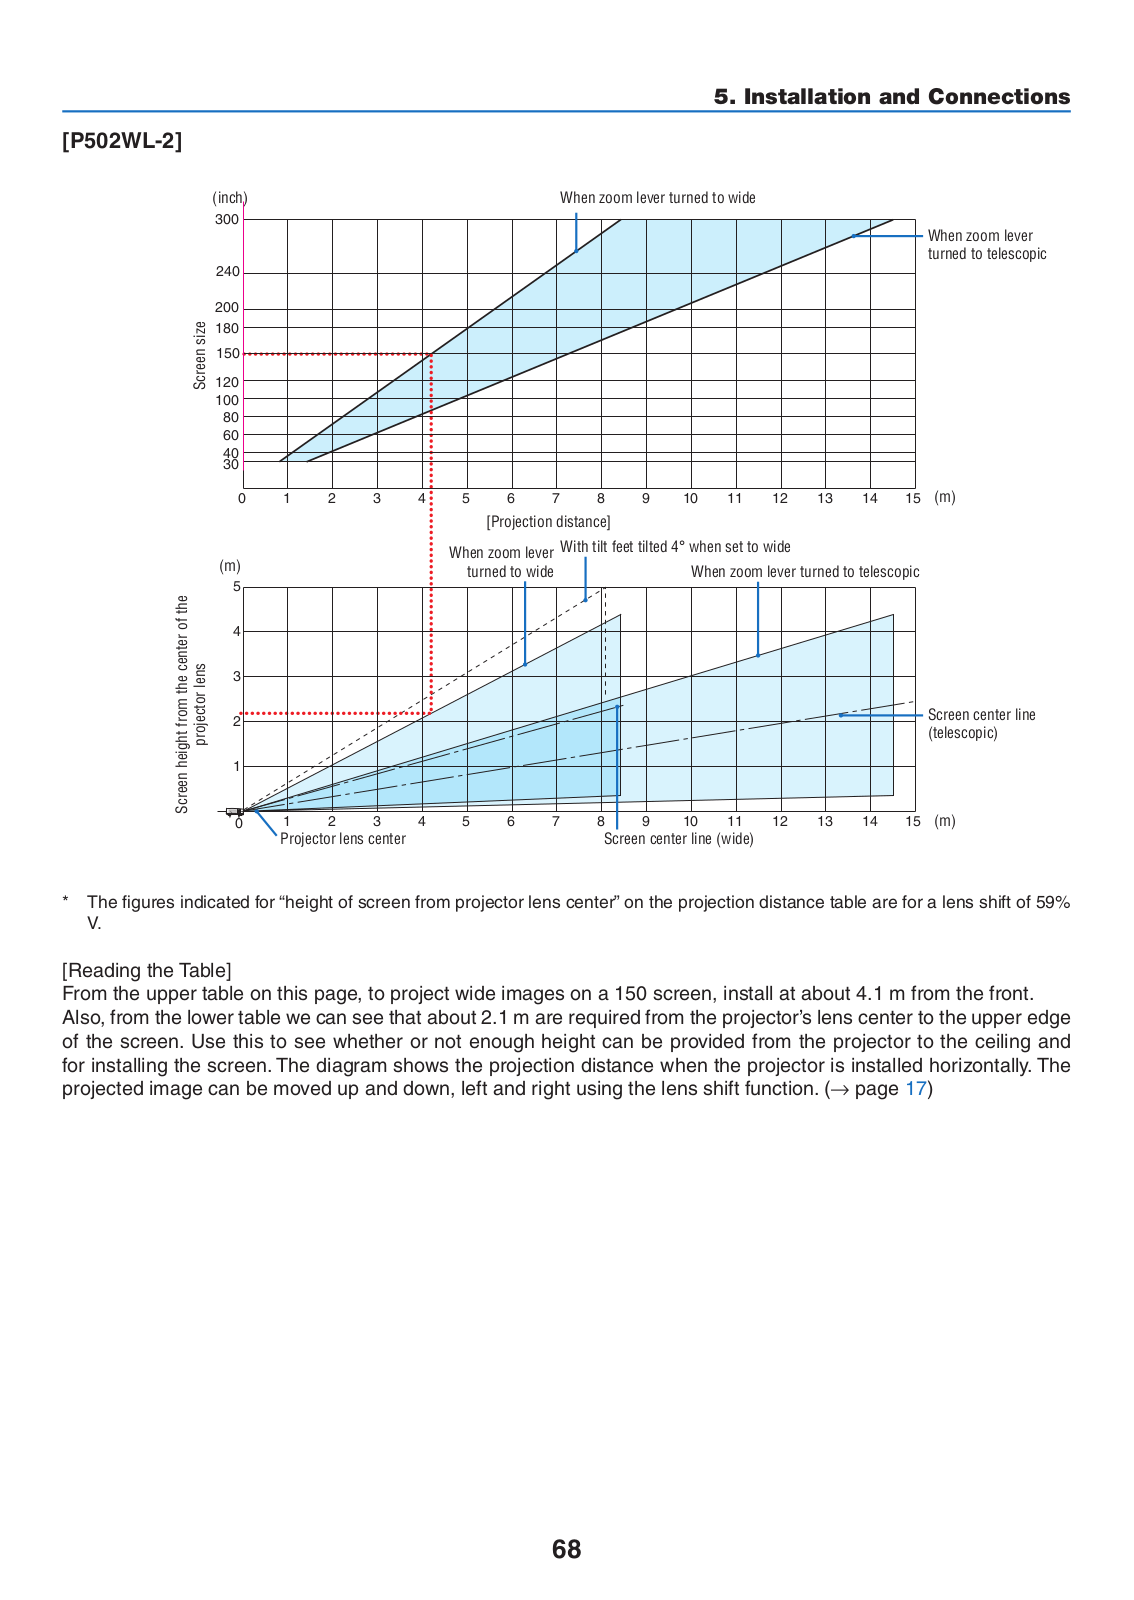
P502WL-2
5
P506QL
3
P50XC10
6
P50XP10
2
P50XP10-BK
5
P520
P521
18
P521-AVT
3
P521-TMX4
P521-TMX4D
P525UL
5
P525UL (P525ULG)
2
P525WL
2
P525WL (P525WLG)
2
P5300
P547UL
P550
2
P551
3
P551-AVT
P551-AVT-R
P551-R
P552
9
P552-avt
3
P552-PC-CRE
P552-TMX4D
P552-TMX4P
P553
10
P553-AVT
2
P553-PC
5
P553 PG
P553 SST
3
P554
6
P554 MG
P554 PG
P554 SST
2
P554U
8
P554U (P554UG)
P554W
6
P554W (P554WG)
P570
P5XL
P600
P603X
4
P603X (P603XG)
P604X
2
P605UL
5
P60XC10
6
P60XP10
P60XP10-BK
5
P627UL
Loading...
Loading...
Nothing found
P502WL-2
Product Sheet
4 pgs
2.69 Mb
0
Quick Setup Manual
2 pgs
451.6 Kb
0
Quick Setup Manual
2 pgs
538.54 Kb
0
User Manual
147 pgs
5.1 Mb
0
User manual
147 pgs
3.94 Mb
0
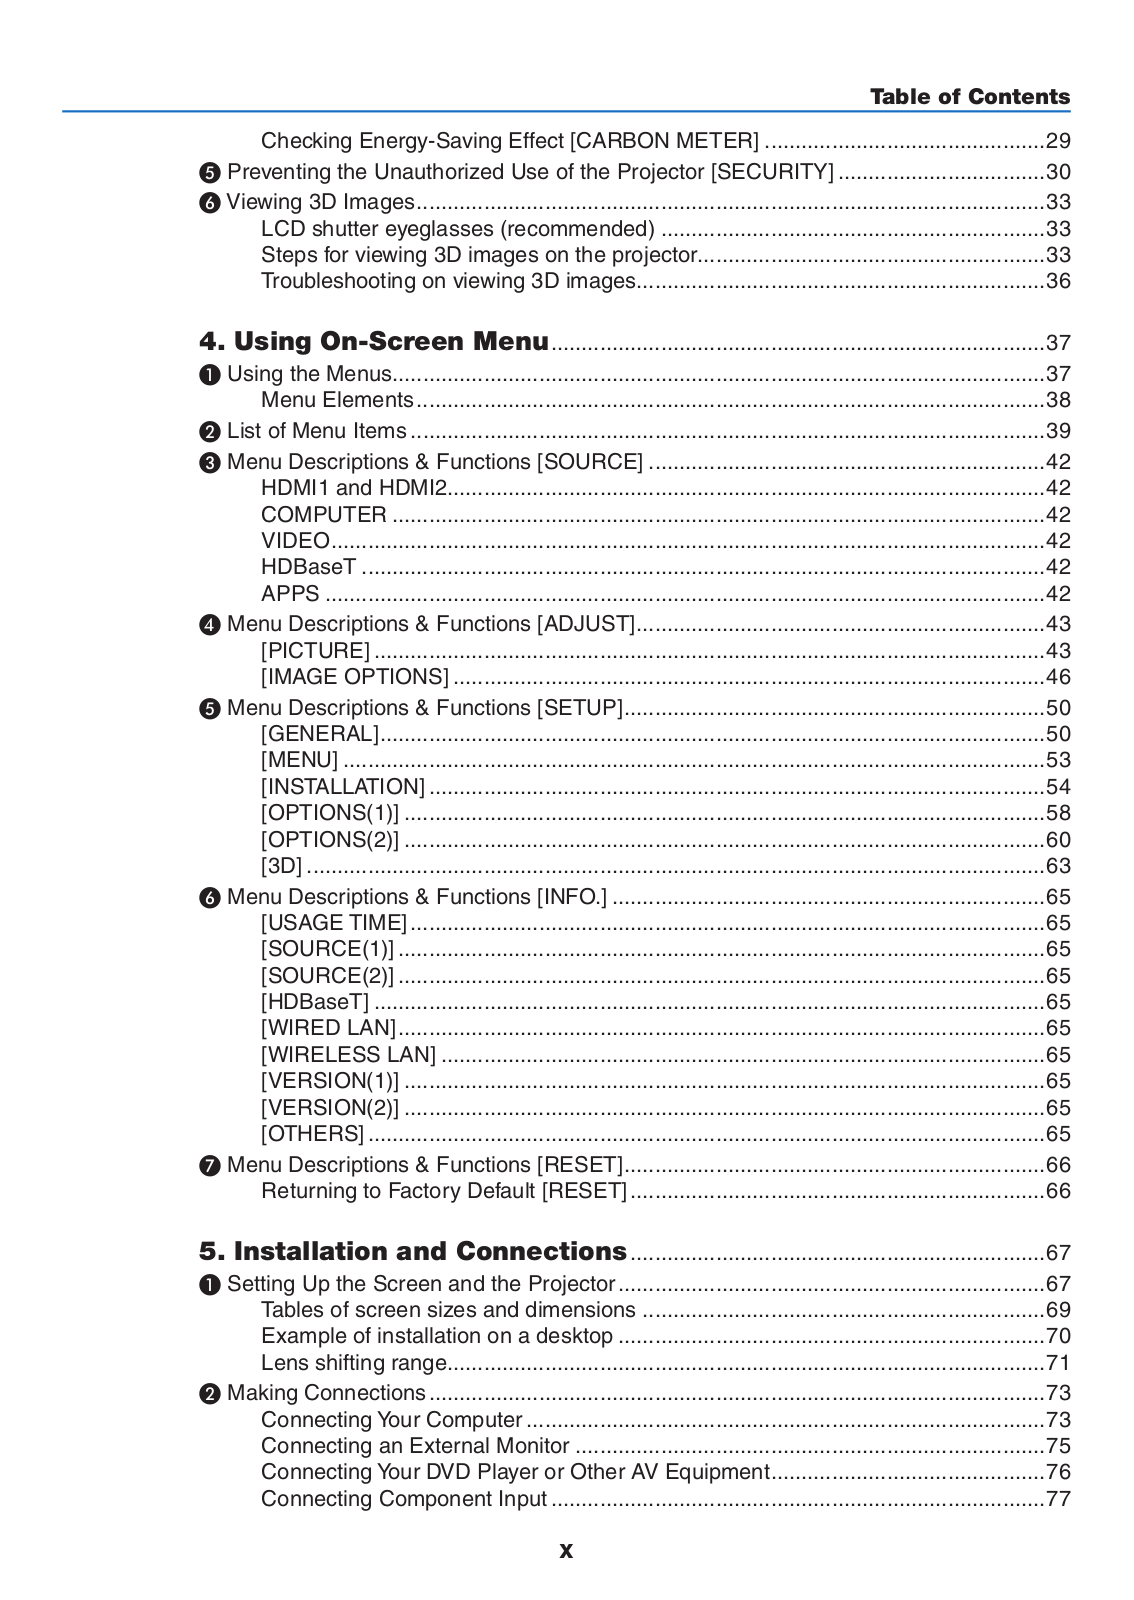
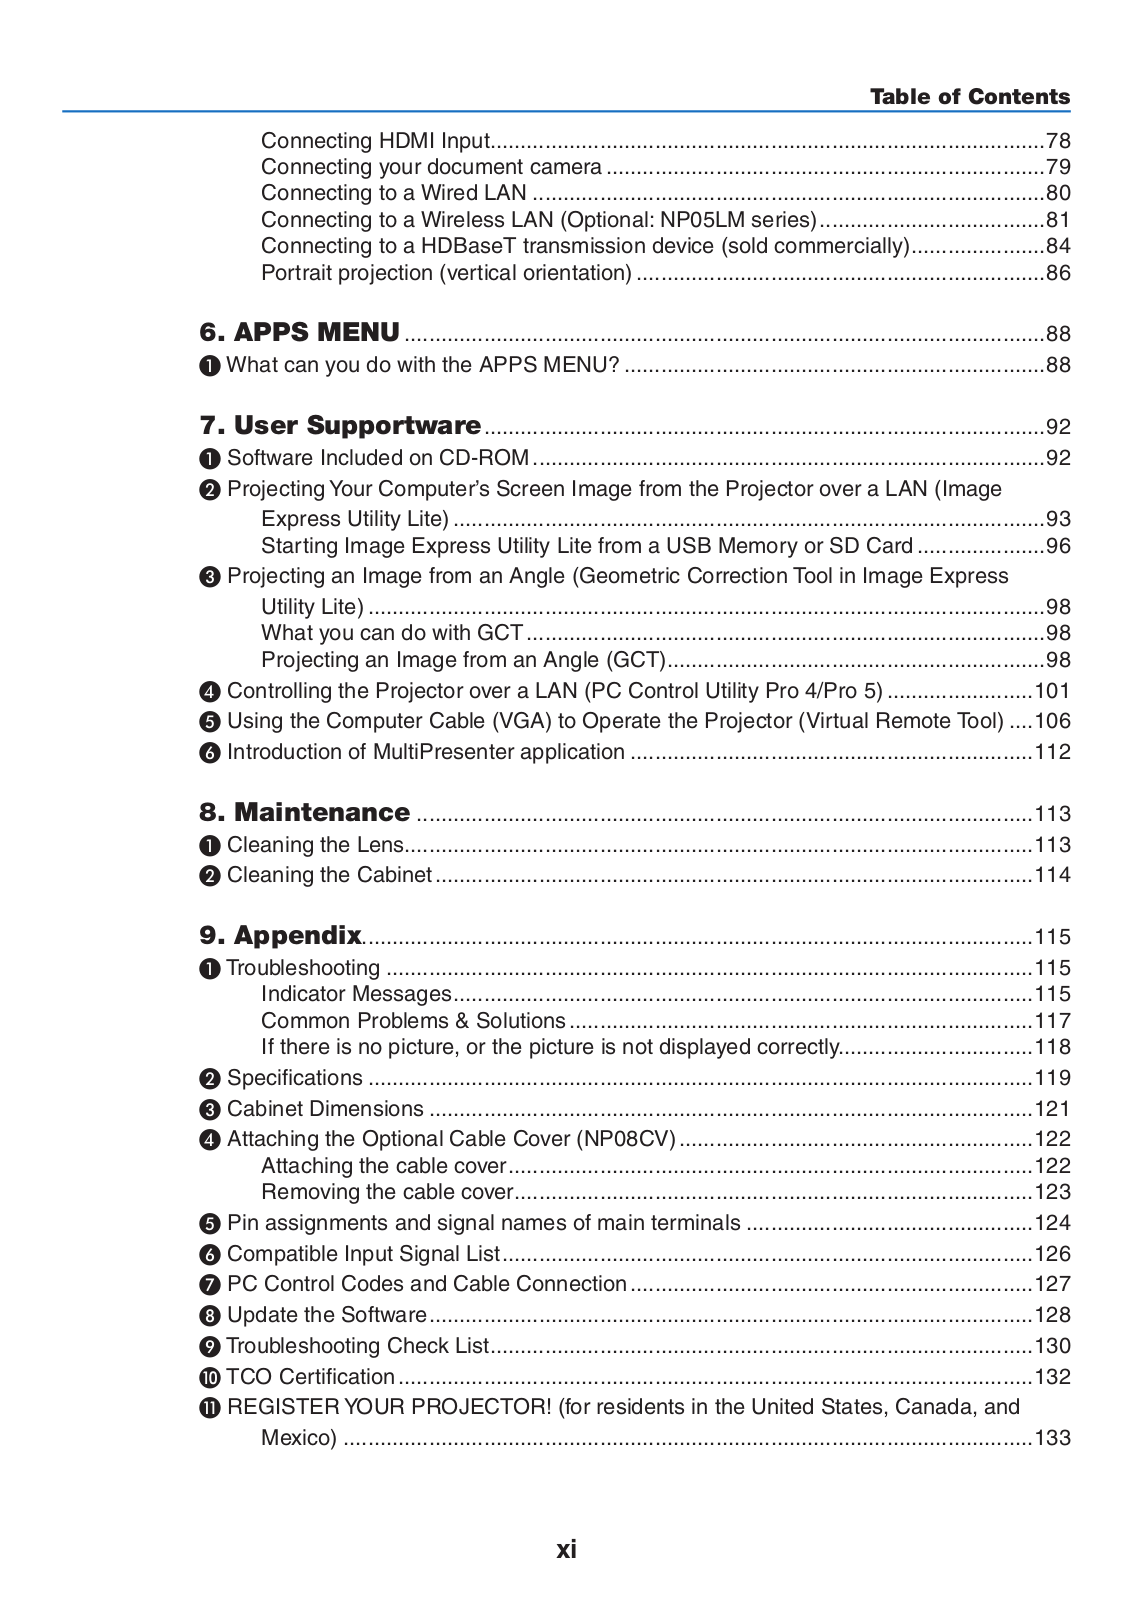
Table of contents
Loading...
NEC P502WL-2, P502HL-2 User Manual
...
NEC User Manual
Download
Specifications and Main Features
Frequently Asked Questions
User Manual
Download
Loading...
+
hidden pages
Unhide
You need points to download manuals.
1 point = 1 manual.
You can buy points or you can get point for every manual you upload.
Buy points
Upload your manuals
 Loading...