

Page 1
HP LaserJet M2727 MFP Series – Scan
Select scan properties
How do I? Steps to perform
Scanning from the product control panel is only supported
Scan from the product
with a full software installation. HP ToolboxFX must be
running to scan by using the Scan To button or the Start
Scan button.
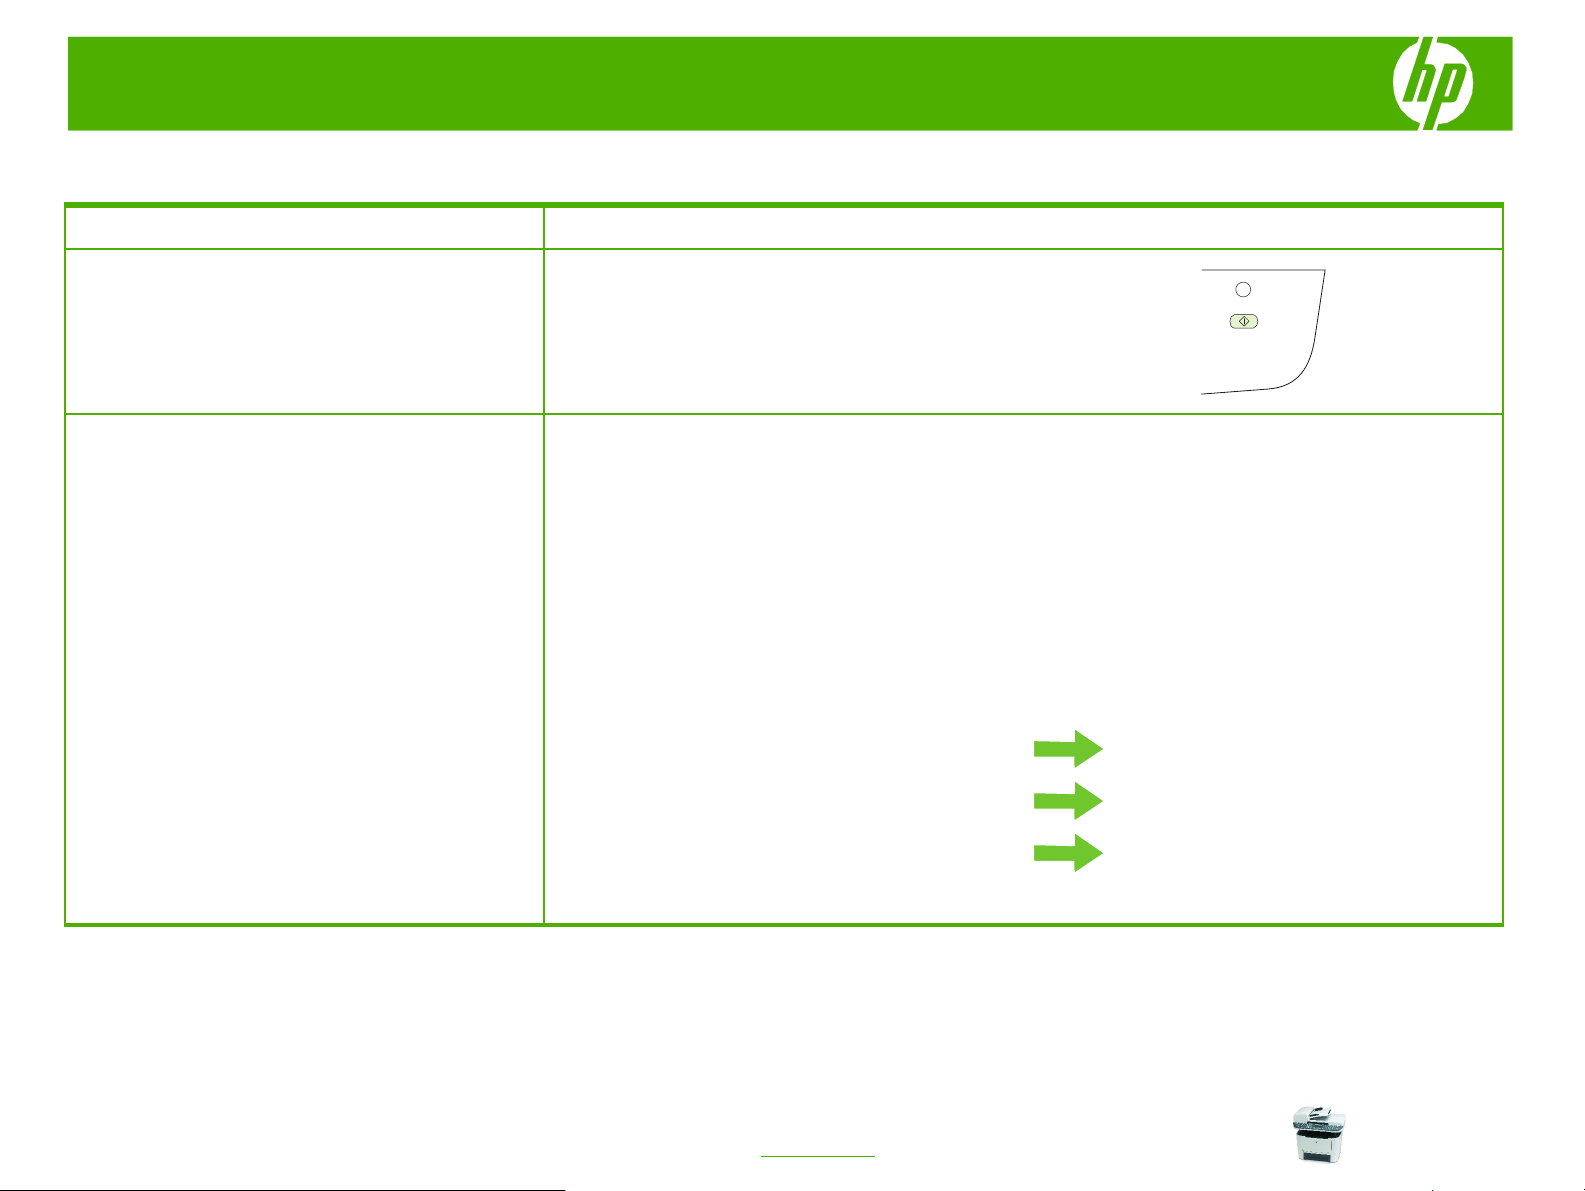
1 Scan directly from the product by using the control-
panel scan buttons. Press Start Scan or Scan To to
scan to a folder (Windows only) or to scan to e-mail.
1 Click Start, click Programs (or All Programs in
Set up the product Scan To button to set up
destinations on the product
3 The product is pre-configured with the following three
Windows XP), click HP, click the product, click Scan,
and then click Settings.
2 Select Change the destinations that show up on
the all-in-one control panel.
destinations in the dialog box.
○ Scan a document and attach it to an e-mail
○ Scan a photo and attach it to an e-mail
○ Scan a photo and save it as a file
Highlight a destination and click the arrow to move to
the destinations currently on the dialog box. Repeat
for all three destinations.
4 Click Update.
Start
Programs / All Programs
HP
HP LaserJet M2727 MFP
Scan
Settings
Change the destinations that show up on the allin-one control panel
Update
© 2007 Copyright Hewlett-Packard
Development Company, L.P.
1
www.hp.com
Page 2
HP LaserJet M2727 MFP Series – Scan
E-mail my scan
How do I?
Scan to a file, e-mail, or software program
NOTE:
be programmed in the scan setup before scanning to a
destination.
To use this feature in Windows, a destination must
Steps to perform
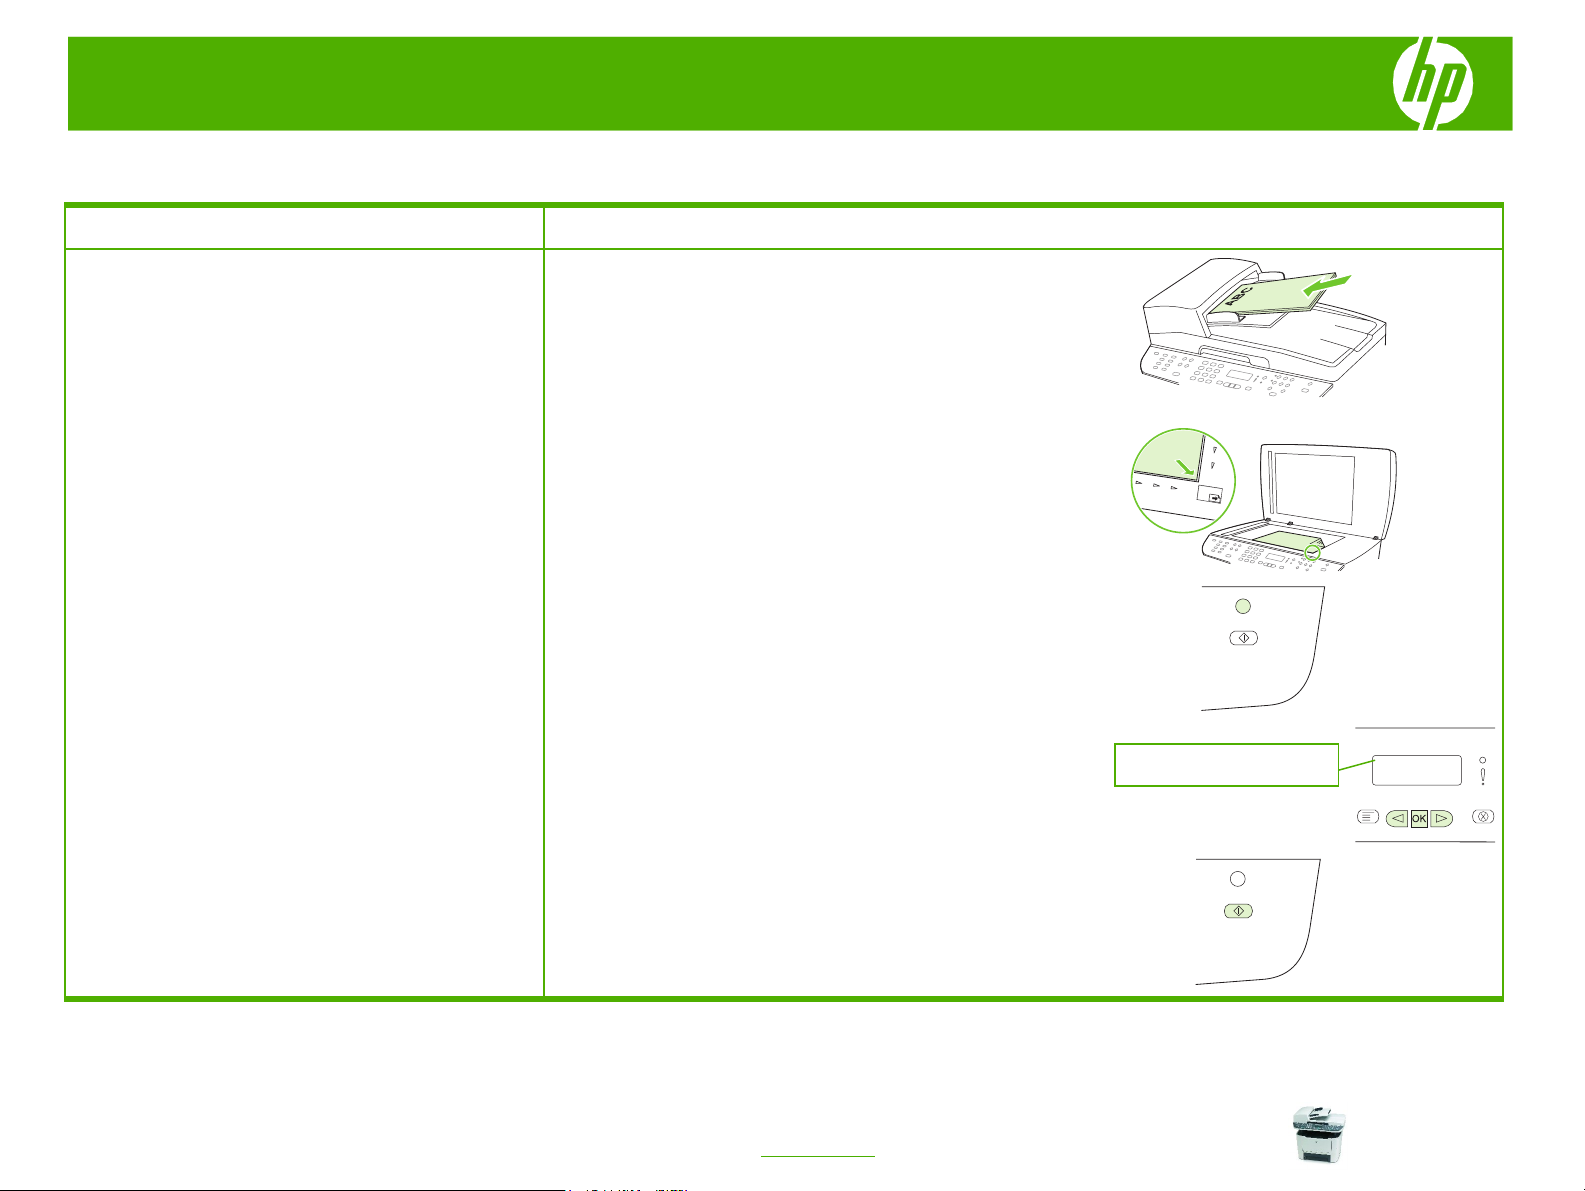
1 Load the originals that are to be scanned face-up in
the automatic document feeder (ADF) input tray, with
the top of the document forward, and adjust the media
guides.
-Or-
Lift the flatbed scanner lid and load the original that is
to be scanned face-down on the flatbed scanner with
the top, left corner of the document located in the
lower-right corner of the glass. Gently close the lid.
2 On the product control panel, press Scan To
3 Use the arrow buttons to select a file destination.
.
E-mail
© 2007 Copyright Hewlett-Packard
Development Company, L.P.
4 Press
file.
Start Scan or
OK to scan the document to a
1
www.hp.com
Page 3
HP LaserJet M2727 MFP Series – Scan
Send my scan to a folder
How do I?
Scan to a file, e-mail, or software program
NOTE:
be programmed in the scan setup before scanning to a
destination.
To use this feature in Windows, a destination must
Steps to perform
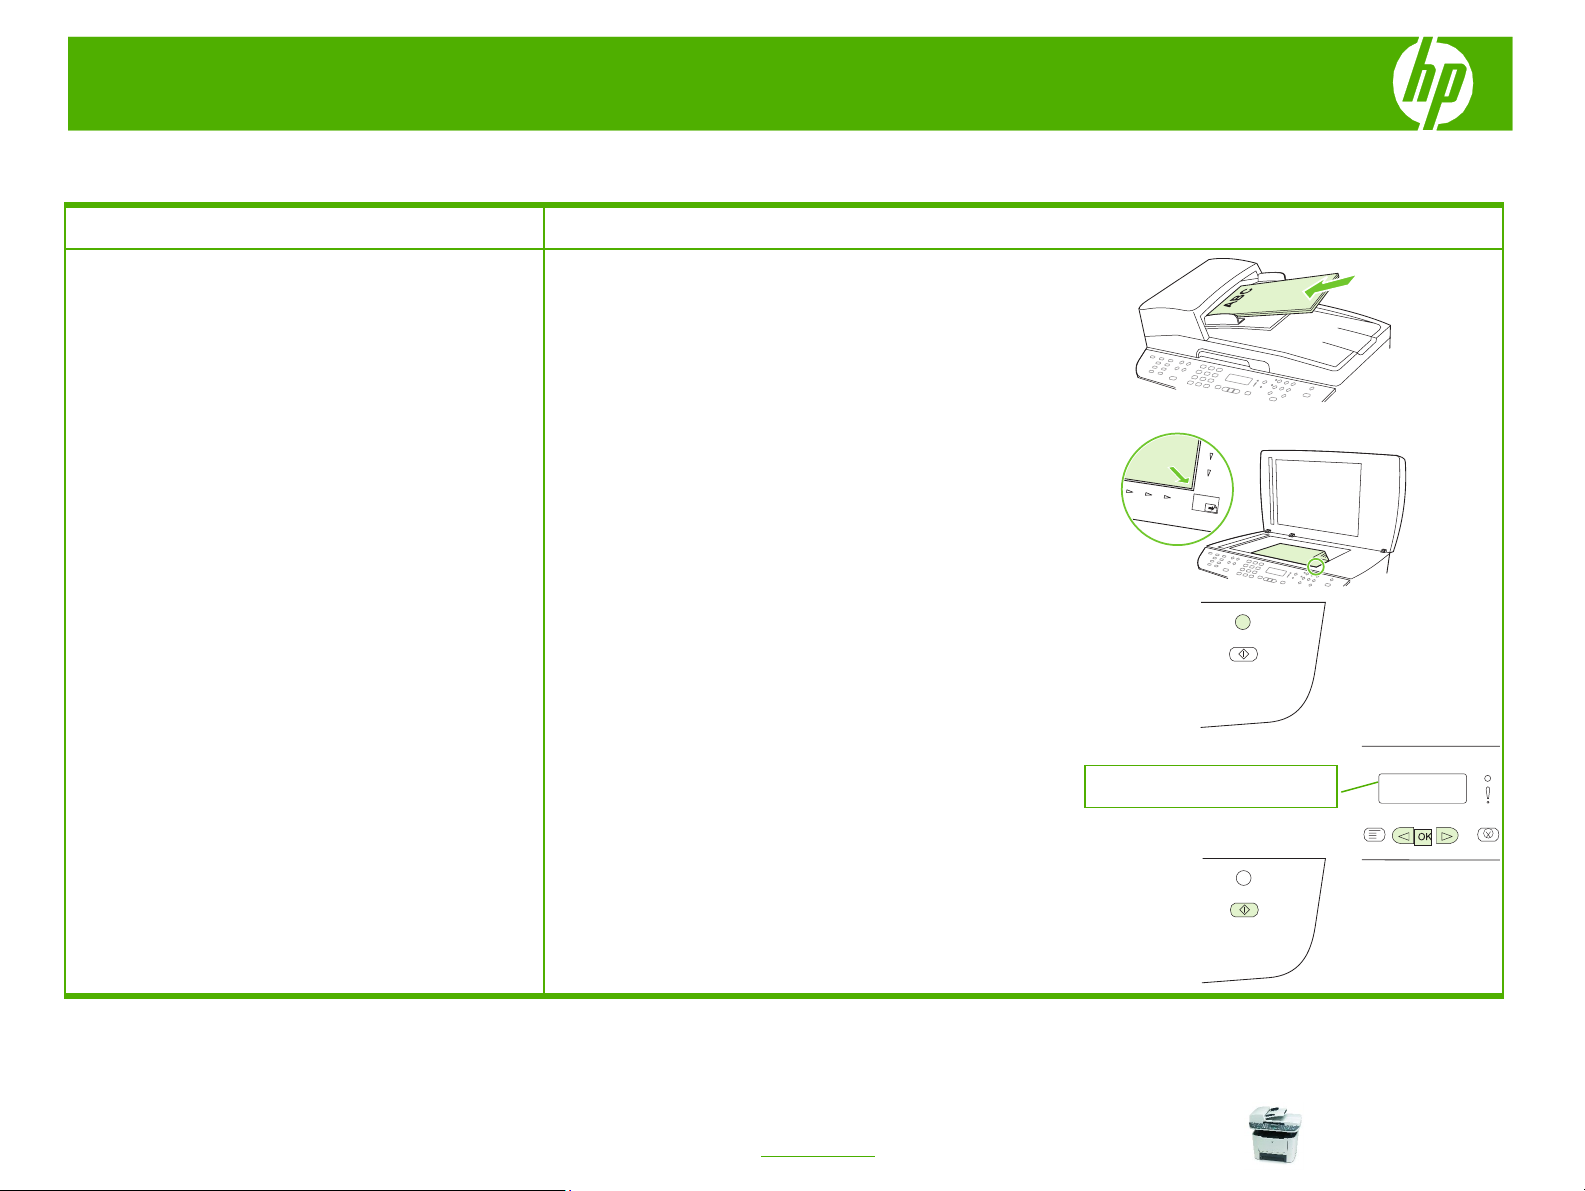
1 Load the originals that are to be scanned face-up in
the automatic document feeder (ADF) input tray, with
the top of the document forward, and adjust the media
guides.
-Or-
Lift the flatbed scanner lid and load the original that is
to be scanned face-down on the flatbed scanner with
the top, left corner of the document located in the
lower-right corner of the glass. Gently close the lid.
2 On the product control panel, press Scan To
3 Use the arrow buttons to select a file destination.
.
Folder name
© 2007 Copyright Hewlett-Packard
Development Company, L.P.
4 Press
file.
Start Scan or
OK to scan the document to a
1
www.hp.com
Page 4

HP LaserJet M2727 MFP Series – Scan
Make my scan look better
How do I? Steps to perform
1 Turn off the product, unplug the power cord from the
Clean the scanner glass
Dirty glass, from fingerprints, smudges, hair, and so on,
slows down performance and affects the accuracy of
special features such as fit-to-page and copy.
NOTE: If streaks or other defects appear only on copies
produced using the automatic document feeder (ADF),
clean the scanner strip (step 3). It is not necessary to
clean the scanner glass.
electrical socket, and raise the lid.
2 Clean the glass by using a soft cloth or sponge that
has been moistened with nonabrasive glass cleaner.
CAUTION: Do not use abrasives, acetone, benzene,
ammonia, ethyl alcohol, or carbon tetrachloride on any
part of the product; these can damage the product. Do
not place liquids directly on the glass. They might
seep under it and damage the product.
3 Clean the scanner strip by using a soft cloth or sponge
that has been moistened with nonabrasive glass
cleaner.
4 To prevent spotting, dry the glass by using a chamois
or cellulose sponge.
1
© 2007 Copyright Hewlett-Packard
Development Company, L.P.
www.hp.com
 Loading...