

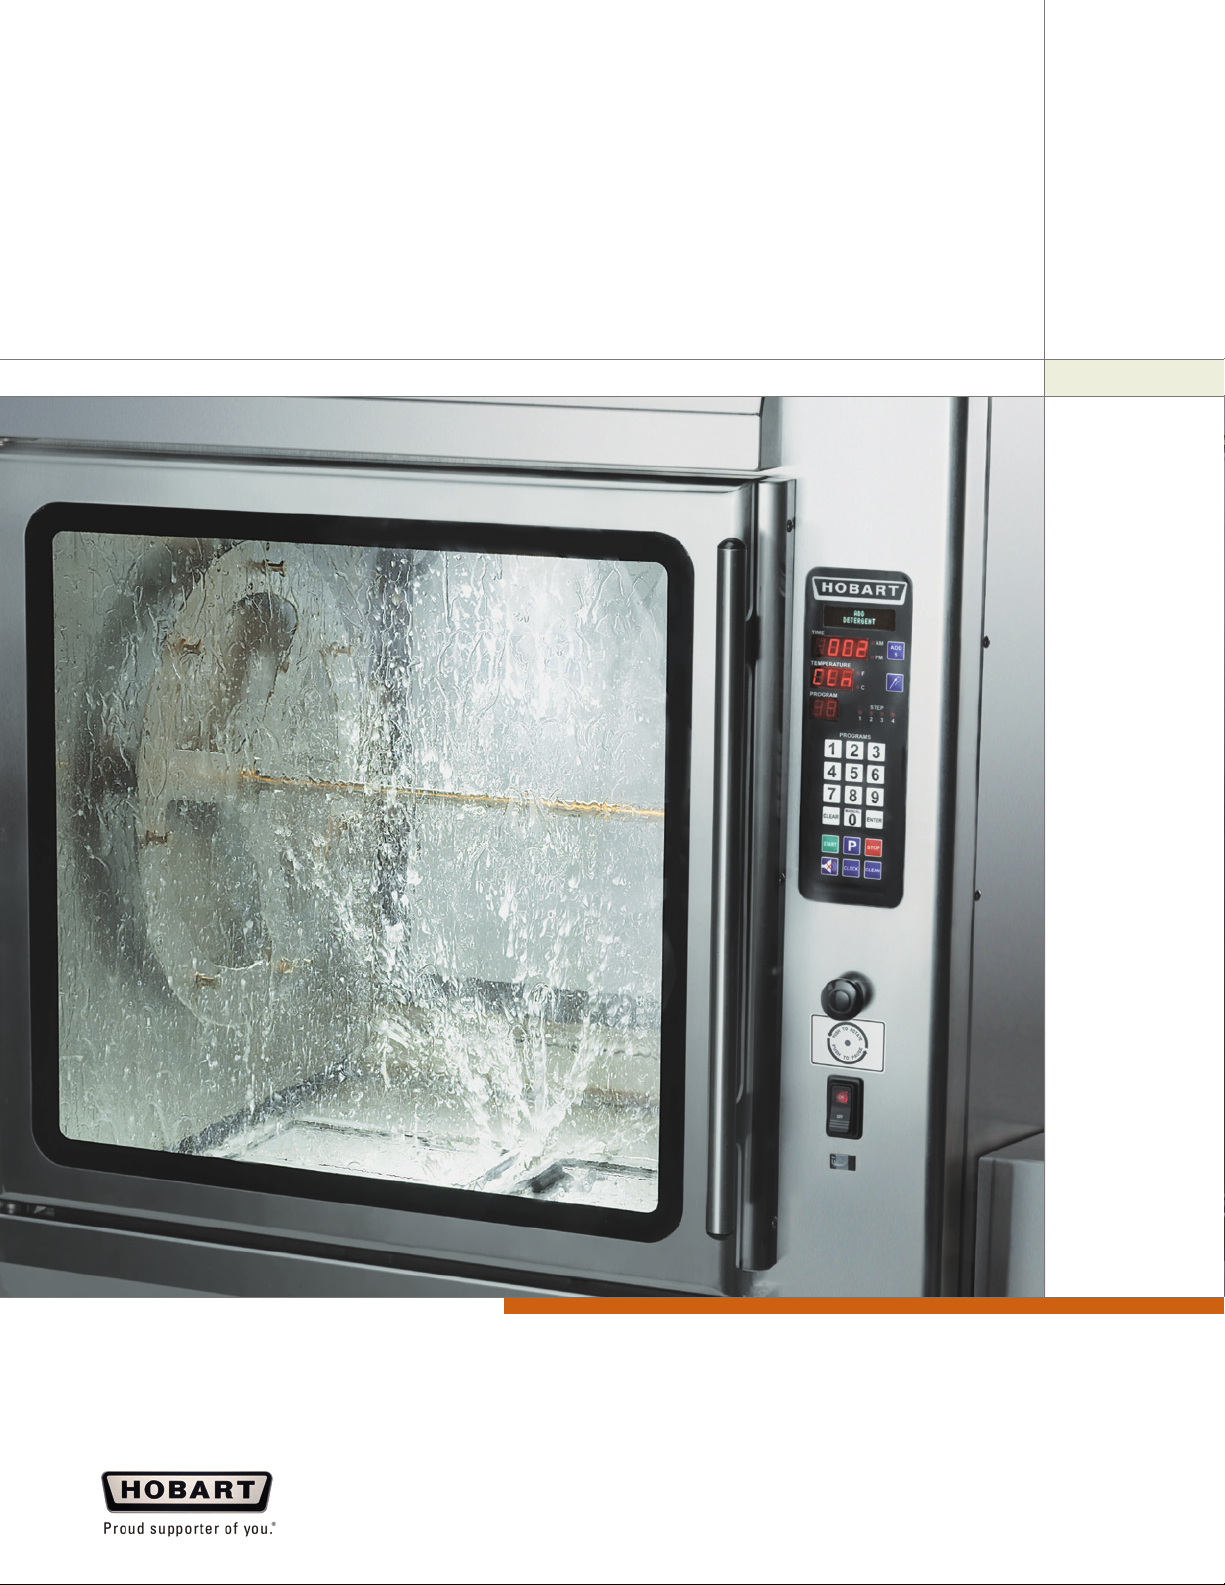
HOBART KA7E
SELF-CLEANING ROTISSERIE
training guide

2 HOBART KA7E SELF-CLEANING ROTISSERIE TRAINING GUIDE
Table of Contents
Page
How to Program Rotisserie . . . . . . . . . . . . . . . . . . . . . . . . . . . . . . . . . . . . . . . . 3
Set Up. . . . . . . . . . . . . . . . . . . . . . . . . . . . . . . . . . . . . . . . . . . . . . . . . . . . . . . . . . . 4
Getting Started ...................................................5
The Cooking Process Begins .......................................6
The Unloading Process ............................................7
Using Pass-Thru Controls ..........................................7
Cleaning Instructions . . . . . . . . . . . . . . . . . . . . . . . . . . . . . . . . . . . . . . . . . . 8-10
One button cleaning
meets one button cooking.
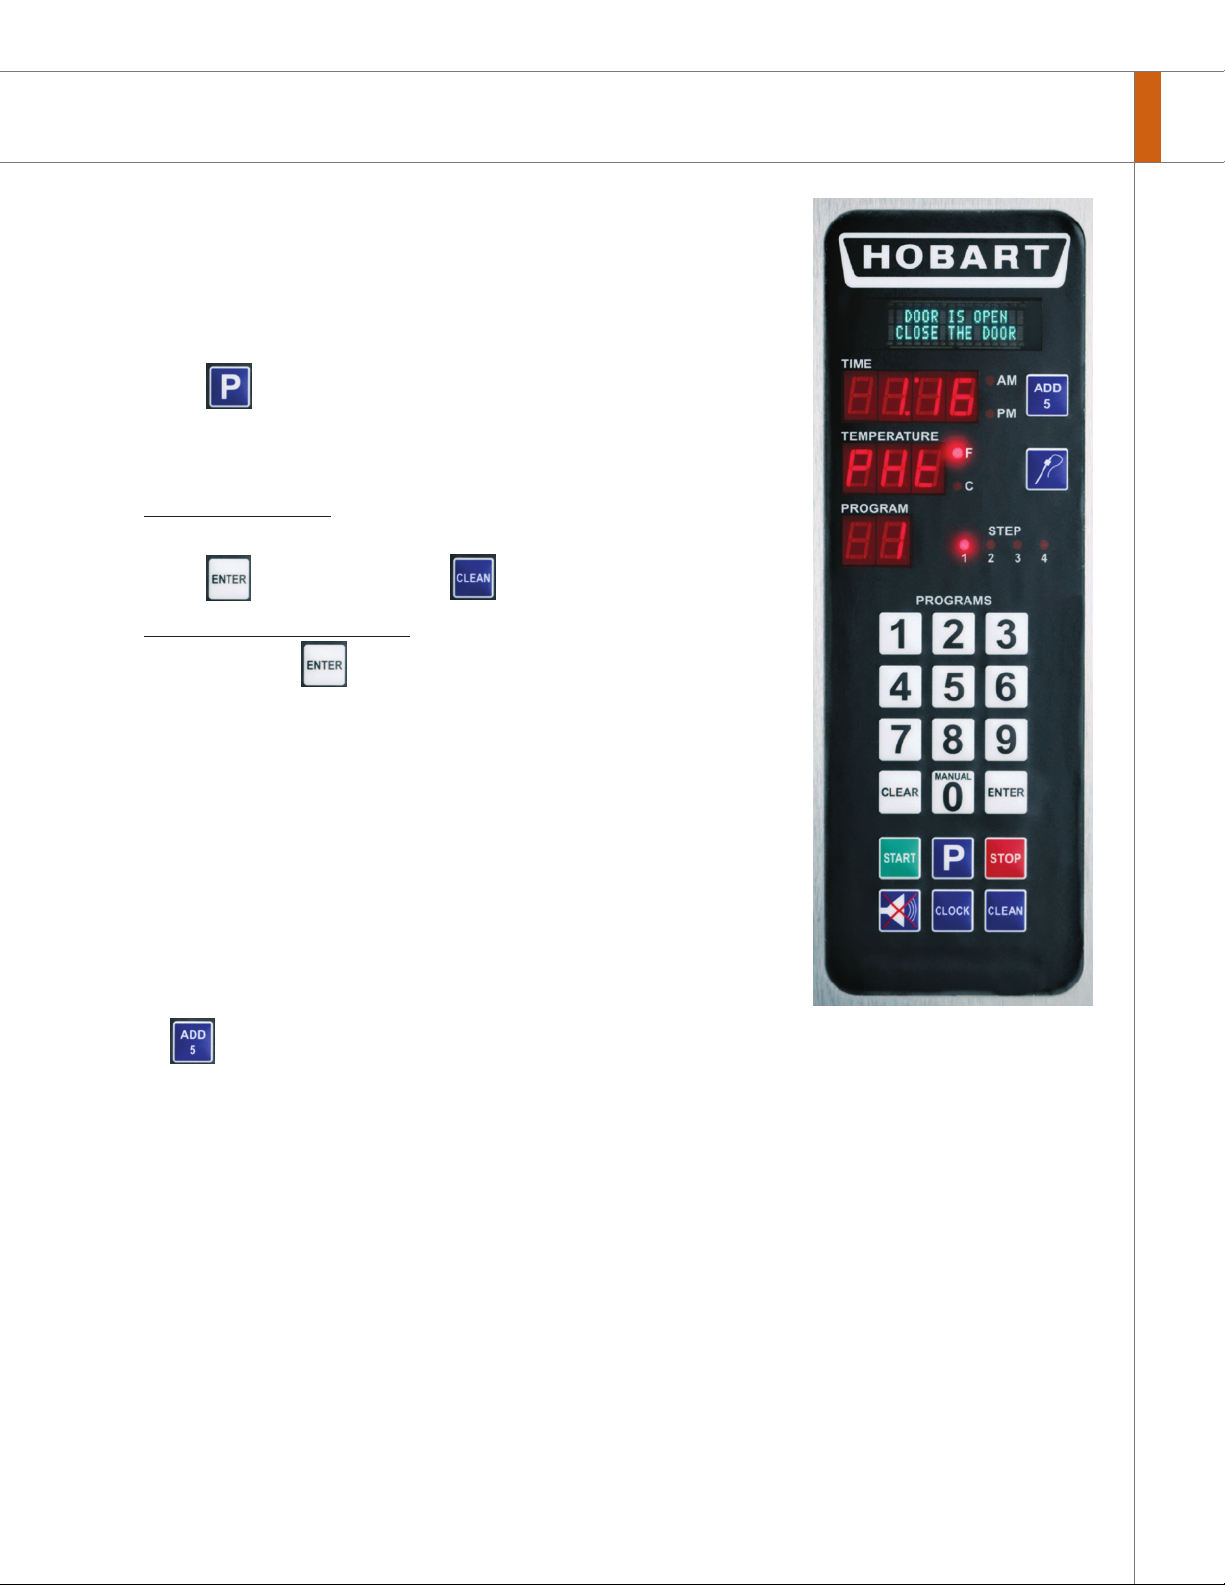
How to Program Rotisserie
How to Save a Program
1. Turn the ON-OFF switch to ON. Red light indicates the unit is
powered.
2. Select a Program (1-9).
Press for 3 seconds to enter program mode.
The program display will show the number being programmed.
3. Cooking “Step” 1 LED is lit.
Time display blinks. Enter the desired cook time from 0:01 (one
minute) to 6:00 (six hours).
Press to accept (or press to void and reenter).
3
Temperature display blinks. Enter the desired cook temperature
from 180. Press to accept (or press to void and reenter).
4. Cooking “Step 2” LED is lit.
Follow #3 above.
5. Cooking “Step 3” LED is lit.
Follow #3 above.
6. Hold “Step 4” LED is lit.
Follow #3 above.
How to Add Cook Time
Press during a cook cycle to add 5 minutes of cook time.
NOTE: MANUAL MODE is 0 and cannot be saved into memory.
How to Set Clock
Figure 1
Press CLOCK.
Enter time of day with number pad.
Press CLOCK to toggle AM or PM, if needed.
Press ENTER to accept the entry. Clock is now set.

4 HOBART KA7E SELF-CLEANING ROTISSERIE TRAINING GUIDE
Set-Up
Set Programs
Follow the instructions on page 3 “How to
Program Rotisserie”, set up Program 1 to
preheat the oven and Program 2 to cook
Program 1 = Preheat Program 2 = Chicken Recipe Full Load
Step 1 – 450°F for 30 minutes Step 1 – 450°F for 15 minutes
Step 2 – 0 * Step 2 – 400°F for 60 minutes
Step 3 – 0 Step 3 – 0
** Step 4 – 200°F for 30 minutes ** Step 4 – 185°F
* Time may vary due to size of bird. Finish product temperature must be 165°F to 185°F. Follow guideline
as established by your Deli Manager.
** Step 4 is an automatic hold cycle. Temperature range from 160°F to 240°F.
chickens. Up to 99 programs can be added if
desired. Here are two sample recipes:
Check to See if Rotisserie is Set Up Properly
1. Drip plates should be set in place in the
3. Turn main power ON with switch on front
bottom of rotisserie. (Figure 2)
2. The rotor set in place with the drum
engaged on drive arm. (Figure 3)
Figure 2 Figure 3
of unit.
4. Preheat rotisserie by pressing and
then .

Preparing Birds Using V-Spits
1. Chicken must be trussed securely. With the
chicken laying on the breast, use approved
ties to wrap around legs and pull the tie
along the back and criss-cross over back
(Figure 4). Tie comes over to the front to hold
wings to side of chicken (Figure 5).
2. Insert bird on v-spit neck first. Breast bone
needs to be parallel with flat side of spit.
Legs on the same side of the spit as the
breast (Figure 6).
5
Getting Started
Figure 5
Figure 4
Preparing Birds Using Racks
1. Place 4 or 5 position rack on prep table.
2. Place bird cavity over spindle on chicken
rack.
3. Fold and cross chicken legs and hook leg
ends under side rods of chicken rack.
(Figure 7)
Legs Toward
Pointed End
Neck Toward
Drive End
Figure 6
4. Break wings at top joint and fold wings
behind bird.
5. Repeat above steps for all racks and place
on cart.
Figure 7

6 HOBART KA7E SELF-CLEANING ROTISSERIE TRAINING GUIDE
The Cooking Process Begins
Loading the Birds
1. Load the birds directly from the cart
into the preheated oven.
2. Place rack on rotor drum. Move drum
around by pressing
front of unit.
3. Alternate loading every other position
until all seven racks are in place. (Figure 8)
button on
The Cooking Process
Load this rack first
Load this rack next
Skip this rack
Figure 8
1. Press and then to begin cooking
the birds.
2. When beeper sounds, check chicken
temperature at thigh to assure 185° F
internal temperature.
3. If using a probe, place the probe in the
product and hold the button for three
seconds. The temperature of the chicken
will display in the temperature screen.
4. If more cook time is needed, push the
button.
5. If product has reached the desired
temperature, push the button. The
oven will go into Step 4, the automatic hold
cycle. (Figure 9)
Figure 9

The Unloading Process
1. Always wear insulated oven gloves when
unloading the spits. Remove the spit from
the rotisserie by holding the spit at each
end. (Figure 10)
2. Tilt chicken spit toward tray. Place the
birds in a dome container or in an approved
rotisserie bag.
3. Repeat above steps for remaining spits.
4. Place spits in sink with hot soapy water for
cleaning.
7
Using Pass-Thru Controls
After a cooking cycle has been completed, the beeper
sounds and the oven automatically executes the HOLD cycle
(step 4 of the cooking program).
SNOOZE
Press to silence beeper and add 10 minutes of cook time.
SILENCE
Press to silence beeper and enter HOLD mode.
STOP
Press to end the cooking cycle.
Figure 10
Figure 11

8 HOBART KA7E SELF-CLEANING ROTISSERIE TRAINING GUIDE
Cleaning Instructions
THE OVEN AND ITS
PARTS ARE HOT. USE CARE WHEN
OPERATING, CLEANING, OR PERFORMING
MAINTENANCE.
CAN CAUSE CHEMICAL BURNS. RUBBER GLOVES, GOGGLES,
AND PROTECTIVE CLOTHING ARE REQUIRED. READ AND
FOLLOW THE INSTRUCTIONS FOR THE OVEN CLEANER.
Automatic Clean – Approximate time 2.5 hours
1. Remove all accessories from the oven.
Rotor remains in the oven for cleaning.
2. Remove any debris, bones, or pieces of skin
from the drip plates.
3. Be sure there is an adequate supply of
cleaner (Figure 12). Replenish if needed.
4. Press button.
5. The oven will automatically go through the
entire cleaning cycle:
a. Preheat
b. Degrease
c. Pre-rinse cycle
d. Wash and soak cycle
e. Rinse
f. Drying cycle
6. Press OFF when display reads “CLEANING
OVEN CLEANERS ARE CORROSIVE AND
CYCLE COMPLETE”.
Figure 12

Cleaning Instructions
Empty Grease Container
At the end of the Automatic Clean cycle, remove
plastic grease container located in stand below the
unit (Figure 13), remove tube, and empty into the grease
disposal receptacle. Place the tube back into the
container.
9
Figure 13
How to Change Cleaner
1. Remove chemical pick up tube and stand pipe from
the empty bottle.
2. Place full bottle of chemical in proper locaton
removing cap.
3. Insert chemical pick-up tube and stand pipe
into the new chemical container. The stand pipe
prevents the tube from curling (Figure 14).
Weekly Delime
Using ½ gallon of apple cider vinegar, delime the unit weekly.
Push the CLEAN button and then push MANUAL. Once the unit
has filled with water, open door and add vinegar.
Figure 14
Rotisseries clean up their act.

10 HOBART KA7E SELF-CLEANING ROTISSERIE TRAINING GUIDE
Cleaning Instructions
Wipe Down – 5 minutes
1. Open the inner door and wipe off the inside
and outside glass surfaces as needed.
Using white vinegar on a soft cloth ensures
sparkling clean windows.
2. Using a clean damp cloth, thoroughly wipe
off any white residue remaining in the oven
that is visible. A cloth soaked in vinegar will
assist in this process.
3. Remove drip plates and wipe both the
top and under neath surface with a clean
damp cloth or take them to the sink to rinse
them off.
4. Wipe out the bottom of the sump.
5. Wipe out the trough below the door opening.
6. Using warm soapy water, wipe around
the face of the door jam and the exterior
stainless steel surface.
Wipe Top
and Bottom
Figure 15
Sump
Trough

How to Use Probe
Meat fork spit
V-spit
Four-position
chicken rack
Five-position
chicken rack
1. Insert probe into product and hold probe
button for 3 seconds.
2. Product temperature will be displayed.
1 1
Accessories
Figure 16
Spit Options
Spit Cart
Basket spit

Your #1 supporter. Hobart, where equipment and service join together in support
of you. Hobart makes a full line of equipment for the foodservice and food retail industries
including cooking, food machines, weigh wrap, warewashers and Traulsen refrigeration. We support
our customers when and where it counts the most. In the field, at your place. With nearly 200
locations and 1,700 factory-trained service representatives across the country, we’re always close
by to install, maintain and service your equipment. If that’s the kind of support network you’ve
been looking for, contact your Hobart representative today by calling 888-4HOBART.
701 South Ridge Avenue
Troy, Ohio 45374-0001
F40247 (Rev. 03/09)
937 332-3000
888 4HOBART
888 446-2278
www.hobartcorp.com
 Loading...