

ADDENDUM
SDC CONTROLS FOR HWDO1, HWDO1D,
HWDO3, & HWDO3D DECK OVENS
This addendum is a supplement to the instruction manual. For detailed information about the use and care of this
equipment, see F36711.
The oven and its parts are hot. Use care when operating, cleaning or servicing the
oven. The baking compartment contains live steam. Stay clear when opening door.
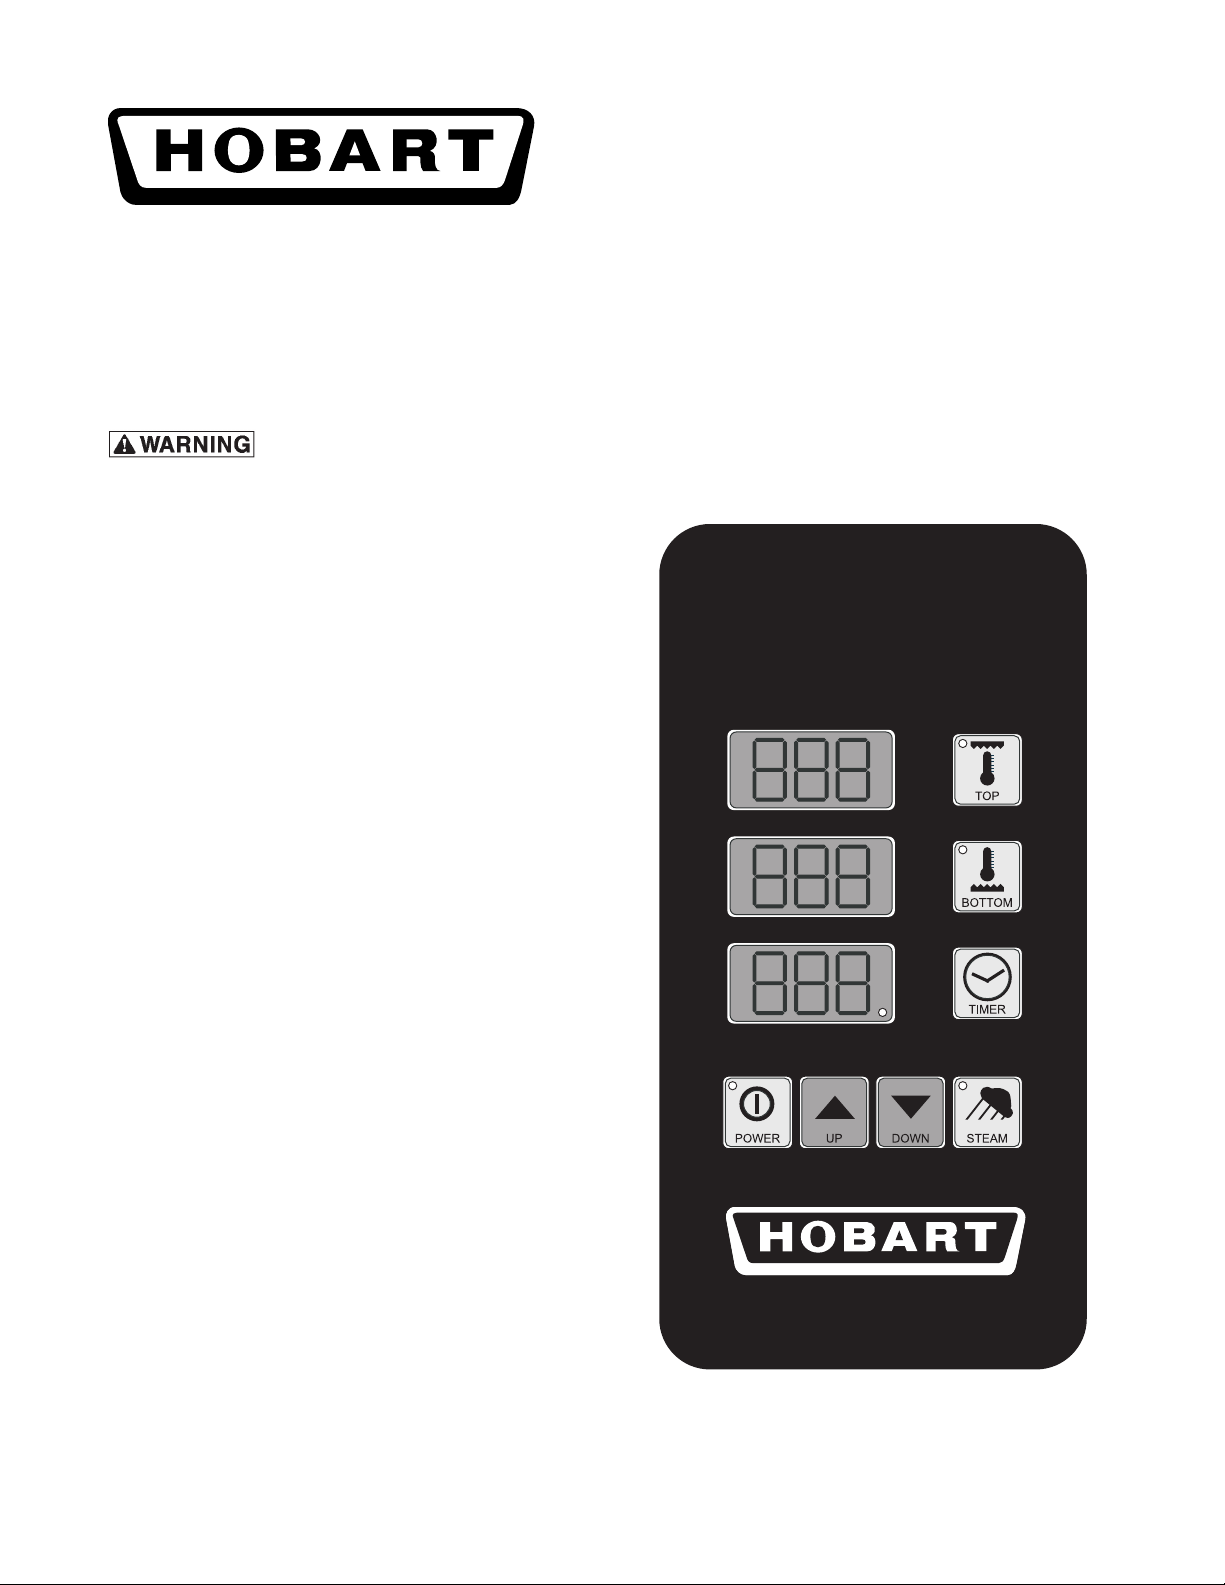
SDC CONTROLS
There is a control panel for each oven deck. When the
oven is turned on, the oven will begin to heat to the
set temperature of both the Top and Bottom Heat. The
timer does not control the oven. Each control panel
has three numeric display windows. They are:
• TOP HEAT WINDOW - Displays the current
top heat temperature. The temperature range
is 85°F to 550°F.
• BOTTOM HEAT WINDOW - Displays the
current bottom heat temperature. The
temperature range is 85°F to 550°F.
• TIMER/STEAM WINDOW - Displays the timer
or steam timer setting. The range is 00 to 99
minutes for the timer and is 00 to 30 seconds
for the steam timer.
©HOBART, 2009
FORM 36713 (February 2009)
SDC CONTROL PANEL BUTTONS
ON/OFF Button
Arrow UP Button Use this button to increase setting feature such as temperature or time.
Arrow DOWN
Button
Top Heat Button
Bottom Heat
Button
Steam Button
Timer Button
Use this button to turn the oven on or off. The button light is illuminated
when the oven is in standby mode.
Use this button to decrease setting feature such as temperature or
time.
Range: 85°F to 550°F. Use this button with the arrow buttons to set the
temperature.
Range: 85°F to 550°F. Use this button with the arrow buttons to set the
temperature.
Range of steam time: 00 to 30 seconds. Use this button with the arrow
buttons to set the steam time. When the button light is illuminated the
steam generator is heating up and NOT ready to steam. Light must be
off to steam.
Range: 00 to 90 minutes. Use this button with the arrow buttons to set
the timer. The display LED fl ashes when the timer is running.
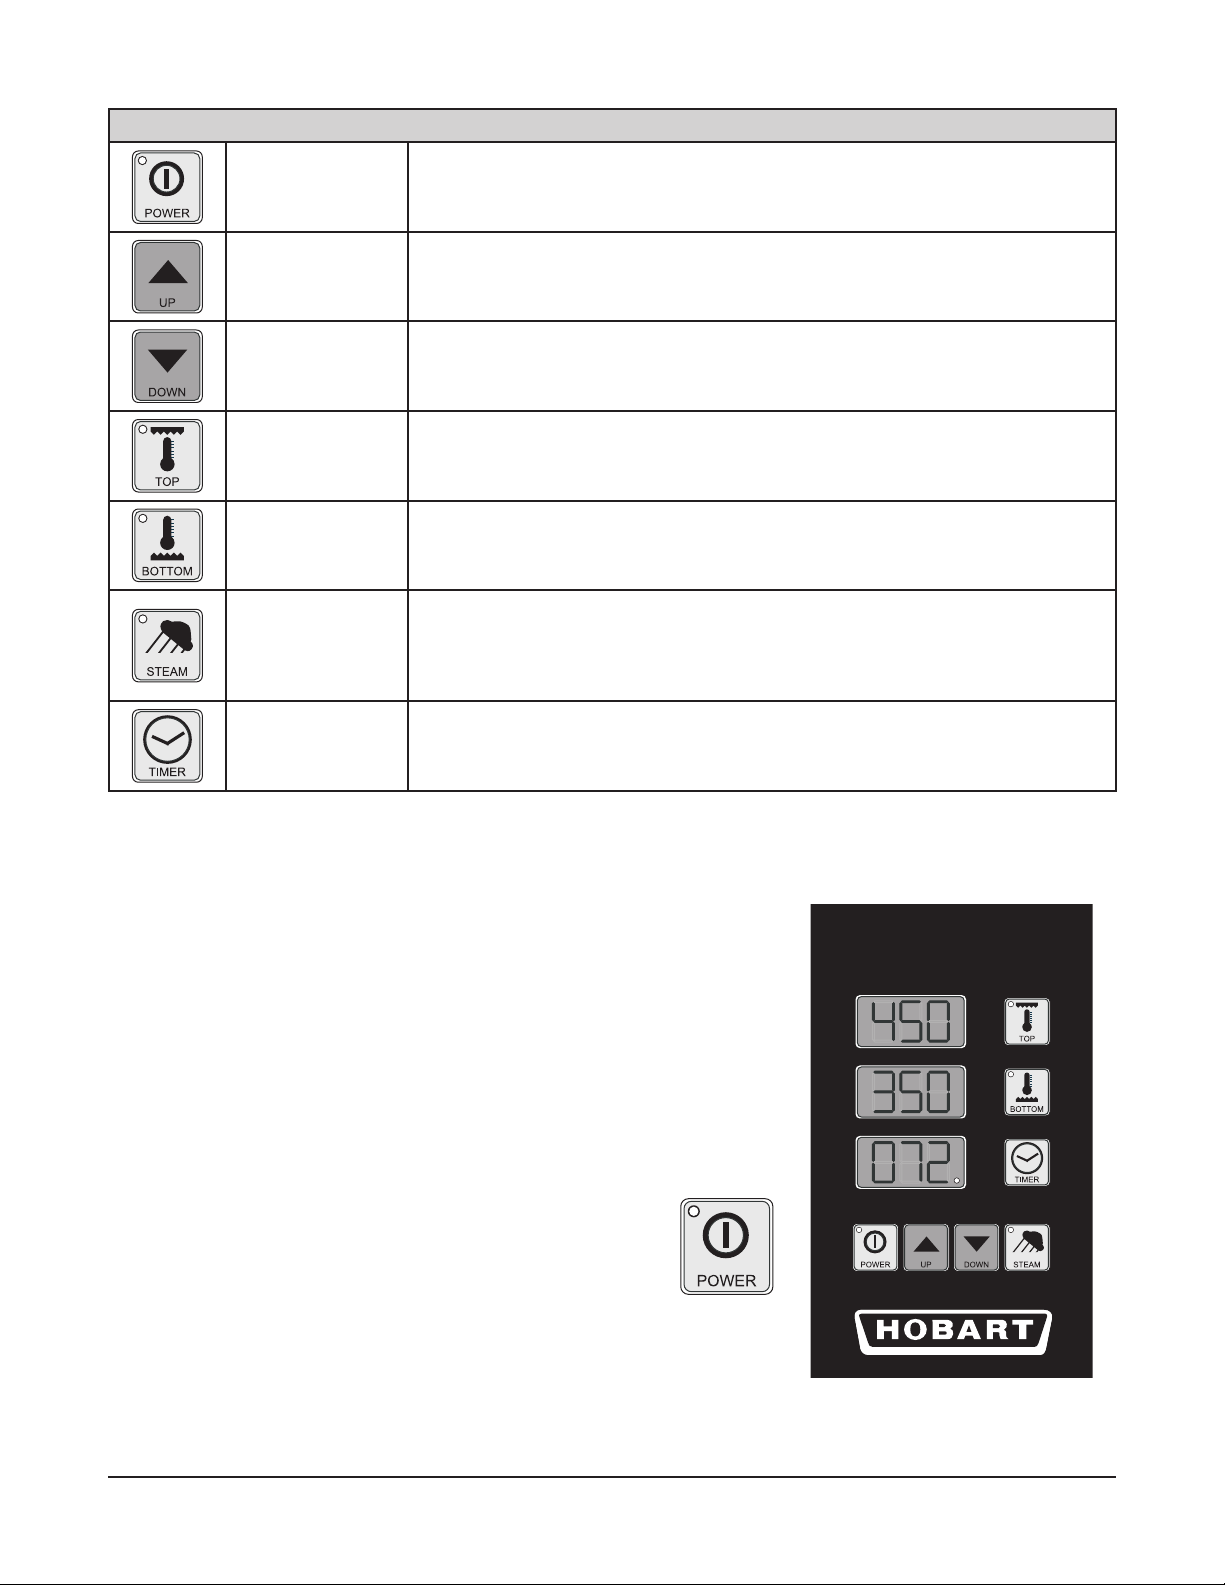
TURNING ON/OFF THE OVEN
NOTE: The oven has power when the light is
illuminated.
1. Press the POWER button to turn the oven
on. The button light will be off and the baking
compartment light will illuminate to indicate that
the oven is operational. The actual temperatures
will appear in the display windows.
2. Press the POWER button to turn the oven off.
The button light will be illuminated to indicate
that the oven has power to it.
– 2 –

SETTING THE TOP HEAT
1. Press the TOP button to adjust the top heat
setting. The top heat setting will fl ash in the top
heat window. The operating range is 200°F to
550°F.
2. Press the UP or DOWN ARROW buttons to
adjust the set point.
NOTE: The display will increment by 1° each time
the arrow button is pressed.
3. After pressing the ARROW button, wait 10
seconds to allow the new top heat setting to
save. The light will stop fl ashing and the new
saved top heat setting will be set and the oven
will display the TOP HEAT temperature.
SETTING THE BOTTOM HEAT
1. Press the BOTTOM button to adjust the bottom
heat setting. The bottom heat setting will fl ash
in the bottom heat window. The operating range
is 200°F to 550°F.
2. Press the UP or DOWN ARROW buttons to
adjust the set point.
NOTE: The display will increment by 1° each time
the arrow button is pressed.
3. After pressing the ARROW button, wait 10
seconds to allow the new bottom heat setting
to save. The light will stop fl ashing and the
new saved bottom heat setting will be set
and the oven will display the BOTTOM HEAT
temperature.
– 3 –

SETTING THE TIMER
1. Press the TIMER button to set the timer. The
timer setting will fl ash in the timer window.
2. Press the UP or DOWN ARROW buttons to
adjust the timer.
NOTE: The display will increment by 1 minute each
time the arrow button is pressed. If you hold down
the arrow button for more than 1 second, the display
will increment quickly until released.
3. The time will continue to fl ash until the TIMER
button is pressed. It will then start a countdown
and the display light will fl ash indicating timer
is being used.
NOTE: When the timer reaches 00 the buzzer will
sound and the display will show OFF. To silence
buzzer and clear OFF press the TIMER button. The
timer does not control the oven functions.
SETTING THE STEAMING TIMER
1. Press and hold the STEAM button to set the
steam timer. The steam timer setting will fl ash
in the steam/timer window.
2. Press the UP or DOWN ARROW buttons to
adjust the steam timer.
NOTE: The display will increment by 1 second each time the arrow button is pressed. If you hold down
the arrow button for more than 1 second, the display will increment quickly until released.
3. Release the STEAM button. The steaming function begins and the timer counts down. If the steam
indicator is illuminated, no steam will be produced.
TURNING ON/OFF THE STEAM FUNCTION
1. Press the STEAM button to start the steam function. The steam timer setting will fl ash in the steam/
timer window. The steaming function begins and the timer counts down. If the steam ready indicator
is not illuminated, no steam will be produced.
2. To turn the steam function off, press and hold the STEAM button.
3. Press the DOWN ARROW button until OFF appears in the steam/timer window.
4. Release the STEAM button. The steaming function is now off.
CONTROL PANEL FLASHING
If all the display windows are fl ashing the oven is malfunctioning. Turn off oven and
disconnect from power supply. Contact an approved servicer.
NOTE: When all the display windows fl ash, the control panel compartment has exceeded the operating
temperature for the components in the controls area. Turn the oven off and allow to cool. You may try to return
the oven to service after it has cooled down. If the problem continues contact an approved servicer.
FORM 36713 (February 2009) PRINTED IN U.S.A.
– 4 –
 Loading...