

Hellwig 55830 User Manual
559-734-7451 800-367-5480 FAX 559-734-7460
INSTALLATION INSTRUCTIONS
REAR STABILIZER BAR
2010+ CAMARO
Thank you for purchasing a quality Hellwig Product.
PLEASE READ THISINSTRUCTION SHEETCOMPLETELY BEFORE STARTINGYOUR INSTALLATION
1. Raise vehicle and place on jack stands. Make sure vehicle is secure and stable before pro-
ceeding to next step.
2. Disconnect end links from sway bar. Save hardware for reinstallation of new sway bar
3. Remove nuts attaching bushings to subframe. Save hardware for reinstallation of new
sway bar
4. Remove sway bar by maneuvering it away from the subframe and exhaust. There is enough
room to remove the sway bar without dropping the exhaust system.
5. Install new sway bar using reverse of procedure to remove factory sway bar.
6. Lubricate D-bushings using supplied lubricant and install on sway bar with supplied Uplates.
7. Attach U-plates to subframe using factory hardware.
8. Attach end links to sway bar and tighten firmly.
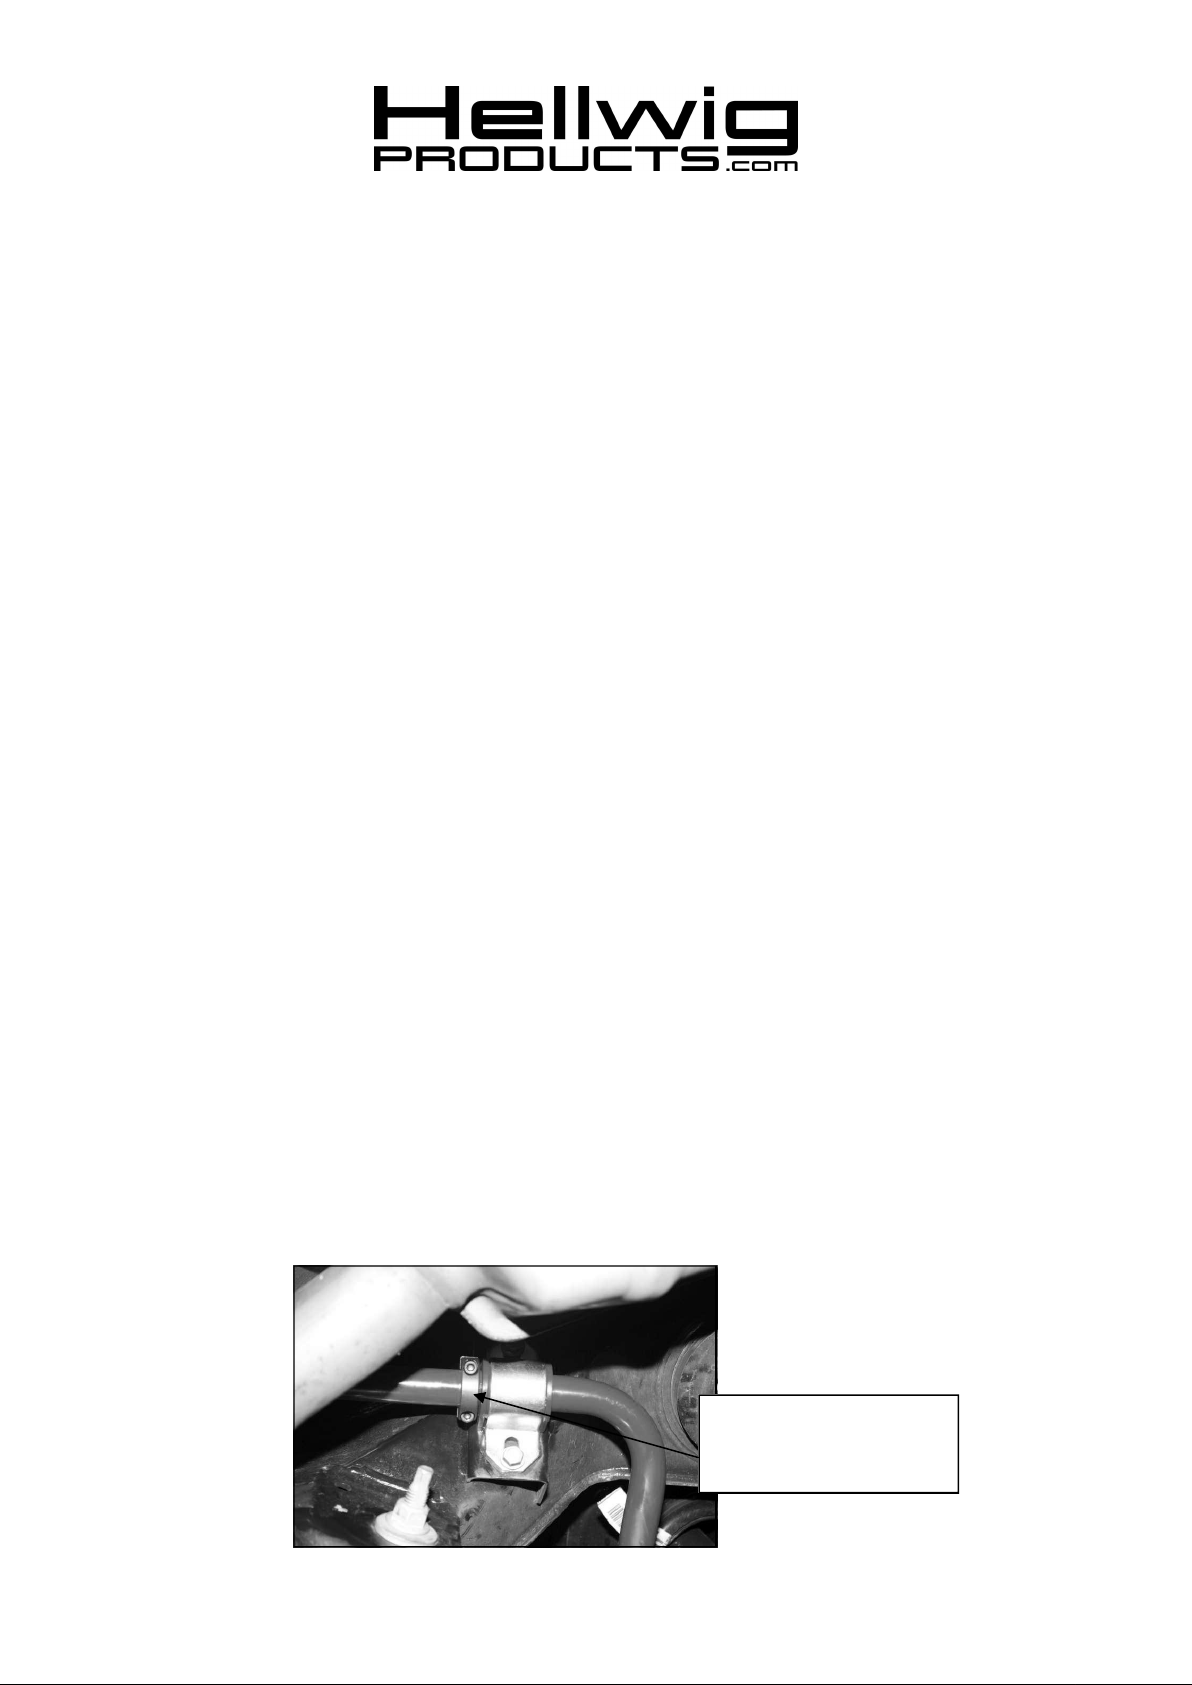
9. Center sway bar on vehicle and attach collar clamps to sway bar inboard of the frame bushings to keep sway bar centered in use.
10.Bounce the vehicle. Check for clearance on all undercarriage components. Recheck your
installation - check for clearance on wires, exhaust, fuel and brake lines.
11.Attaching the end links to the hole farthest away from the bushings is the softest setting.
Moving the end links closer to the bushings will make the sway bar firmer. It is recommended to start with the sway bar on the softest setting until you are familiar with your vehicle’s new handling characteristics. We recommend tuning the sway bar after first driving
the vehicle with the softest setting.
12.After one week of driving check your installation. Recheck on a monthly regular basis
thereafter.
ATTENTION INSTALLER: BE SURE THAT THE CUSTOMER RECEIVES THIS INSTRUC
TION SHEET, ALL IMORTANT NOTE CARDS AND THE
WARRANTY FORM
Install collar clamps inboard
of frame bushings to keep
sway bar centered.
55830 ( R-55830 ) 11/11/09
 Loading...