

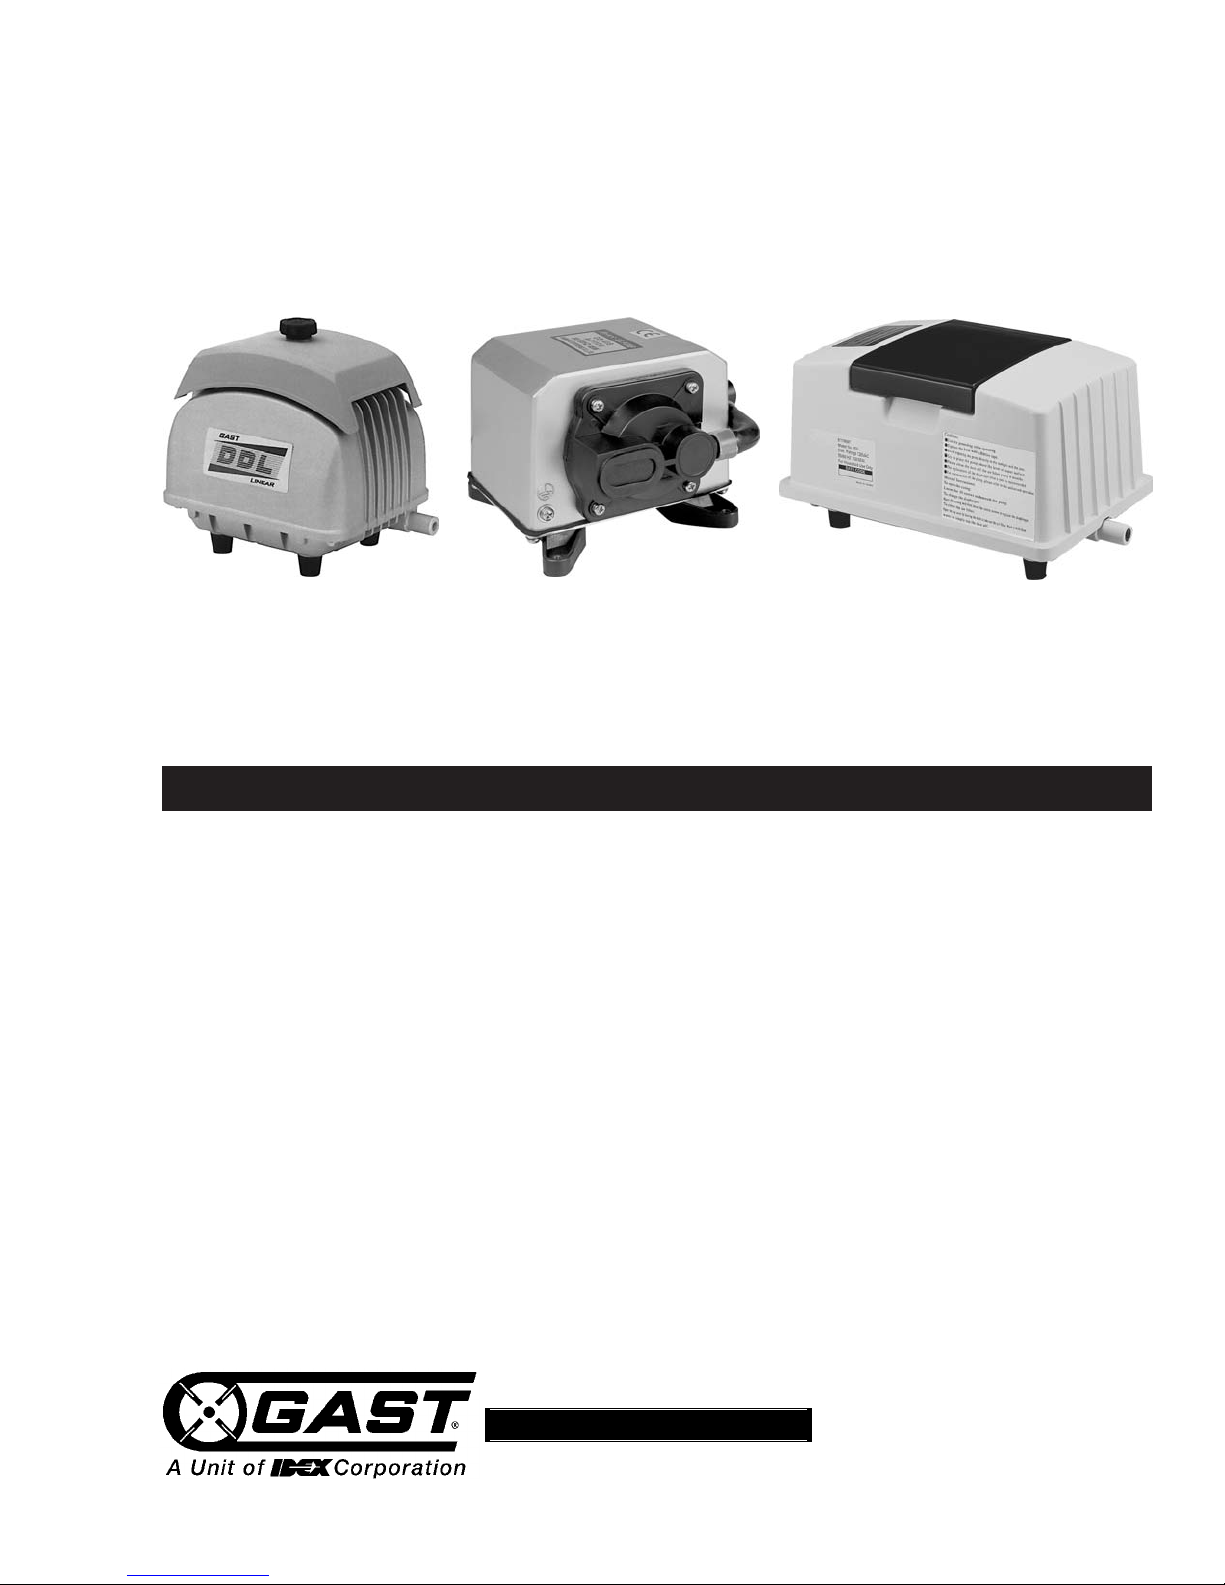
Gast DDL30, DDL120, DDL40B Operation & Maintenance Manual
www.gastmfg.com
ISO 9001 & 14001 CERTIFIED
®Registered Trademark/™Trademark of Gast Manufacturing Inc., Copyright ©2003 Gast Manufacturing Inc. All Rights Reserved.
P
ART NO. 70 - 1570 F1-210 (REV-C)
OIL-LESS COMPRESSORS
OPERATION & MAINTENANCE MANUAL
Model DDL30 Shown
Thank you for purchasing this Gast product. It is manufactured to the highest standards
using quality materials. Please follow all recommended maintenance, operational
and safety instructions and you will receive years of trouble free service.
IMPORTANT: PLEASE READ THIS MANUAL AND SAVE FOR FUTURE REFERENCE.
Product Use Criteria:
• Pump only clean, dry air.
• Operate at 40ºF - 104ºF (4.4ºC - 40ºC).
• Protect unit from dirt & moisture.
• Do not pump flammable or explosive gases or
use in an atmosphere that contains such gases.
• Corrosive gases and particulate material will
damage unit. Water vapor, oil-based contaminants
or other liquids must be filtered out.
• Oil-less compressors require NO lubrication
• Consult your Gast Distributor/Representative
before using at high altitudes.
Model DDL40B Shown
Model DDL120 Shown
1

c
Disconnect electrical power at the circuit breaker
or fuse box before installing this product.
Install this product where it will not come into
contact with water or other liquids.
Install this product where it will be weather
protected.
Electrically ground this product.
Failure to follow these instructions can result in
death, fire or electrical shock.
WARNING
Electrical Shock Hazard
Plumbing
WARNING
DANGER
Your safety and the safety of others
i
s extremely important.
We have provided many important safety messages
in this manual and on your product. Always read
and obey all safety messages.
This is the safety alert symbol. This symbol
a
lerts you to hazards that can kill or hurt you and
others. The safety alert symbol and the words
“
DANGER” and “WARNING” will precede all safety
messages. These words mean:
You will
be killed or seriously injured if you don’t
follow instructions.
You can
be killed or seriously injured if you don’t
follow instructions.
All safety messages will identify the hazard, tell you
how to reduce the chance of injury, and tell you
what can happen if the safety instructions are not
followed.
c
This product must be properly grounded.
Do not modify the plug provided. If it will not
fit the outlet, have the proper outlet installed
by a qualified electrician.
If repair or replacement of the cord or plug is
necessary, do not connect the grounding wire
to either flat blade terminal. The wire with
insulation that is green with or without yellow
stripes is the grounding wire.
Check the condition of the power supply wiring.
Do not permanently connect this product to
wiring that is not in good condition or is
inadequate for the requirements of this product.
Failure to follow these instructions can result in
death, fire or electrical shock.
WARNING
Electrical Shock Hazard
Grounded Plug
Grounding Pin
Grounded Outlet
120-volt grounded connectors
shown. 220/240-volt grounded
connectors will differ in shape.
DIAGRAM A
emove plug from the OUT port. Connect with pipe
R
and fittings that are the same size or larger than the
product’s port.
Accessories
nstall relief valve and gauge at outlet to monitor
I
performance. A check valve may be required to prevent
back streaming through the compressor.
Motor Control
t is your responsibility to contact a qualified
I
electrician and assure that the electrical installation is
adequate and in conformance with all national and local
codes and ordinances.
ELECTRICAL CONNECTION
INSTALLATION
Correct installation is your responsibility.
have the proper installation conditions and that
installation clearances do not block air flow.
Mounting
This product must be installed on a flat, horizontal
surface. Mounting the product to a stable, rigid
operating surface and using shock mounts will reduce
noise and vibration.
2
Make sure you
Model with a power supply cord:
This product must be grounded. For either 120-volt or
220/240-volt circuits connect power supply cord
grounding plug to a matching grounded outlet. Do not
use an adapter. (See DIAGRAM A)
In the event of an electrical short circuit, grounding
reduces the risk of electric shock by providing an
escape wire for the electric current. This product may
be equipped with a power supply cord having a
grounding wire with an appropriate grounding plug.
The plug must be plugged into an outlet that is properly
nstalled and grounded in accordance with all local
i
codes and ordinances.
Check with a qualified electrician or serviceman if the
grounding instructions are not completely understood, or
if you are not sure whether the product is properly
grounded. Do not modify the plug provided. If it will not
fit the outlet, have the proper outlet installed by a qualified
electrician.
odel that is permanently wired:
M
This product must be connected to a grounded,
metallic, permanent wiring system, or an equipment
grounding terminal or lead on the product.
Power supply wiring must conform to all required safety
codes and be installed by a qualified person. Check
that supply voltage agrees with that listed on product
nameplate.
Extension cords:
Use only a 3-wire extension cord that has a 3-blade
grounding plug. Connect extension cord plug to a
matching 3-slot receptacle. Do not use an adapter.
Make sure your extension cord is in good condition.
Check that the wire gage of the extension cord is the
correct size wire to carry the current this product will
draw. An undersized cord is a potential fire hazard, and
will cause a drop in line voltage resulting in loss of
power causing the product to overheat. DIAGRAM B
indicates the correct gage cord for length required and
the ampere rating listed on the product nameplate.
If in
doubt, use the next heavier gage cord. The smaller the
gage number, the heavier the wire gage.
DIAGRAM B – Minimum Gage For Extension Cords
Amps Volts Length of cord in feet
120v 25 50 100 150 200 250 300 400 500
240v 50 100 200 300 400 500 600 800 1000
0-2 18 18 18 16 16 14 14 12 12
2-3
3-4 18 18 16 14 12 12 10 10 8
4-5 18 18 14 12 12 10 10 8 8
5-6 18 16 14 12 10 10 8 8 8
6-8 18 16 12 10 10 8 6 6 6
8-10 18 14 12 10 8 8 6 6 4
18 16 14
18
12 12 10 10
14
IMPORTANT SAFETY INSTRUCTIONS
OR AQUARIUM USE
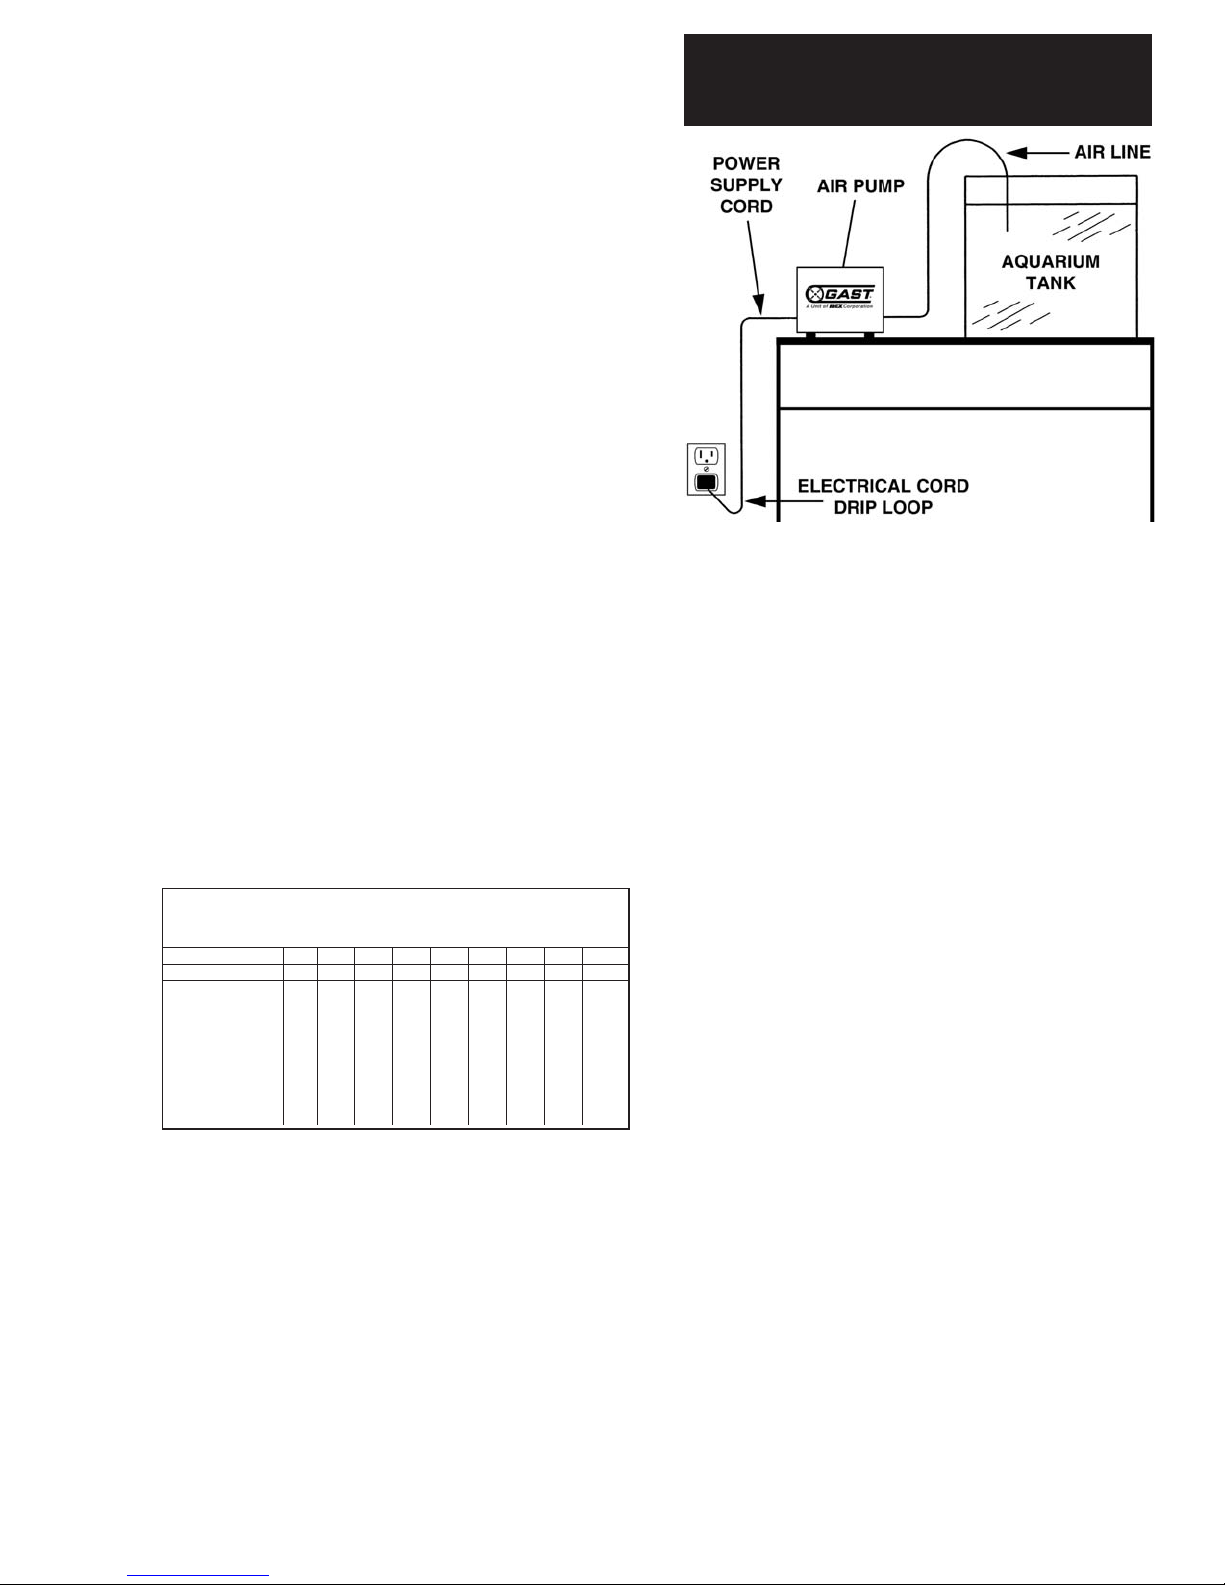
F
AQUARIUM SETUP DIAGRAM
WARNING – Read and follow all safety instructions. To
guard against injury, basic safety precautions should be
observed.
DANGER – To avoid possible electrical shock, special
care should be taken since water is employed in the
use of aquarium equipment. If the air pump, cord or
plug are damaged in any way whatsoever, DO NOT
attempt repairs by yourself, return the air pump to a
Gast Authorized Service Facility for inspection and
repair.
Precautions for aquarium use:
1. If the air pump falls into the water, DO NOT reach
into the water to retrieve it.
2. Carefully examine the appliance after installation. It
should not be plugged into electrical power if there
is water found on any part of the pump.
3. DO NOT operate any air pump if it has a damaged
cord or plug, or if it is malfunctioning or has been
dropped or damaged in any manner.
4. To avoid the possibility of the air pump plug or
receptacle getting wet, position the aquarium stand
and tank to one side of a wall-mounted receptacle to
prevent water from dripping onto the receptacle or
“drip loop,” shown above in the
A
plug.
SETUP
DIAGRAM, should be arranged by the user
for each cord connecting an aquarium air pump to a
receptacle. The “drip loop” is that part of the cord
below the level of the receptacle, or the connector if
an extension cord is used, which prevents water
travelling along the cord from coming into contact
with the receptacle.
5. If the plug or receptacle do get wet, DO NOT grasp
the plug to disconnect the air pump. Instead
disconnect the fuse or circuit breaker supplying
power to the receptacle. Then unplug the air pump
and examine for the presence of water on the plug
or receptacle.
Guidelines for aquarium use:
1. Close supervision is necessary when any air pump
is used by or near children.
2. To avoid injury, DO NOT disassemble the air pump.
3. Always unplug an air pump from an outlet when not
in use, before putting on or taking off parts and
before cleaning. NEVER yank a cord to remove the
plug from the receptacle. Grasp the plug and pull to
disconnect.
AQUARIUM
3
 Loading...